Thanks to Christine Waltermyer, The Natural Kitchen Cooking School & MUSH Overnight Oats!
Christine Waltermyer is a local and renowned Wellness Chef, private chef to celebrities, published cookbook author and founder of the Natural Kitchen Cooking School, which offers an online Plant-Based Cooking Program. She also loves shopping at Basil Bandwagon! Visit naturalkitchenschool.com to subscribe to her email newsletter for new recipes, tips, and FREE access to the Power of Veggies mini-course!
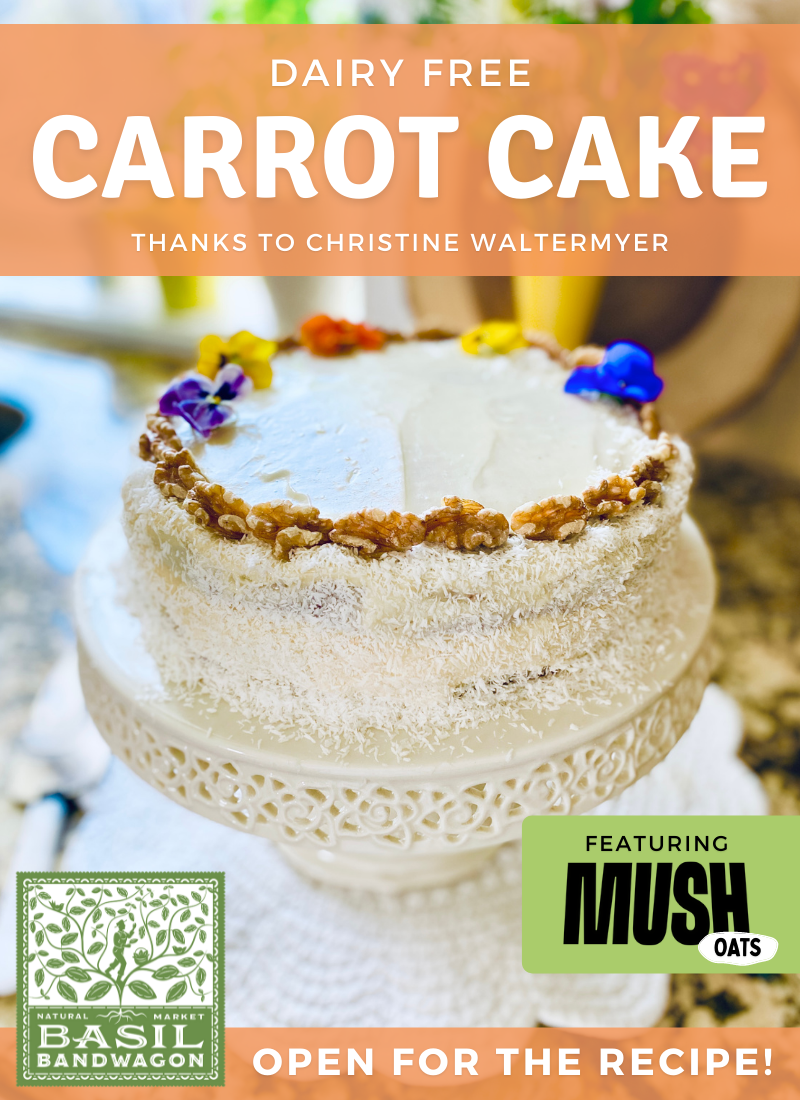
What’s one of your favorite Easter desserts? One of ours is carrot cake! However, we like to make it with a fun, healthy twist – including MUSH Overnight Oats!
Why add MUSH Overnight Oats? It gives a moist, flavorful texture to the cake while adding even more health benefits! All grains including oats contain phytic acid, which binds to nutrients and makes them harder to absorb. Soaking oats breaks down this acid and helps increase the absorption of nutrients, like zinc, iron, calcium and magnesium. Since carrots are loaded with vitamins and minerals, such as calcium, adding MUSH can even help absorb it!
We’re not saying that you have to add them to your carrot cake – you can just eat these overnight oats straight out of the container with a spoon. Or add them to your morning smoothie. The possibilities are endless – go try all of their flavors!
Keep scrolling to learn how to make this Dairy Free Carrot Cake with MUSH Overnight Oats thanks to Christine Waltermyer and the Natural Kitchen Cooking School. All ingredients can be found at your favorite local Basil Bandwagon Natural Market location.
8oz.Kite Hill cream cheeseor other cream cheese of your choice
1teaspoonvanilla extract
2cupspowdered sugar
1cupmonkfruit sweetener(or 1 more cup of powdered sugar)
DECORATION
Shredded coconut
Edible flowers
Instructions
Preheat the oven to 350 degrees F. In a large bowl, combine all of the dry ingredients.
In a separate bowl, combine all of the wet ingredients. Combine the wet and dry ingredients together. Fold in the MUSH overnight oats, carrots and walnuts.
Divide the batter between two lightly oiled 8-inch cake pans lined with parchment paper on the bottoms. Bake at 350 degrees F. for 35 minutes, or when the cakes spring back to the touch in the center. Check them after 30 minutes to avoid overbaking.
While the cakes are baking, prepare the frosting. Place all of the frosting ingredients in a food processor or stand mixer. Blend until smooth.
Remove finished cakes from the oven. Use a wet knife to loosen the sides of the cakes. Carefully flip the cakes onto cake cardboards or directly on cooling racks to cool. Once completely cool, frost the top of one cake. Place the other cake on top. Frost the top and sides of the cake.
Decorate with shredded coconut pressed into the sides of the cake and around the top in a circle. Add edible flowers for a pretty touch.
Enjoy!
Thank you to Christine Waltermyer and the Natural Kitchen Cooking School for working with us to help promote healthy, nutritious meals and products that are affordable, full of nutrients, and simple to make at home!
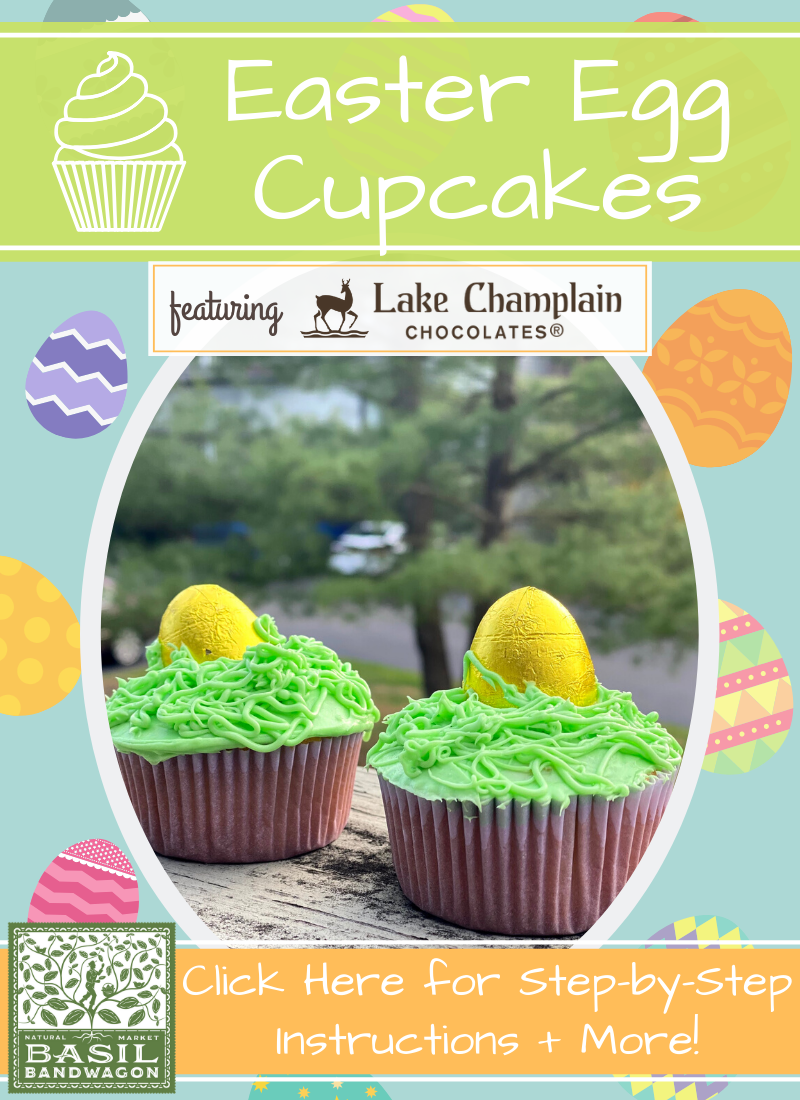
Quarantine is the perfect time to try those recipes that you’ve been meaning to get to! Since the kids are home, you can get them to help you too (but we can’t say they’ll help with the cleaning part). Check out this perfect cupcake recipe that is not only fun to make but will help you get Easter-ready for this Sunday.
Lake Champlain makes it easy to make holidays festive and delicious with their holiday chocolate bunnies, eggs, and more!
Ingredients
1 box cupcake mix (you will need more ingredients to make this but they will vary per brand)
1 container vanilla frosting
1 packet of blue food coloring
1 packet of yellow food coloring
Lake Champlain Chocolate eggs (pick your favorite flavor or pick them all!)
Method:
1. Follow the instructions on the box to make cupcakes.
2. Once cupcakes are finished baking, place in refrigerator to cool cupcakes completely before covering with icing to keep the tops from becoming sticky, about 30 minutes.
3. While cupcakes are cooling, mix the yellow and blue coloring packets in the white icing. Use as little or as much coloring as you desire!
4. Once the cupcakes are cooled, it’s time to ice them. Time to let your creativity flow! Use a piping bag, plastic bag, fork and knife, or whichever tools you have in order to make the icing grass. After cupcakes are completely covered in icing, add a Lake Champlain chocolate egg (you may have to add more icing around the eggs to create a “hidden egg” effect).
5. Serve to your cupcake lovers and enjoy!
Before you enjoy your Easter Egg Cupcakes, make sure you take a picture of your masterpiece! Post it on social media and tag your favorite organic market, Basil Bandwagon Natural Market! #basilbandwagon
With Spring here and the Easter holiday on the horizon, many of you are opting to celebrate with the longstanding tradition of dyeing eggs. And a beautiful tradition it is! The eggs make great decorations as a centerpiece for your dining table or simply as a table arrangement to impress guests. Not to mention they are a FUN family activity.
The not-so-fun part of the traditional dyeing comes from the back of the egg dyeing kit: yellow 5, blue 1, blue 2, red 40 and so on, and so on. The dye is full of synthetic junk. Which, may not seem like a big deal to you, but if you intend on consuming the eggs after the holiday, you may want to rethink what you’re using to dye them. On the other hand, if you care about the environment and would like to vote mindfully with your dollars to support natural food products, you may also want to rethink what you’re using to dye them.
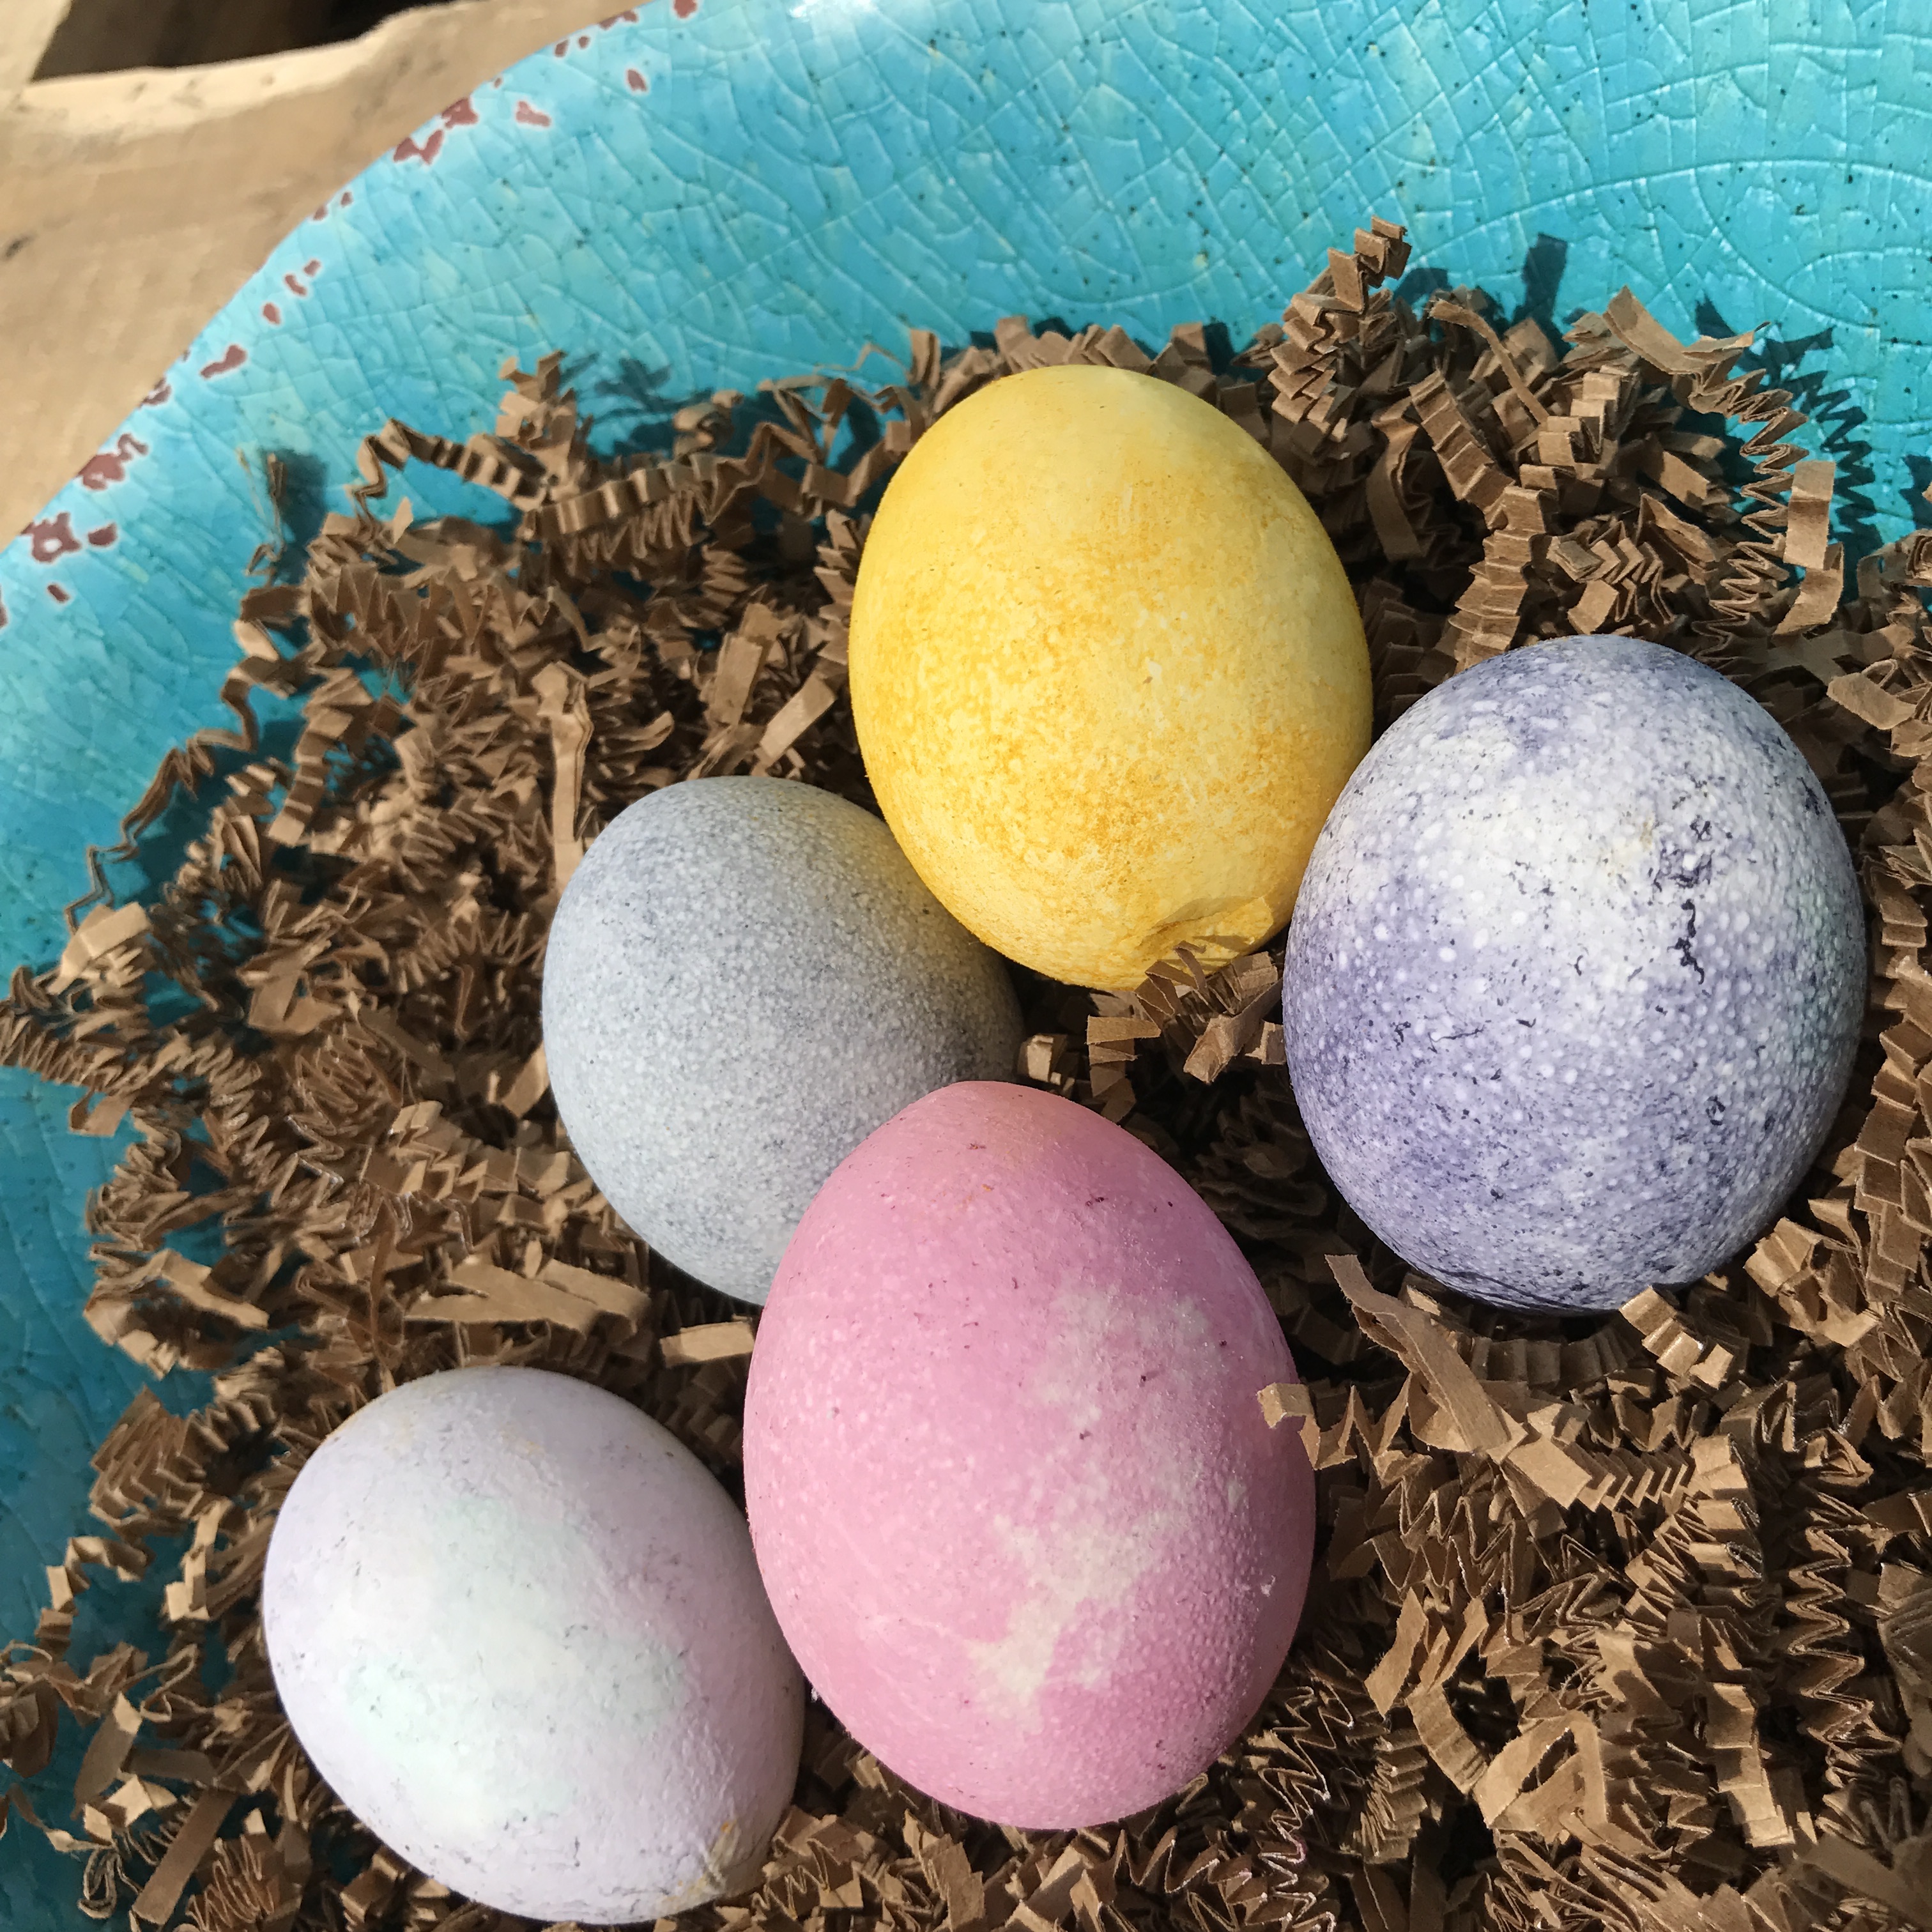
Here’s where we come in. We scoured the internet to find the best recipes for dyeing our eggs and came up with a few unique favorites to test out:
turmeric
purple cabbage
blueberries
spirulina
hibiscus
As you will see, some of the colors came out much more vibrant than others. And we also discovered that the longer you soak them and keep them refrigerated when not on display, the more vibrant the colors will stay. We opted to de-complicate the recipes. We simply filled single cups about 1/2 way with each of the materials. Then added enough distilled vinegar to cover the material. Then followed up with hot water to activate the dyeing process. We submerged a single egg in each of the cups and let them sit refrigerated overnight.
Notice that we didn’t include what should have been a green egg that was dyed with the Spirulina. It didn’t work for us! Next time we will add some mashed spinach, perhaps?
Give this a try and let us know what materials worked best for you and which were your favorites!