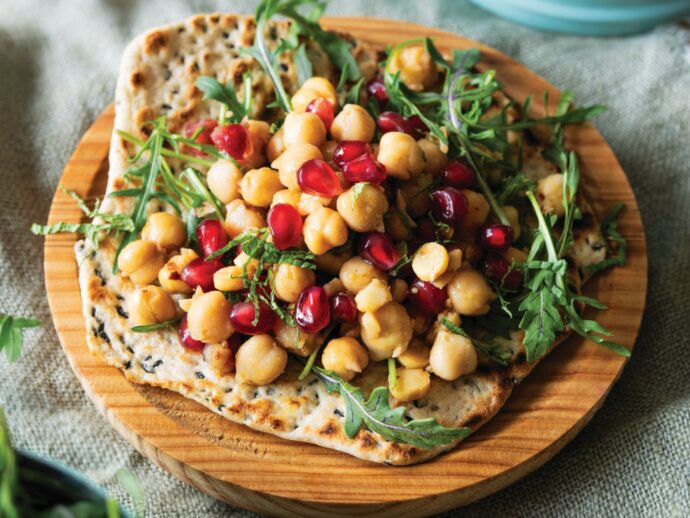
Chickpea Flatbread Sandwiches with Arugula, Pomegranate, and Chili Crisp
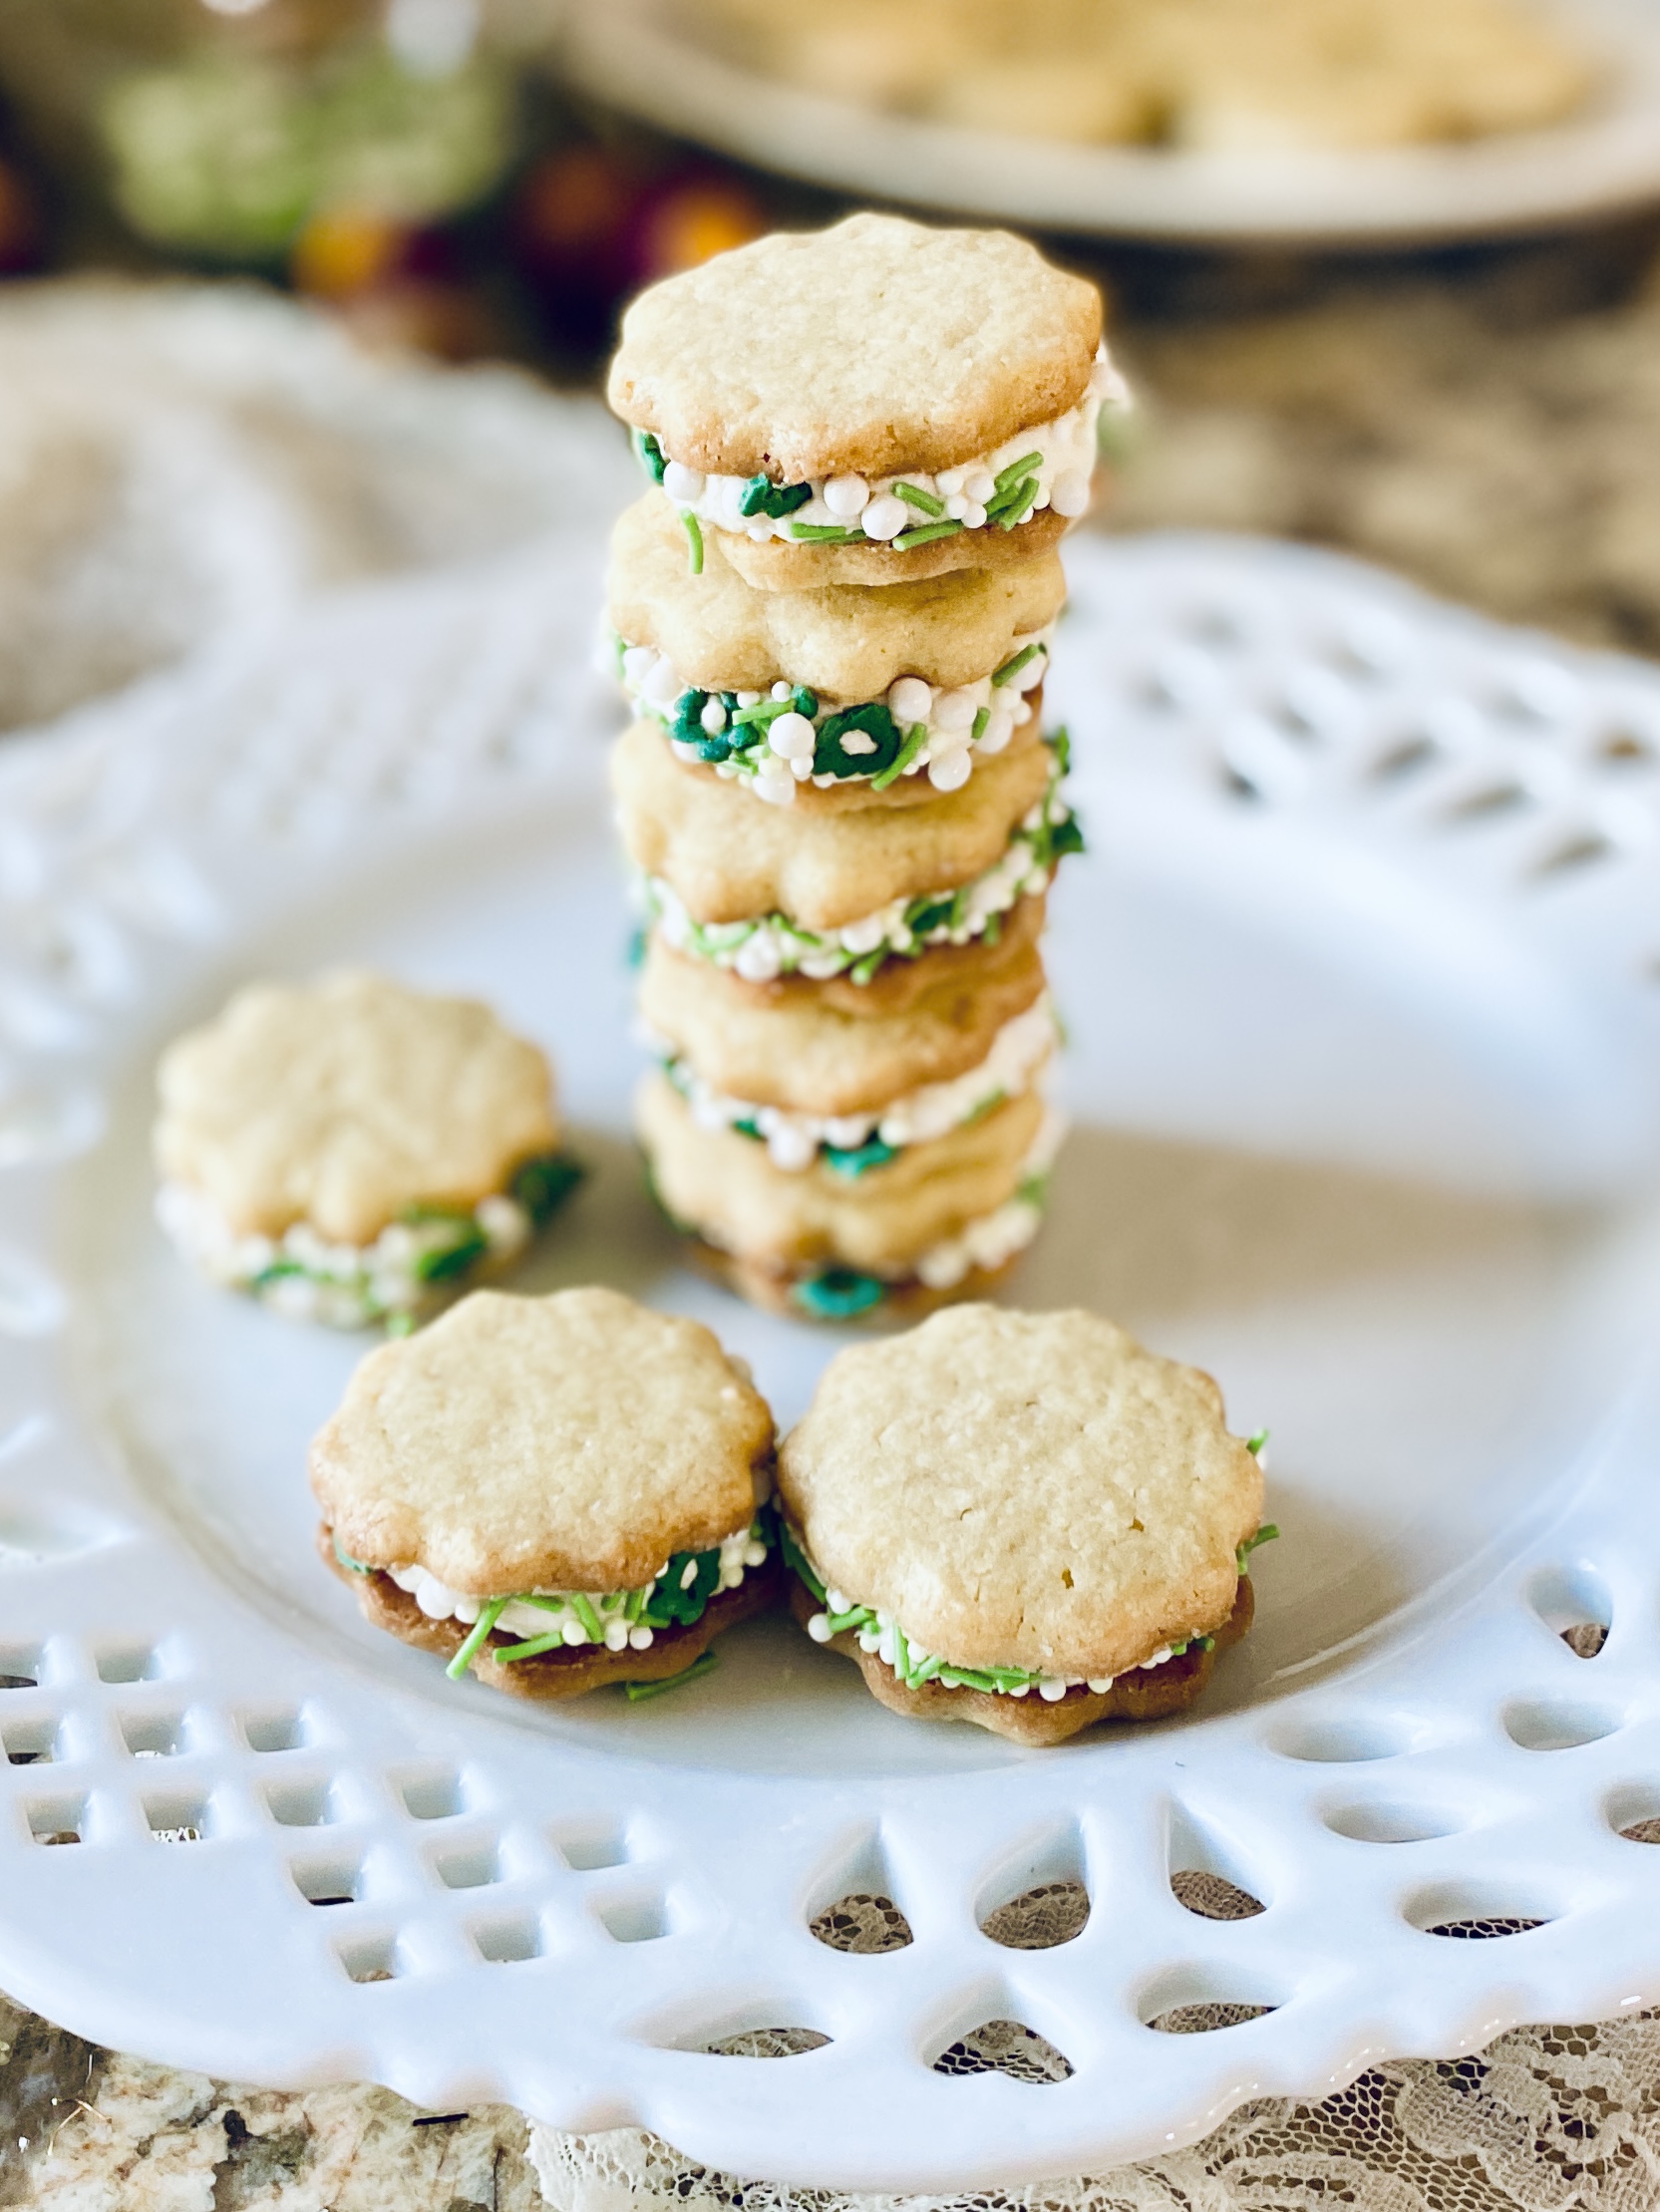
The simple presentation of these strawberry coconut cream pots hides sophisticated flavour. Ripe berries are macerated with a dash of sherry vinegar, maple syrup, mint, black pepper, and a hint of salt which helps to bring out the flavours. They’re then combined with coconut cream before being layered over a nutty buckwheat and almond base. Sealed up in Mason jars, they’re a cinch to pack and serve.

Ingredients
Method
- In medium bowl, whisk together flours, nigella seed, cumin, and salt. Set aside.
- In small bowl, whisk together honey and water and sprinkle yeast overtop. Allow to stand for 5 to 10 minutes, until yeast begins to bloom. Add yeast mixture to flour mixture and stir to combine.
- Knead by hand or use stand mixer with dough hook to knead for approximately 7 minutes, until dough is smooth and elastic. Place in oiled bowl, cover with kitchen towel, and set aside to rise at room temperature until doubled in size, about 1 to 2 hours.
- Divide dough into 12 sections and roll each into a ball. Heat griddle or cast iron frying pan and brush with oil. Roll out each ball to a flat circle and place down on hot surface. Flip when bubbles appear on top surface and bottom begins to brown, about 30 seconds to 1 minute. Flip to other side and continue to cook until surface is golden. Allow breads to cool and then pack in airtight container.
- In small bowl or jar, combine olive oil, red wine vinegar, honey, chili crisp, and pomegranate molasses. Set aside.
- To medium pot, add chickpeas and their water, plus an additional can of water. Simmer, covered, for about 15 minutes. Remove from heat, uncover, and allow to cool for 10 minutes before draining. Drain and toss with dressing and pomegranate seeds. Seal in container and refrigerate or pack in your cooler.
- To a separate sealable container, add 2 cups of arugula and pack in your cooler.
- To serve, have picknickers make up their own sandwiches, adding a little bit of arugula to a flatbread and topping with chickpea mixture. Top each sandwich with a few mint leaves.
by Helena McMurdo
Recipe Courtesy of Alive Magazine