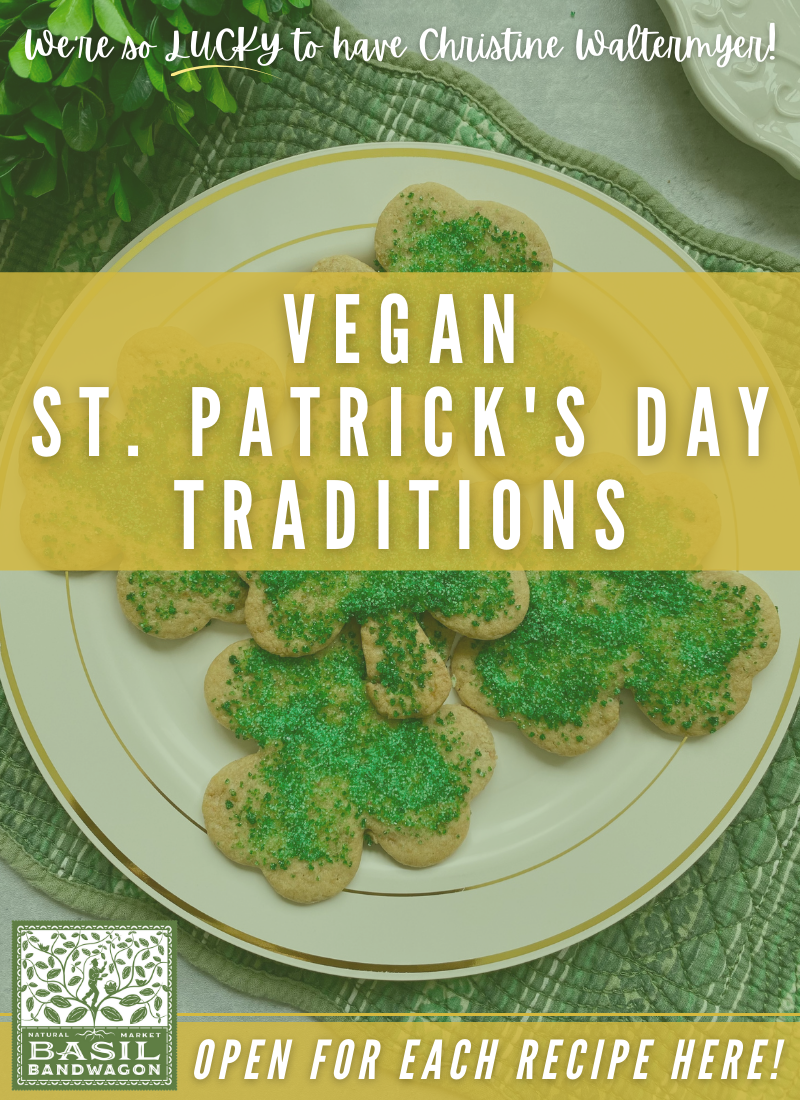
Vegan St. Patrick’s Day Traditions
with Christine Waltermyer
Christine Waltermyer is a local and renowned Wellness Chef, private chef to celebrities, published cookbook author and founder of the Natural Kitchen Cooking School, which offers an online Plant-Based Cooking Program. She also loves shopping at Basil Bandwagon! Visit naturalkitchenschool.com to subscribe to her email newsletter for new recipes, tips, and FREE access to the Power of Veggies mini-course!
Who said you can’t turn holiday traditions into diet-friendly favorites! Celebrate Irish culture with a warming vegan stew and naturally colorful shamrock sugar cookies.

Vegan Irish Stew
Equipment
- Large pot
- Large mixing bowl
- Small mixing bowl
Ingredients
- 1 tablespoon olive oil
- 1 cup onion chopped
- 2 cloves garlic minced
- 8 ounces button mushrooms quartered
- sea salt
- 1 cup sliced carrots
- 1 cup sliced celery
- ¼ small head of green cabbage
- 1 large parsnip peeled and chopped
- 3 small Yukon Gold potatoes cut into bite-sized pieces
- 2 cups vegetable broth
- 1 cup beer (non-alcoholic or stout beer)
- 1 teaspoon dried thyme
- 1 tablespoon maple syrup
- 1 tablespoon apple butter
- 3 tablespoons kuzu starch (or cornstarch) to thicken the stew (more as needed)
- freshly ground black pepper
Dumplings
- 1 teaspoon fresh rosemary or thyme (use ½ teaspoon if using dried herbs) minced
- 1 ½ cups gluten-free all-purpose baking flour (or regular all-purpose baking flour)
- ¾ teaspoon baking powder (aluminum-free)
- 1 teaspoon sea salt
- 3 tablespoons olive oil
- 1 cup almond milk (or oat milk or rice milk)
Instructions
- In a large pot, heat the olive oil (or ¼ cup vegetable broth) over medium heat. Add the onion and garlic. Cook and stir for a few minutes, then add the mushrooms. Add a pinch of the sea salt. Cook and stir for a few minutes. Cover and let cook a few more minutes to help them soften up. You can add a small splash of water if needed.
- Add the carrots, celery, cabbage, parsnip and potatoes. Add the broth, beer, thyme, maple syrup, and apple butter. Bring to a boil over medium high heat, then reduce the heat to cook, lightly covered, on low for 20 minutes.
- To make the dumplings, in a large mixing bowl combine the all-purpose baking flour, baking powder, sea salt and fresh rosemary. Stir well. Add the olive oil and almond milk. Stir well again.
- In a small bowl, stir the kuzu or cornstarch with a few tablespoons of cold water to dilute it. Add to the stew and stir until thickened. Add a little more if you want to achieve a thicker stew consistency.
- Add the black pepper.
- Now add spoonfuls (2 to 3 tablespoons in size) of the dumpling dough all around the pot. Cook, covered, for 15 minutes. The dumplings will rise. Serve hot with Irish soda bread, sourdough bread or gluten-free bread of your choice.Note: If you like fluffier dumplings you can add 1 full teaspoon of the baking powder.

Shamrock Sand Tart Cookies
Equipment
- Large bowl
- Small bowl
- Rolling Pin
- Baking sheet
- Shamrock cookie cutter
Ingredients
Wet Ingredients
- ½ cup plant-based butter or butter of your choice
- 1 cup maple sugar or raw cane sugar
- 1 tablespoon golden flaxseed meal
- 3 tablespoons water
- ¼ cup cooked pumpkin puree
- 1 teaspoon pure vanilla extract
Dry Ingredients
- 2 cups soft wheat flour (or gluten-free flour)
- ¼ teaspoon baking soda
- ⅛ teaspoon sea salt
Colored Sugar
- ½ cup raw cane sugar
- A few drops green liquid natural food coloring
Instructions
- In a large bowl, cream together the butter and maple sugar (or cane sugar).
- In a small bowl stir together the flaxseed meal and water. Let sit for 5 or 10 minutes, until it has thickened up a bit.
- Add the flaxseed meal mixture and pumpkin puree to the butter-sugar mixture. Stir well. Add the vanilla and stir again.
- Sift together the flour, baking soda and sea salt. Add this to the butter-sugar mixture. Mix well, until you have a uniform cookie dough. Gather into a ball and wrap in wax paper. Refrigerate overnight.
- Make the colored sugar: Mix together the raw cane sugar with the food coloring until it’s uniform in color. Let it sit overnight, uncovered, to let it dry out overnight. You can even spread it out on a piece of parchment paper to help it get really dry.
- The next day, unwrap the chilled dough. Depending how thick the dough shape is, you can cut it half to make two flatter disks of dough. Place it on a floured board. Using a rolling pin, roll it out to about 1/8-inch thickness.
- Preheat the oven to 350 degrees F. Lightly dust a baking sheet with a little flour.
- Lightly dip the shamrock cookie cutter in flour, then press it into the dough to cut out shamrock shapes. Fit in as many shapes as you can over the dough’s surface. Then carefully pick them up using a spatula to place them onto the prepared baking sheet. Repeat with the remaining dough, spacing them out an inch or so apart.
- Sprinkle each shamrock cookie evenly with some of the green-colored sugar.*Note: You can make other cookie shapes and use different colored sugar, depending on the holiday. For example, you can make heart-shaped cookies topped with red sugar for Valentine’s Day.
- Bake for 7 to 8 minutes, checking them closely after 7 minutes. Lift one cookie with a spatula to check the bottom. If lightly browned and the edges are light brown, remove the baking sheet from the oven.
- Transfer the cookies to a cooling rack to cool completely. The cookies will crisp up more as they cool. Once completely cool, serve the cookies or store in a cookie tin or glass container, loosely covered. The cookies will keep up to a week.
Notes
- Using the raw cane sugar will make the cookies crispier.
- Two eggs can be used in place of the flax egg and pumpkin puree.
Thank you to Christine Waltermyer and the Natural Kitchen Cooking School for working with us to help promote healthy, nutritious meals and products that are affordable, full of nutrients, and simple to make at home!