Thanks to Christine Waltermyer & The Natural Kitchen Cooking School!
Christine Waltermyer is a local and renowned Wellness Chef, private chef to celebrities, published cookbook author and founder of the Natural Kitchen Cooking School, which offers an online Plant-Based Cooking Program. She also loves shopping at Basil Bandwagon! Visit naturalkitchenschool.com to subscribe to her email newsletter for new recipes, tips, and FREE access to the Power of Veggies mini-course!
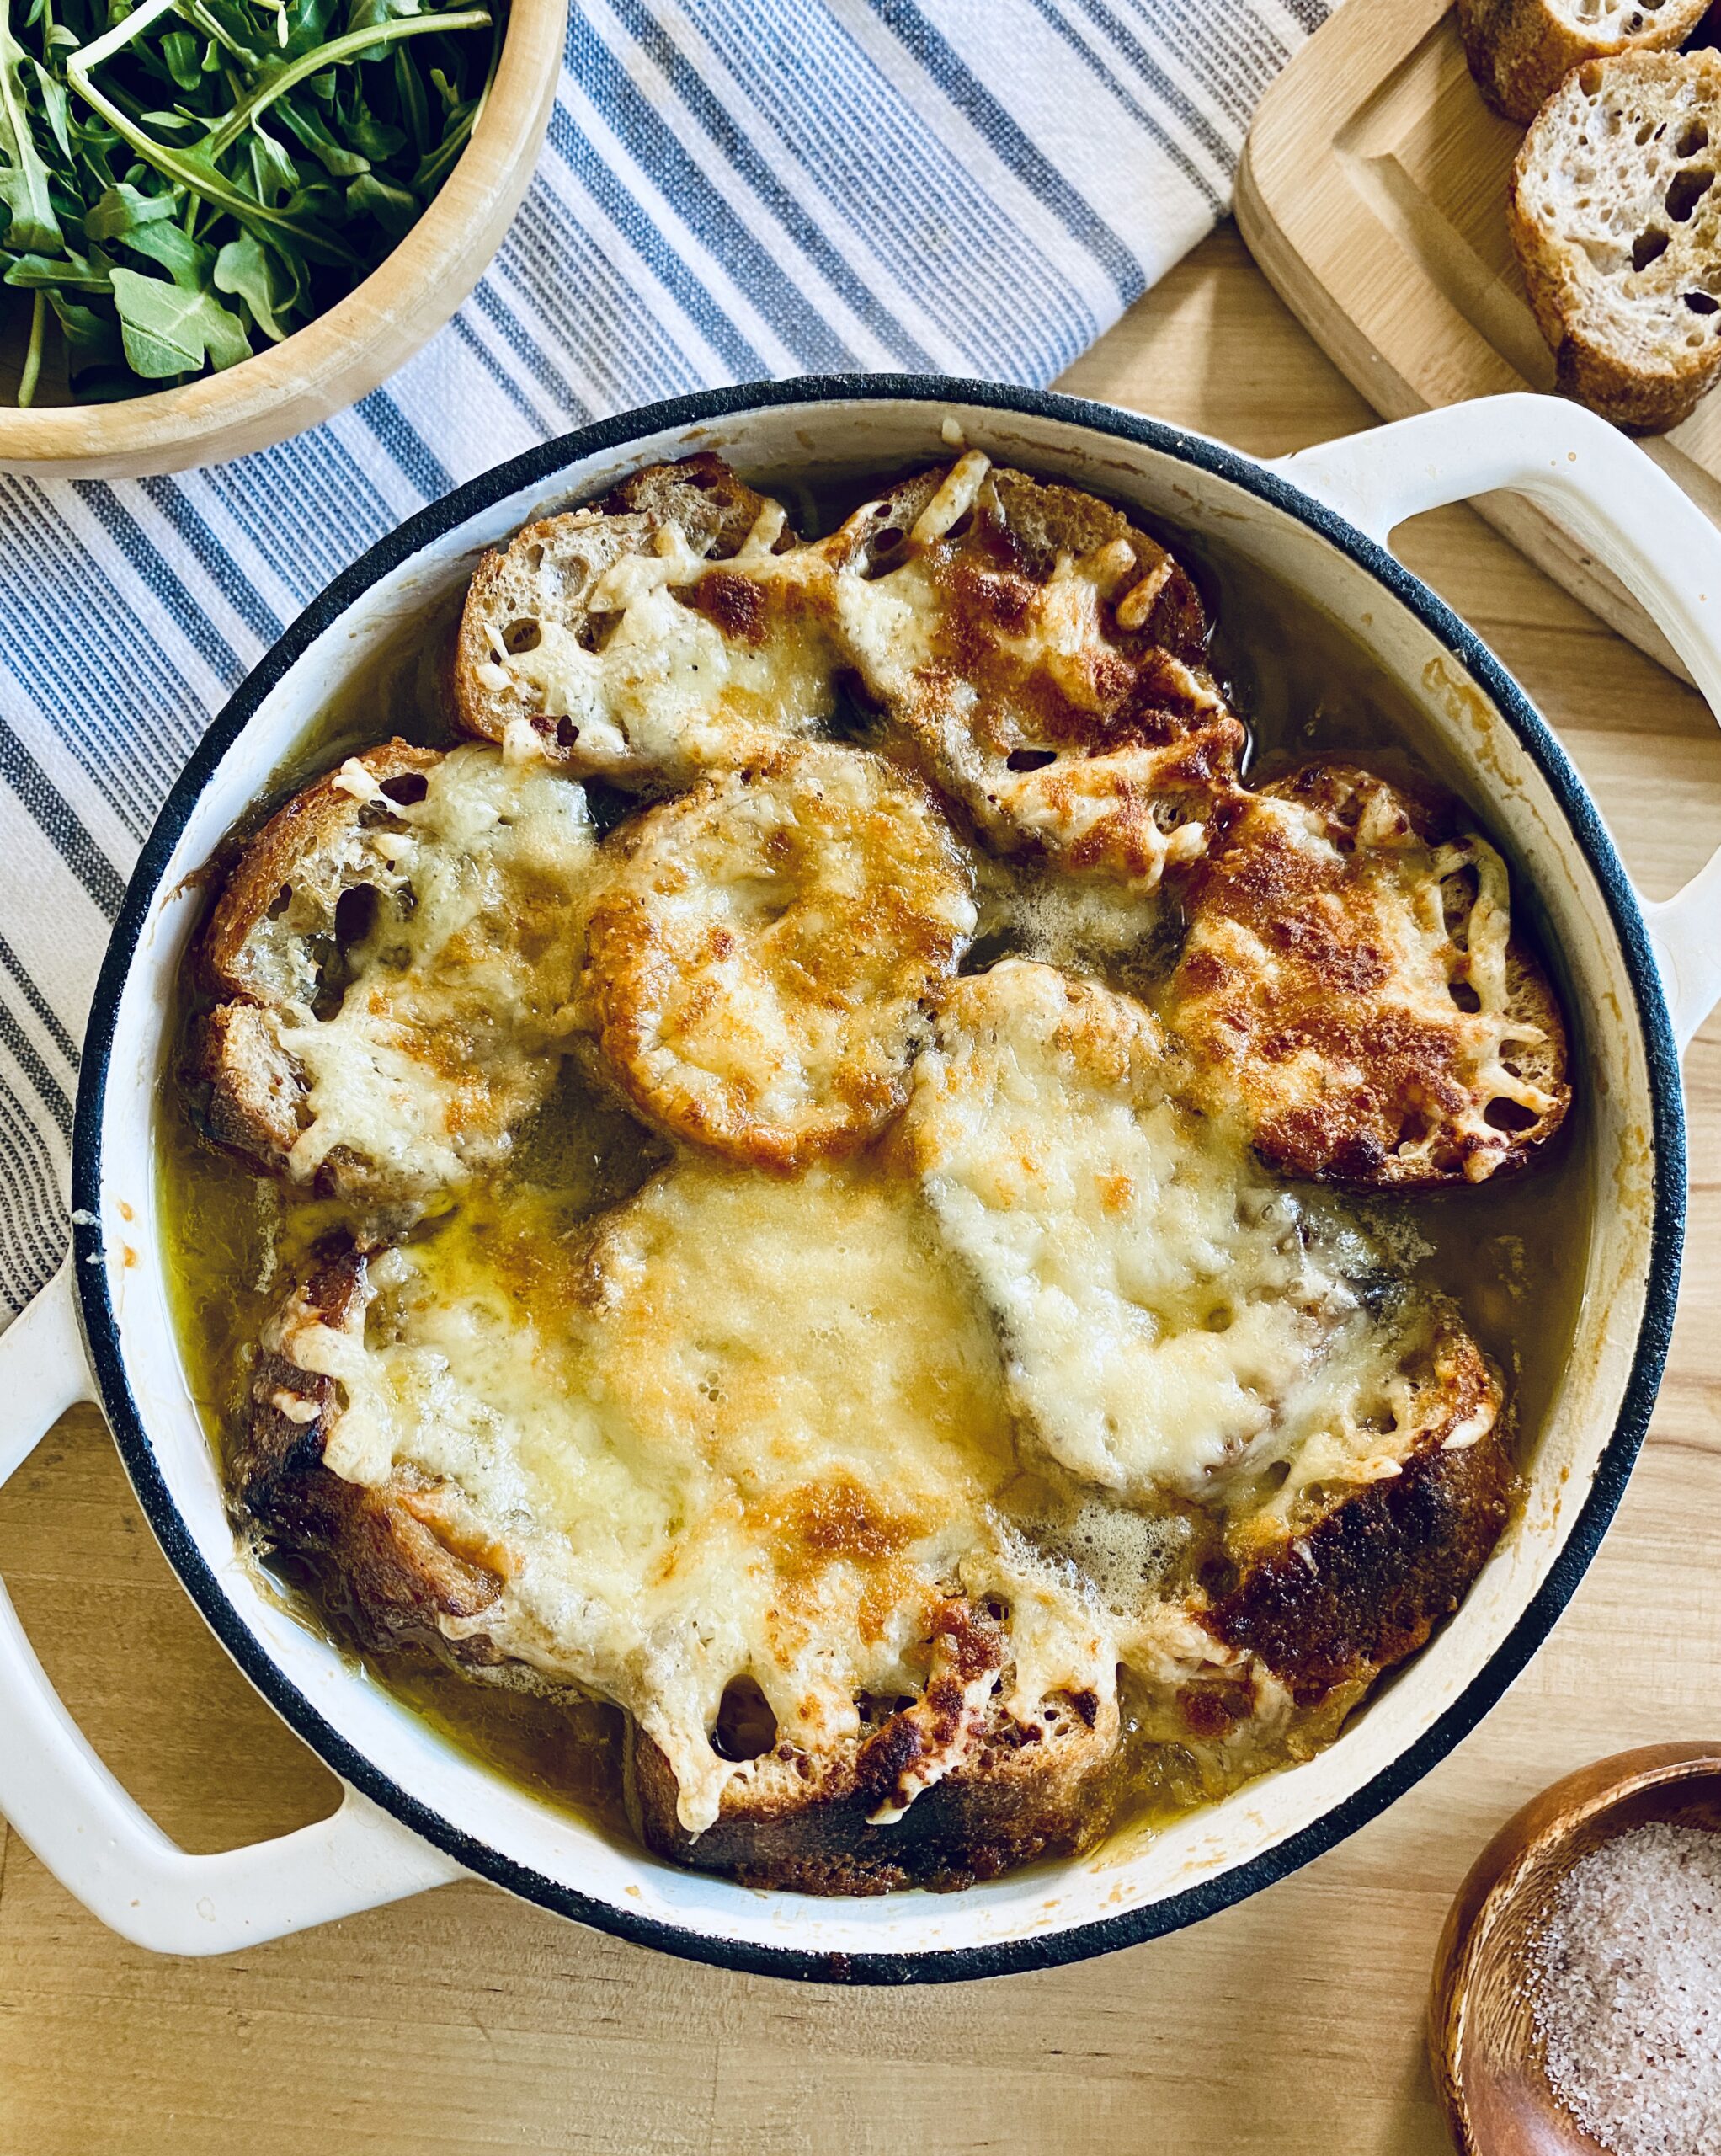
We’re celebrating Women’s History Month with a tribute to a classic chef and her take on a time-honored dish. Bon Appétit!
Heat a dutch oven or heavy bottom stock pot over medium-low heat. Once the dutch oven is hot, add the butter and olive oil. Add the onions. Cook and stir for a few minutes. Cover the pot and cook on medium low heat for 20 minutes, stirring occasionally. The onions will become very soft.
Increase the heat to medium-high. Add the sea salt and sugar. Cook and stir until the onions have caramelized. They should turn brown and be very soft. The volume will also cook down.
Reduce the heat to medium-low. Add the flour and stir. Cook for a few minutes, until it thickens. If it gets too thick you can add a little butter.
Stir in 1 cup of the beef stock. Cook and stir for a few seconds. Add the remaining beef stock, white wine, and optional sage and bay left, if using. Bring to a boil over medium high heat. Reduce the heat to simmer on low for 30 minutes.
Preheat the oven to 325°F. Arrange the baguette slices on a baking sheet and lightly drizzle or brush each side of the bread with some olive oi. Bake for 15 minutes. Turn the bread over and bake for another 15 minutes.
Season the soup with sea salt andn pepper. Remove the optional bay leaf if you used one. Add optional cognac, grated raw oniobn, and a small amount of the Swiss cheese.
Place the toasted bread on top of the souip. Sprinkle with the remaining Swiss cheese and the Parmesan cheese. Drizzle the cheese with a little olive oil, or you can use some melted butter. Place the Dutch oven in a preheated oven, uncovered. Bake for 30 minutes, or until the cheese melts. You can turn on the broiler if you with to brown the cheese.
Remove the soup from the oven and let it cool a bit.
Enjoy!
Thank you to Christine Waltermyer and the Natural Kitchen Cooking School for working with us to help promote healthy, nutritious meals and products that are affordable, full of nutrients, and simple to make at home!
Thanks to Christine Waltermyer & The Natural Kitchen Cooking School!
Christine Waltermyer is a local and renowned Wellness Chef, private chef to celebrities, published cookbook author and founder of the Natural Kitchen Cooking School, which offers an online Plant-Based Cooking Program. She also loves shopping at Basil Bandwagon! Visit naturalkitchenschool.com to subscribe to her email newsletter for new recipes, tips, and FREE access to the Power of Veggies mini-course!
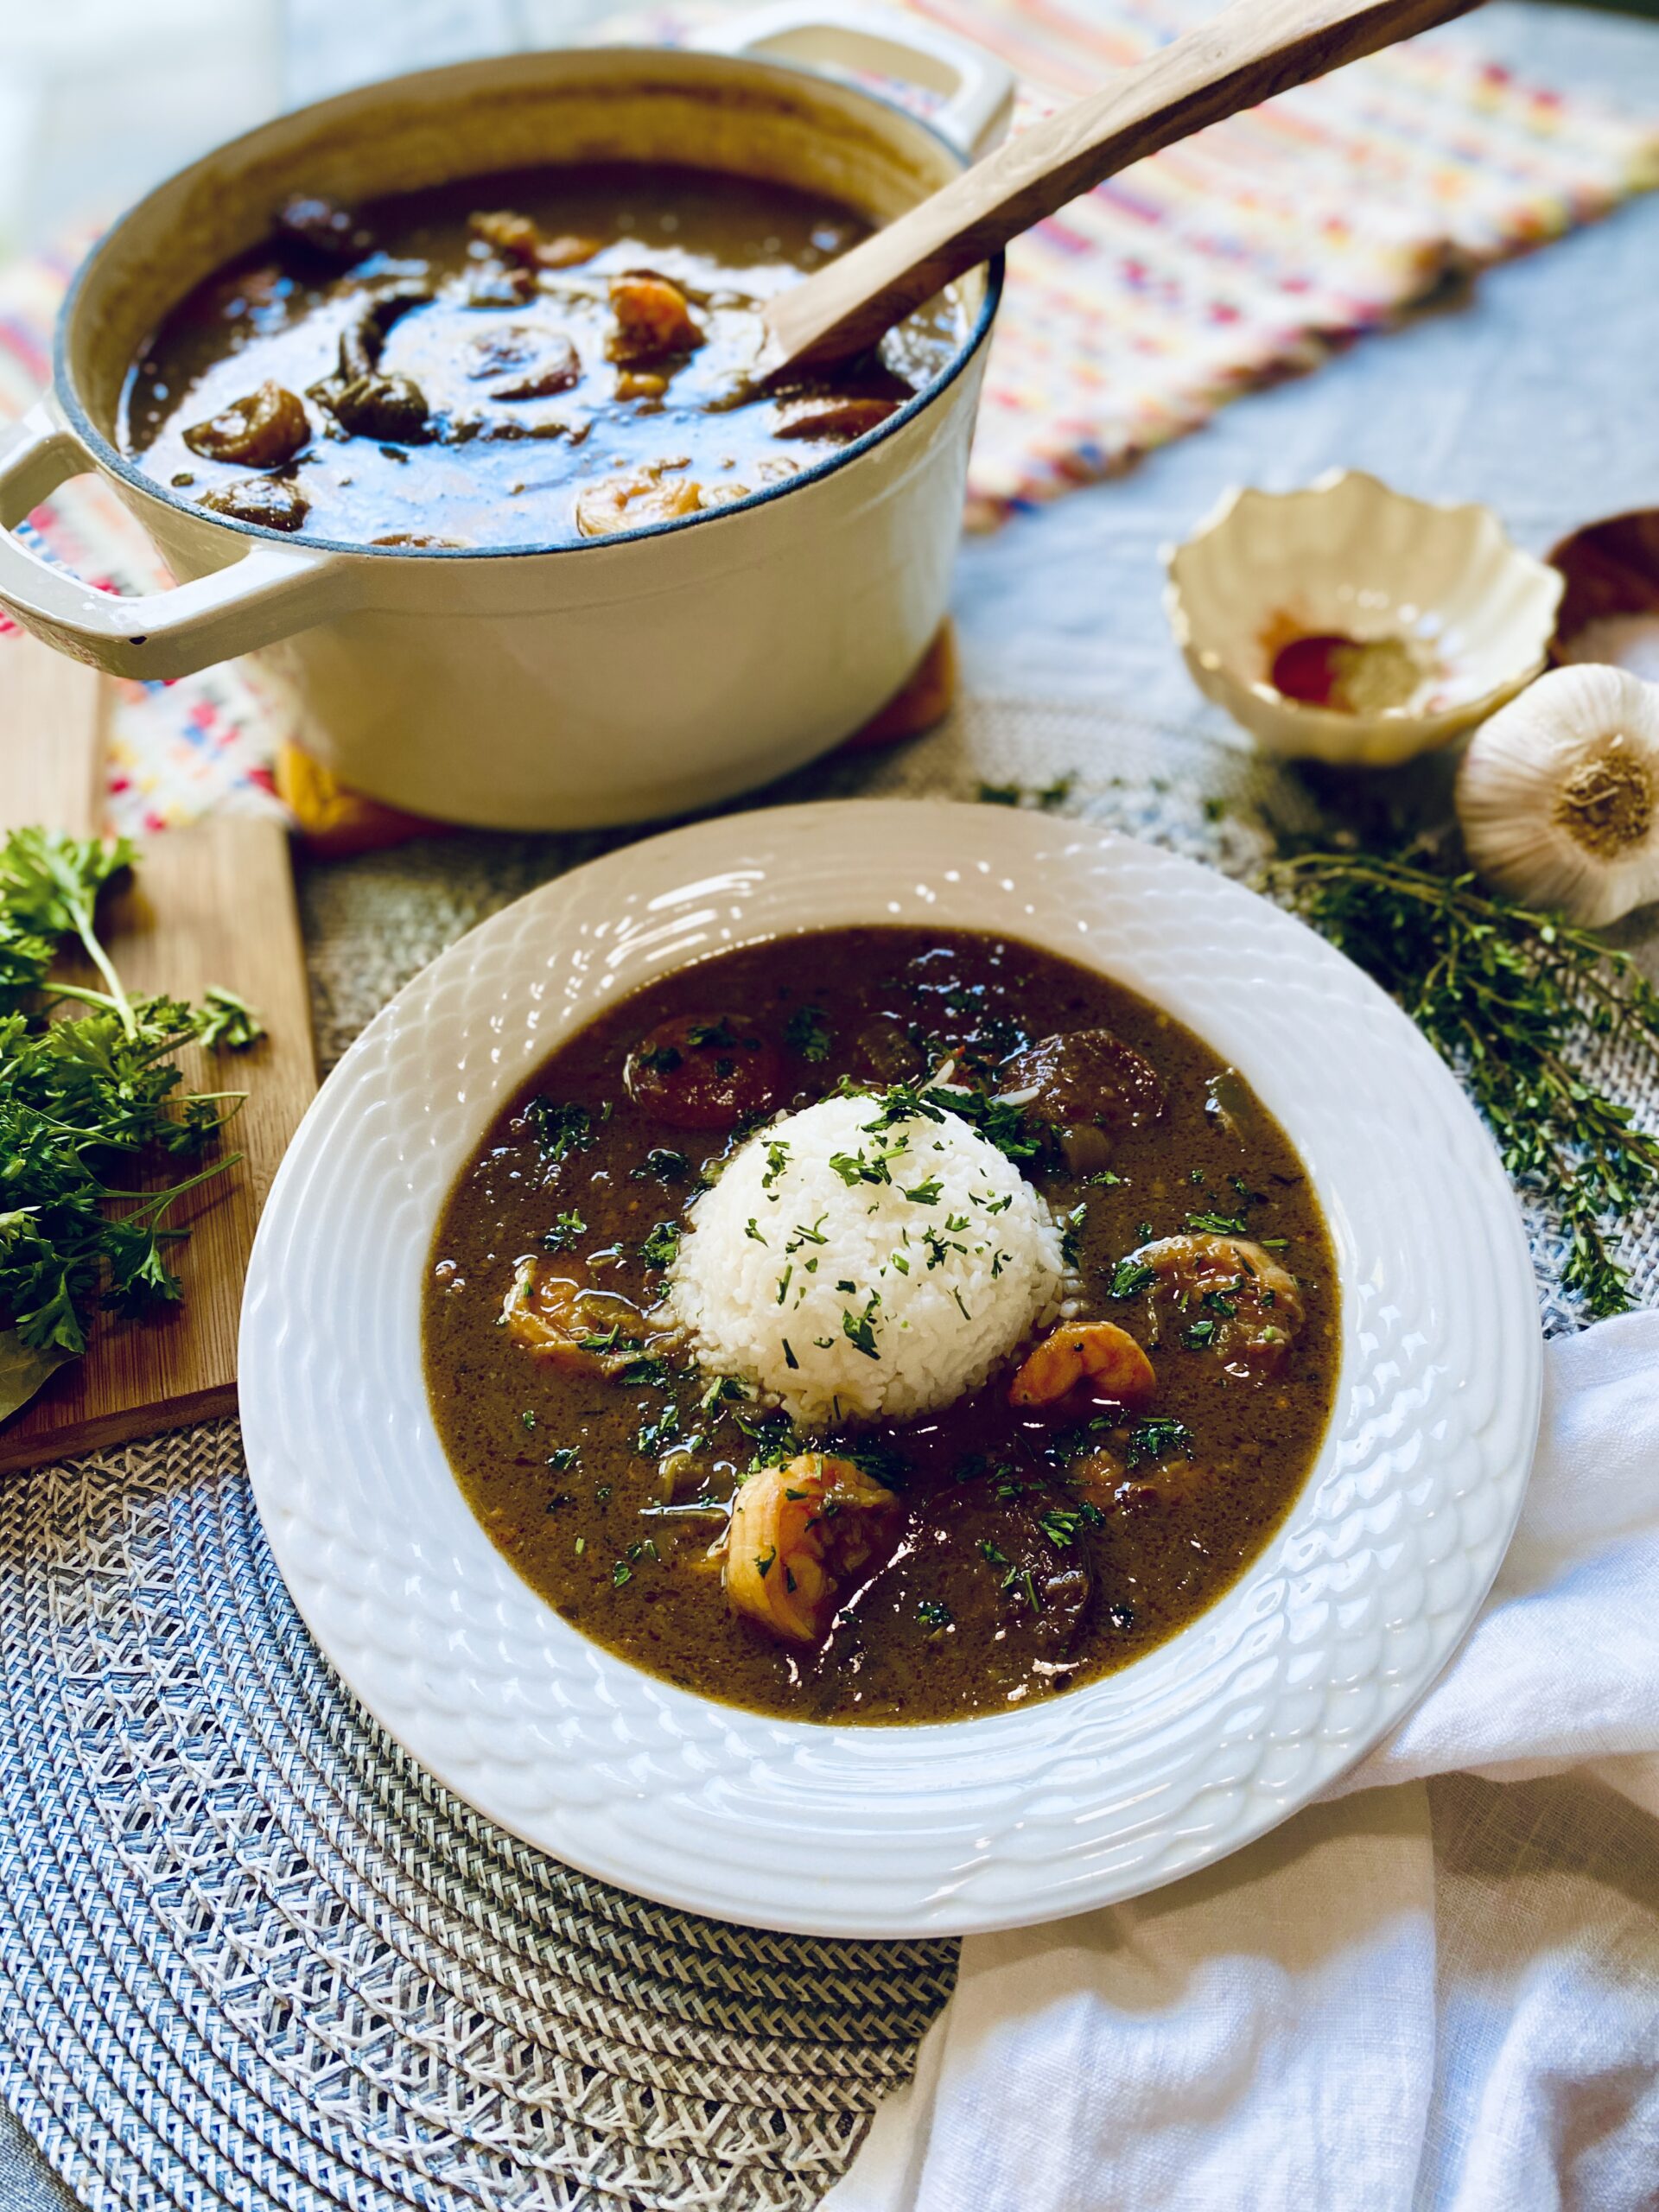
New Orleans Gumbo is an amazing fusion of cultures and flavors. While the roots of gumbo are African, the modern dish is a culmination of contributions from Native American, French, Spanish, and Caribbean cuisines. Enjoy!
½cupghee (clarified butter)divided (or tallow or bacon fat)
2cupsfrozen okrasliced and thawed
½cupall-purpose flour
1medium yellow onionchopped
1medium bell pepperseeded and chopped
2stalks celerychopped
2cloves garlicminced
2bay leaves
1poundsausagesliced
5sprigsfresh thyme
1tablespooncoconut aminos
Sea saltto taste
White or black pepperto taste
2poundsshrimppeeled, deveined, and rinsed
4cupscooked rice
1-2teaspoonsfilé powder
Fresh parsleyto garnish
Method
Make the seafood gumbo stock
In a large soup pot, place all of the seafood gumbo stock ingredients. Bring to a boil over medium high heat. Reduce the heat to medium-low and simmer for 30 minutes. Strain the stock through a large fine-mesh strainer. Set aside. If not using right away, the stock can be cooled and stored in a glass jar in the refrigerator for up to 3 days.
Make the mild Creole seasoning
In a small bowl, stir together all of the Mild Creole Seasoning ingredients until well combined.
Fry the okra
Heat 2 tablespoons of the ghee in a large skillet over medium heat. Add the okra and fry for a few minutes. Use a slotted spoon to transfer the okra to a paper towel-lined plate.
Make the roux
Whisk together the remaining ghee and the flour in a large soup pot over medium-low heat until for 25 minutes. Whisk constantly, until it turns a rich brown color. Watch closely, being careful not to burn the roux. Remove from the heat and continue whisking until it cools down.
Cook the gumbo
Place the soup pot containing the roux back on the stove. Add the onion, bell pepper, celery, and the mild creole seasoning. If you like more seasoning, feel free to increase the amount of spices used. Cook and stir for 5 minutes over medium heat, or until the onions have softened. Add the garlic and bay leaves.
Increase the heat to medium-high heat. While whisking or stirring constantly, add the seafood gumbo stock, a few cups at a time. Add the okra, sausage, thyme, and coconut aminos. Bring to a boil, then reduce the heat to low and simmer uncovered for 1 hour. Add more salt and pepper to taste. Stir in the shrimp. Cook for 10 more minutes. Stir in the filé powder.
Ladle 2 cups of the hot gumbo into each bowl. Add one cup of rice in the center of each bowl. Enjoy!
Notes
Note: Cool any remaining gumbo by placing the soup pot in an ice bath, then transfer to a covered container and refrigerate immediately to prevent spoilage.
Thank you to Christine Waltermyer and the Natural Kitchen Cooking School for working with us to help promote healthy, nutritious meals and products that are affordable, full of nutrients, and simple to make at home!
Thanks to Christine Waltermyer & The Natural Kitchen Cooking School!
Christine Waltermyer is a local and renowned Wellness Chef, private chef to celebrities, published cookbook author and founder of the Natural Kitchen Cooking School, which offers an online Plant-Based Cooking Program. She also loves shopping at Basil Bandwagon! Visit naturalkitchenschool.com to subscribe to her email newsletter for new recipes, tips, and FREE access to the Power of Veggies mini-course!
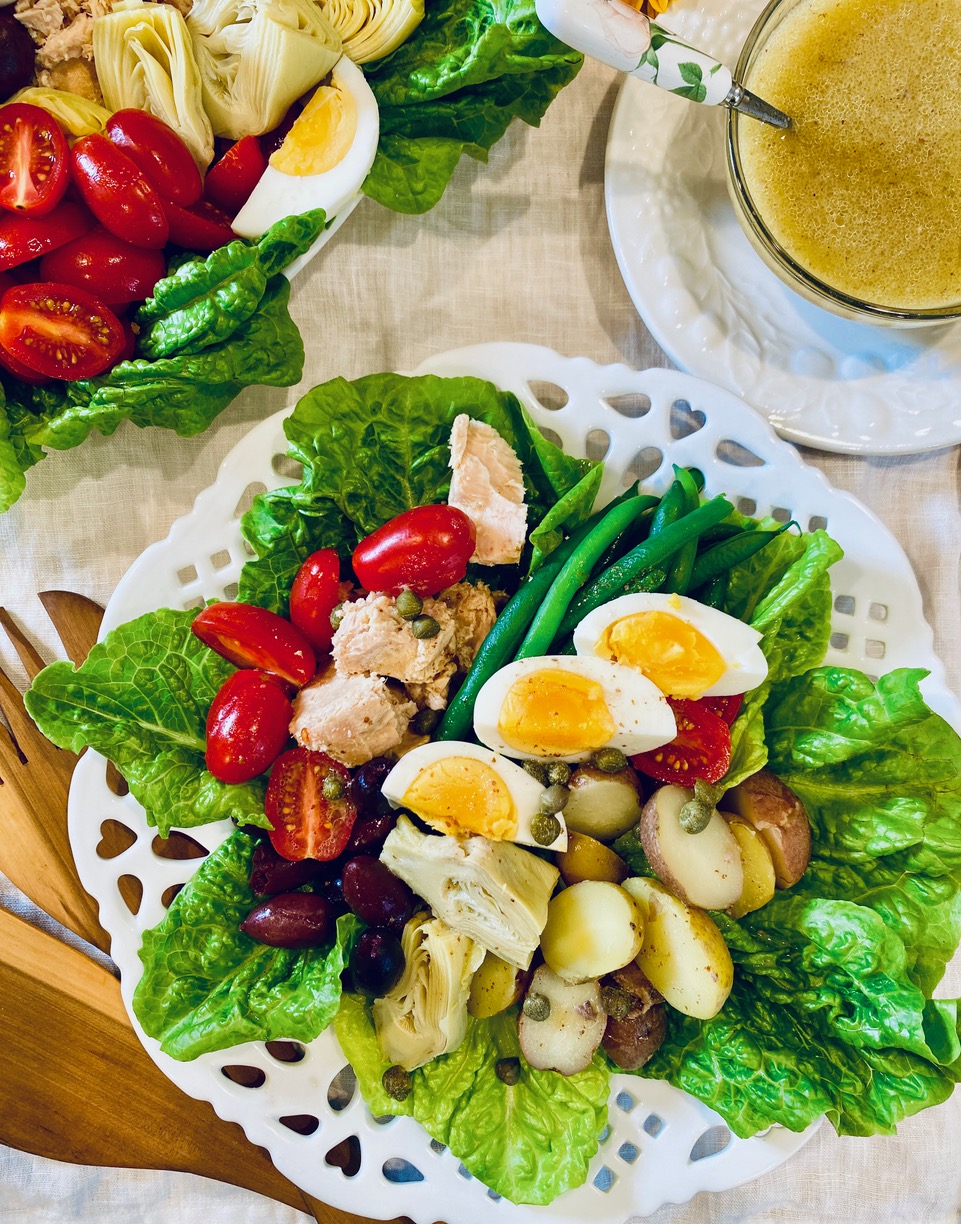
This classic French salad combines tuna, baby potatoes, crisp green beans, boiled eggs, cherry tomatoes, and a delicious lemon vinaigrette dressing to make a hearty salad that can be served as a meal.
Niçoise Salad
This classic French salad combines tuna, baby potatoes, crisp green beans, boiled eggs, cherry tomatoes, and a delicious lemon vinaigrette dressing to make a hearty salad that can be served as a meal.
Cook the potatoes. Place the potatoes in a medium saucepan. Add enough cold water to cover the potatoes. Add a teaspoon of the sea salt. Bring to a boil, then reduce the heat to simmer, uncovered, on medium heat for about 10 minutes, or until fork-tender. Drain and cool the potatoes. Slice them in half.
Cook the green beans. Fill another saucepan with water. Add sea salt to taste. Bring to a boil. Also, fill a bowl with some salted ice water. Add the green beans to the boiling water and cook for a few minutes, or until they are crisp-tender, but still bright green. Drain the green beans, then place them in the ice water for a few minutes. Drain and pat dry.
Cook the eggs. Place them in a saucepan. Cover with cold water by one inch. Bring to a boil over medium high heat. Cover and remove from the heat. Set a timer for 11 minutes. Drain the eggs and place them in an ice bath or run them under cold water to make them easier to peel. I like to peel them under cold running water as well. Slice the eggs in halves or quarters.
Make the lemon vinaigrette dressing. Whisk together in a bowl the lemon juice, anchovies, olive oil, brown or Dijon mustard and the white pepper. Taste and adjust the seasoning if needed. Add 3 to 4 tablespoons of this dressing to the cooked potatoes and toss.
Prep the tomatoes. Slice the tomatoes in half. Place them in a small bowl. Add a little sea salt and pepper to taste. Toss to combine.
Prep the lettuce. Wash and salad spin the lettuce. Separate the leaves. If using romaine lettuce like I did, you may wish to use only the more leafy tops.
Assemble the salad. Prepare either 4 to 6 individual plates, or 1 large serving platter. Arrange the lettuce, tuna, potatoes, green beans, eggs, artichoke hearts, capers, cherry tomatoes, and Kalamata olives. Serve drizzled with the vinaigrette dressing.
Enjoy!
Thank you to Christine Waltermyer and the Natural Kitchen Cooking School for working with us to help promote healthy, nutritious meals and products that are affordable, full of nutrients, and simple to make at home!
Thanks to Christine Waltermyer & The Natural Kitchen Cooking School!
Christine Waltermyer is a local and renowned Wellness Chef, private chef to celebrities, published cookbook author and founder of the Natural Kitchen Cooking School, which offers an online Plant-Based Cooking Program. She also loves shopping at Basil Bandwagon! Visit naturalkitchenschool.com to subscribe to her email newsletter for new recipes, tips, and FREE access to the Power of Veggies mini-course!
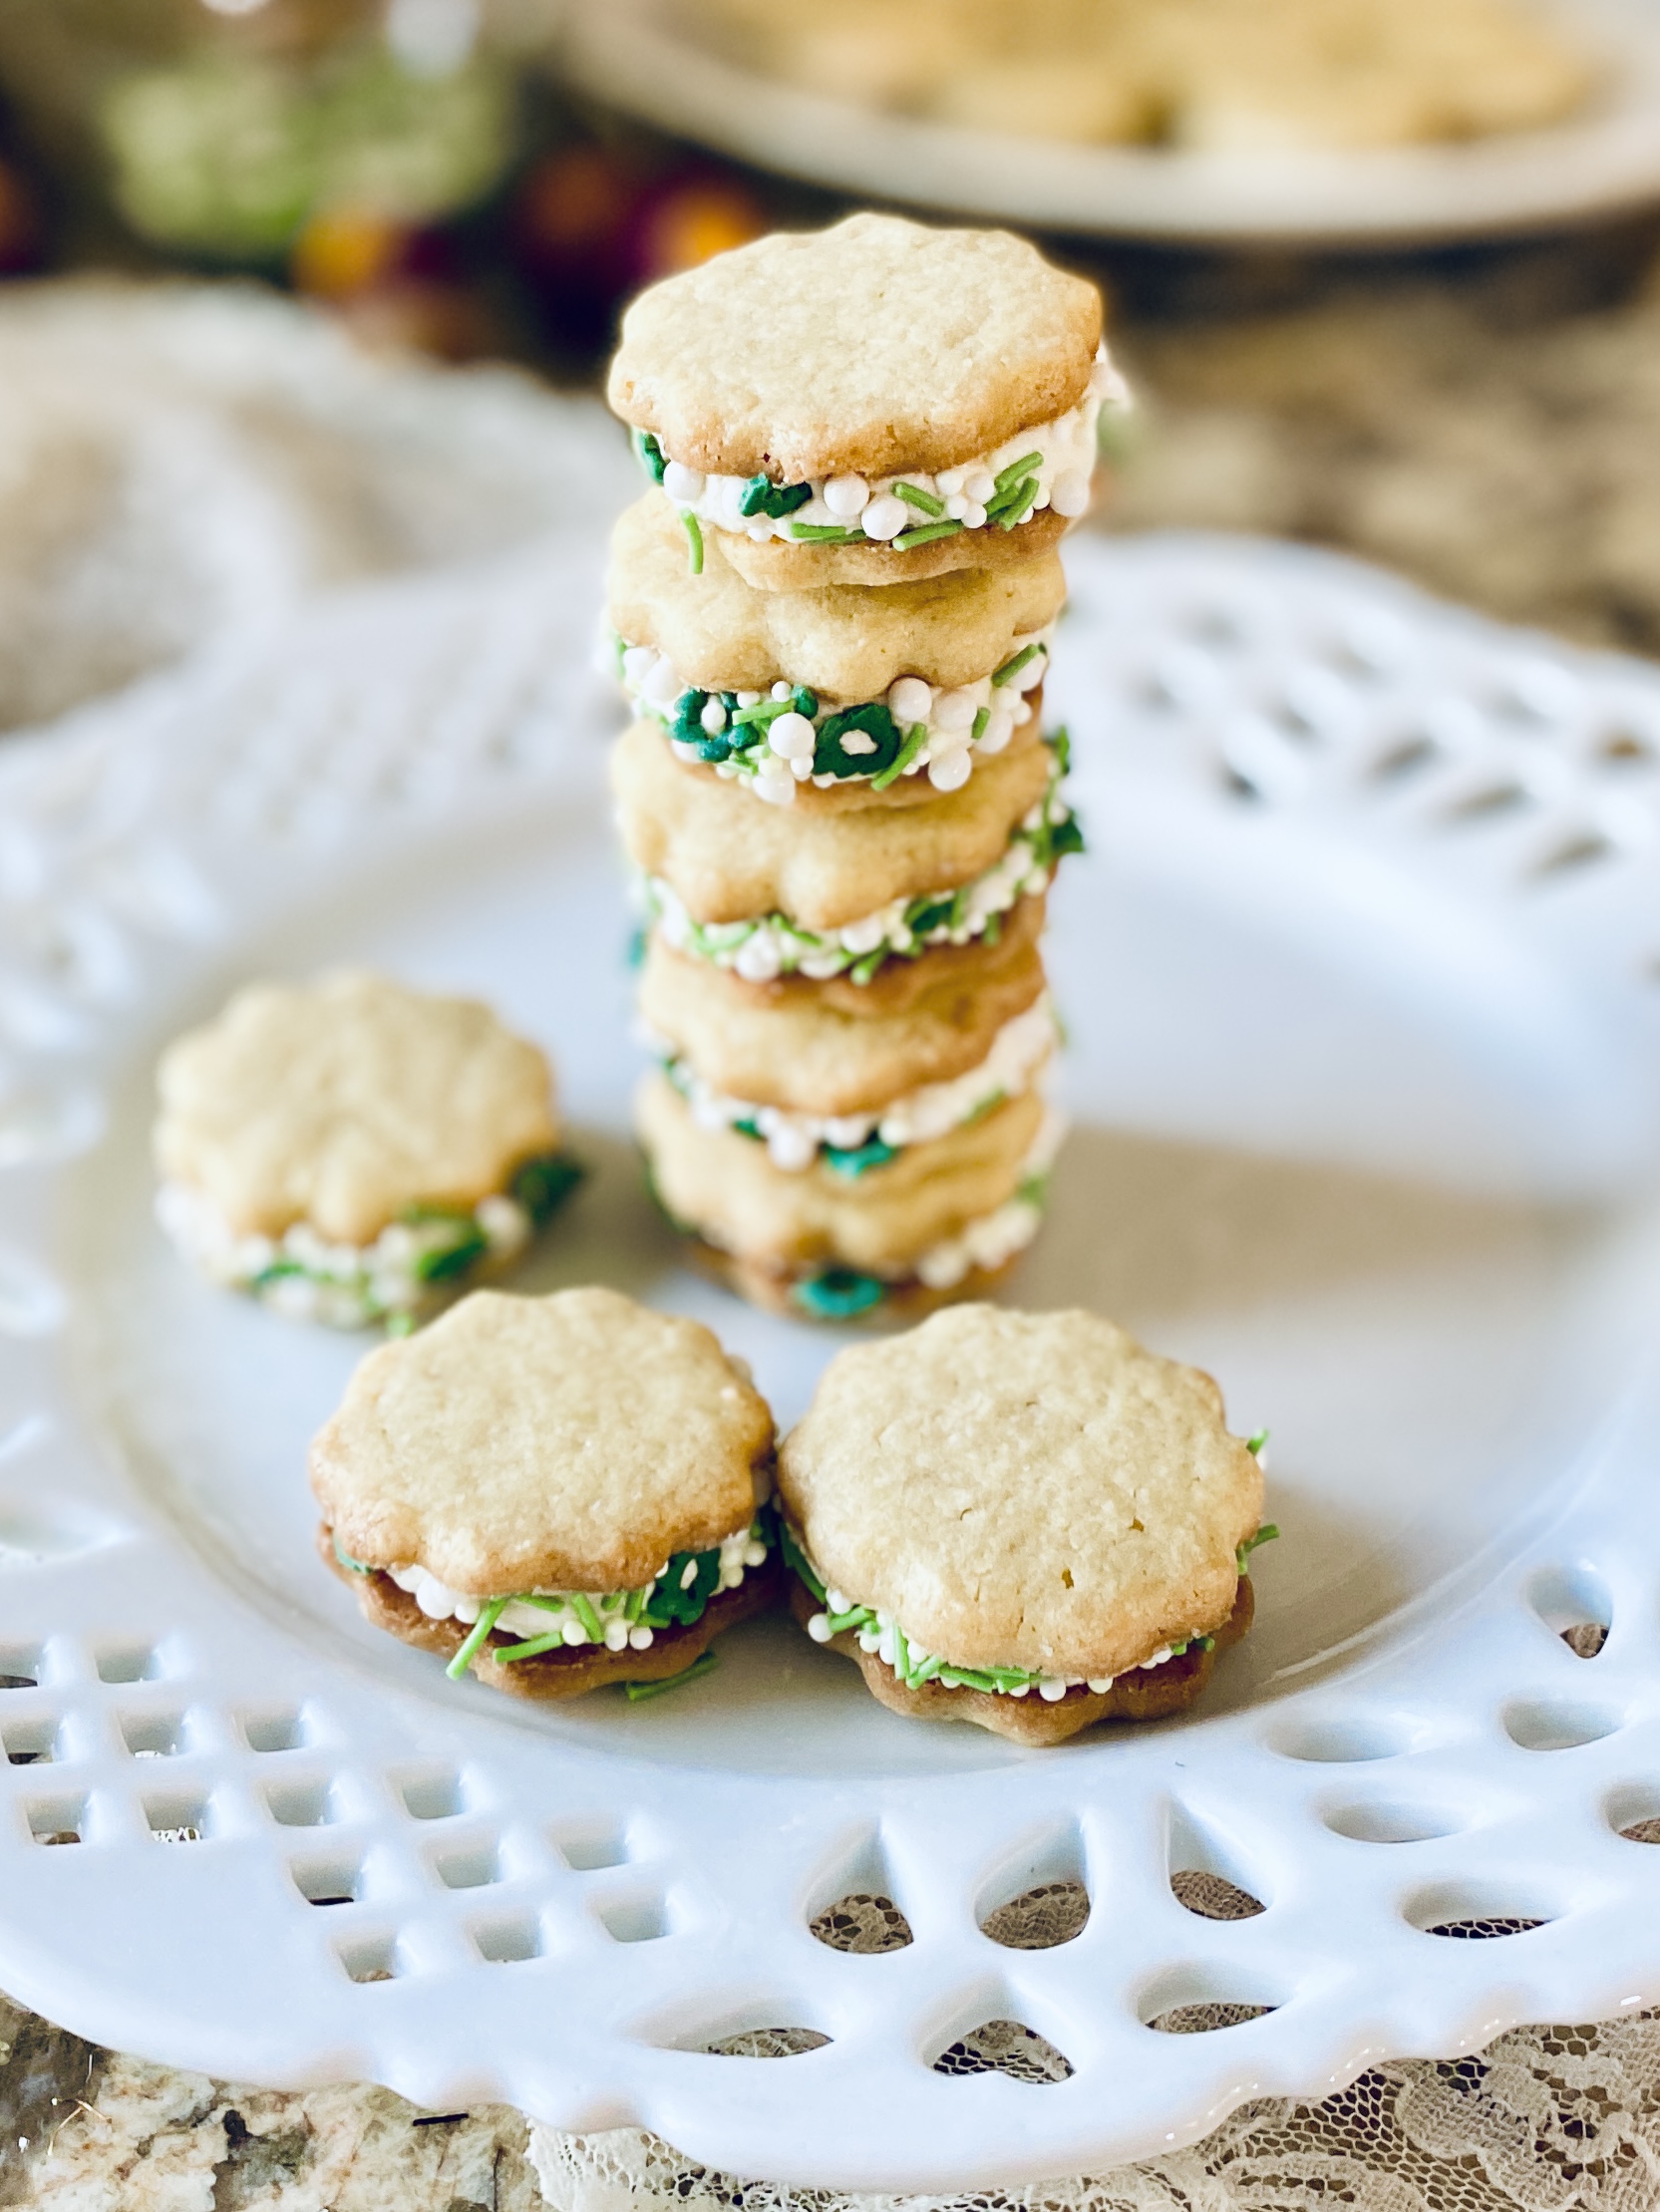
Do you know what sweet treat you’re making for your holiday cookie exchange? Thanks to Christine Waltermyer and The Natural Kitchen Cooking School, now you do – and everyone will love it! These Vanilla Sandwich Cookies not only taste great, but you can decorate them in your favorite sprinkles – especially Supernatural Kitchen’s Into The Woods festive, artificial dye-free sprinkles!
In a large mixing bowl, place the softened butter and sugar. Use a hand mixer or stand mixer to cream together the butter and sugar for a few minutes until fluffy. Scrape down the sides as needed.
Add the vanilla extract, lemon juice and egg. Mix well.
Add the all purpose flour, cornstarch and sea salt. Continue mixing until a smooth dough forms.
Form the dough into a flat disc. You may need to add a little extra flour to get the right consistency. Wrap it in parchment paper or plastic wrap. Chill the dough in the refrigerator for at least 30 minutes.
Preheat the over to 350°F. Line several baking sheets with parchment paper.
Remove the dough from the refrigerator. Unwrap it and place it between two fresh sheets of parchment paper. Use a rolling pin to carefully roll out the dough until it's just under ¼ inch think.
Use a 2-inch round fluted edge cookie cutter to cut out cookies. If the dough gets too soft to work with, place it in the refrigerator to chill. Transfer the cookies to the prepared baking sheets.
Bake for 10 to 12 minutes, until the edges of the cookies have set.
Let the cookies cool on the baking sheet for 5 minutes before transferring to a cooling rack. Repeat with the remaining dough.
Make the Vanilla Cream Filling
In a mixing bowl, place the softened butter and powdered sugar. Use a hand mixer to whip until fluffy. This will take about 10 minutes. Add the vanilla extract and lemon juice and mix again briefly to incorporate. If the filling seems too soft, you can add a little more powdered sugar.
Transfer the vanilla cream filling to a piping bag fitted with a large star or round piping tip.
Assemble the Sandwich Cookies
Add about 1 teaspoon of filling to the center of half of the cookies. Top the filled cookies with another vanilla wafer cookie. Use your fingertips to gently press the cookies together until the filling has spread to the edges.
If using optional sprinkles, roll the edges of the cookies and the sprinkles until it covers all of the vanilla cream filling.
Enjoy!
Notes
STORING THE COOKIES: Store the cookies in a covered container. They will keep at room temperature for up to 4 days and up to 1 week stored in the refrigerator.Unbaked cookie dough will keep in the refrigerator for up to 3 days.
Thank you to Christine Waltermyer and the Natural Kitchen Cooking School for working with us to help promote healthy, nutritious meals and products that are affordable, full of nutrients, and simple to make at home!
Thanks to Christine Waltermyer & The Natural Kitchen Cooking School!
Christine Waltermyer is a local and renowned Wellness Chef, private chef to celebrities, published cookbook author and founder of the Natural Kitchen Cooking School, which offers an online Plant-Based Cooking Program. She also loves shopping at Basil Bandwagon! Visit naturalkitchenschool.com to subscribe to her email newsletter for new recipes, tips, and FREE access to the Power of Veggies mini-course!
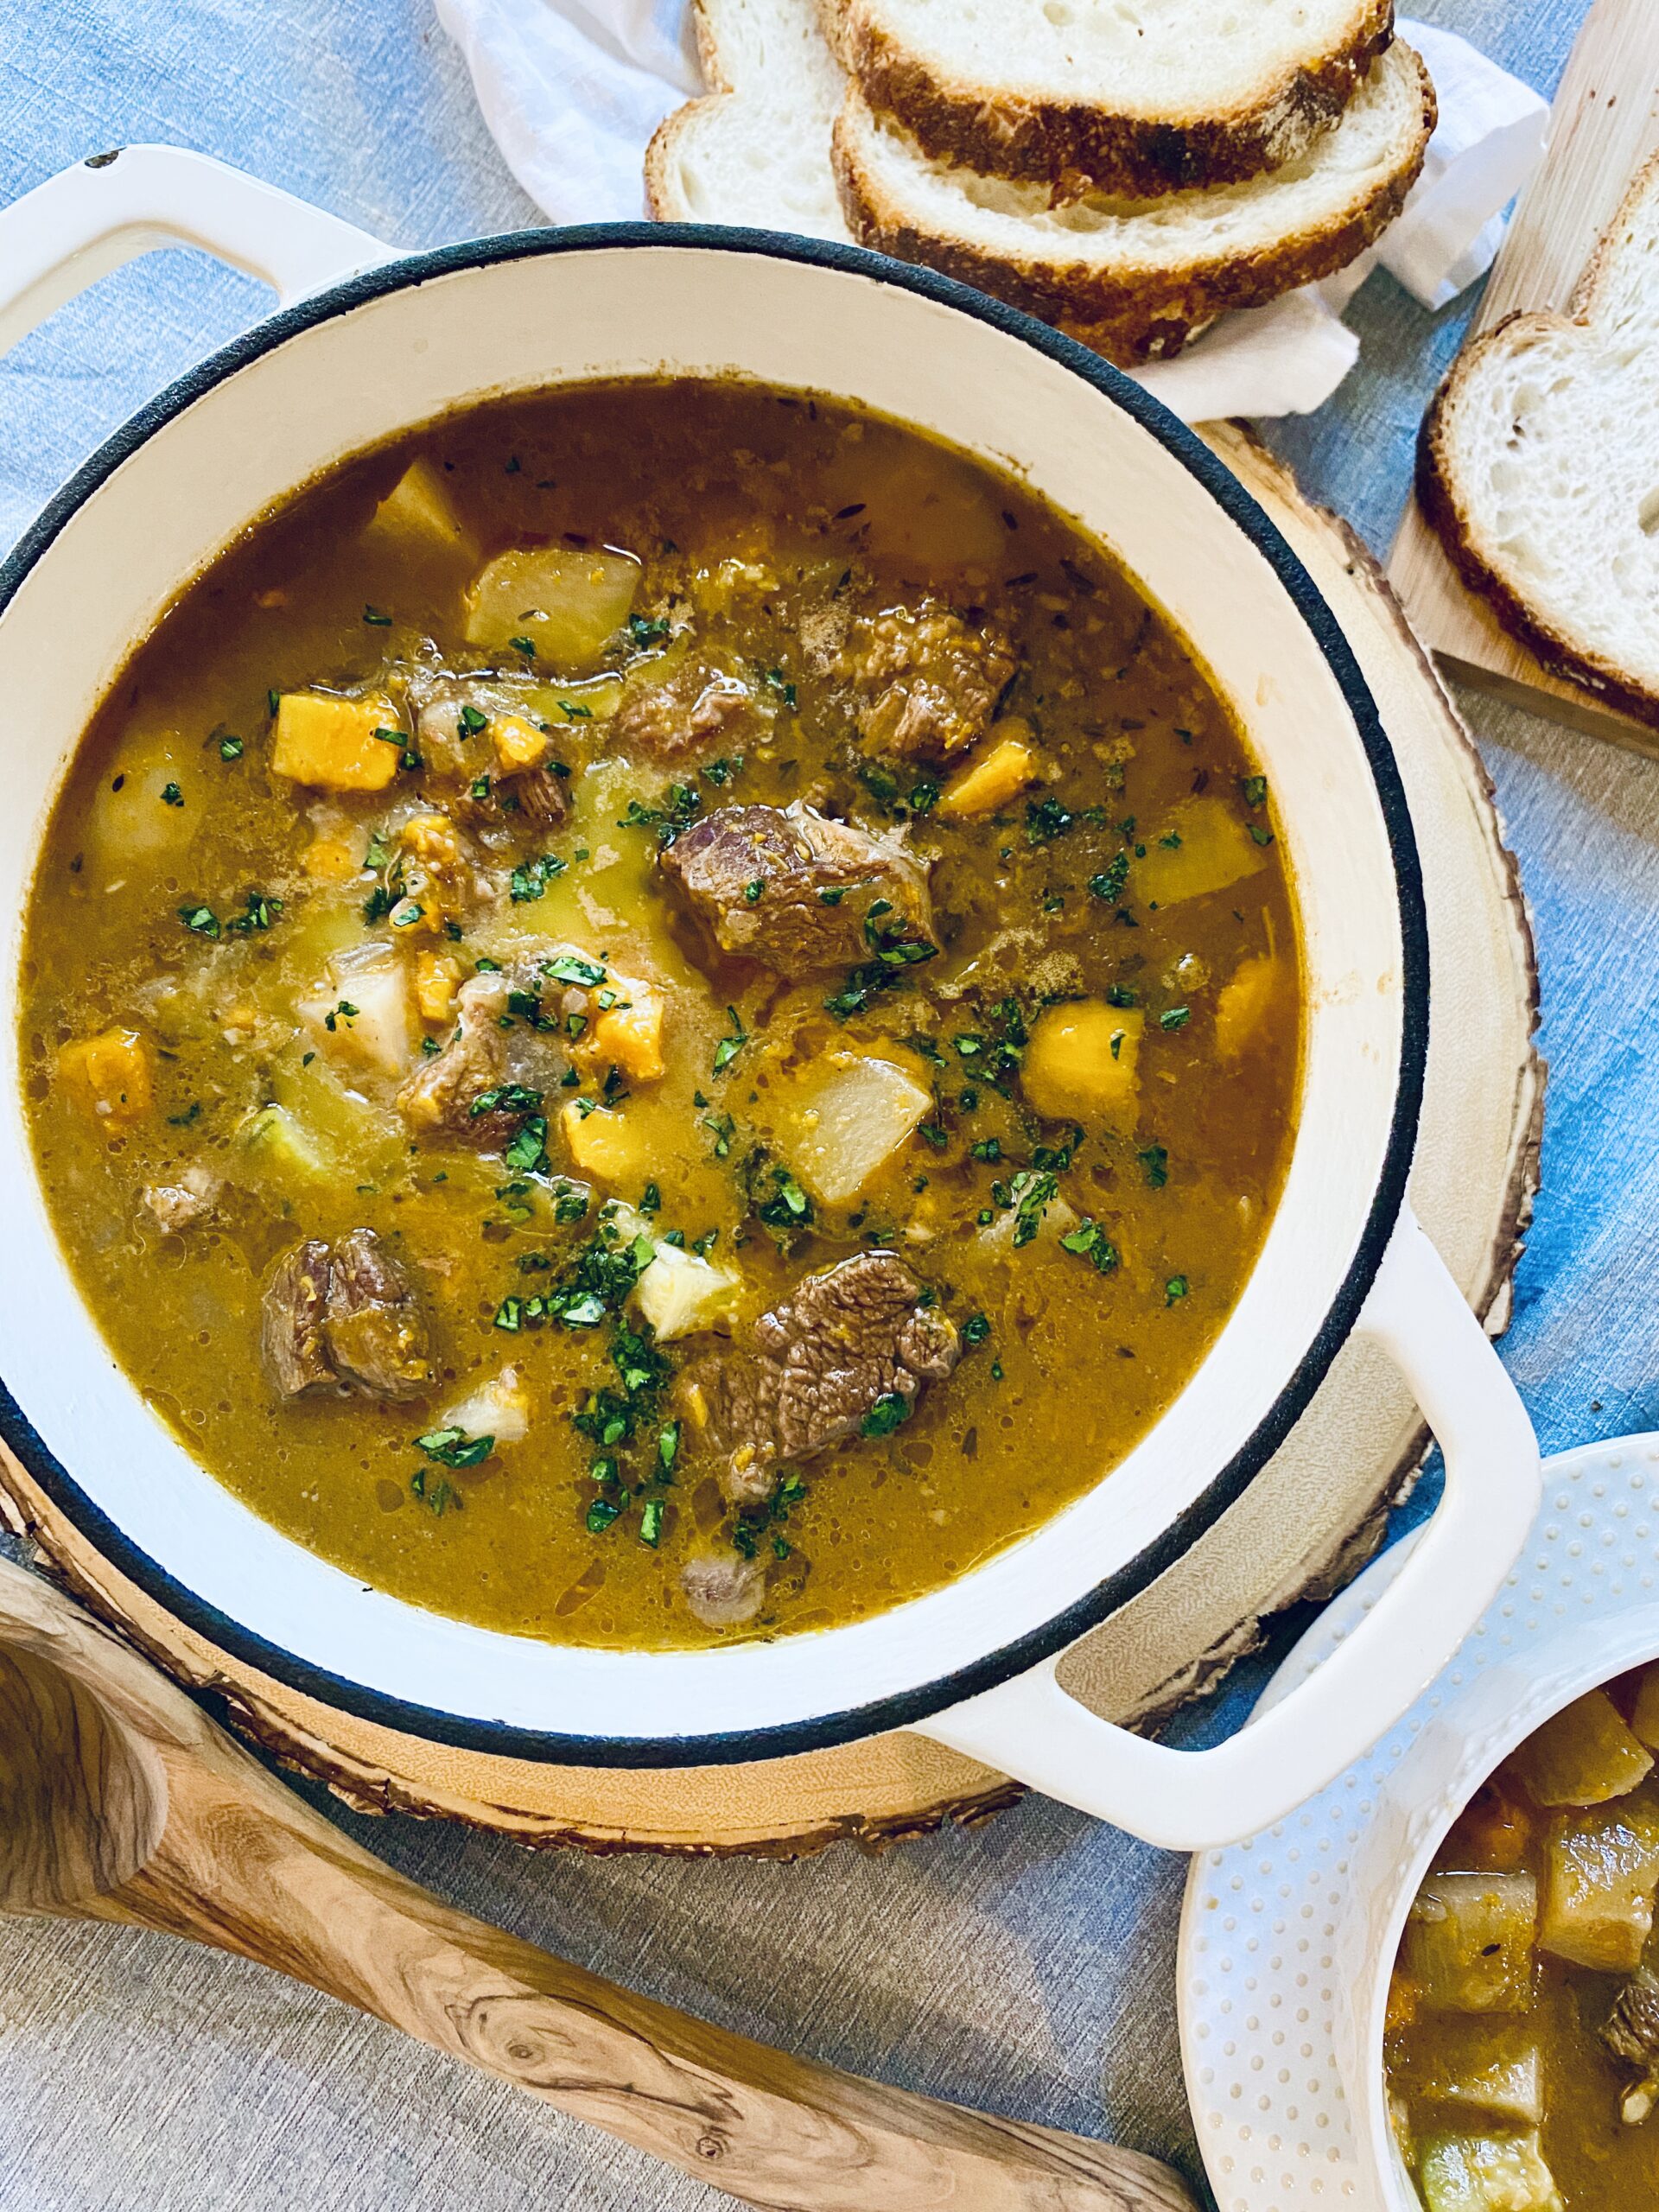
The holidays are full of family, friends, and busy schedules – which means you’re probably constantly on-the-go. But thanks to Christine Waltermyer and The Natural Kitchen Cooking School, we have a hearty, Beef Stew recipe that you can pour and freeze into portions for quick and easy meals!
1poundbeef stew meat or steaktrimmed and cut into inch cubes
1 – 2tablespoonsolive oil or beef tallow
1 ½tablespoonsapple cider vinegar
4 ½cupsbeef broth
1tablespoonapple butter
1teaspoondried thyme
1teaspoonsugar
2bayleaves
1medium onionpeeled and chopped
1 ½cupswinter squashpeeled and cut into bite-size cubes
2medium turnipspeeled and cubed
½of a small zucchinicut into chunks
1 – 2teaspoonssea salt
Method
In a large bowl, stir together the flour and white pepper. Add the beef cubes and toss to evenly coat them with the flour mixture. Heat the olive oil in a heavy-bottomed pot like a Dutch oven. Add half of the beef, being careful not to overcrowd them. Brown the beef on all sides by cooking and turning them for 5 minutes. Repeat with remaining beef, adding a little more oil to the pan if needed.
Transfer the beef to a bowl. To the pot, add the apple cider vinegar and ½ cup of the beef broth. Cook and stir over medium heat for a few minutes, using a wooden spatula to release any flavorful bits from the pot. Add the beef, remaining beef broth, apple butter, dried thyme, sugar and bay leaves. Bring to a boil over medium high heat. Skim off any foam that appears. Reduce the heat to low and cook, covered, for 1 ½ hours.
Add the onion, squash and turnips. Cook, covered, for another 30 minutes. If the strew starts to look too dry, you can add a little more beef broth or water. Add the zucchini and cook for 10 more minutes. Season with sea salt and additional white pepper to taste. Serve hot.
Enjoy!
Thank you to Christine Waltermyer and the Natural Kitchen Cooking School for working with us to help promote healthy, nutritious meals and products that are affordable, full of nutrients, and simple to make at home!
Thanks to Christine Waltermyer & The Natural Kitchen Cooking School!
Christine Waltermyer is a local and renowned Wellness Chef, private chef to celebrities, published cookbook author and founder of the Natural Kitchen Cooking School, which offers an online Plant-Based Cooking Program. She also loves shopping at Basil Bandwagon! Visit naturalkitchenschool.com to subscribe to her email newsletter for new recipes, tips, and FREE access to the Power of Veggies mini-course!
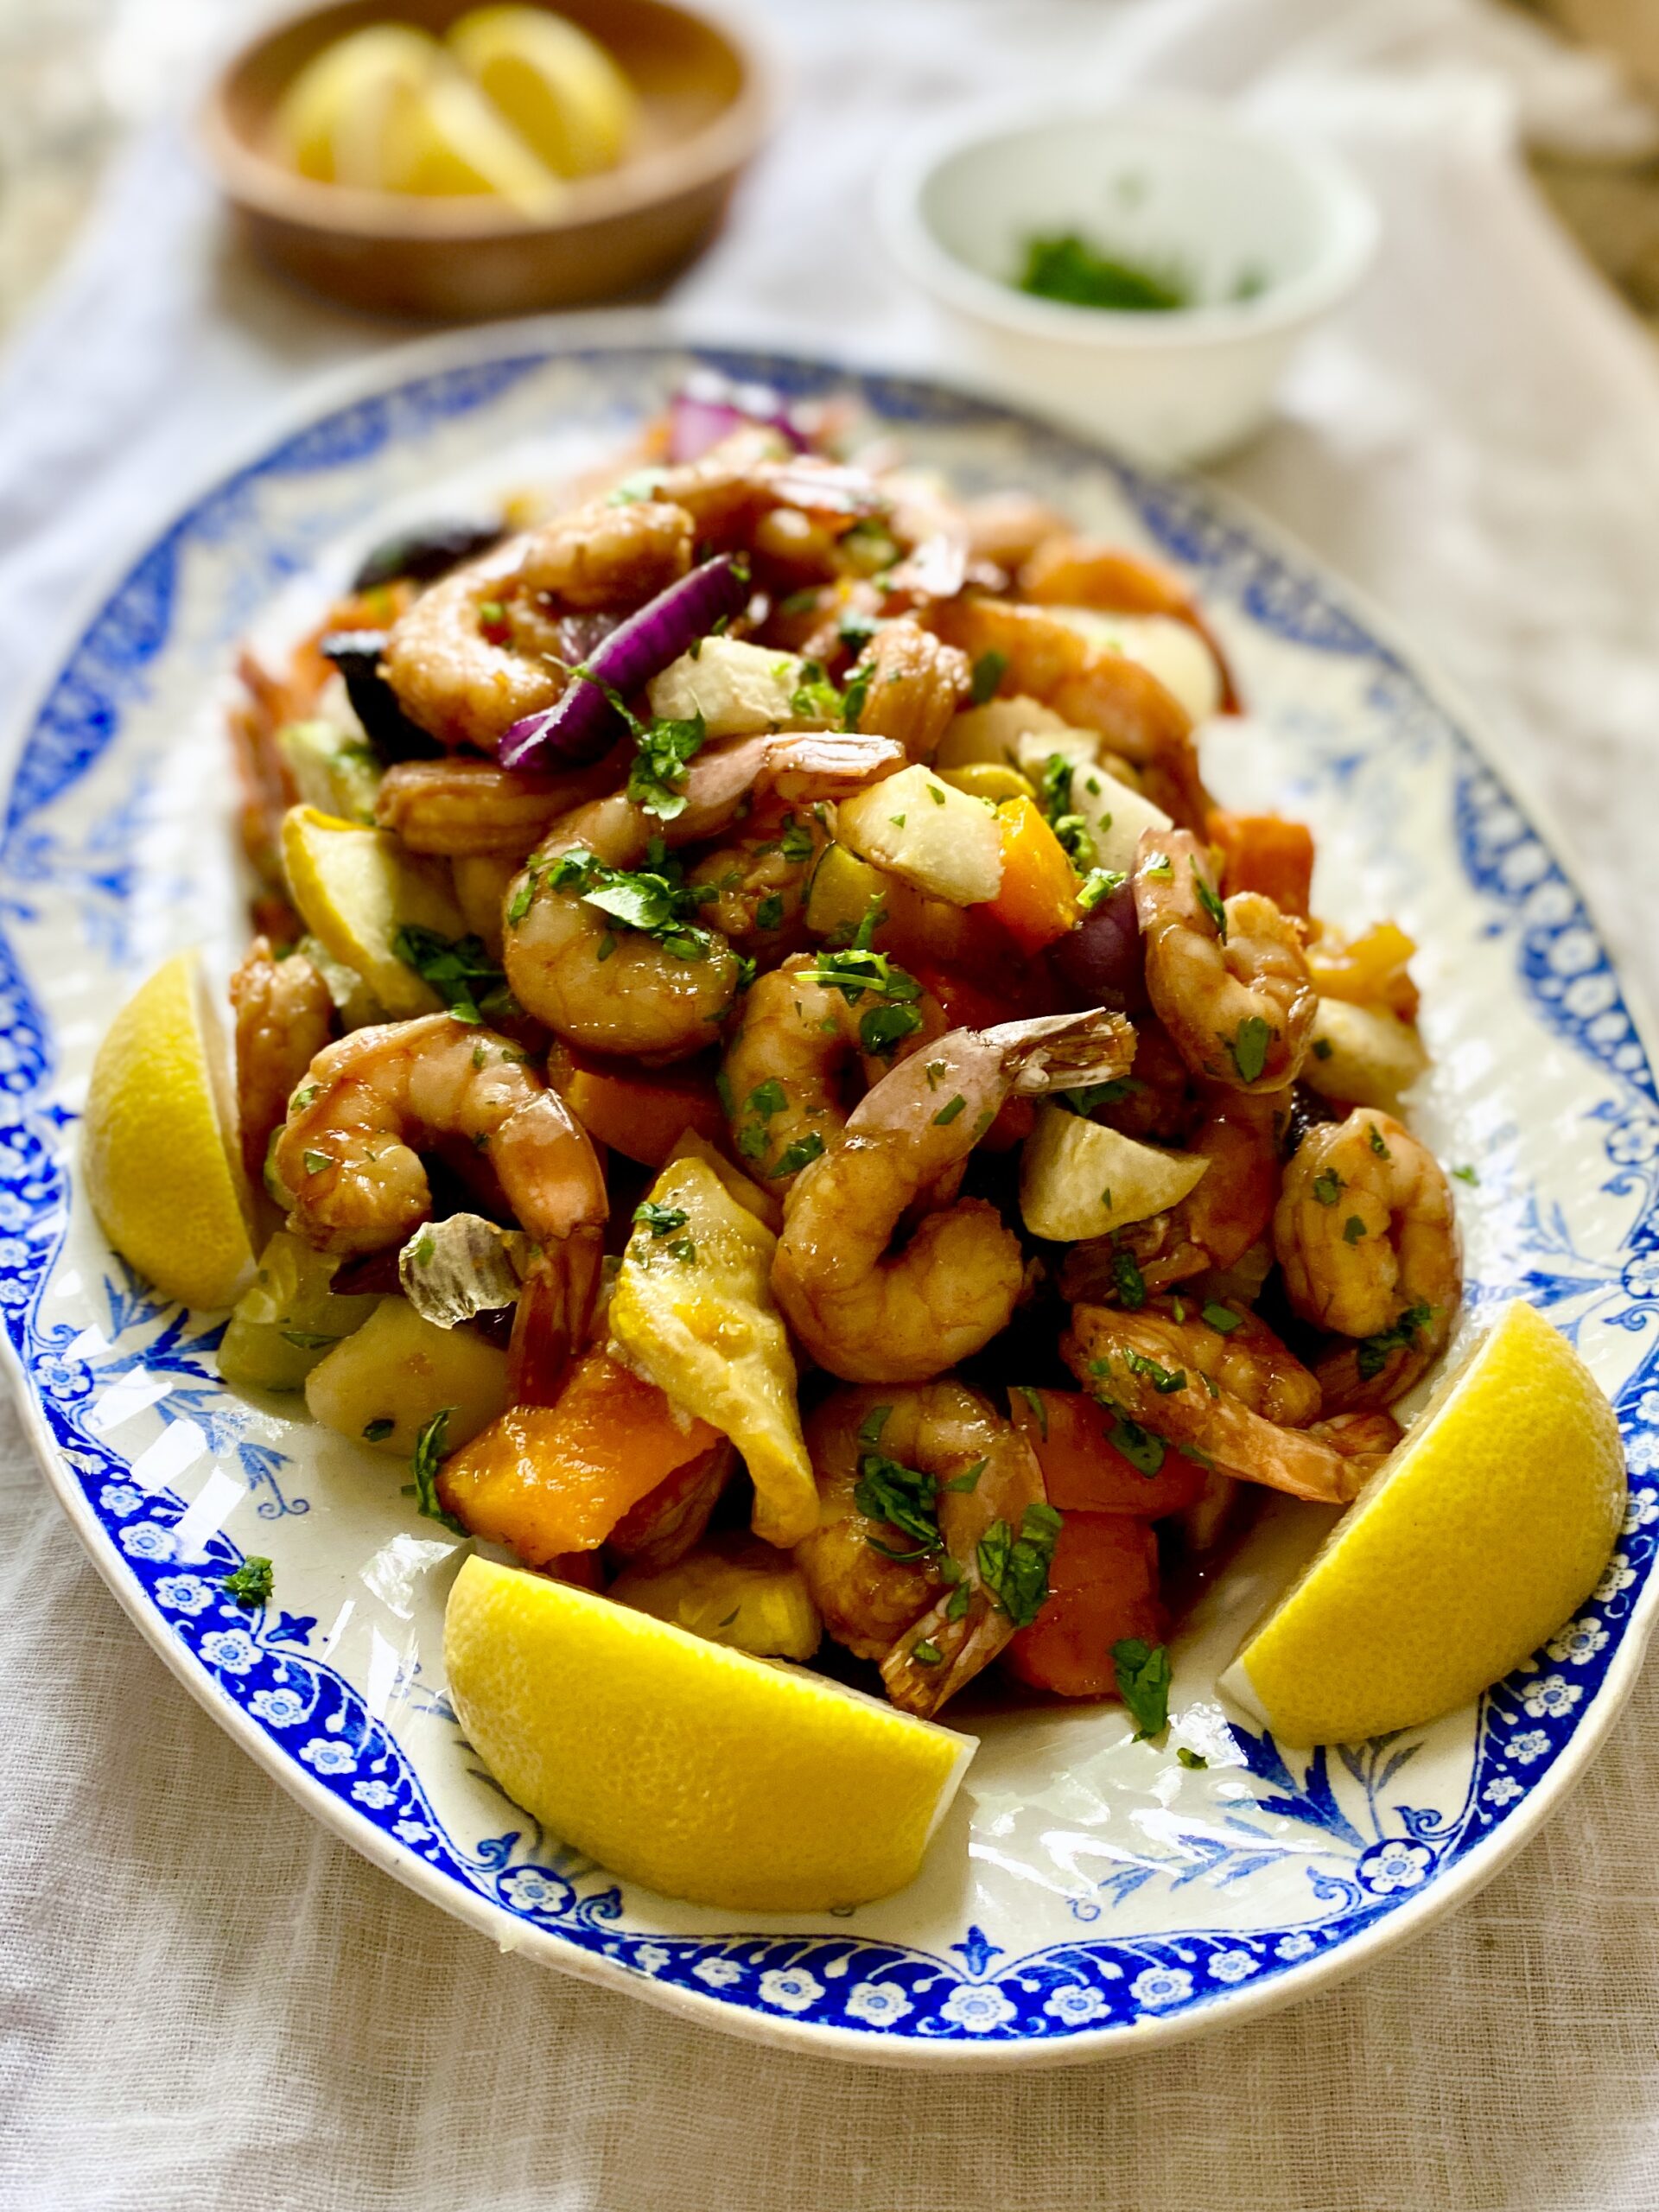
Do you have a busy schedule? Are you looking for an easy, weeknight meal? Well thanks to Christine Waltermyer and The Natural Kitchen Cooking School, you can make your family a delicious honey glazed shrimp sheet pan dinner with this simple recipe!
Make the Marinade: In a medium mixing bowl, whisk together the honey, coconut aminos, ½ teaspoon of the onion powder and sea salt and white pepper to taste. You will use half of this marinade to marinate the shrimp. Save the other half for cooking the shrimp.
Marinate the Shrimp: Place the shrimp in a medium size glass bowl. Add 1/2 of the marinade and toss well to combine. Cover the bowl and place it in the refrigerator for at least 15 minutes. To make the shrimp even more flavorful you can marinate them up to 8 hours, or overnight. Pour the rest of the marinade into a glass jar and refrigerate.
Preheat the oven to 375-degrees F. Line a large, rimmed baking sheet with parchment paper.
Season and roast the vegetables: Add the vegetables to the baking sheet and toss with the coconut oil. Season with the remaining onion powder and sea salt and white pepper to taste. Toss again. Arrange the vegetables in a single layer. Roast for 15 minutes. Remove the sheet pan from the oven. Flip the vegetables over. Return to oven and roast for 15 more minutes.
Add shrimp + bake: Remove the baking sheet from the oven. Use a spatula or tongs to carefully move the vegetables over to one side to make room for the shrimp. Add the shrimp to the baking sheet. Discard the used marinade. Drizzle the shrimp with the remaining unused marinade in the jar. Return the baking sheet to the oven and bake for 5 to 7 minutes, or until the shrimp are pink and firm to the touch.
Serve the roasted vegetables and shrimp with lemon wedges and garnished with the cilantro. This goes well served over some fluffy cooked white rice.
Enjoy!
Thank you to Christine Waltermyer and the Natural Kitchen Cooking School for working with us to help promote healthy, nutritious meals and products that are affordable, full of nutrients, and simple to make at home!
Thanks to Christine Waltermyer & The Natural Kitchen Cooking School!
Christine Waltermyer is a local and renowned Wellness Chef, private chef to celebrities, published cookbook author and founder of the Natural Kitchen Cooking School, which offers an online Plant-Based Cooking Program. She also loves shopping at Basil Bandwagon! Visit naturalkitchenschool.com to subscribe to her email newsletter for new recipes, tips, and FREE access to the Power of Veggies mini-course!
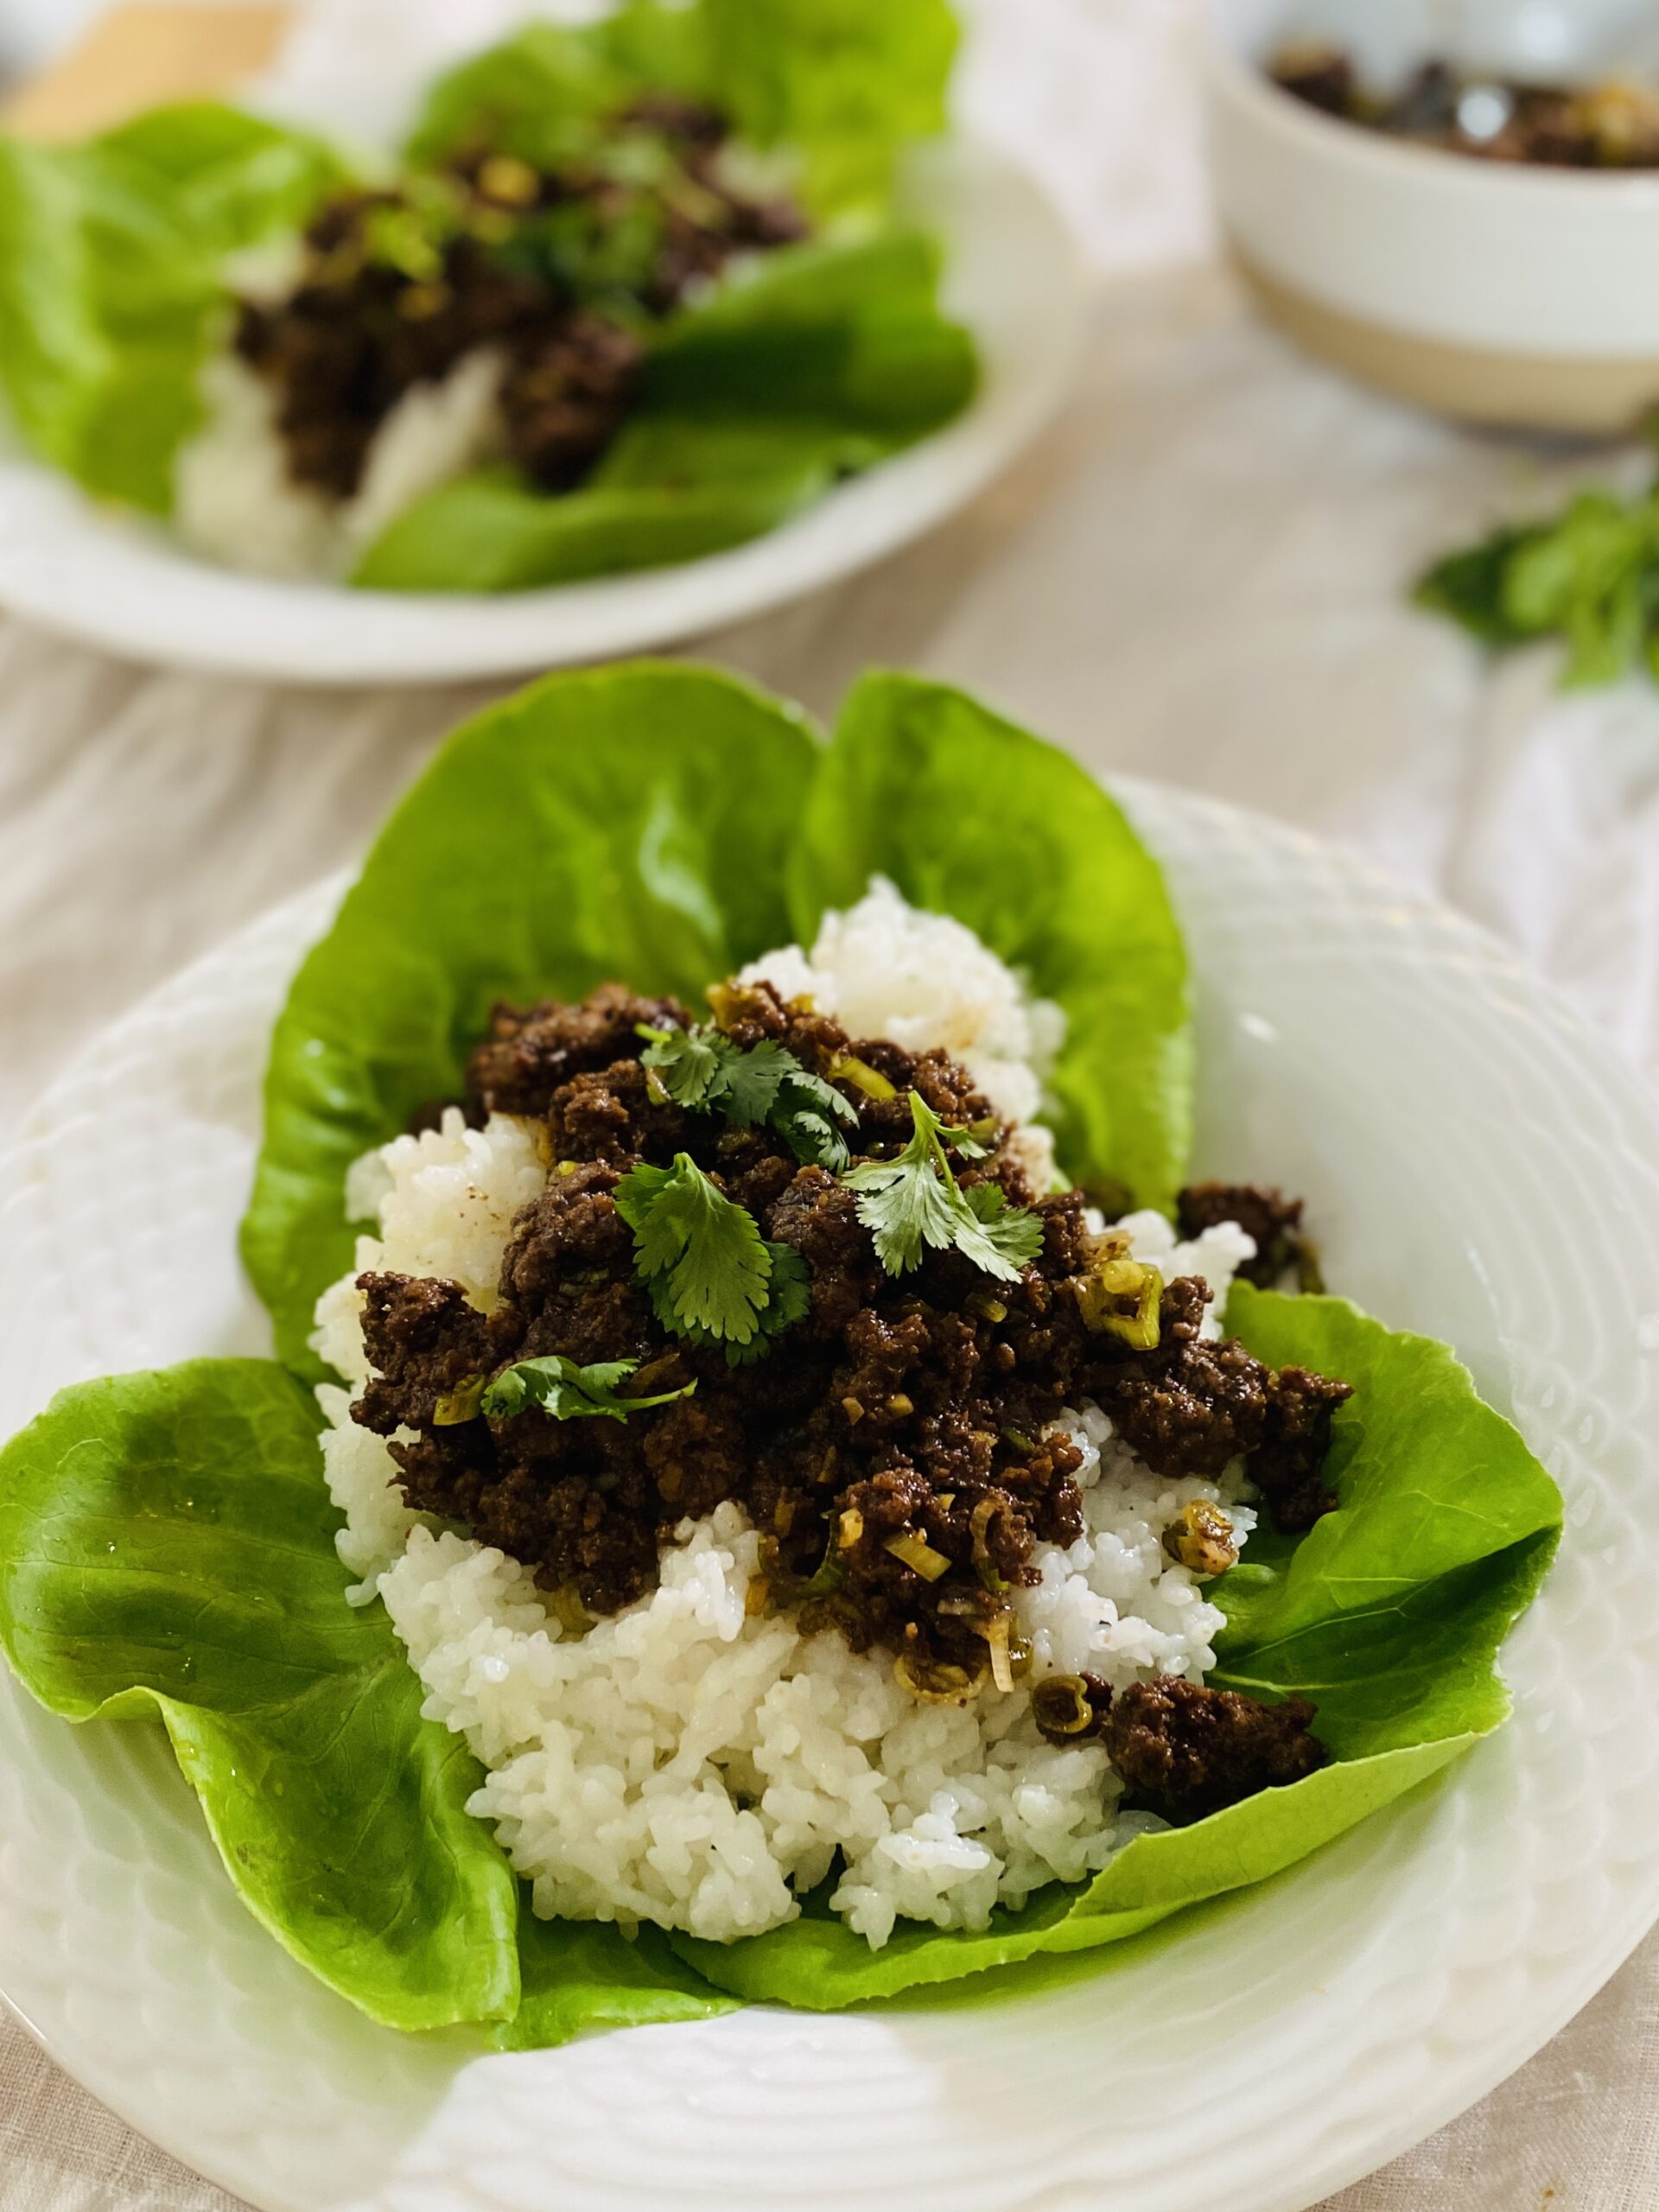
Looking for a quick and easy weeknight dinner? How about Korean Ground Beef Bowls! Customize it any way you like – add crushed red pepper flakes to make it spicy or chopped unsalted peanuts for a little extra crunch 😋
Use a fine mesh strainer to rinse the rice for 1 to 2 minutes, until the water runs clear. Place the rinsed rice in a medium saucepan. Add the 3 cups fresh water. Let the rice soak for 30 minutes. This helps to soften it and make the rice more digestible.
After 30 minutes, bring the soaked rice and water to a boil. Reduce the heat to low and cover the saucepan. Cook for 20 minutes. Remove from the heat and let the rice sit, covered, for another 10 minutes.
Meanwhile, prepare the sauce. In a small bowl, whisk together the brown sugar and coconut aminos.
Heat a large skillet over medium high heat. Add the ground beef, ginger and garlic. Break up the beef as it cooks and stir the ginger and garlic. Cook for 3 to 5 minutes.
Add the brown sugar-coconut aminos mixture to the beef. Stir well to combine. Cook for 1 minute. Add the scallions. Cook for 1 more minute.
Place a washed lettuce leaf on a plate or in a shallow serving bowl. Carefully add a scoop of the cooked rice. Serve the beef over the rice. Garnish with the cilantro.
Enjoy!
Thank you to Christine Waltermyer and the Natural Kitchen Cooking School for working with us to help promote healthy, nutritious meals and products that are affordable, full of nutrients, and simple to make at home!
Thanks to Christine Waltermyer & The Natural Kitchen Cooking School!
Christine Waltermyer is a local and renowned Wellness Chef, private chef to celebrities, published cookbook author and founder of the Natural Kitchen Cooking School, which offers an online Plant-Based Cooking Program. She also loves shopping at Basil Bandwagon! Visit naturalkitchenschool.com to subscribe to her email newsletter for new recipes, tips, and FREE access to the Power of Veggies mini-course!
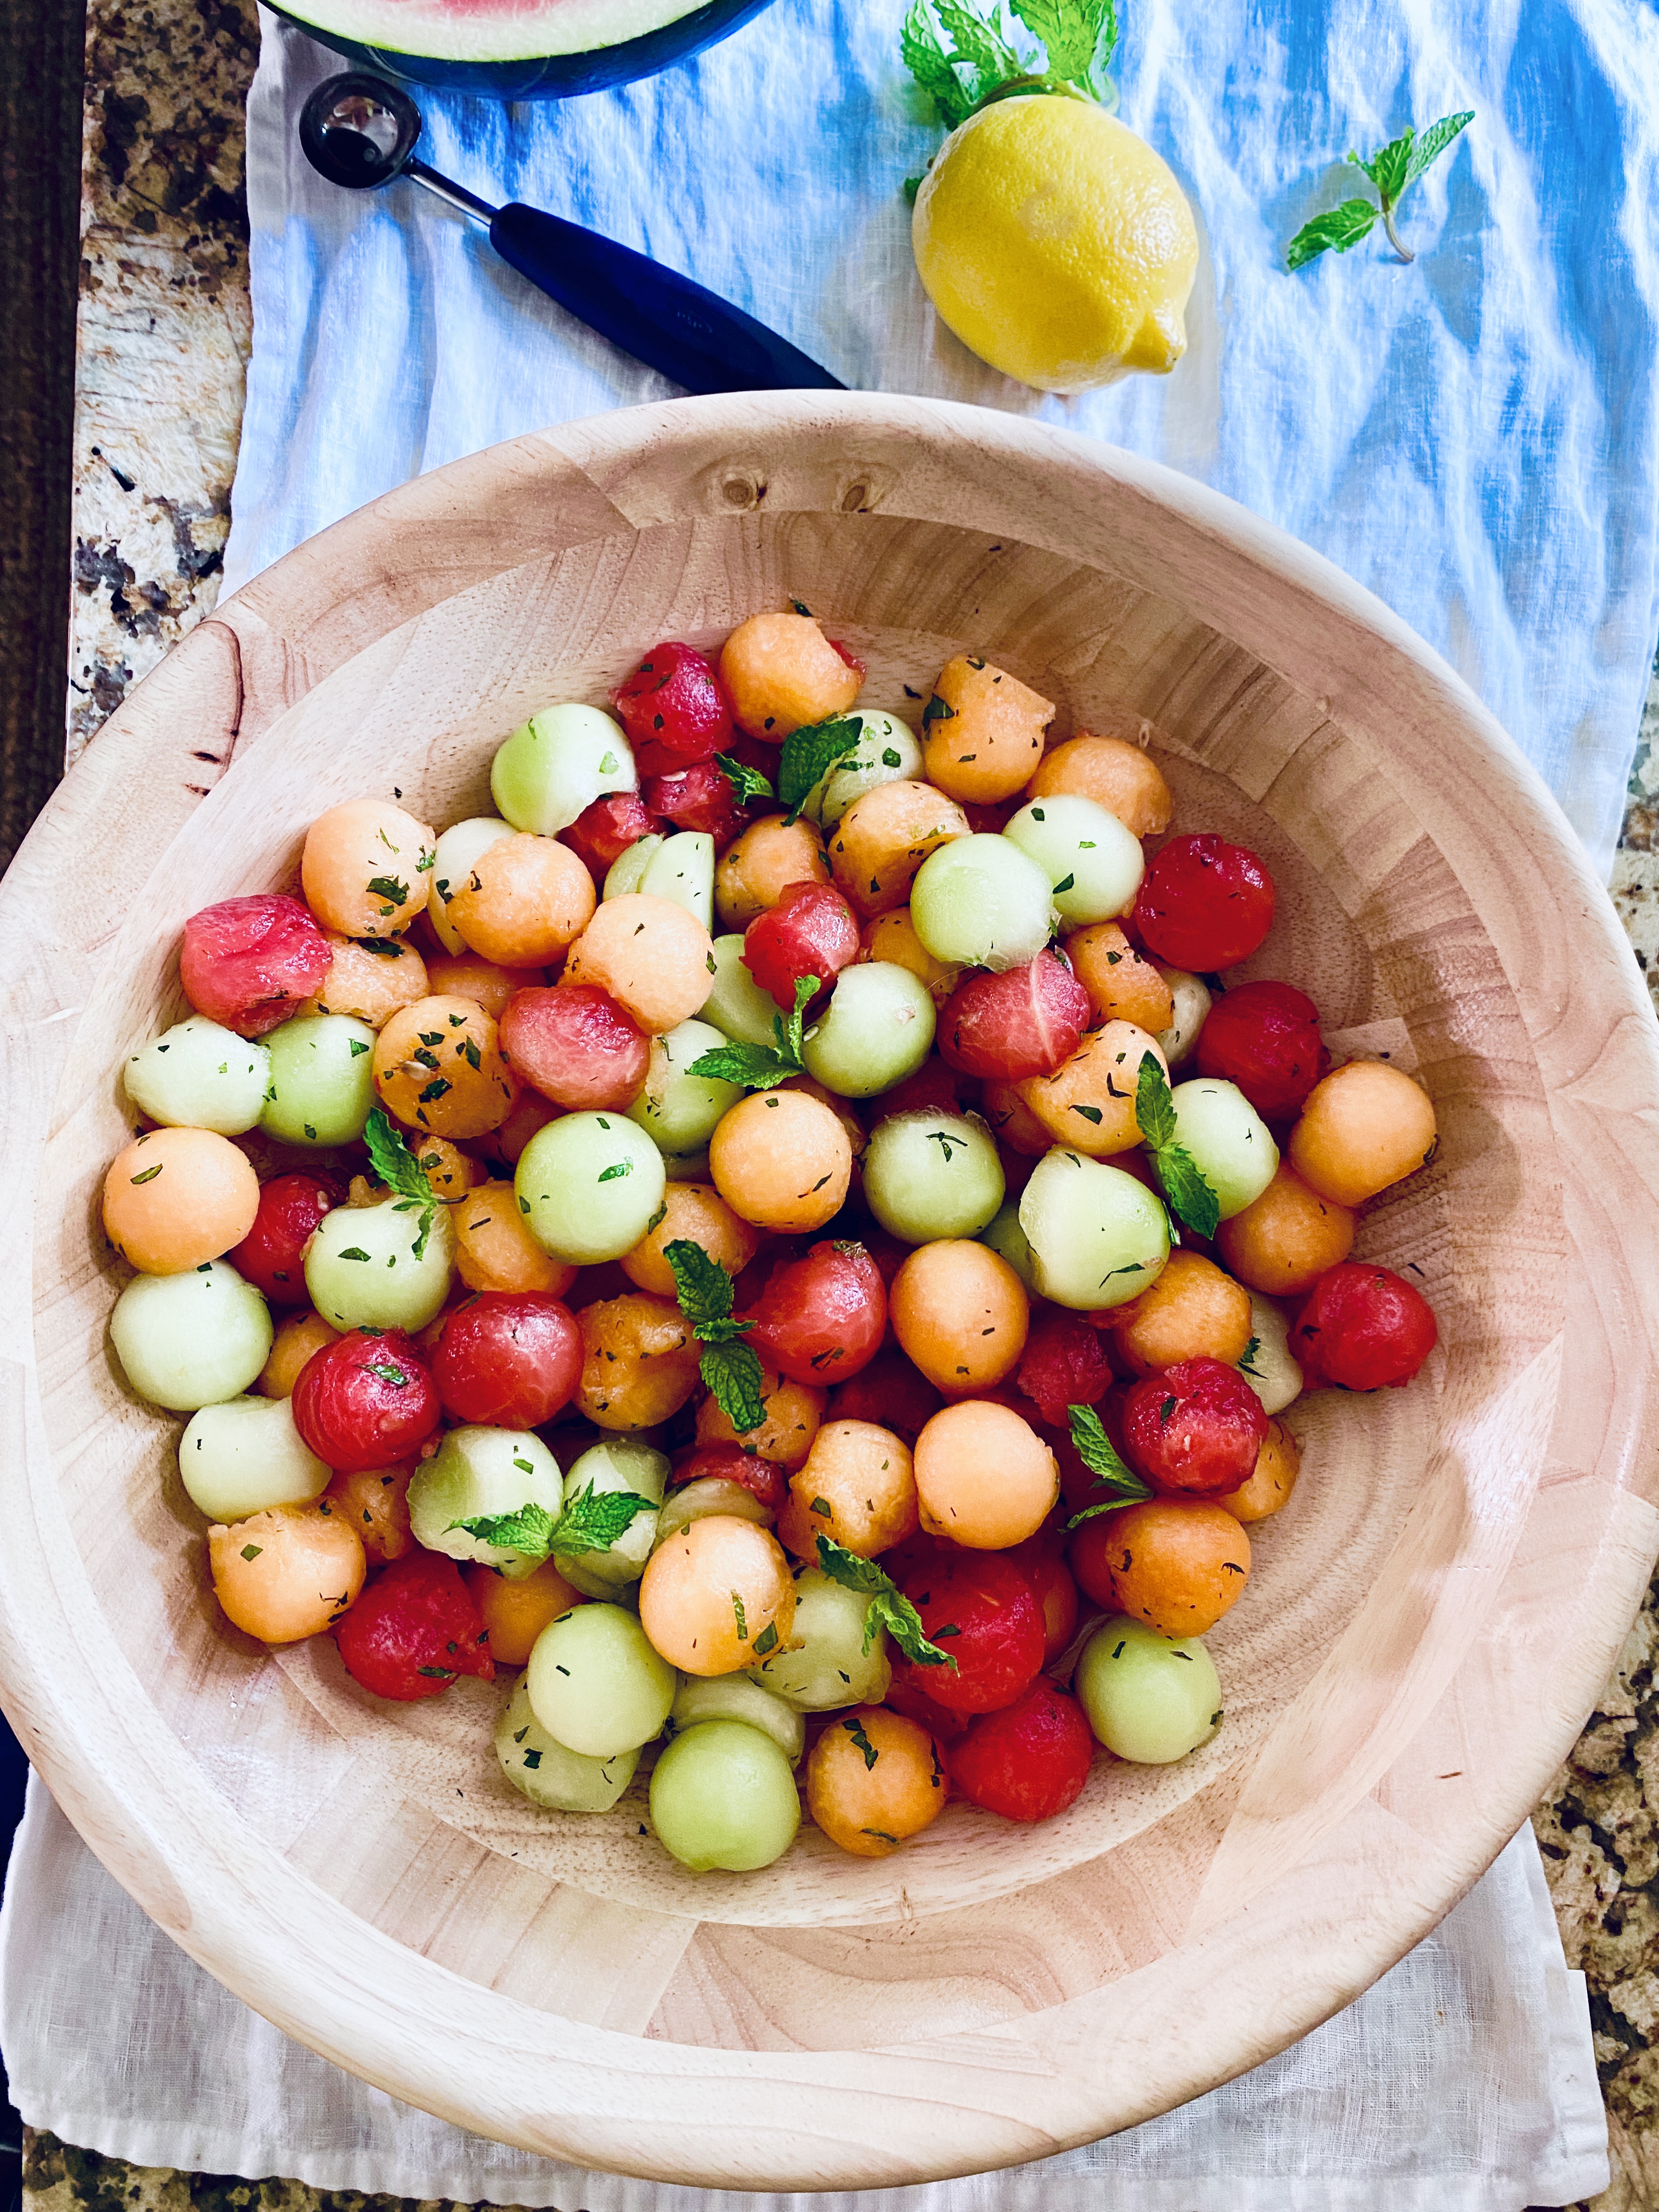
Summer is time for fresh, colorful salads – and melons! Thanks to Christine Waltermyer and The Natural Kitchen Cooking School, you can learn how to cut a melon (whether it’s a honeydew, cantaloupe or watermelon!) and use it to make a bright, refreshing salad with citrus dressing. Scroll down for the recipe!
Use a melon ball scoop to create little balls from each of the melons. Place them in a large bowl.
Make the citrus dressing: In a small bowl, combine the lemon juice, lime juice, sea salt, honey and mint. Whisk together. Pour over the melon balls and gently toss until evenly coated. You can serve right away or chill before serving. If you refrigerate it, stir the salad again just before serving.
Enjoy!
Thank you to Christine Waltermyer and the Natural Kitchen Cooking School for working with us to help promote healthy, nutritious meals and products that are affordable, full of nutrients, and simple to make at home!
Thanks to Christine Waltermyer & The Natural Kitchen Cooking School!
Christine Waltermyer is a local and renowned Wellness Chef, private chef to celebrities, published cookbook author and founder of the Natural Kitchen Cooking School, which offers an online Plant-Based Cooking Program. She also loves shopping at Basil Bandwagon! Visit naturalkitchenschool.com to subscribe to her email newsletter for new recipes, tips, and FREE access to the Power of Veggies mini-course!
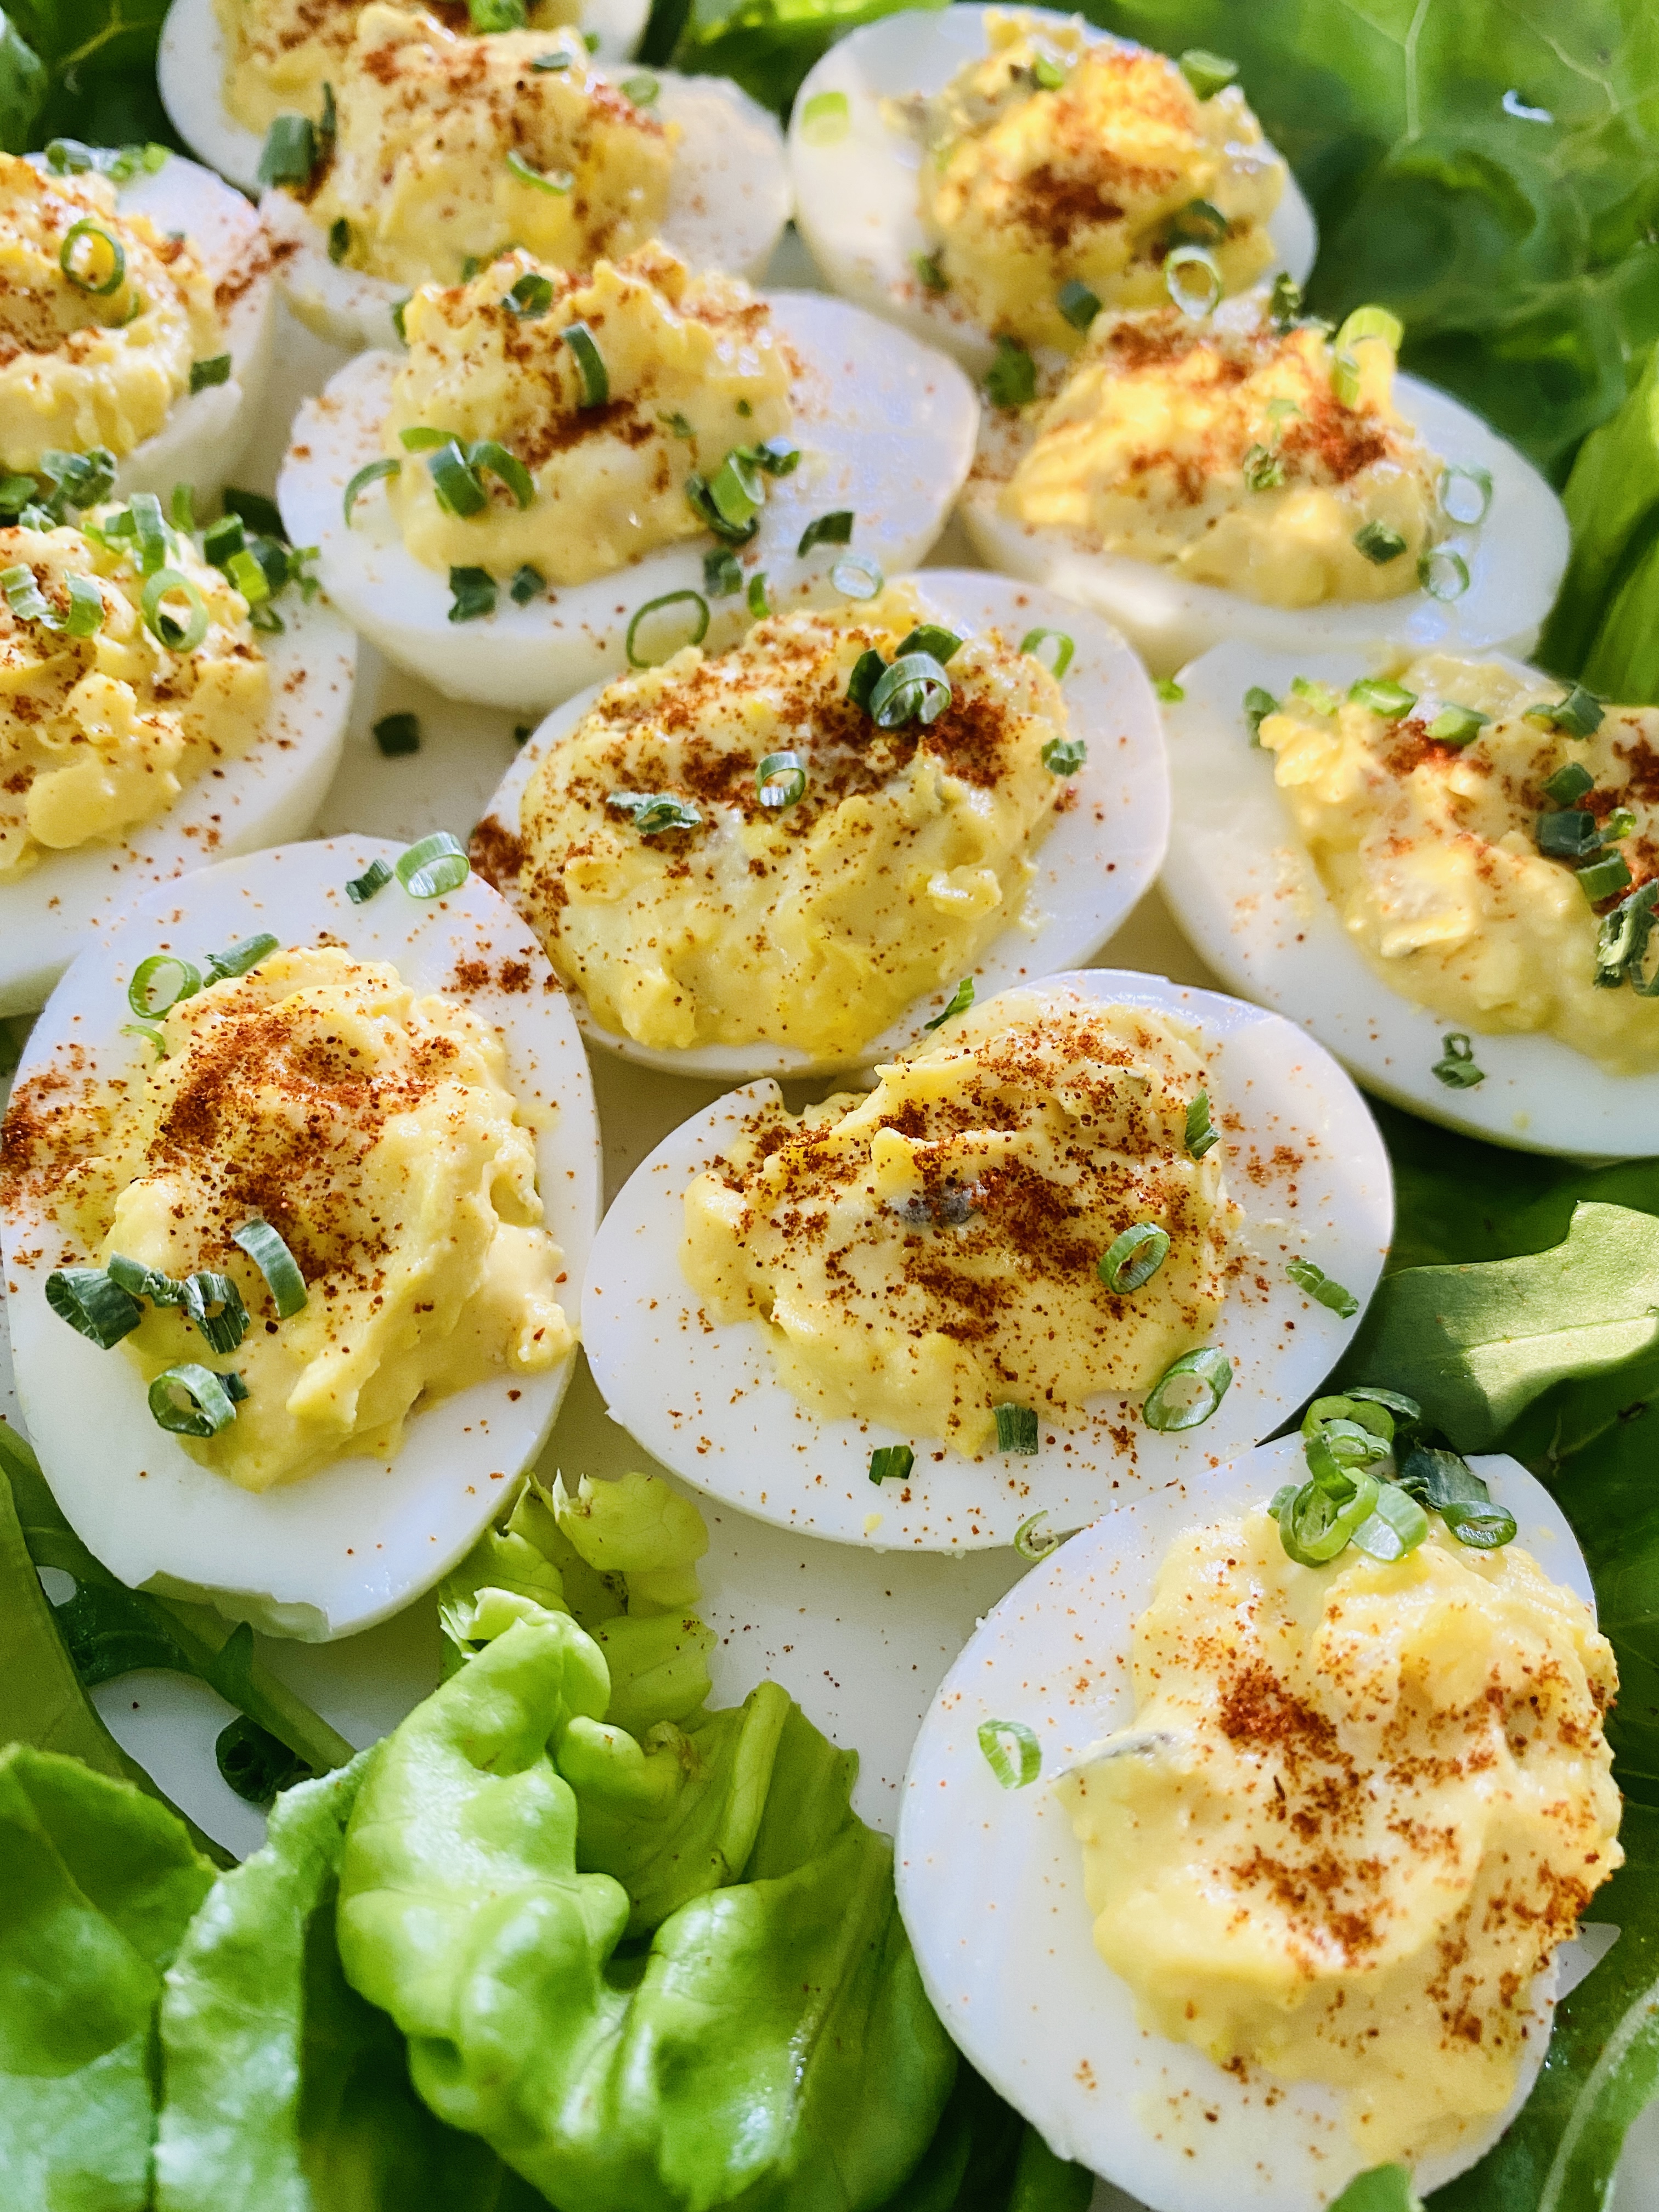
Whether you’re getting ready for back-to-school or you’re throwing the last end of summer party, these deviled eggs are the recipe you’re looking for. Not only is it a simple appetizer, but it can fit perfectly in your lunchbox, too! Scroll down for this easy step-by-step recipe thanks to Christine Waltermyer and The Natural Kitchen Cooking School.
Deviled eggs are nutritious as a snack or party appetizer. Use a pastry bag fitted with a large star tip to get that fun swirl shape of the filling.
Course Appetizer
Keyword appetizer, deviled eggs, snack
Servings 10deviled eggs
Ingredients
6eggs
2tablespoonsmayonnaise (I use a keto coconut oil brand)
1teaspoondijon mustard
1tablespoonsweet pickle relish
Sea salt and white pepper to taste
Smoked paprika
Fresh chives, chopped finelyoptional
Instructions
Place eggs in a single layer in a medium saucepan. Add enough water to cover by 2 inches. Bring to a boil, cover, remove from heat, and let stand for 12 minutes.
While the eggs are cooking, fill a bowl with cold water and ice. When the eggs have finished cooking, use a mesh strainer to scoop the eggs out and place them in the ice bath.
To peel the eggs, tap each egg on the wide end until it cracks. Peel under cold running water, using a small spoon to help remove the shell.
Cut the peeled eggs in half lengthwise. Carefully remove the yolks. Place the yolks in a small bowl. Mash lightly with a fork. Add the mayonnaise, mustard, pickle relish, sea salt and white pepper. Stir well.
Carefully spoon the egg yolk mixture into the egg whites. Feel free to use a pastry bag fitted with a large star tip to make a fancy shape. Garnish with the smoked paprika and optional chopped chives.
Enjoy!
Thank you to Christine Waltermyer and the Natural Kitchen Cooking School for working with us to help promote healthy, nutritious meals and products that are affordable, full of nutrients, and simple to make at home!
Thanks to Christine Waltermyer & The Natural Kitchen Cooking School!
Christine Waltermyer is a local and renowned Wellness Chef, private chef to celebrities, published cookbook author and founder of the Natural Kitchen Cooking School, which offers an online Plant-Based Cooking Program. She also loves shopping at Basil Bandwagon! Visit naturalkitchenschool.com to subscribe to her email newsletter for new recipes, tips, and a FREE low-oxalate recipe guide!
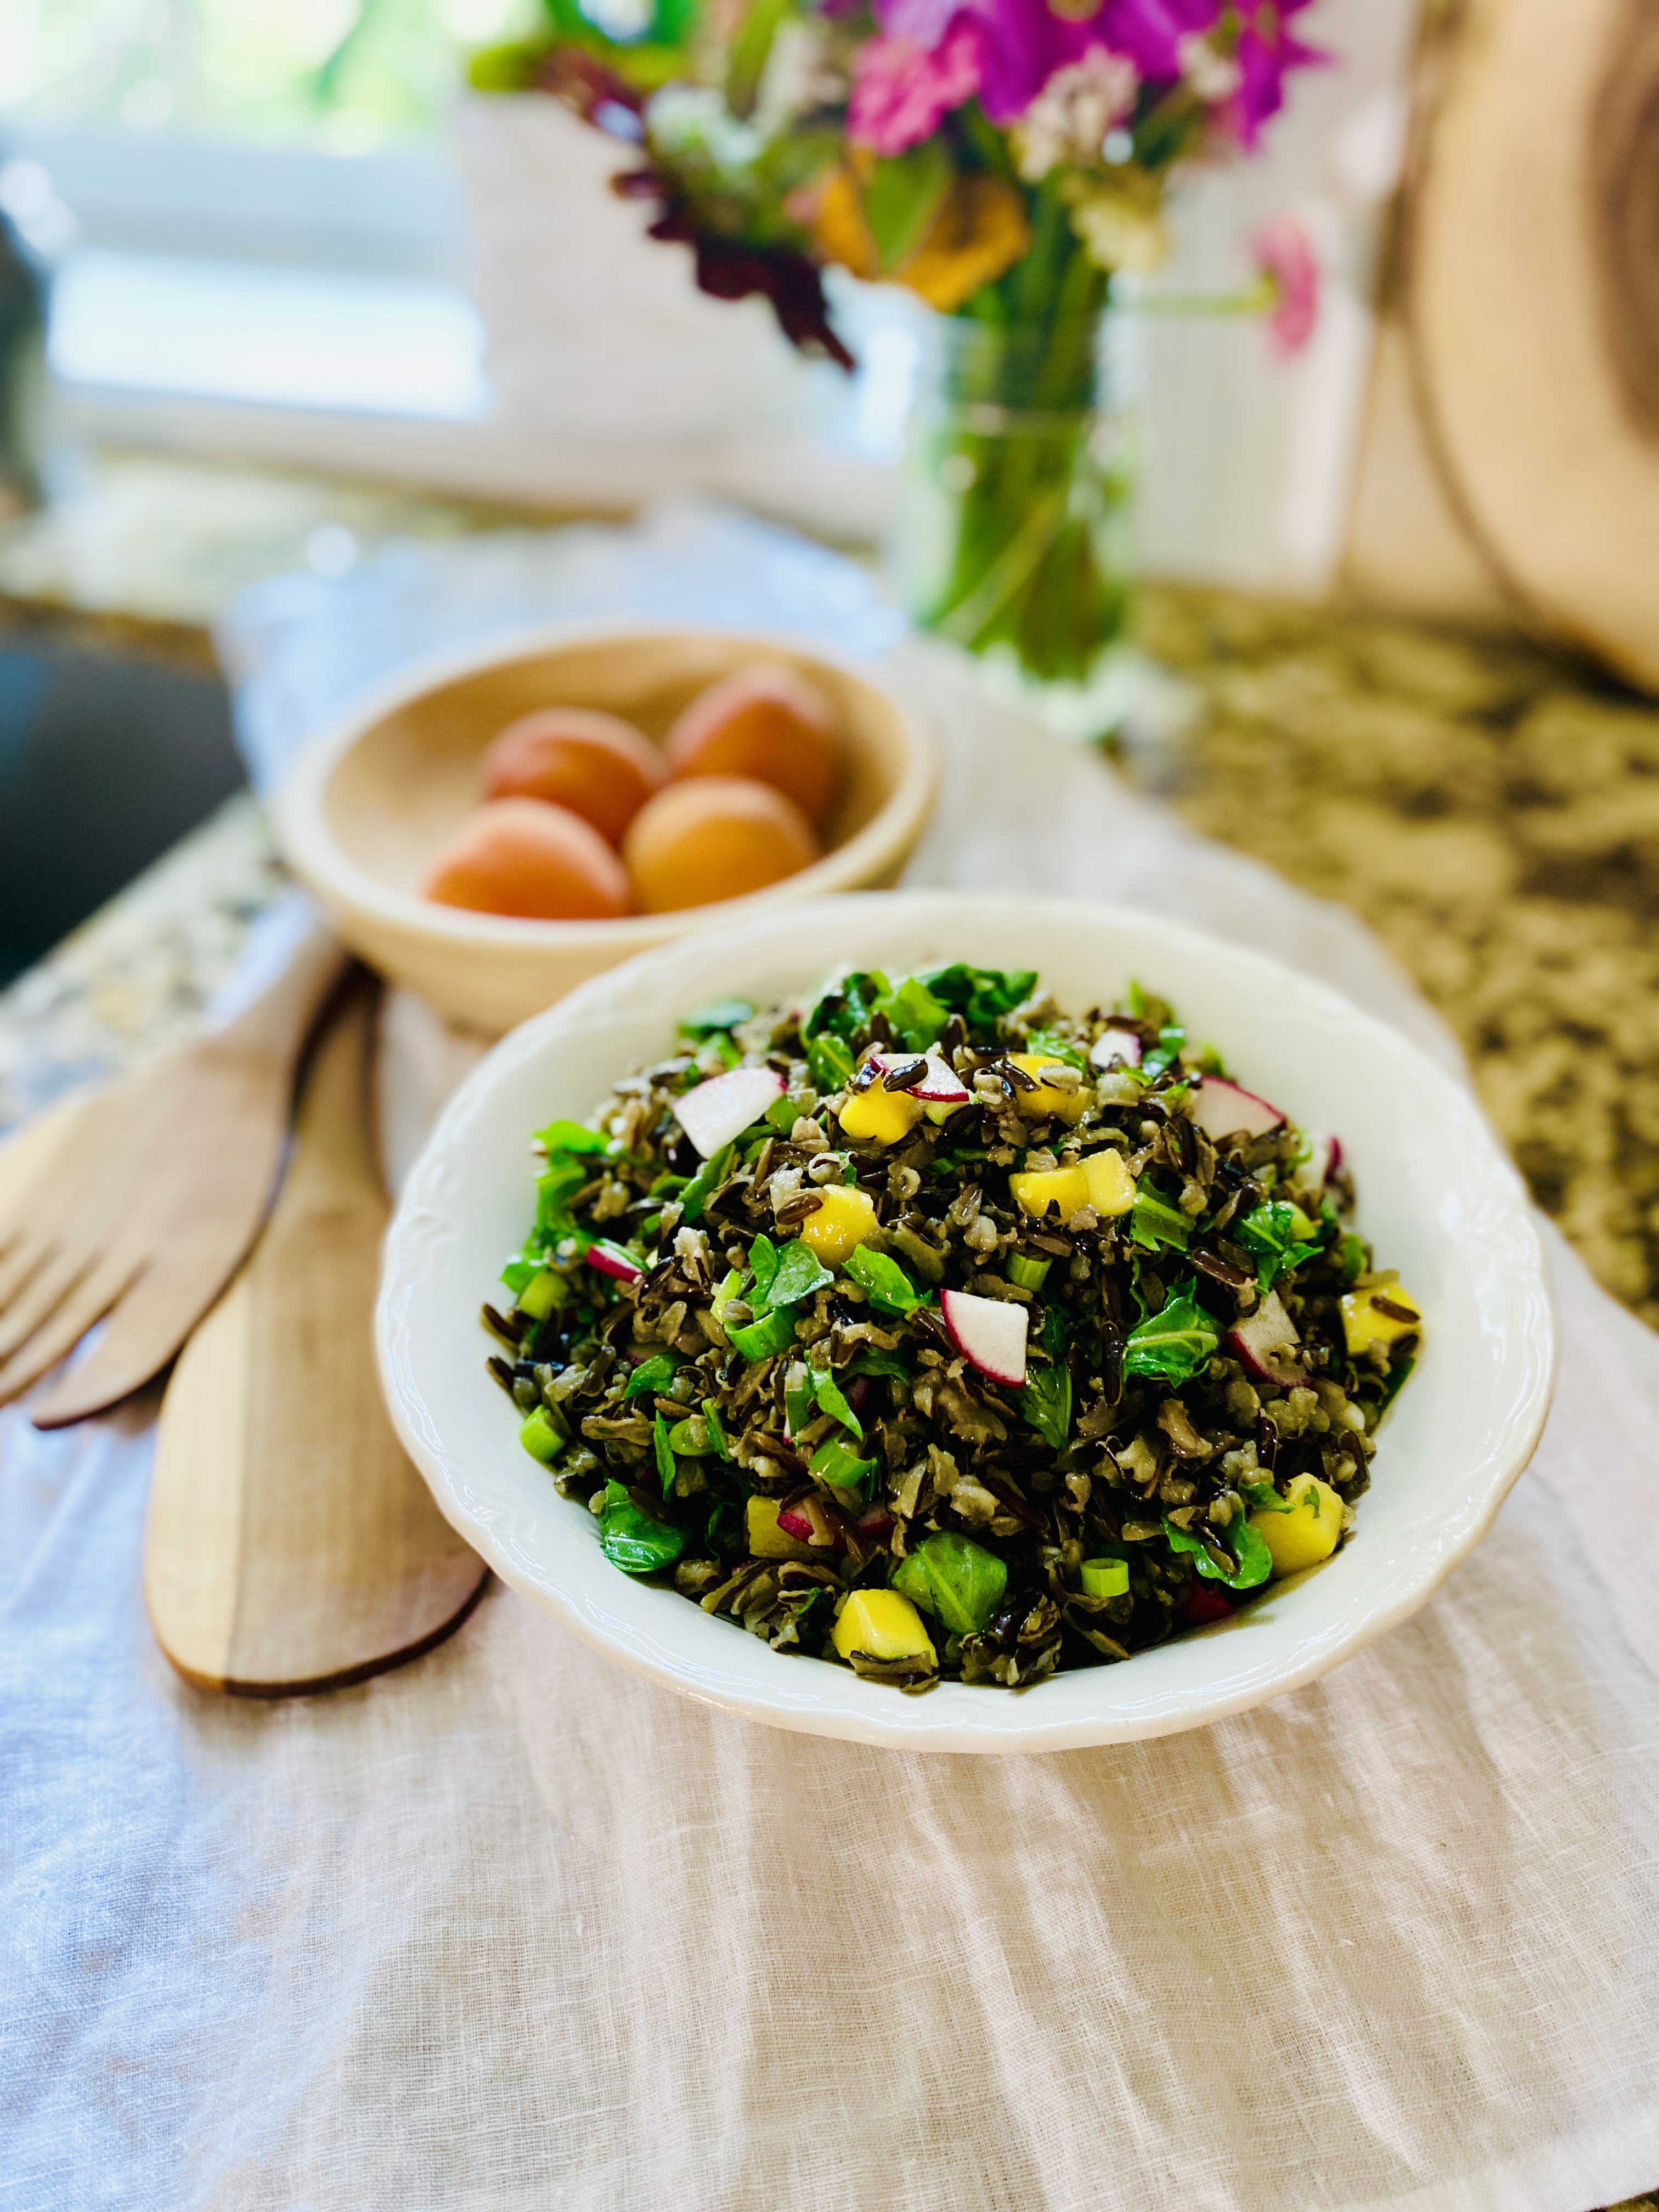
We’re WILD about Christine Waltermyer and The Natural Kitchen Cooking School’s Wild Rice Salad. We have to agree that “the tangy dressing, sweet mango and pungent scallions help to make this a flavorful side dish!” Keep scrolling for this simply delicious recipe.
I love the combination of nutty wild rice with fresh chopped arugula. The tangy dressing, sweet mango and pungent scallions help to make this a flavorful side dish!
In a medium saucepan, place the wild rice. Add the water or broth and bring to boil. Reduce the heat to low, cover and simmer for 50 minutes or until the rice is tender. Drain if needed and let the rice cool.
Make the dressing: In a small bowl, whisk together the olive oil, lemon and orange juices, mustard, honey, sea salt and pepper.
Place the cooled wild rice in a large bowl. Add the arugula, chopped scallions, mango, radishes and arugula. Add the dressing, stir well, and adjust seasoning to taste. Store in the refrigerator, covered, for up to three days. It tastes best when given at least an hour to marinate before serving.
Enjoy!
Thank you to Christine Waltermyer and the Natural Kitchen Cooking School for working with us to help promote healthy, nutritious meals and products that are affordable, full of nutrients, and simple to make at home!