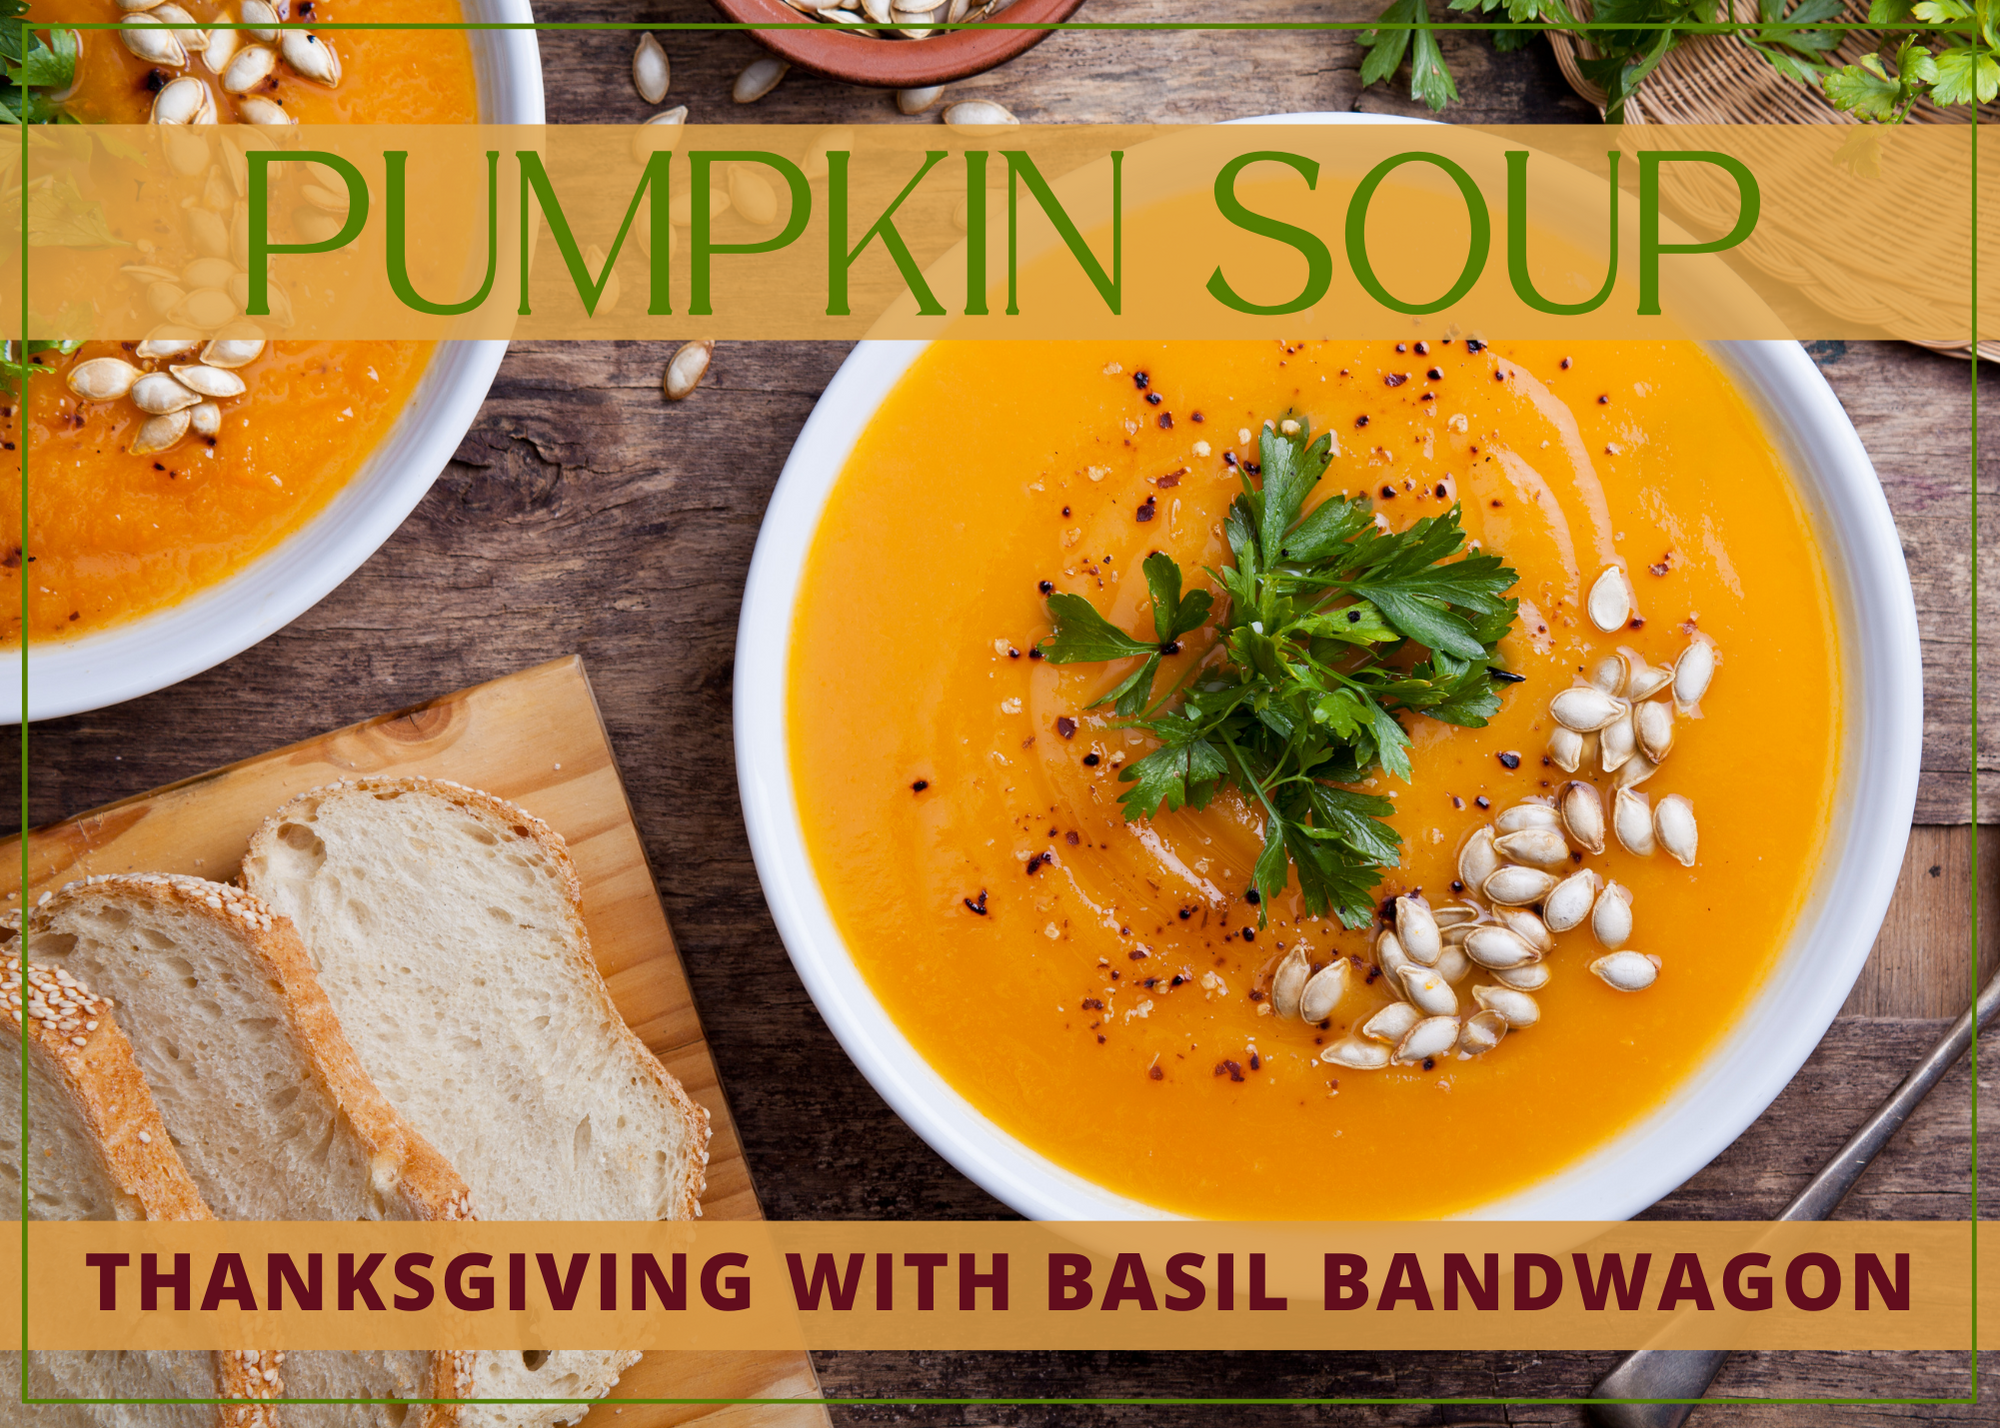
This Pumpkin Soup is like a warm hug on a chilly Thanksgiving day.
It’s a simple yet flavorful addition to your holiday spread, and it’s a great way to embrace the flavors of the season.
Enjoy the comfort and healthiness of this soup as you gather with loved ones to celebrate Thanksgiving.
Elisa Franco
Pumpkin Soup
Warm up your Thanksgiving dinner with a cozy and nutritious Pumpkin Soup. This hearty soup is a fantastic way to incorporate seasonal flavors into your holiday menu while keeping it healthy.
1cupheavy creamor substitute with coconut milk for a dairy-free option
2tblspolive oilor butter
roasted pumpkin seedsfor toppings
1bunchparsleychopped, for toppings
1dollopsour cream or yogurtfor toppings
Method
In a large soup pot or Dutch oven, heat the olive oil or melt the butter over medium heat.
Add the chopped onion and minced garlic. Sauté for about 5-7 minutes, or until the onions are soft and translucent.
Add the canned pumpkin to the pot and stir well.
Season the mixture with the ground cinnamon, nutmeg, ginger, salt, and pepper. Continue to stir, ensuring the spices are evenly distributed.
Pour in the vegetable or chicken broth and bring the mixture to a gentle simmer. Allow it to cook for about 10-15 minutes, stirring occasionally to meld the flavors.
Reduce the heat to low, and then stir in the heavy cream (or coconut milk) to the soup. Let it heat through but avoid boiling.
Taste the soup and adjust the seasoning with additional salt and pepper if necessary.
Serve hot, garnished with your choice of toppings, such as roasted pumpkin seeds, fresh parsley, or a dollop of sour cream or yogurt.
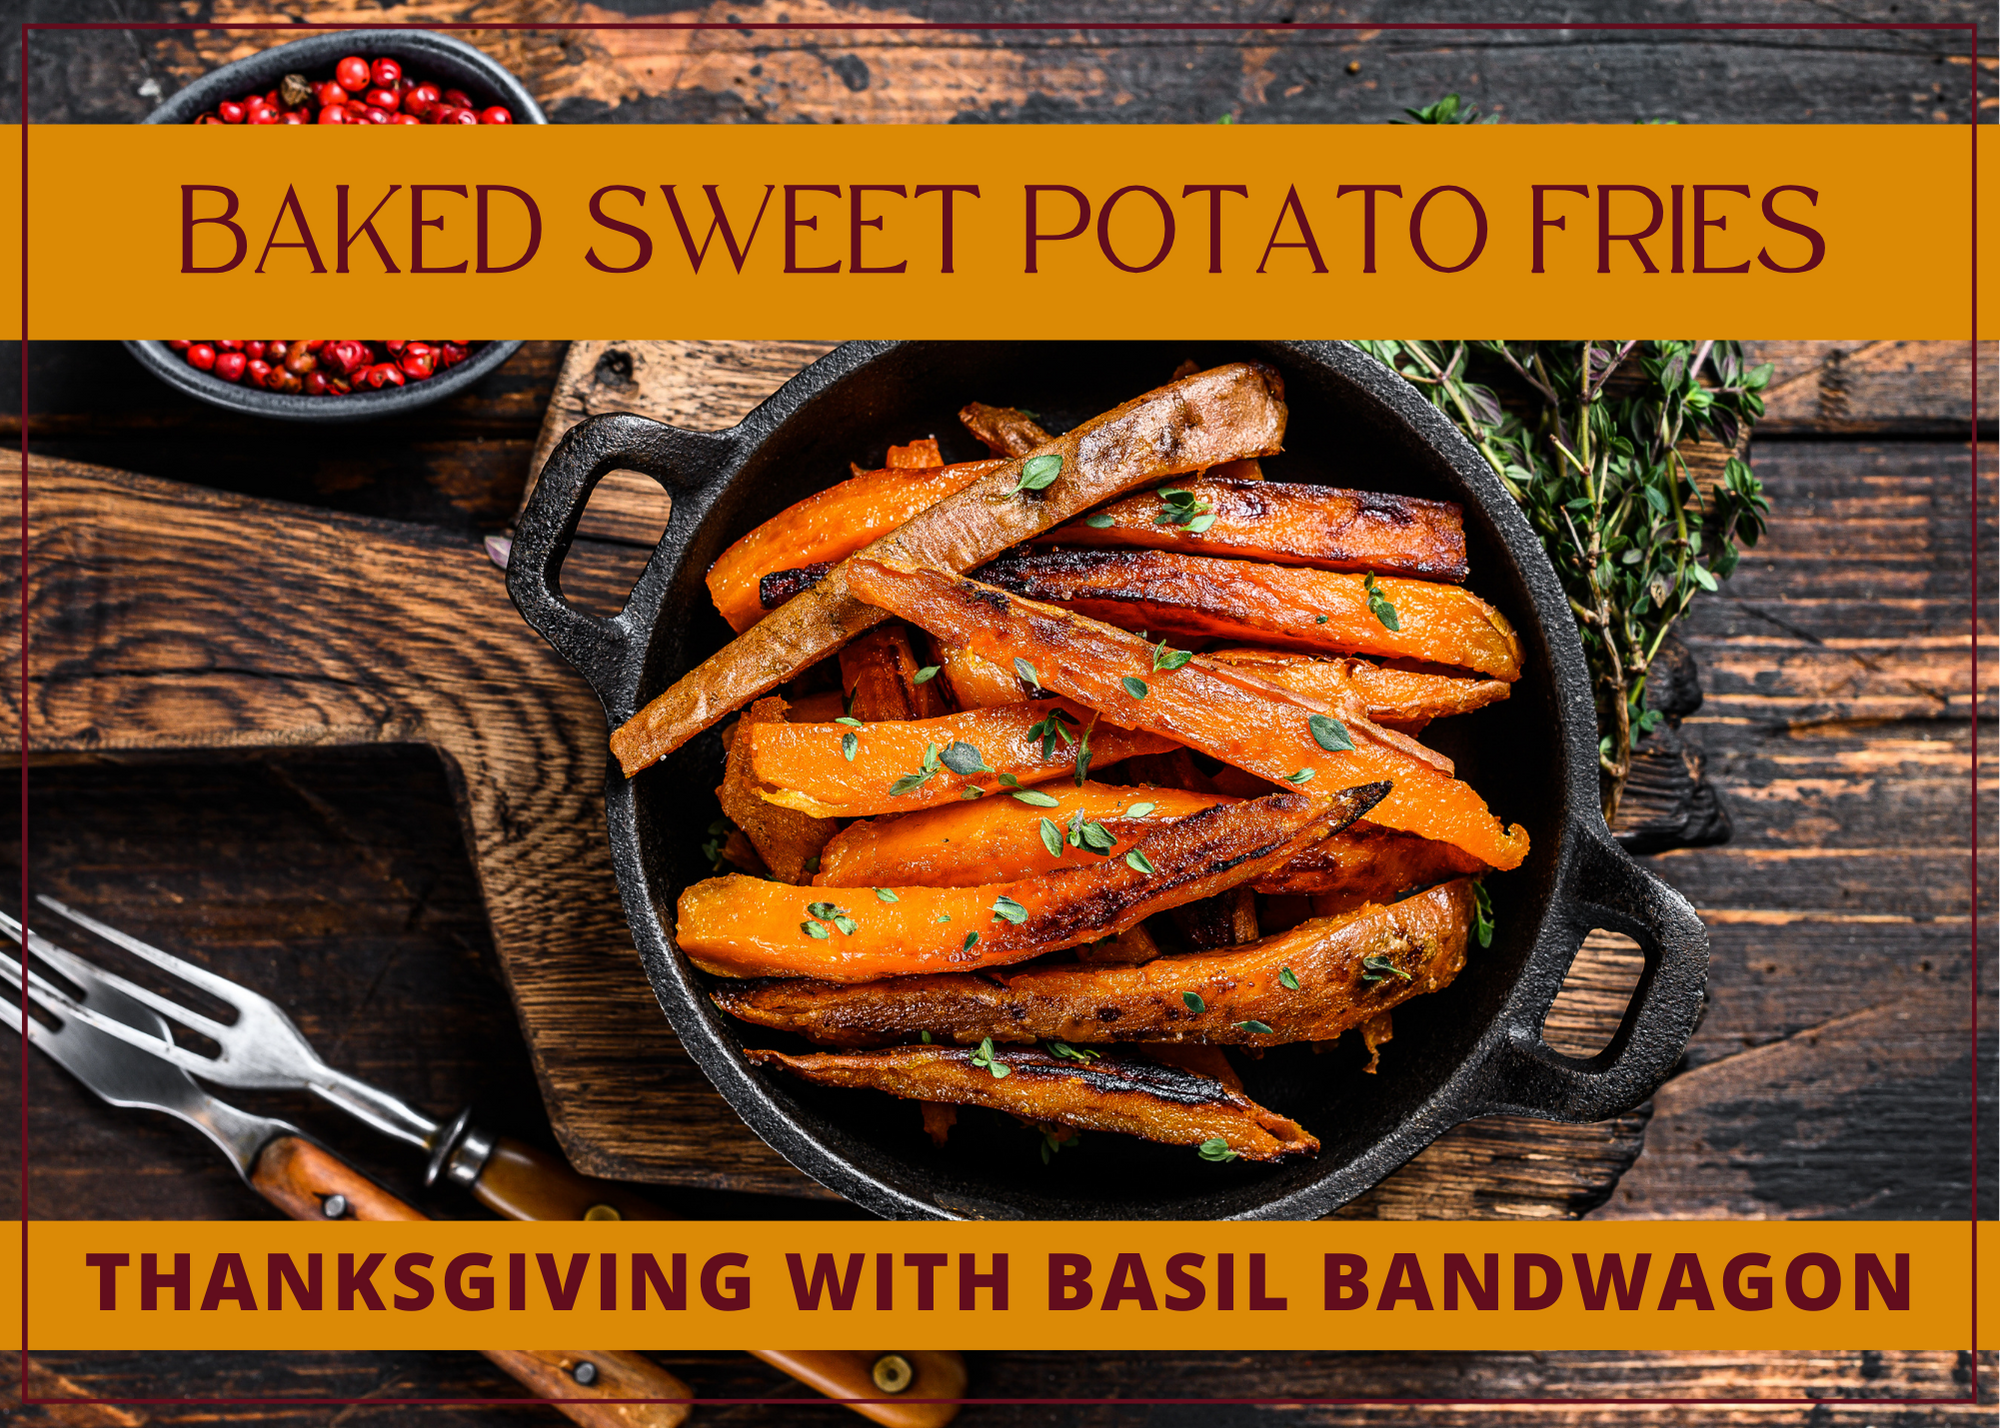
Looking for a healthier alternative to traditional French fries for your Thanksgiving gathering? These Baked Sweet Potato Fries are a tasty and nutritious choice. They’re crispy on the outside and tender on the inside, making them a perfect side dish for the holiday.
Elisa Franco
Baked Sweet Potato Fries
These Baked Sweet Potato Fries are a crowd-pleaser that won't leave you feeling guilty after indulging. Add them to your Thanksgiving menu for a healthier twist on a classic favorite. Your guests will love the crispy, flavorful goodness of these fries!
Acorn squash is a quintessential fall ingredient, and this Cranberry and Walnut Stuffed Acorn Squash recipe celebrates its natural sweetness while adding a delightful twist. It’s a gorgeous and healthy dish that will elevate your Thanksgiving table.
Elisa Franco
Cranberry and Walnut Stuffed Acorn Squash
This Cranberry and Walnut Stuffed Acorn Squash is a work of art on your Thanksgiving table, and its taste is just as impressive. With the sweetness of the squash, the tartness of cranberries, and the crunch of walnuts, it's a symphony of flavors. Enjoy this healthy, elegant dish as you give thanks this holiday season.
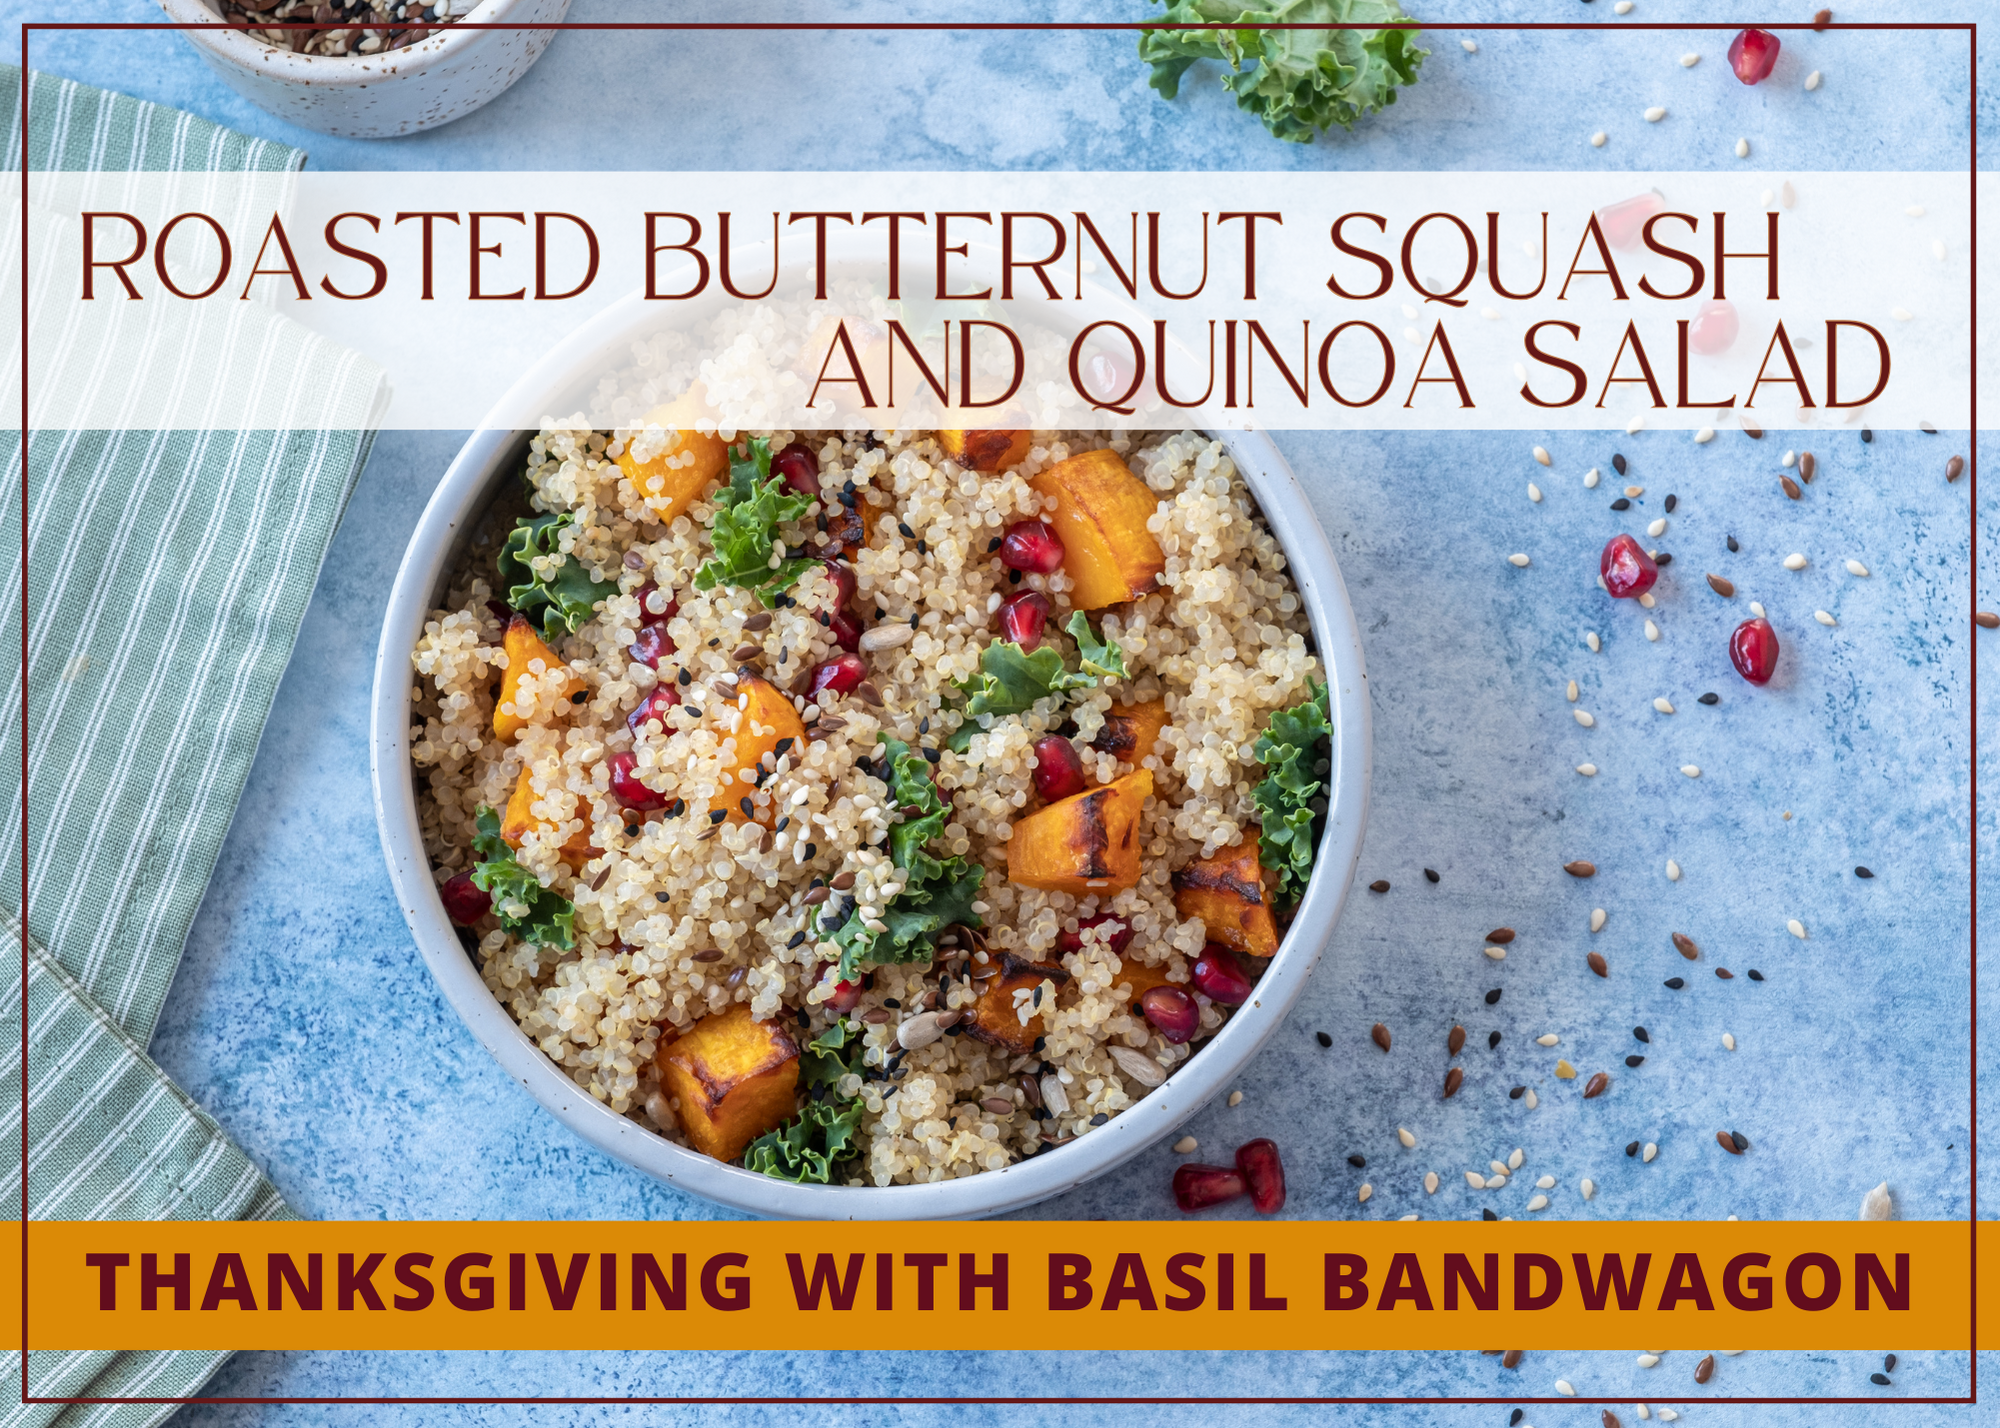
As Thanksgiving approaches, it’s essential to have some healthier options on the menu. This Roasted Butternut Squash and Quinoa Salad is not only delicious but also packed with nutrients. It’s a perfect side dish to balance out the indulgent treats on your Thanksgiving table.
Elisa Franco
Roasted Butternut Squash and Quinoa Salad
This Roasted Butternut Squash and Quinoa Salad is a delightful addition to your Thanksgiving spread. It's not only a treat for your taste buds but also a nourishing choice for your body. Enjoy this healthy, colorful dish as you celebrate gratitude and good food this Thanksgiving!
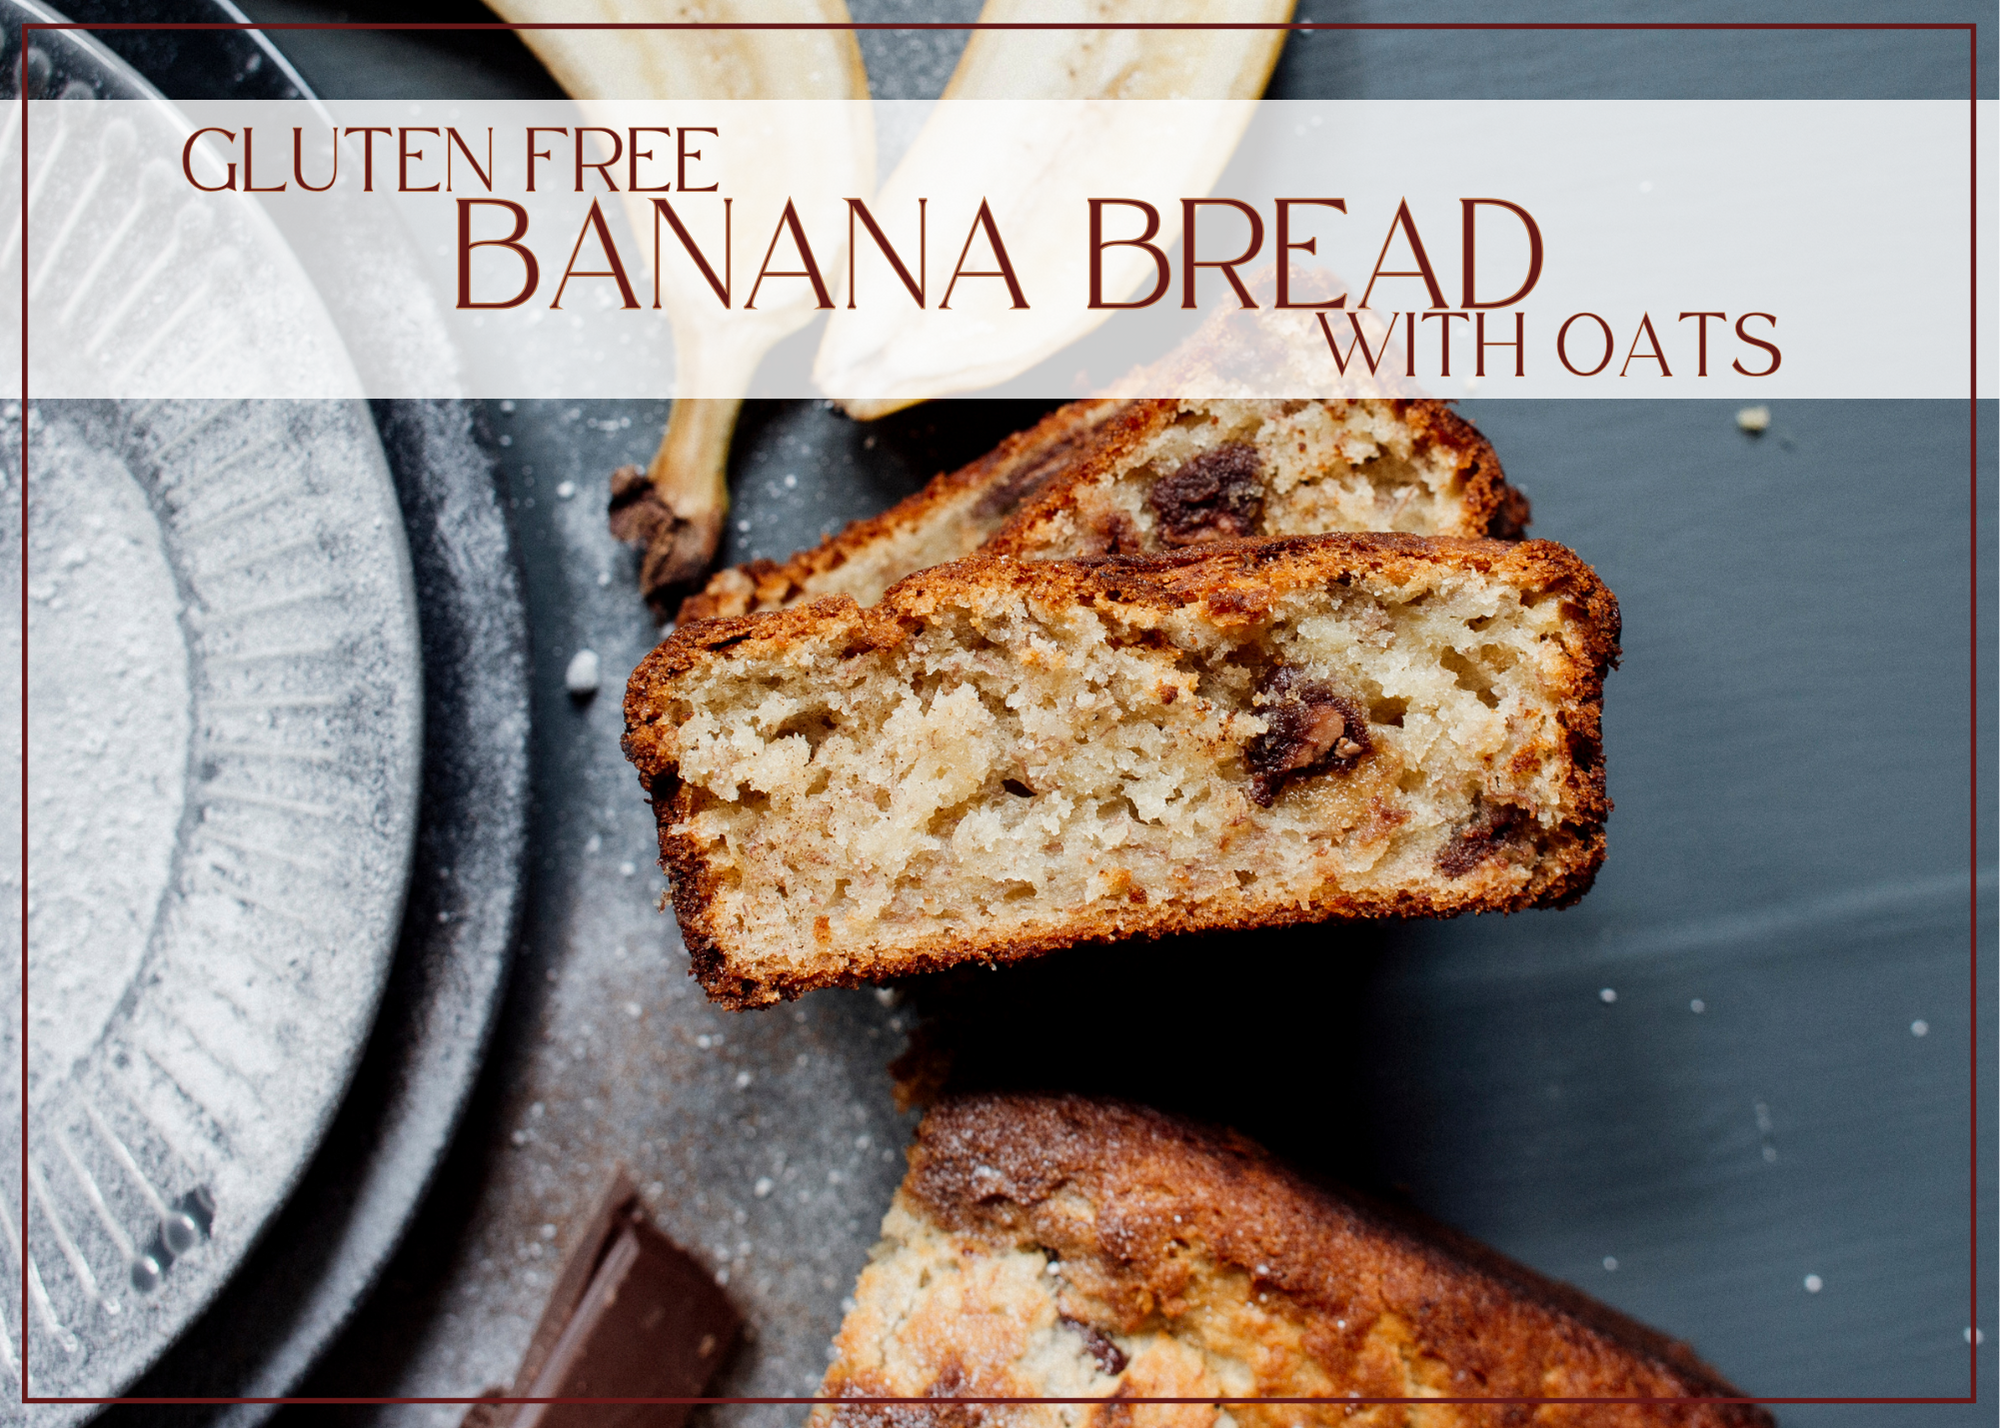
Are you looking for a delicious and wholesome twist on classic banana bread?
You’re in for a treat! This recipe combines the comforting flavor of ripe bananas with the heartiness of oats, making it a perfect breakfast or snack option.
Plus, it’s gluten-free without the need for any specialty flour. Let’s dive into making this delectable oat-based banana bread.
Elisa Franco
Gluten Free Banana Bread with Oats
A delicious and gluten-free banana bread recipe made with hearty oats!
Preheat Your Oven: Start by preheating your oven to 350°F. Grease a 4×8 inch loaf pan or line it with parchment paper.
Prepare the Bananas: In a mixing bowl, mash the ripe bananas with a fork until they form a smooth puree.
Combine Wet Ingredients: Stir the melted butter into the mashed bananas. Then, add the baking soda, and a pinch of salt. Mix well.
Sweeten It Up: Add the coconut sugar to the banana mixture, followed by the beaten egg and vanilla extract. Stir until all the ingredients are thoroughly combined.
Oats and More: In a separate bowl, combine the old-fashioned rolled oats, baking powder, and ground cinnamon.
Mix Everything Together: Gradually add the dry oat mixture to the banana mixture, stirring until just incorporated. Be careful not to overmix; simply combine until there are no visible streaks of dry ingredients.
Optional Add-Ins: If you desire extra texture and flavor, fold in the chopped nuts or chocolate chips.
Baking Time: Pour the batter into your prepared loaf pan.
Bake to Perfection: Bake in the preheated oven for approximately 45-60 minutes. To check for doneness, insert a toothpick or cake tester into the center of the loaf; it should come out clean. Depending on your oven, start checking around 40 minutes.
Cooling and Serving: Once done, remove your oat-based banana bread from the oven and let it cool in the pan for about 10 minutes. Afterward, transfer it to a wire rack to cool completely.
While it’s a blessing to live a long life, the aging process comes with its share of aches and pains. The healing process is slower in an aging body, so underestimating pain, delaying treatment, or avoiding care due to pain-related fear may contribute to the development of chronic pain and associated disability.
Here’s the good news: treating acute pain appropriately may prevent its development into chronic pain, while managing existing chronic pain can improve quality of life and promote a healthy lifespan in the years to come.
When pain overstays its welcome Acute pain is usually triggered by injury or trauma and serves as a protection mechanism to deter us from further insult.
But when acute pain is poorly managed, a pathological process takes place in the central and peripheral nervous systems, known as sensitization. This mechanism is theorized to drive the development of chronic pain. Pain is considered chronic when it has persisted for three months or longer.
Collaborative care Curate your multidisciplinary pain management team by seeking the care of diverse practitioners, such as a naturopathic doctor, acupuncturist, psychotherapist, hypnotherapist, and osteopathic manual therapist. These care providers can offer evidence-based pain management treatments.
Evidence-based pain treatments Acupuncture relieves pain by encouraging the body’s own production of opiates, endorphins, and corticosteroids, and has been shown to reduce chronic low back pain. Mind-body approaches such as cognitive behavioral therapy and mindfulness-based stress reduction help reduce chronic low back pain. Hypnotherapy is effective in reducing chronic pain for some individuals. Osteopathy is shown to be helpful in some cases of low back pain. Music therapy is effective in lowering pain for palliative care patients.
Fight inflammation with food An anti-inflammatory approach to eating is helpful for managing acute and chronic pain. Cut back on sugar, processed foods, and trans fats, and opt for a food plan based on whole foods including fruits and vegetables, healthy fats, fish and unprocessed meats, and whole grains.
If your pain originates from the digestive tract or from an autoimmune condition, consider testing for sensitivities to gluten and other foods.
Easing up is wise With acute pain, it’s particularly important to rest the painful area to reduce inflammation and allow for healing. Manage chronic pain by interspersing periods of rest throughout activities that aggravate your pain.
Staying active is important On top of strengthening muscles, improving flexibility, and promoting joint stability, research suggests that exercise also increases the body’s production of pain-relieving molecules known as endocannabinoids.
Of course, when pain interferes with exercise, we have a problem! Consult with a physiotherapist or kinesiologist for an individualized exercise treatment program, which has been shown to reduce pain and promote function.
Mind over matter works wonders We can tap into the mind-body connection and use it to our advantage! Optimism is protective against day-to-day pain-related disruptions and increases goal-directed activity in older adults.
We all hope for simple and stress-free holidays. Simplifying traditional dishes and choosing ones that can be prepped days ahead of time will eliminate that stress and ensure your Thanksgiving leaves you feeling, well, thankful. You might even spend more time at the table with family than you do in the kitchen!
Turkey Meatballs
Stay traditional and go with turkey for your Thanksgiving dinner, but simplify things with these bite-size meatballs. Though small, they pack a punch of big flavors to rival any main attraction.
12 oz (340 g) extra-lean ground turkey thigh
1 egg
1/2 yellow onion, finely chopped
1 cup (250 mL) chopped spinach
1 garlic clove, peeled and crushed
2 tsp (10 mL) orange zest
1 tsp (5 mL) chopped fresh sage
1 tsp (5 mL) chopped fresh rosemary
1 tsp (5 mL) chopped fresh thyme
Salt and pepper, to taste (optional)
Preheat oven to 375 F (190 C). Line baking sheet with parchment paper.
In medium bowl, combine all ingredients and mix until just combined. Don’t overmix. Using approximately 1 1/2 Tbsp (22 mL) mixture, form meatballs and place evenly spaced out on parchment-lined baking sheet. Makes 16 meatballs.
Bake for 15 to 20 minutes, giving baking sheet a shake midway through cooking so they cook evenly and acquire color on all sides. Continue cooking until internal temperature reaches 160 F (70 C). Serve with cranberry sauce.
Serves 4
Each serving contains: 203 calories; 27 g protein; 11 g fat (2 g sat. fat); 3 g carbohydrates (1 g sugars, 1 g fiber); 119 mg sodium
Barley Stuffing
Here, we’re creating a traditional dish with a twist by ditching the boring old bread of typical stuffings and replacing it with the ancient grain barley. This next-level stuffing is plant based, but mushrooms and fennel add a delicious meatiness.
2 cups (500 mL) cooked barley
1 Tbsp (15 mL) olive oil
9 oz (250 g) cremini mushrooms, finely chopped (mixed mushrooms would work as well)
1 cup (250 mL) finely chopped carrots
1 cup (250 mL) finely chopped celery
1 large yellow onion, finely chopped
1 Granny Smith apple, cut into 1/2 in (1 cm) cubes
1/4 cup (60 mL) water chestnuts, roughly chopped
1 Tbsp (15 mL) fresh rosemary, chopped
1 Tbsp (15 mL) fresh sage, chopped
1 Tbsp (15 mL) fresh thyme, chopped
1/2 tsp (2 mL) fennel seeds, ground in mortar and pestle or spice grinder
Salt and pepper, to taste (optional)
In advance, prepare 2 cups (500 mL) cooked barley according to package instructions. Set aside or make it a day or two ahead of time and store, covered, in refrigerator.
In large frying pan on medium-high heat, add olive oil and mushrooms and cook until browned and all moisture is gone, stirring frequently.
To frying pan with mushrooms, add carrots, celery, and onion; saute until soft but not browned, about 5 minutes. Add apple cubes and water chestnuts along with herbs and spices, and saute until apples are soft, about 5 minutes. Add in cooked barley and stir to combine.
Place mixture into oven-safe dish with cover. Bake, covered, at 350 F (180 F) for 30 minutes. If you want the top to be crispy, remove cover approximately 5 to 10 minutes earlier.
To save time on Thanksgiving Day, make this up to 2 days ahead and store in fridge before roasting. On the day of your dinner, let stand for 30 minutes, before roasting until crispy and warmed through.
Serves 6
Each serving contains: 305 calories; 10 g protein; 4 g fat (1 g sat. fat); 61 g carbohydrates (8 g sugars, 15 g fiber); 46 mg sodium
Vegetable Mash
Move over potato; there are plenty of other vegetables vying for the title of comfort in a bowl! This combination is full of flavor and is silky smooth and creamy.
1 whole celery root, peeled and diced
1 large butternut squash, peeled, seeded, and chopped
2 garlic cloves, peeled
Vegetable broth or water to cover vegetables
1/4 cup (60 mL) nutritional yeast
1 Tbsp (15 mL) butter or butter substitute
Salt and pepper, to taste
Into large saucepan, place chopped vegetables and garlic and add water or vegetable broth until just covered. Bring to a boil and cook until vegetables fall off a fork, about 25 minutes. Reserve 1/4 cup (60 mL) of cooking liquid and drain the remainder.
Into blender, place cooked vegetables, nutritional yeast, and butter, and blend until smooth. If you prefer a thinner mixture, add reserved liquid to achieve your preferred consistency. Season with salt and pepper, to taste. Place in serving dish and enjoy. This dish can be prepared in advance and reheated before serving.
Serves 6
Each serving contains: 127 calories; 5 g protein; 3 g fat (1 g sat. fat); 24 g carbohydrates (4 g sugars, 5 g fiber); 101 mg sodium
We use our knees to walk, run, jump, sit, stand, and climb. As a result, it’s one of the easiest body parts to injure. Luckily, there are several knee-strengthening exercises to curb pain and prevent injury. Remember to check with your doctor before performing these exercises.
Bodyweight squat
Stand up straight with your legs hip-width apart. Shift your weight to your heels. Bend at your knees as if you’re sitting in a chair while shifting your torso forward to maintain balance. Lower yourself down only until your heels slightly lift off the floor. Using your thigh muscles, lift yourself back to the starting position. Perform this exercise five to eight times.
Standing quadriceps stretch
You should feel this stretch in the front of your thigh. Hold onto a wall or chair for extra support. Stand with your legs hip-width apart. Bend your left knee. With your left hand, grasp your left ankle and pull your heel toward your buttock. Hold this stretch for 30 to 60 seconds. Repeat two or three times. Perform this exercise on your right side.
Glute bridge
Lie on your back with your legs hip-width apart, knees bent, and feet flat on the floor. Keep your abdominal muscles strong. As you exhale, use your glutes to slowly lift your hips a few inches off the ground. Do not overarch your back. Inhale as you lower your hips down to the ground. Repeat this exercise eight times.
Supine hamstring stretch
Lie with your back flat against the floor with both knees bent and feet flat on the ground. Bring your right knee to your chest. Extend your right leg straight toward the ceiling until you feel a stretch behind your knee. With both hands, grab either your leg or thigh depending on your comfort level. Hold this position for 30 to 60 seconds. Repeat two to three times. Perform this stretch on your left leg.
Calf raises
You will need a chair to maintain balance. Stand straight with your feet hip-width apart. Hold onto the back of a chair for support. Lift your left foot off the floor. Raise your right heel so you’re standing on your tiptoes. Lower your heel back down. Repeat two sets of 10. Perform exercise on your left leg.
Leg extensions
Sit in a chair with both feet flat on the ground. Make sure you keep your back straight and abdominal muscles contracted. Raise your right leg until your leg is in a straight line from thigh to foot. Hold this position for five seconds. Return your leg to the starting position. Perform three sets of 10. Repeat on your left leg.
A lot has changed since the term “chief cook and bottle washer” was first coined in the 1800s to describe “the person in charge of practically everything.” Does this describe your position at home? In addition to your many duties as the chief cook and bottle washer, you may also find yourself in the role of chief medical officer (CMO), at least as far as your family is concerned.
Plan ahead Don’t wait until sickness hits. Stock up on natural medicines and health-supporting foods such as whole grains and beans, or freeze or ferment fresh foods from the harvest that help to keep your family healthy.
Practise prevention We all know we need to eat a healthy diet, exercise, get outside for fresh air, and reduce stress (or at least find healthy ways to lessen its effects), but it’s important to implement these prevention strategies. It’s also important to encourage these lifestyles without enforcing them like a drill sergeant, which is likely to create more stress among family members.
Stock your at-home natural medicine cabinet Having a medicine cabinet stocked with natural products that work to prevent colds, flu, and other viral threats may help keep you and your family members strong against whatever virus is going.
Know when you need assistance Any good CMO knows when to turn to other experts. Watch for signs that suggest you should see a doctor, which include but are not limited to
a high fever
a fever that lasts for more than a day
difficulty breathing
unusual symptoms
symptoms that are taking longer than normal to resolve
aggravations of any other health conditions
Best antiviral supplements Always check with your health care practitioner before taking a new supplement.
Supplement Benefits
curcumin (Curcuma longa—compound found in turmeric) has been shown to reduce the ability of viruses to enter the cells
echinacea supplementation may decrease the duration and severity of acute respiratory tract infections
elderberry (Sambucus nigra) antiviral reputation is reinforced by research demonstrating its effectiveness against the flu
epigallocatechin gallate (EGCG—compound found in green tea) interferes with the viral replication process, resulting in antiviral effects
garlic (Allium sativum) contains organosulphur compounds that enhance immune response and block the ability of viruses to enter the cells
oregano oil (Origanum vulgare) demonstrates antiviral activity against multiple strains of influenza
probiotics have demonstrated beneficial effects in prevention and treatment of many viral infections
quercetin nutrient found in apples, berries, green tea, and onions; research shows quercetin inhibits the ability of a wide range of flu viruses to enter the cells
vitamin C (ascorbic acid) supports and directly stimulates cellular functions of the immune system
vitamin D3 (cholecalciferol) works against viruses in multiple ways, including lowering viral replication rates and reducing inflammatory cytokines.
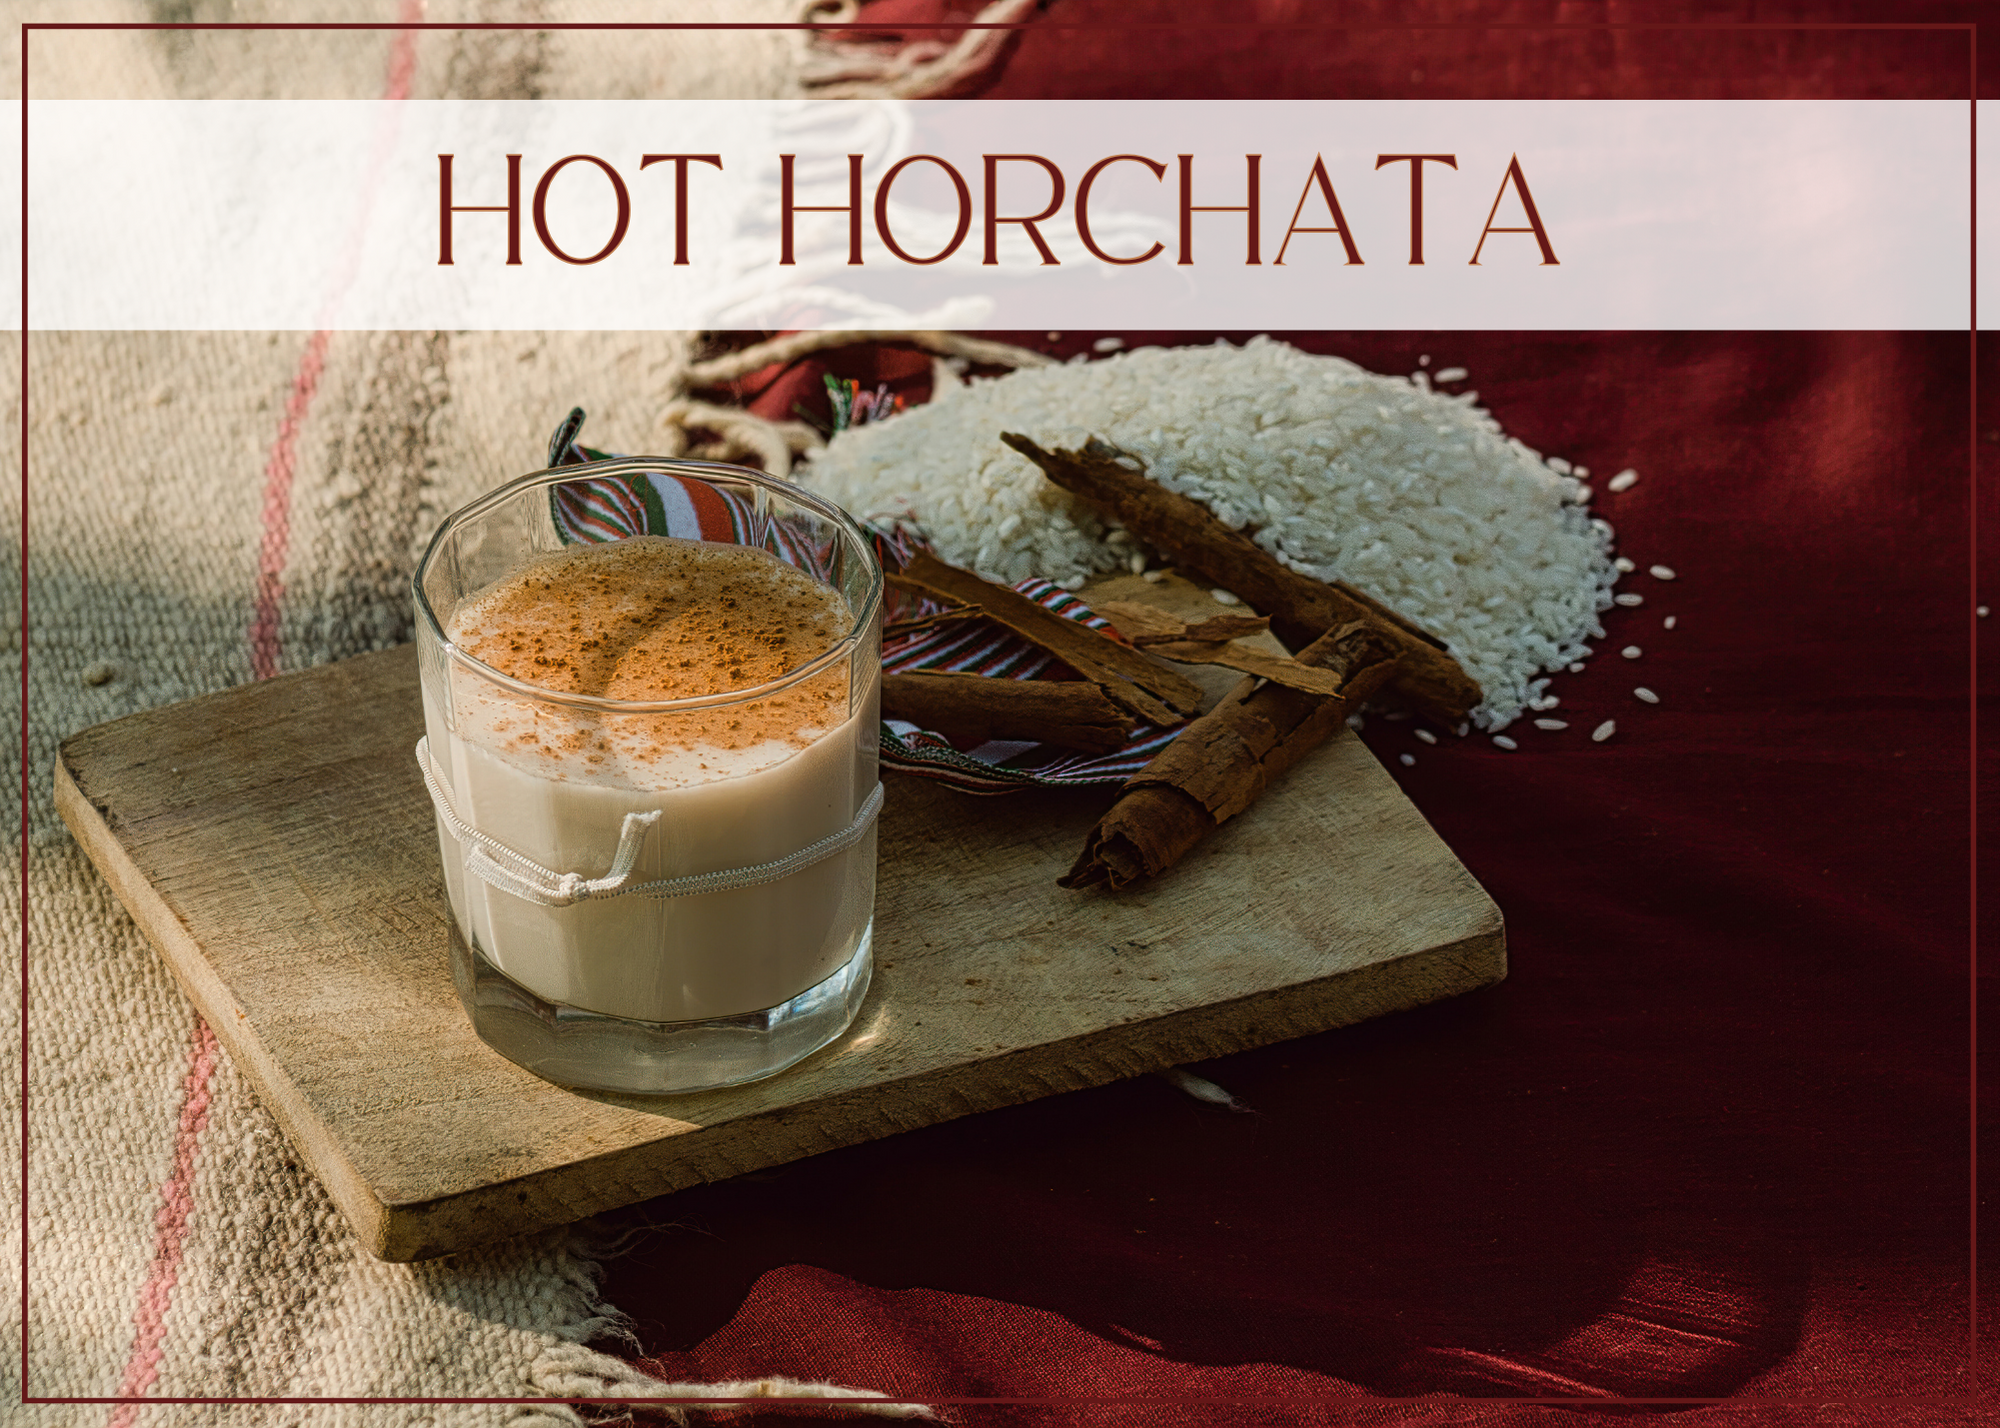
There’s something truly comforting about a hot cup of this sweet, spiced rice beverage. In this recipe, we’ll show you how to create a soothing and aromatic hot horchata that’s perfect for those cozy moments when you need a little comfort and indulgence. Let’s dive into this simple hot horchata recipe.
Elisa Franco
Hot Horchata
As the sweet and spicy aroma fills your kitchen, you'll find that hot horchata is delightful for those chilly evenings when you're craving a comforting treat. So, cozy up, savor the moment, and let the warmth of this drink serve you comfort in a cup!
1/4cuphoney, or sweetener of choiceadjust to taste
1tspvanilla extract
ground cinnamonfor garnish
Method
Begin by rinsing the rice thoroughly under cold water until the water runs clear. This helps remove excess starch from the rice.
Place the rinsed rice and cinnamon stick in a bowl, and add 4 cups of water. Allow the rice to soak for at least 3 hours or overnight. Soaking softens the rice and makes it easier to blend.
After soaking, remove the cinnamon stick and transfer the rice and water to a blender. Blend until you have a smooth, creamy mixture. This may take a few minutes.
Set a fine-mesh strainer or a nut milk bag over a large saucepan. Pour the blended rice mixture through the strainer, pressing on the solids to extract as much liquid as possible. Compost the rice solids.
Place the saucepan with the strained rice liquid over medium heat. Add the honey or sweetener of choice, vanilla extract, and milk of choice, and stir until the honey dissolves completely. Heat the mixture gently, but do not let it boil over.
Pour your hot horchata into cups or mugs. Sprinkle a pinch of ground cinnamon on top for garnish. Enjoy the soothing and comforting flavors of this hot horchata!