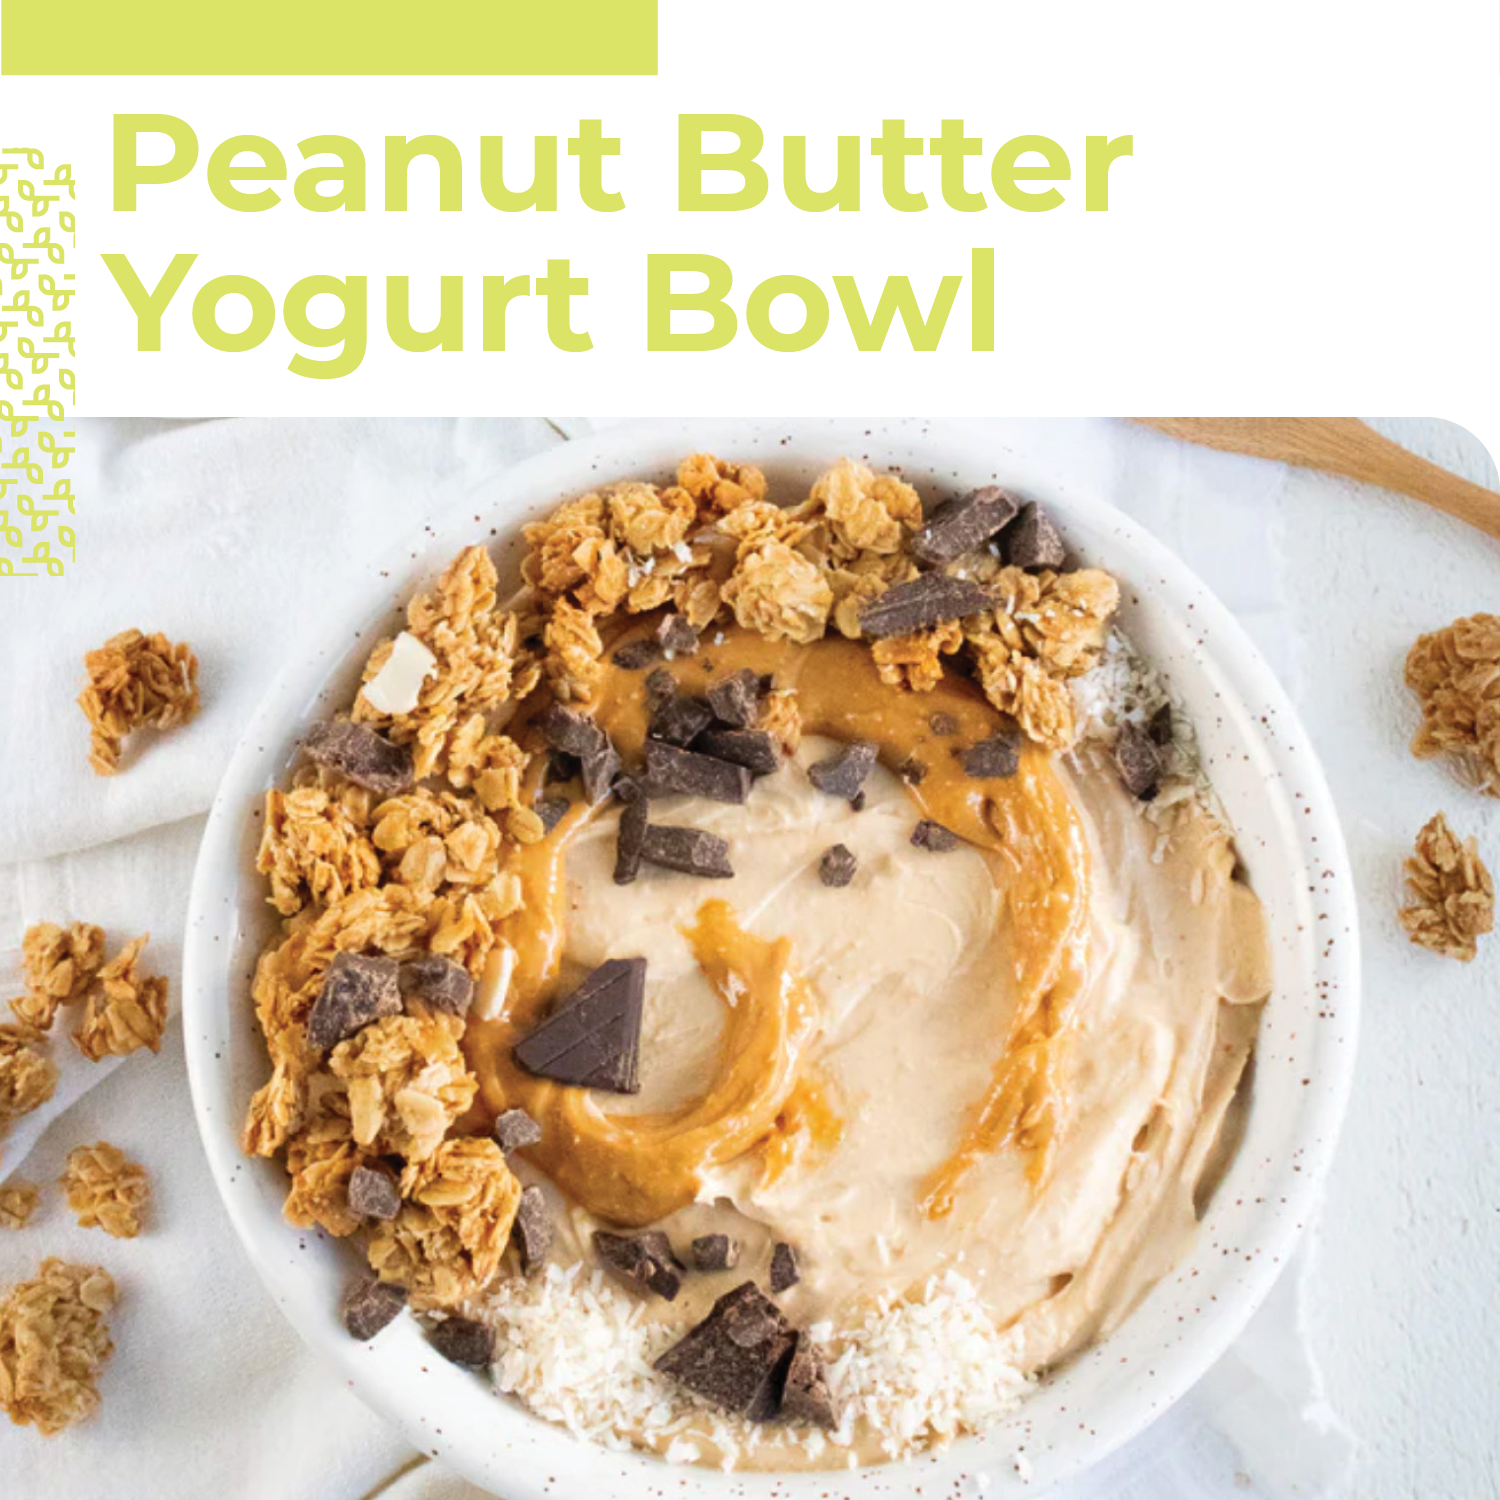
The basic recipe consists of peanut butter, yogurt, and maple syrup, but you can get creative with any of your favorite toppings. May we suggest pumpkin seeds, dark chocolate, and your favorite granola? Or consider coconut shreds, sliced banana, and mixed berries. This creamy peanut butter yogurt bowl is perfect for meal prepping during busy weeks. Simply keep the ingredients on hand to make when the craving strikes or you can scale the recipe up and store it in the fridge for up to five days.
Peanut Butter Yogurt Bowl
This salty and sweet peanut butter yogurt bowl satisfies every craving! Get ready for your new breakfast or go-to afternoon snack with the goodness of collagen and protein to support wellness and sustain energy.
In a bowl, whisk together the Greek yogurt, peanut butter, maple syrup and Vital Proteins Collagen Peptides. Combine until creamy, whipped, and smooth.
Divide into bowls and add the toppings of your choice. Enjoy!
Sometimes you just need an easy lunch idea. Instead of falling back on takeout, put together this easy falafel lunch bowl using already prepared ingredients! Don’t sleep on the salad bar for washed, prepped, and chopped veggies. You could make a simple yogurt sauce with shredded cucumber. We won’t tell anyone if you buy it though. Colorful, fresh, and simple, this is a tasty compromise between ease and quality.
Falafel Lunch Bowl
Sometimes you just need an easy lunch idea. Instead of falling back on takeout, put together this easy falafel lunch bowl using already prepared ingredients!
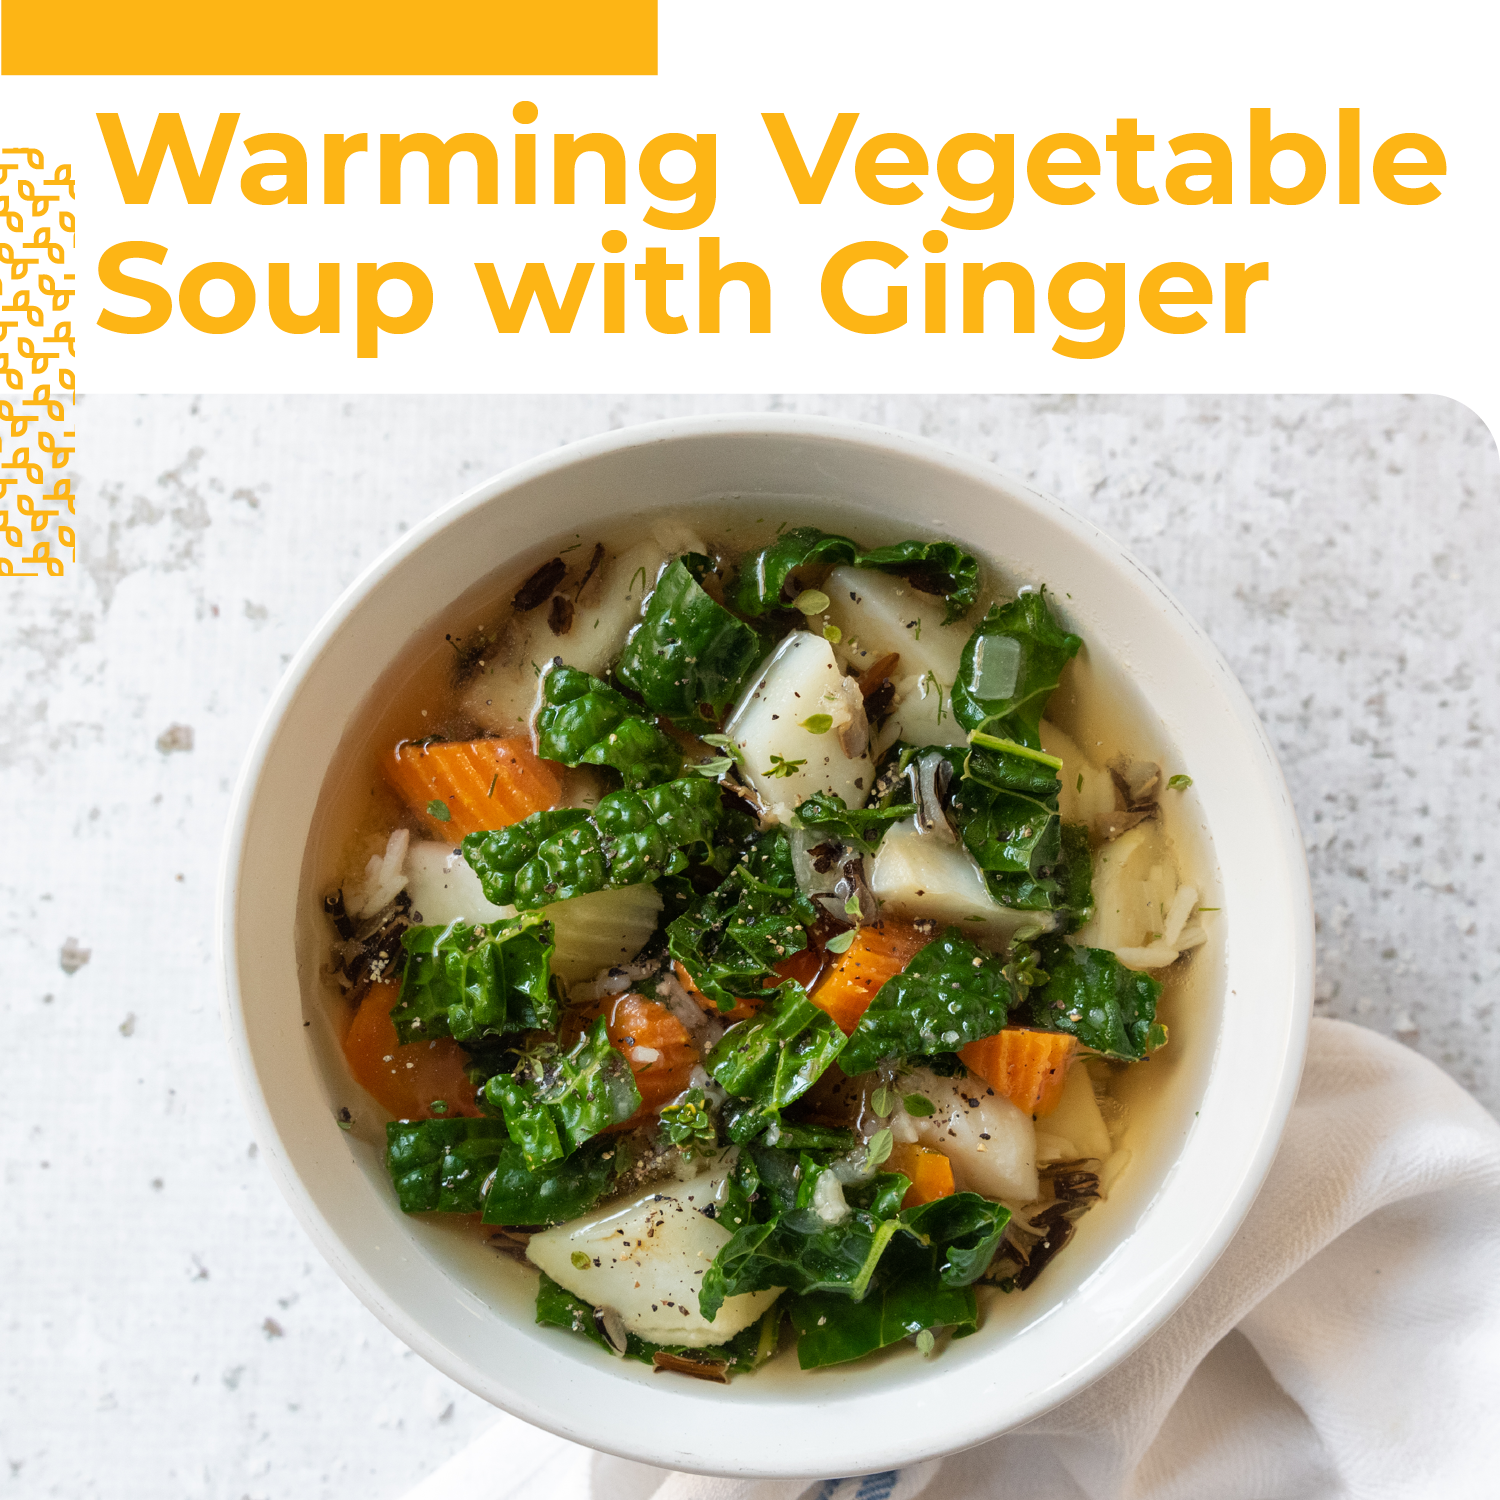
There are few things more comforting than a hot bowl of soup on a cold night. Think of this as a no-recipe recipe. Got leftover rice from takeout? Need to clean out the crisper drawer before heading to the store for a restock? Mix and match the vegetables in this warming vegetable soup to your preferences, but make sure to include the ginger!
Warming Vegetable Soup with Ginger
There are few things more comforting than a hot bowl of soup on a cold night. Substitute veggie stock for a vegan version and know that you’ve got dinner covered!
In a large stockpot, heat oil over medium heat. Add onion and sauté until tender. Add ginger and cook for a minute.
Add stock and carrots. Bring to a gentle simmer and cook for 5 minutes. Add potatoes and kale and return to a simmer. Cook until potatoes are tender then stir in rice. Season soup to taste with salt, pepper, and sriracha.
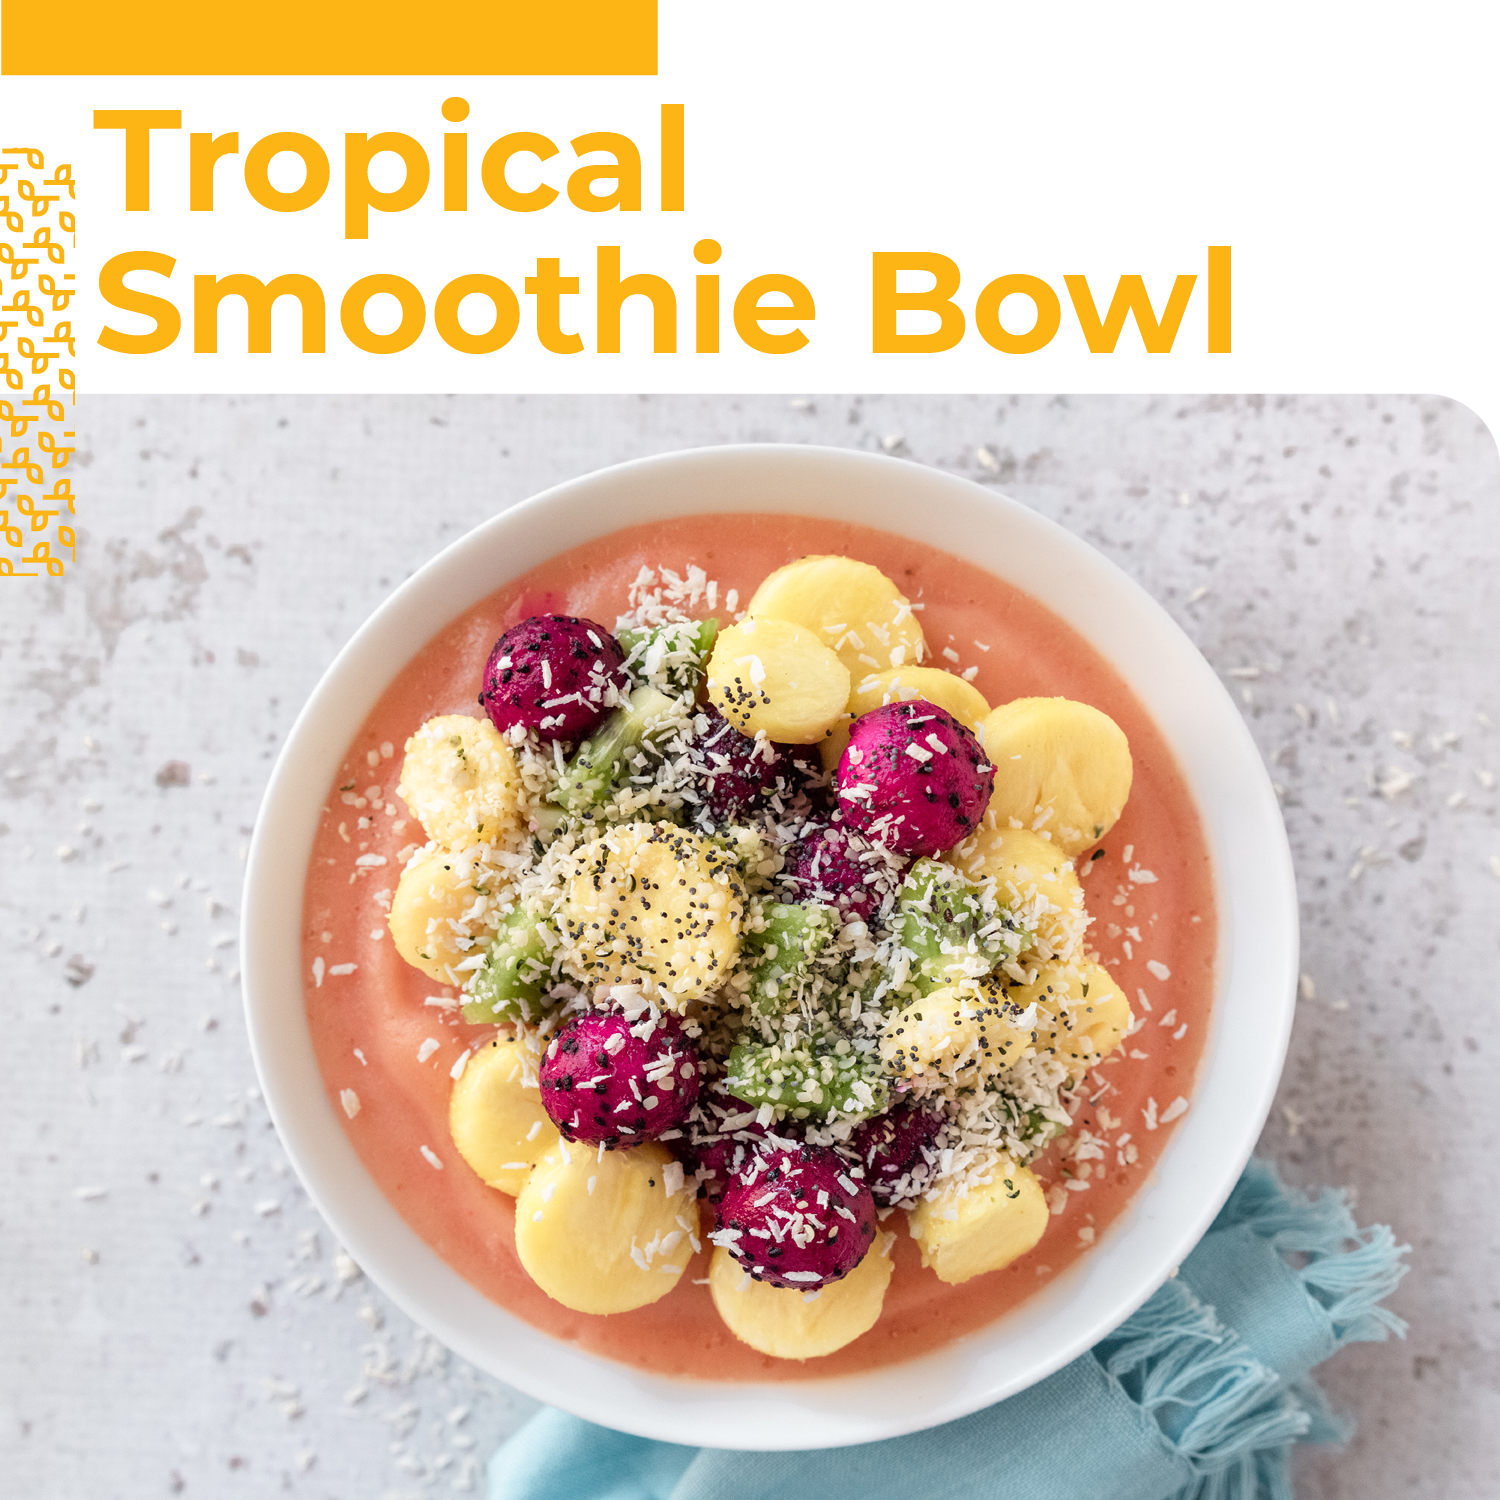
Smoothie bowls are a perfect way to inject a little tropical flair, not to mention vitamin C, into these winter days. Does the idea of drinking a meal take away some of the satisfaction? Control the consistency of your blended serving of fruits and go wild with toppings!
Tropical Smoothie Bowl
Smoothie bowls are a perfect way to inject a little tropical flair, not to mention vitamin C, into these winter days. How will you top your tropical smoothie bowl?
While you may be missing the ease of a carton of store-bought nog, once you see how easy it is to make it yourself, you may never go back. Making your own means you can customize it to your tastes, preferences, and dietary restrictions! This coconut cashew nog is dairy-free and egg-free, which makes it an excellent option for the vegans in your life. The hardest part of this recipe is waiting for the cashews to soften with an eight-hour soak. In other words, with a little planning, it’s a snap. Cheers!
Coconut Cashew Eggnog
Looking for a vegan alternative to the holiday classic beverage? This coconut cashew nog has all the flavor for your festive drinks without dairy or eggs!
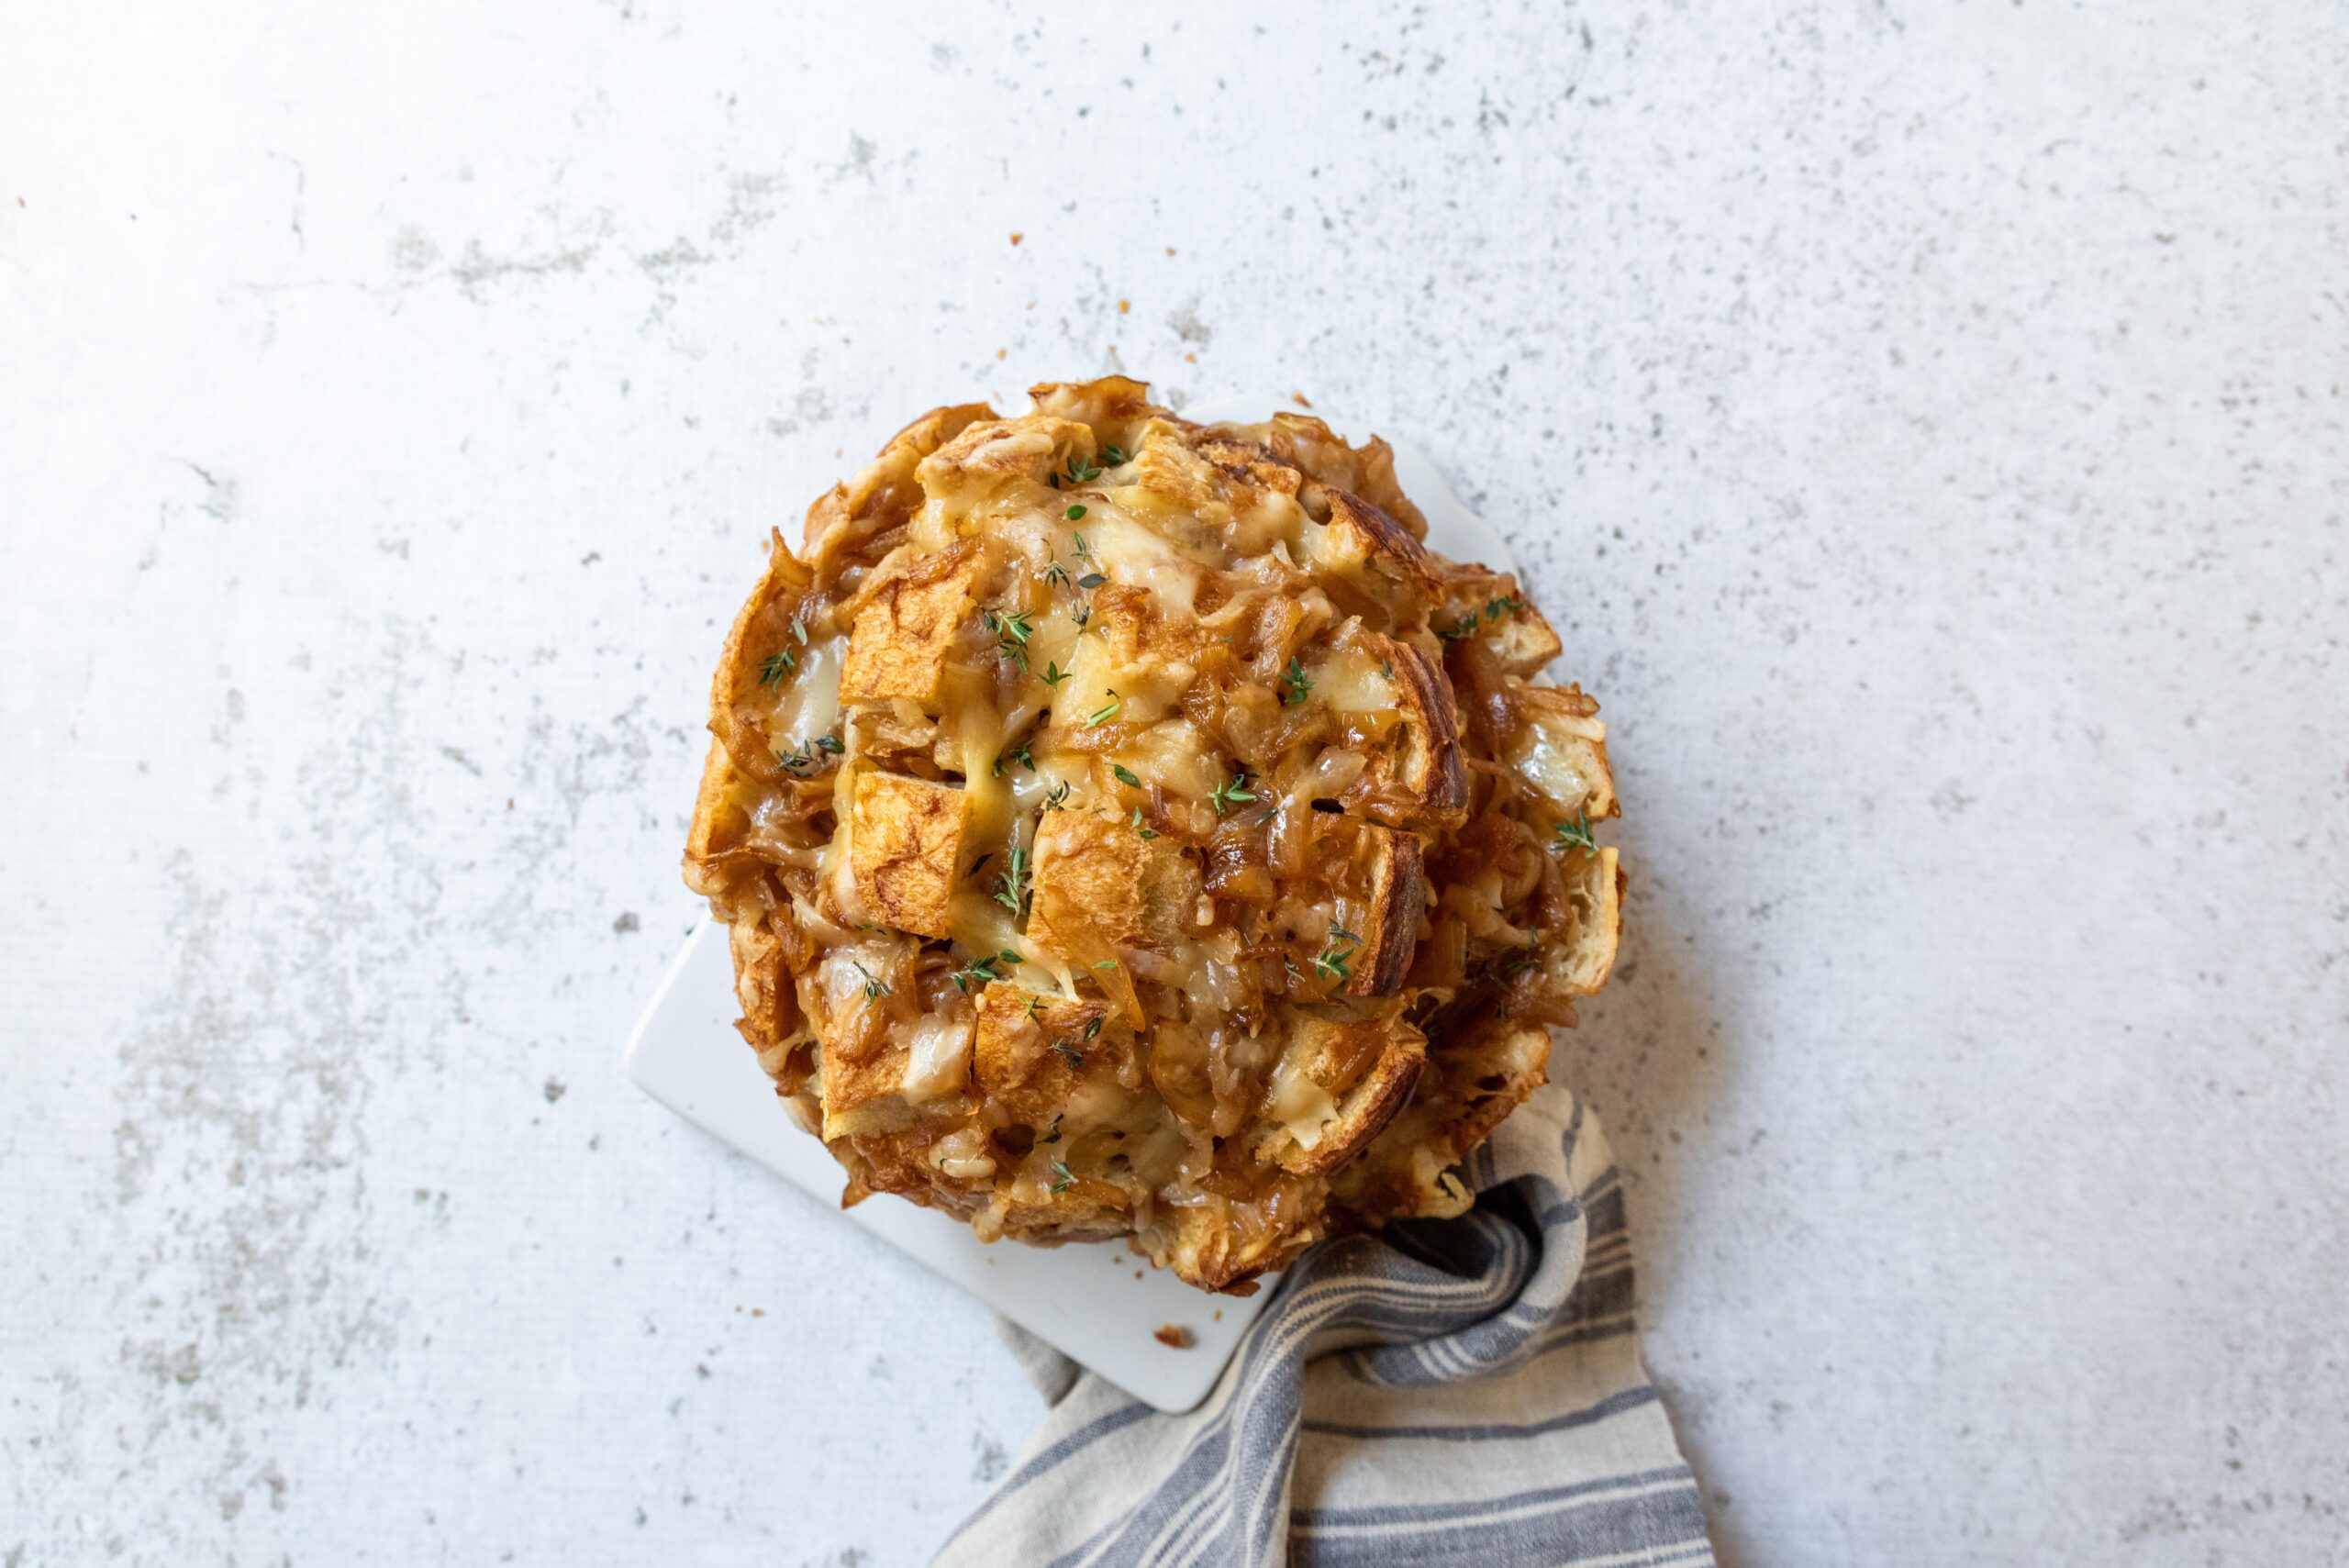
This sweet onion pull-apart cheese bread is the ultimate semi-homemade party snack. Sweet and savory, cheesy and crispy, you’ll have everyone coming back for more. It’s less of a recipe to cook as it is instructions to combine. If you can slice bread and open a jar, you’ll have no trouble creating this delectable, celebratory loaf!
Sweet Onion Pull-Apart Cheese Bread
This sweet onion pull-apart cheese bread is the ultimate semi-homemade party snack. Sweet and savory, cheesy and crispy, you’ll have everyone coming back for more.
1cupcaramelized onion or prepared caramelized onion jam
1sourdough boule
3tablespoonssalted buttersoftened
1tablespoonfresh thyme leaves
Method
Preheat oven to 375°F. Combine cheeses and caramelized onion in a bowl and set aside.
Slice bread into one-inch-thick slices leaving the base of slices attached at the bottom of the boule. Rotate boule 90º and repeat slicing to form a grid pattern. Place on a parchment-lined baking sheet.
Brush the inside slices with melted butter.
Stuff the cheese mixture into sliced boule and sprinkle with thyme leaves.
Bake boule for 20-25 minutes or until cheese has melted.
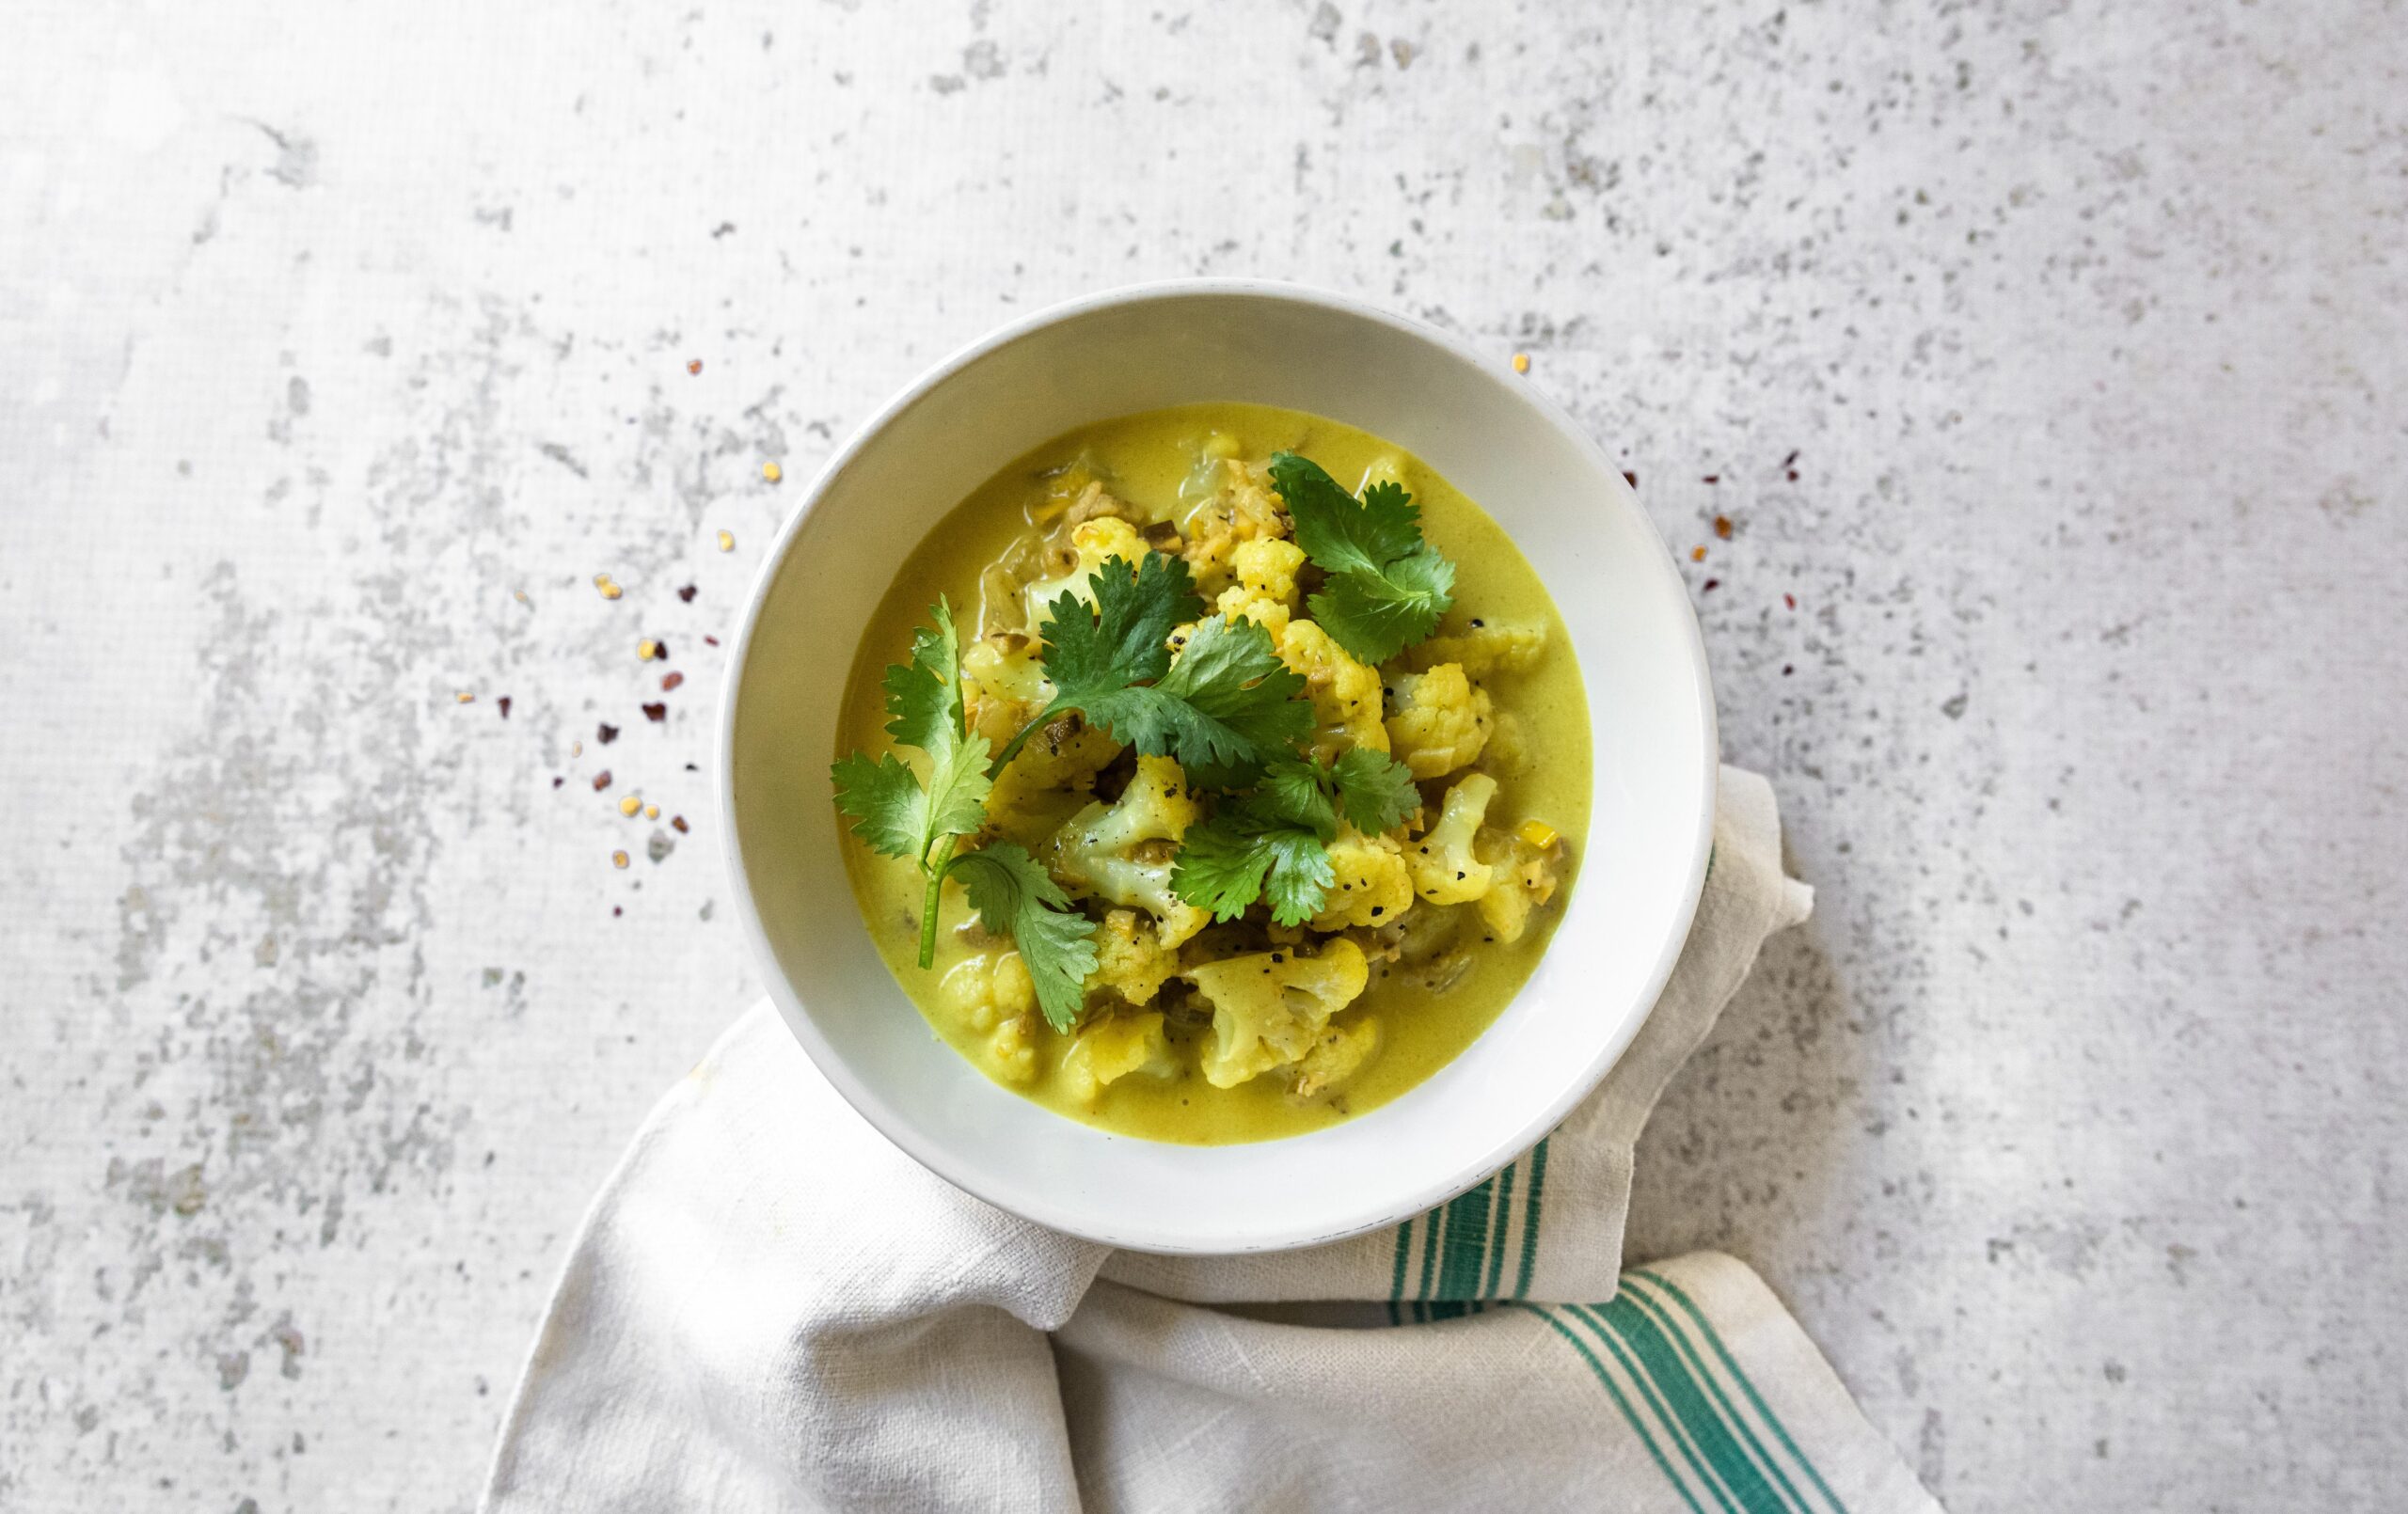
Looking to reduce your food waste? Save those banana peels! With a quick soak in hot water, peels are transformed to a soft blank canvas. Shredding the peels like you would pull chicken or jackfruit gives you a neutral plant-powered addition to this coconut curry. Add some aromatic seasonings, this curry will transform how you view banana peels! Served over rice, don’t skimp on the lime juice. The acidity livens up the dish and makes it simply craveable.
Banana Peel Curry
Looking to reduce your food waste? Save those banana peels! With a quick soak and some aromatic seasonings, this curry will transform how you view banana peels! 🍌
Place banana peels in a large bowl of hot water, cover, and let sit for an hour to soften.
Drain water. Using a fork, shred peels lengthwise with skin side down, then mince.
In a large stockpot, heat avocado oil over medium heat. Add chopped onion and cinnamon stick and sauté until translucent. Add garlic, ginger, and curry powder. Sauté for 30 seconds or until fragrant.
Add cauliflower, prepared banana peel, and stock. Bring to a gentle simmer, cover, and cook until cauliflower is tender about three to five minutes.
Stir coconut milk, salt, sugar, and lime juice and heat through. Adjust seasonings to taste and serve with basmati rice.
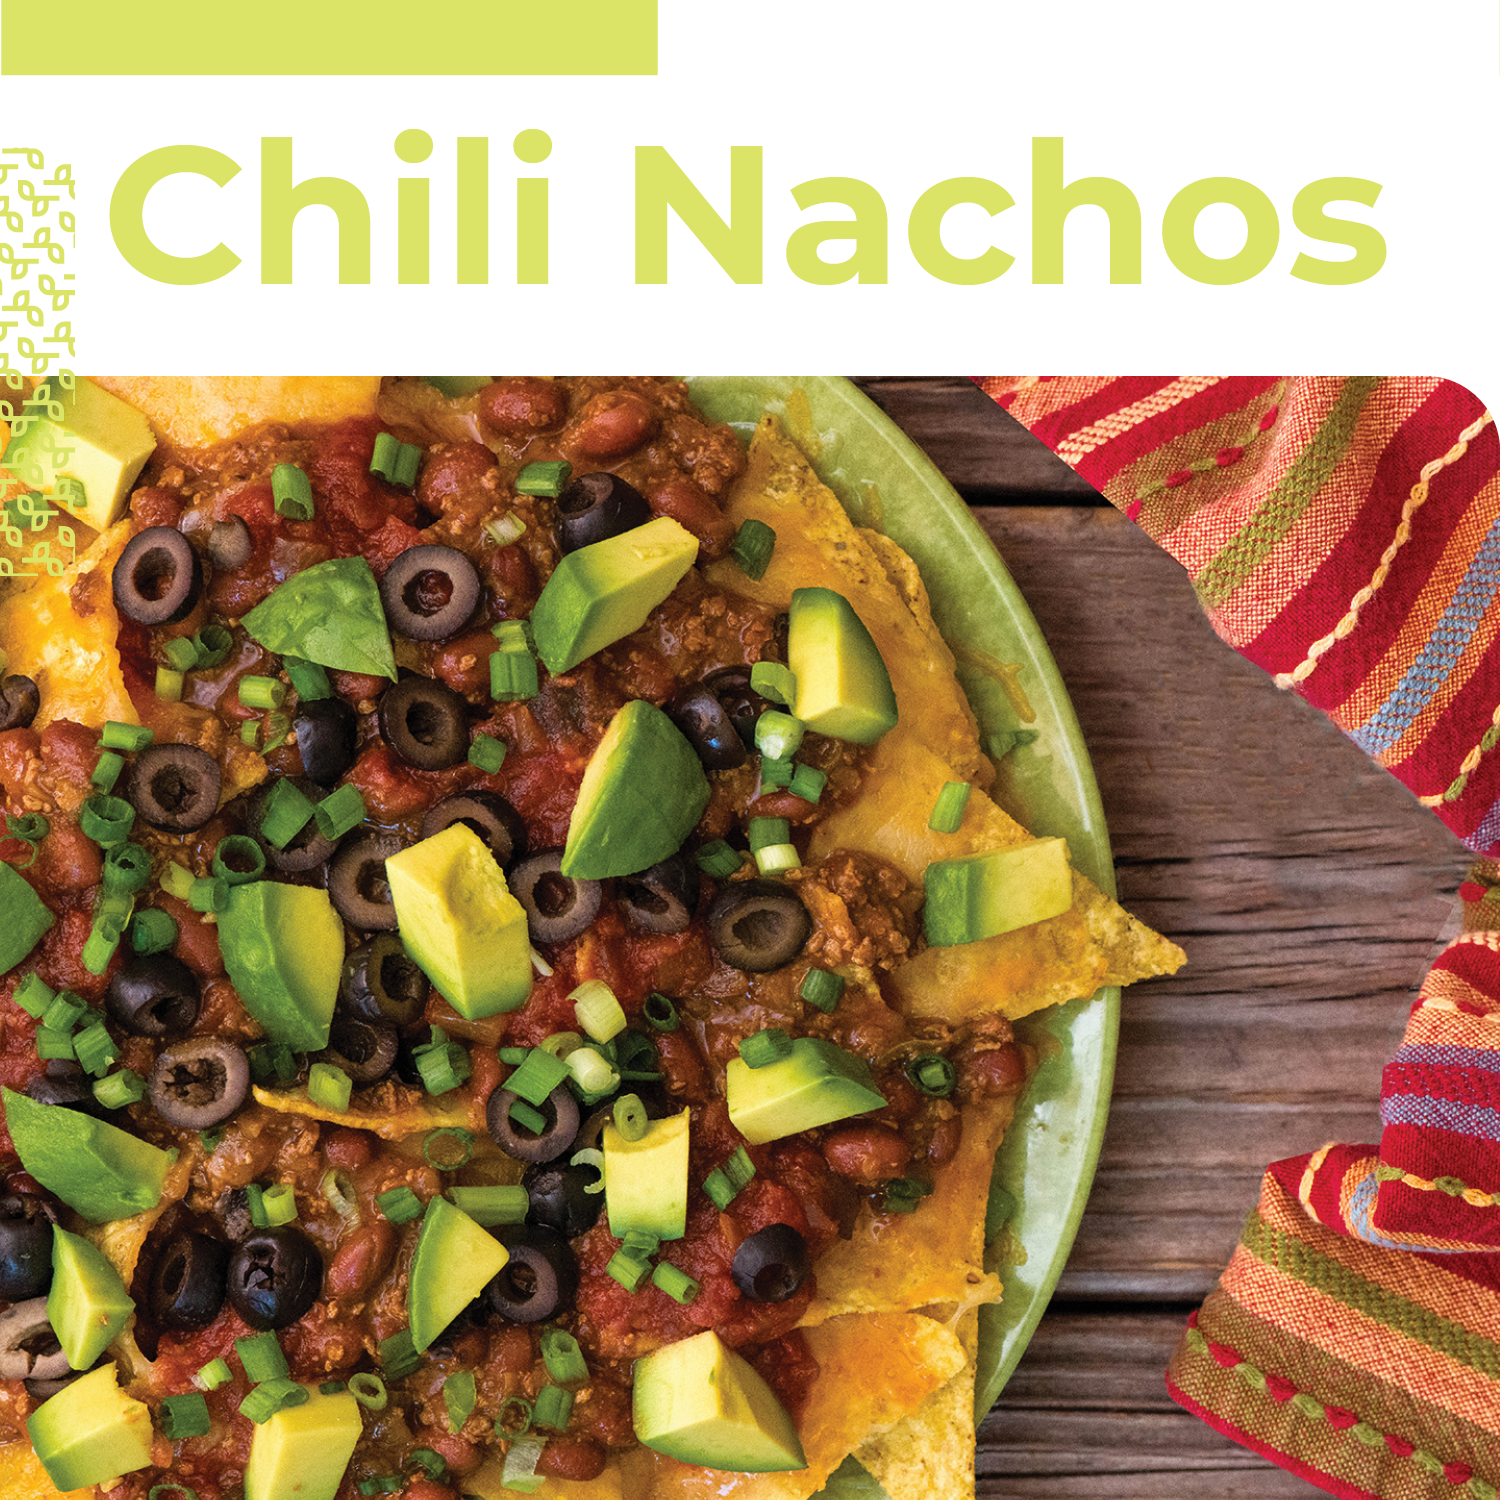
Got a late night craving? These chili nachos are ready in minutes! Plus, they’re endlessly customizable. Add sour cream, jalapeños, diced onion, or a squeeze of lime to take these to the next level.
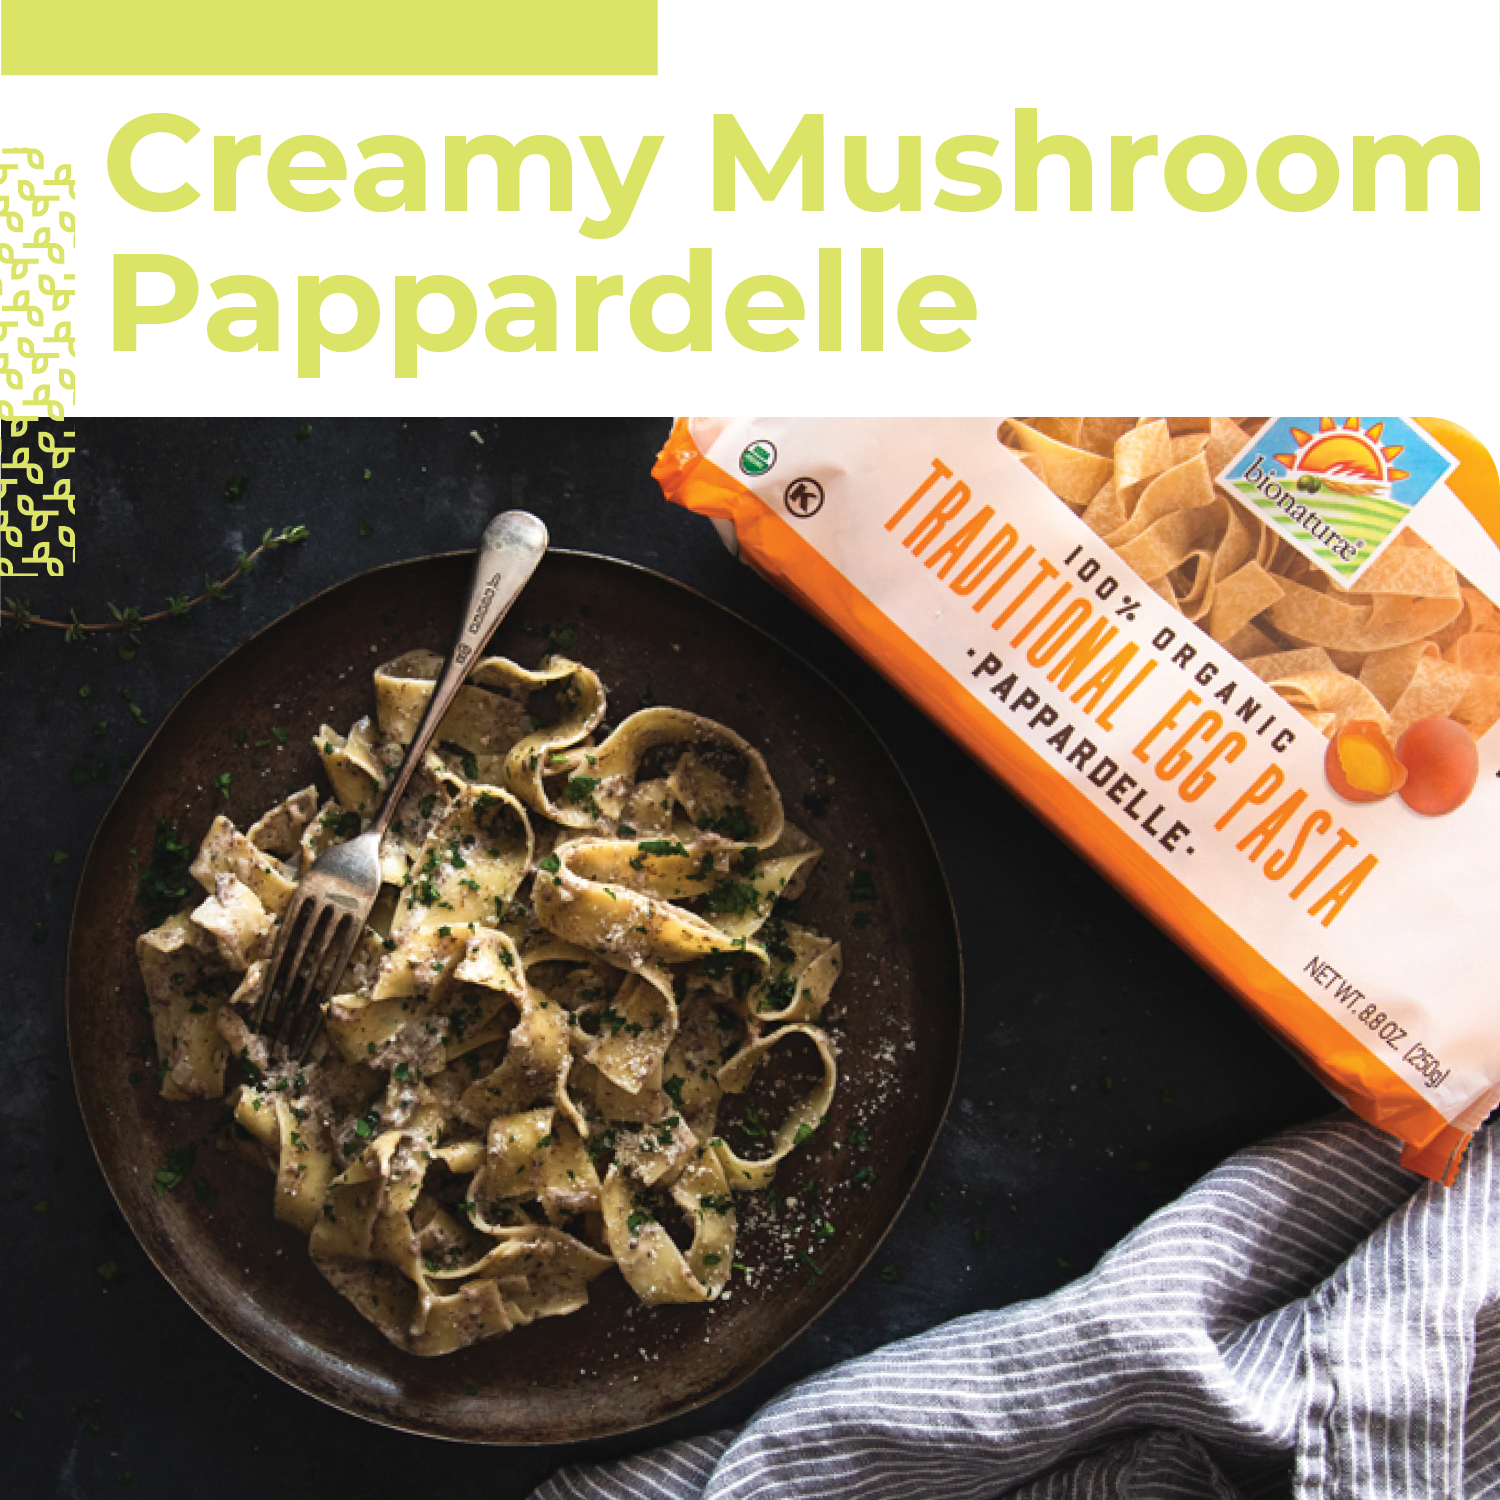
This comforting creamy mushroom pappardelle recipe is filling and flavorful yet not too heavy or too rich. Our Egg Pappardelle noodles are wide and strong enough to carry lots of sauce with each bite, making it a hearty meal for wintertime but also just light enough to enjoy in the spring!
In a large skillet, sauté butter, shallot, and garlic on medium-low heat for 2 minutes.
Chop the mushrooms in a food processor, then add them to the skillet with parsley and thyme, and salt to taste. Cook on low heat uncovered for 7 minutes.
Whisk cream and corn starch together, add to the sauce. Cook for 2 more minutes; add cheese and cook for 1 minute.
Cook bionaturae pappardelle according to instructions, then toss in the skillet and cook on medium-low for 30 seconds.
Thanks to Christine Waltermyer & The Natural Kitchen Cooking School!
Christine Waltermyer is a local and renowned Wellness Chef, private chef to celebrities, published cookbook author and founder of the Natural Kitchen Cooking School, which offers an online Plant-Based Cooking Program. She also loves shopping at Basil Bandwagon! Visit naturalkitchenschool.com to subscribe to her email newsletter for new recipes, tips, and FREE access to the Power of Veggies mini-course!
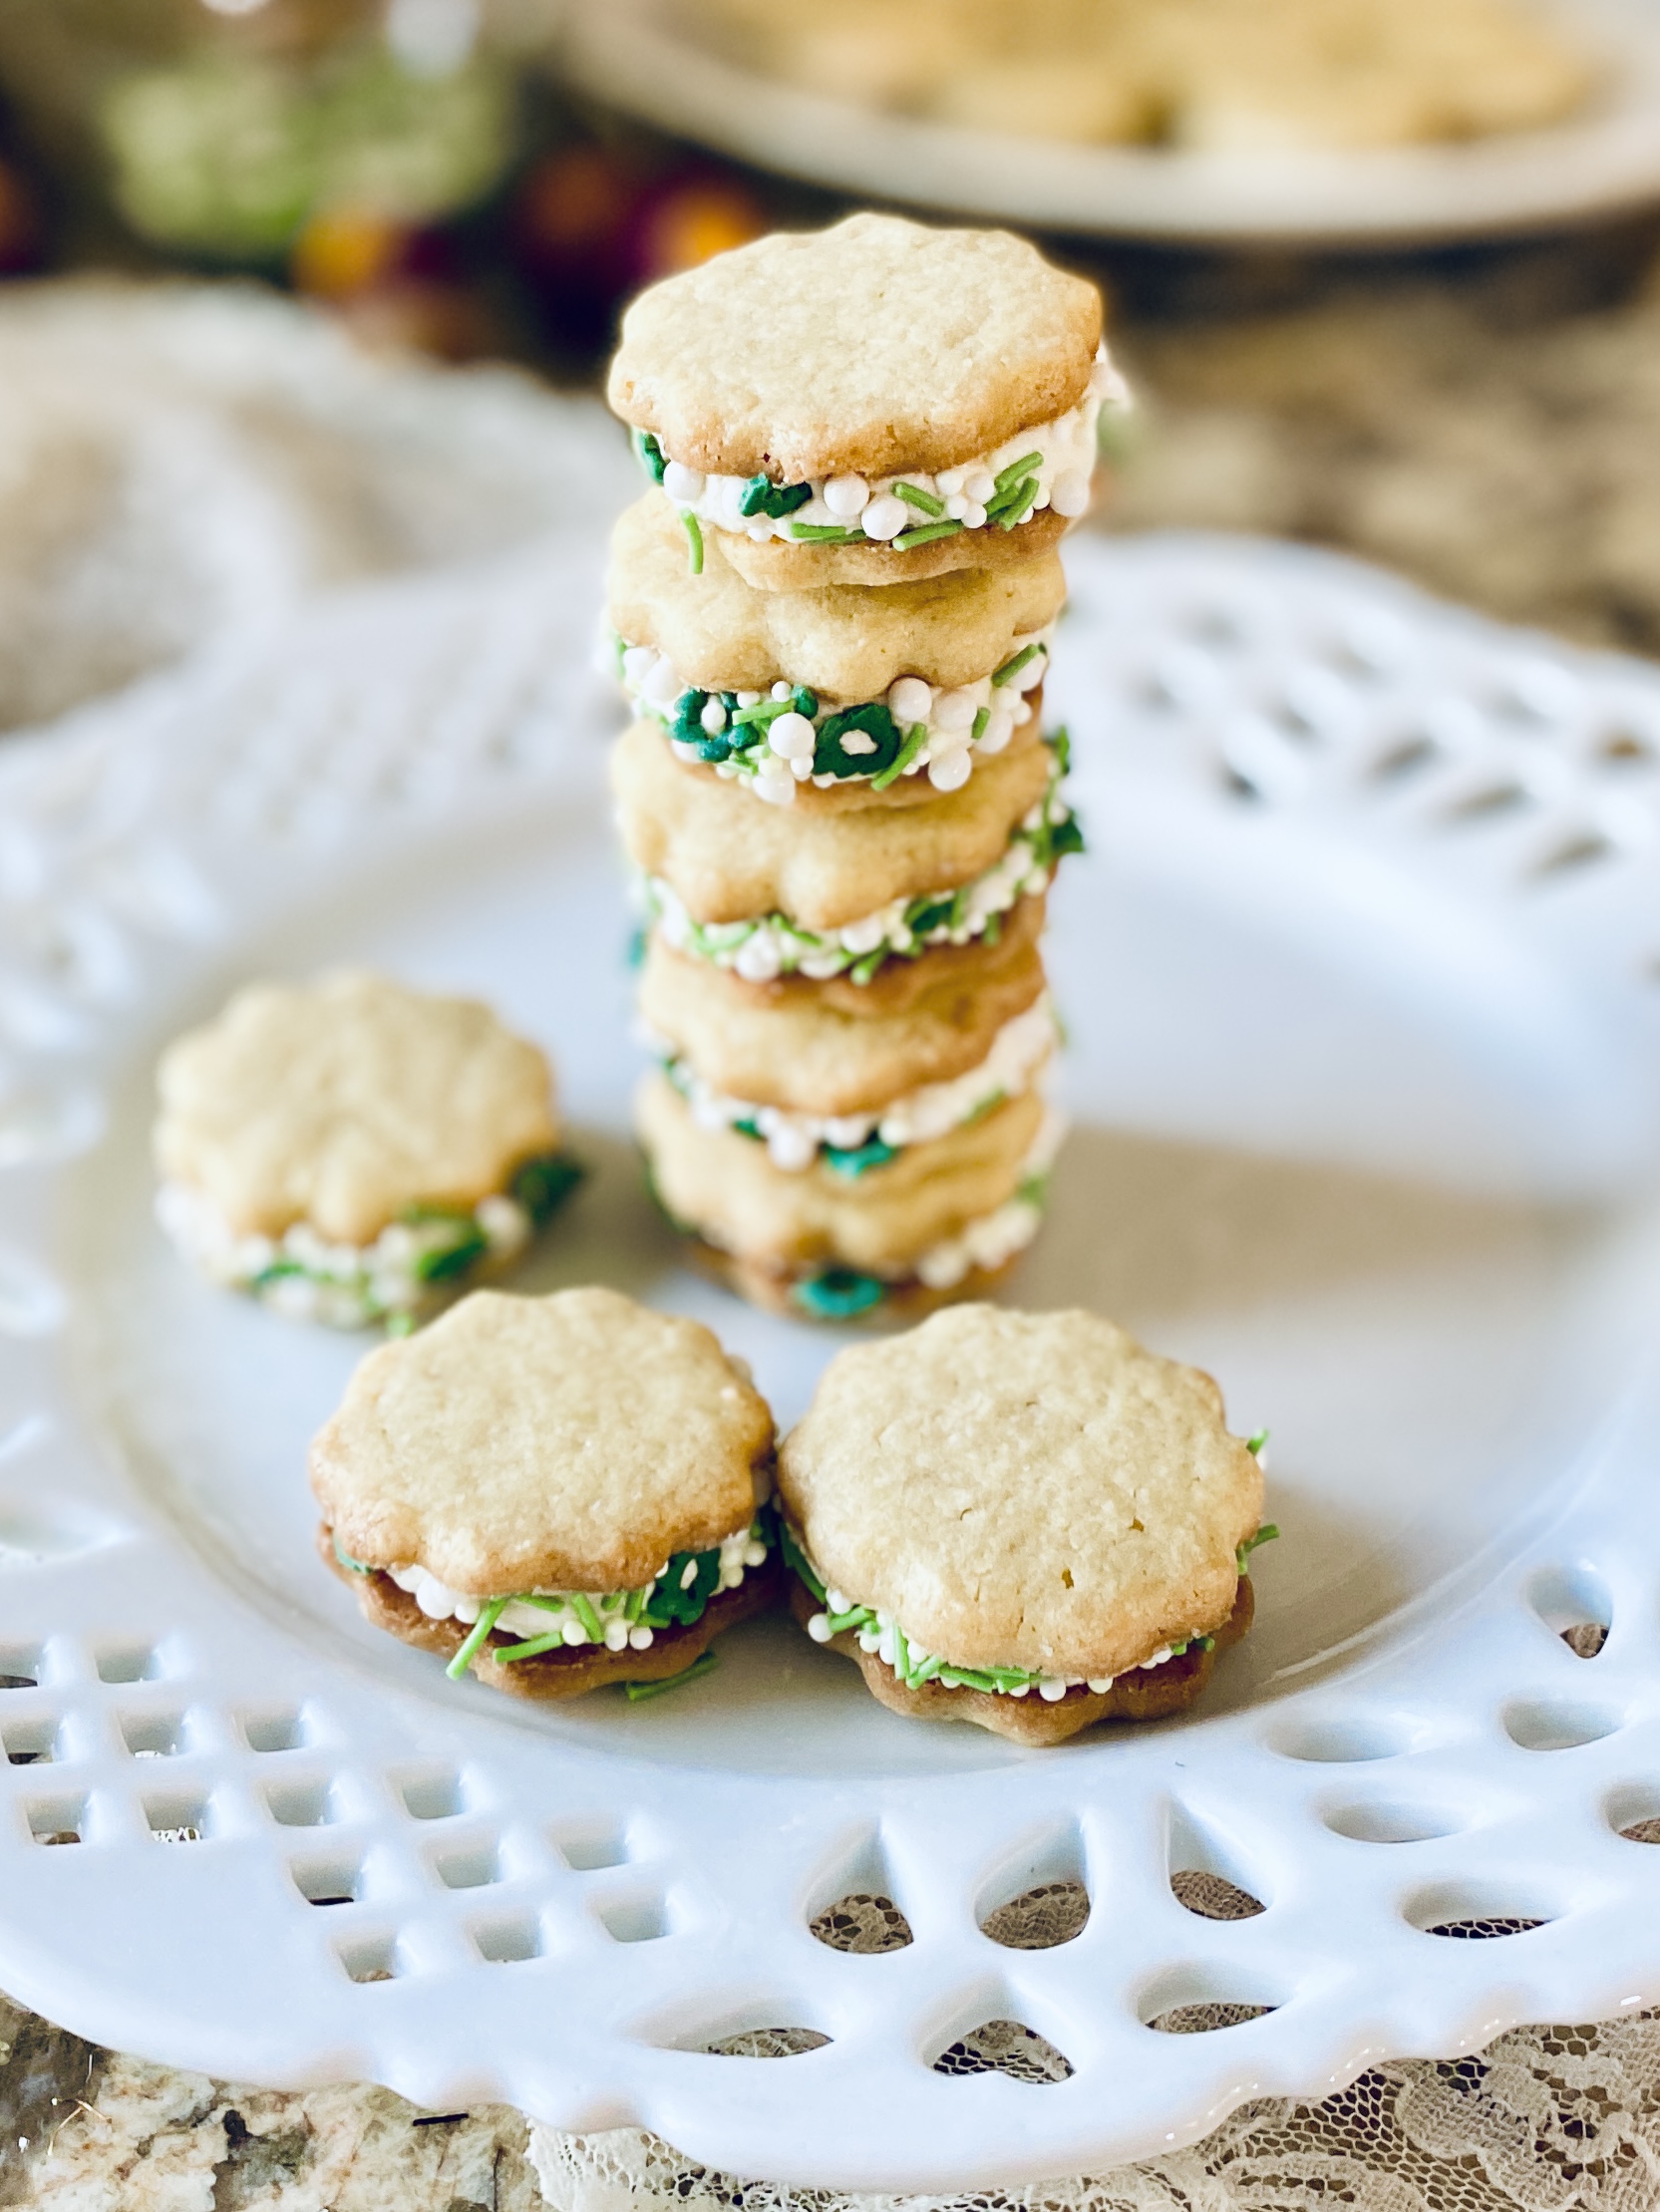
Do you know what sweet treat you’re making for your holiday cookie exchange? Thanks to Christine Waltermyer and The Natural Kitchen Cooking School, now you do – and everyone will love it! These Vanilla Sandwich Cookies not only taste great, but you can decorate them in your favorite sprinkles – especially Supernatural Kitchen’s Into The Woods festive, artificial dye-free sprinkles!
In a large mixing bowl, place the softened butter and sugar. Use a hand mixer or stand mixer to cream together the butter and sugar for a few minutes until fluffy. Scrape down the sides as needed.
Add the vanilla extract, lemon juice and egg. Mix well.
Add the all purpose flour, cornstarch and sea salt. Continue mixing until a smooth dough forms.
Form the dough into a flat disc. You may need to add a little extra flour to get the right consistency. Wrap it in parchment paper or plastic wrap. Chill the dough in the refrigerator for at least 30 minutes.
Preheat the over to 350°F. Line several baking sheets with parchment paper.
Remove the dough from the refrigerator. Unwrap it and place it between two fresh sheets of parchment paper. Use a rolling pin to carefully roll out the dough until it's just under ¼ inch think.
Use a 2-inch round fluted edge cookie cutter to cut out cookies. If the dough gets too soft to work with, place it in the refrigerator to chill. Transfer the cookies to the prepared baking sheets.
Bake for 10 to 12 minutes, until the edges of the cookies have set.
Let the cookies cool on the baking sheet for 5 minutes before transferring to a cooling rack. Repeat with the remaining dough.
Make the Vanilla Cream Filling
In a mixing bowl, place the softened butter and powdered sugar. Use a hand mixer to whip until fluffy. This will take about 10 minutes. Add the vanilla extract and lemon juice and mix again briefly to incorporate. If the filling seems too soft, you can add a little more powdered sugar.
Transfer the vanilla cream filling to a piping bag fitted with a large star or round piping tip.
Assemble the Sandwich Cookies
Add about 1 teaspoon of filling to the center of half of the cookies. Top the filled cookies with another vanilla wafer cookie. Use your fingertips to gently press the cookies together until the filling has spread to the edges.
If using optional sprinkles, roll the edges of the cookies and the sprinkles until it covers all of the vanilla cream filling.
Enjoy!
Notes
STORING THE COOKIES: Store the cookies in a covered container. They will keep at room temperature for up to 4 days and up to 1 week stored in the refrigerator.Unbaked cookie dough will keep in the refrigerator for up to 3 days.
Thank you to Christine Waltermyer and the Natural Kitchen Cooking School for working with us to help promote healthy, nutritious meals and products that are affordable, full of nutrients, and simple to make at home!