Brownie Baked Oatmeal
This Brownie Baked Oatmeal is the next best thing to eating cake for breakfast. With oats, chia seeds, and peanut butter, you’ll feel satisfied through the morning. Sweet maple syrup and chocolate make this a decadent treat that may be just what you need to get out of bed when all you want to do is hit the snooze button. As the weather cools, there’s nothing like a warm meal to motivate you. One batch of this oatmeal is perfect as a weekend breakfast for the whole family, or you can reheat individual portions throughout the week for a quick meal before work or school.

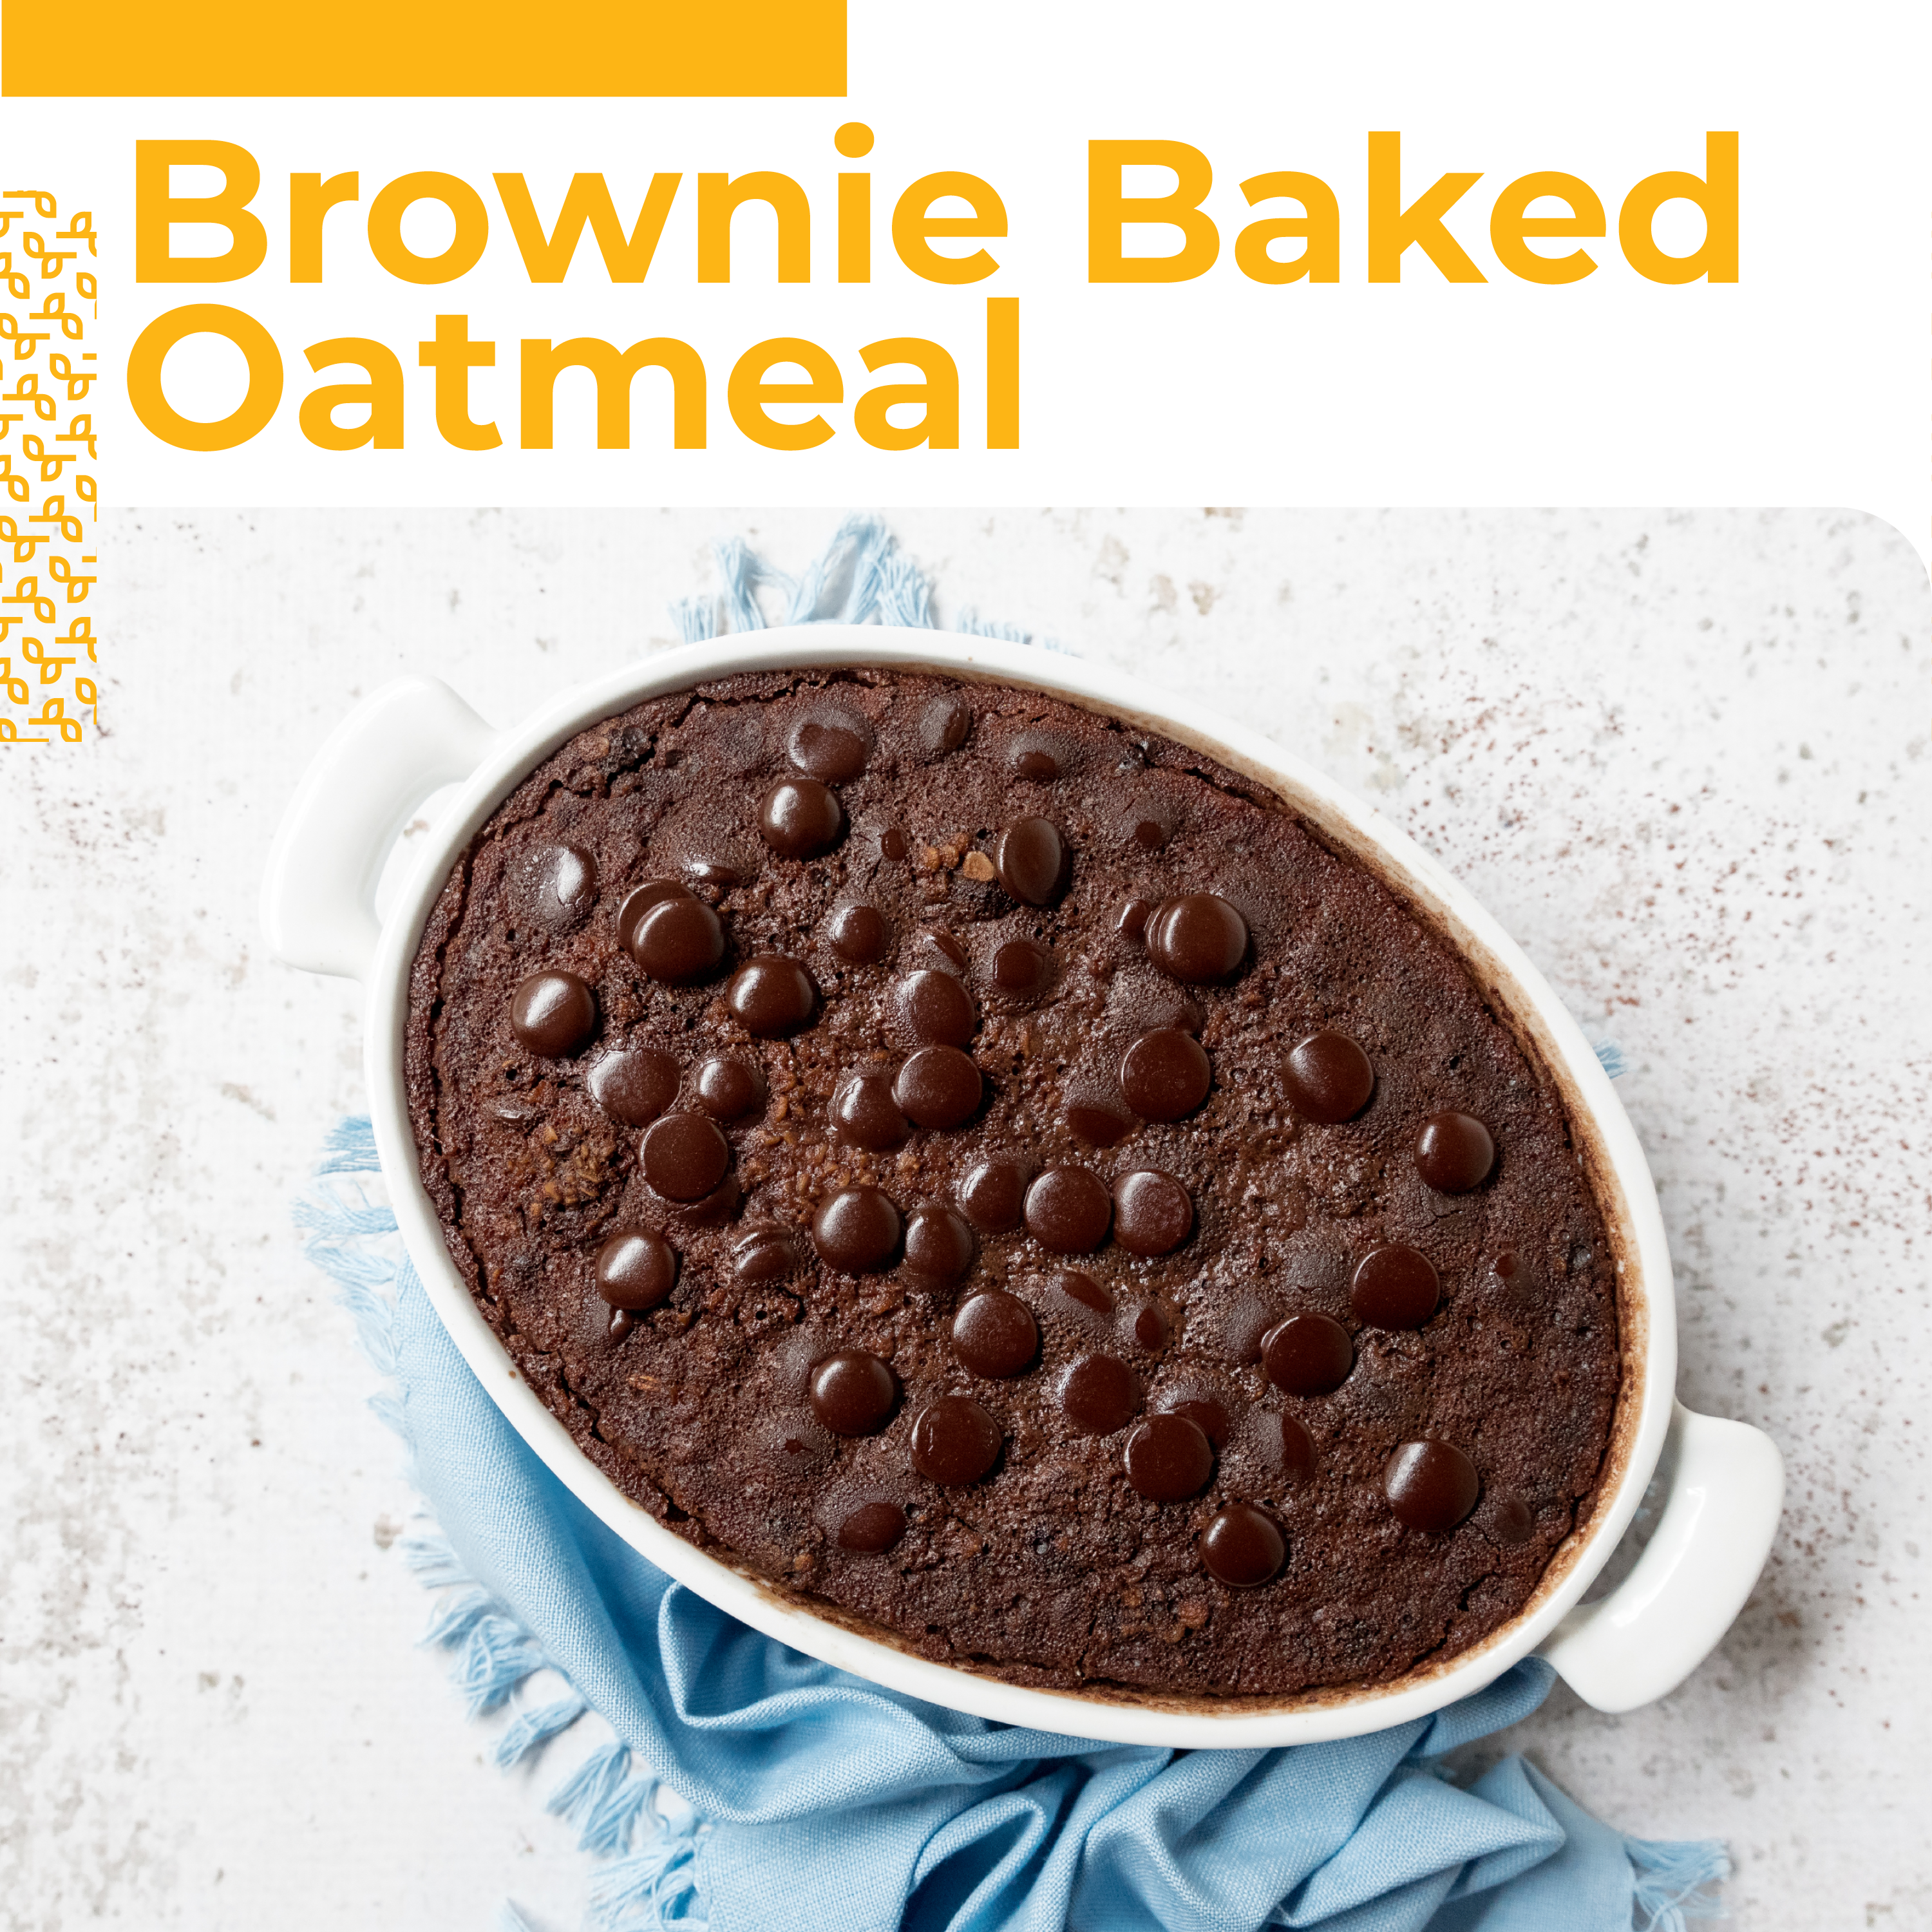
Brownie Baked Oatmeal
This Brownie Baked Oatmeal is the next best thing to eating cake for breakfast. With oats, chia seeds, and peanut butter, you’ll feel satisfied through the morning. Sweet maple syrup and chocolate make this a decadent treat.
Servings 6
Ingredients
- 2 cups quick oats
- ¼ cup cocoa powder
- 1 teaspoon baking powder
- 1 tablespoon chia seeds
- Pinch of salt
- 2 cups coconut milk from a carton
- ¾ cup maple syrup
- ½ cup peanut butter
- 1 teaspoon vanilla
- ⅓ cup chocolate chips or chopped chocolate
Instructions
- Preheat oven to 350∞ F. In a medium bowl combine oats, cocoa powder, baking powder, chia seeds, and salt.
- In a separate bowl whisk together coconut milk, maple syrup, peanut butter, and vanilla.
- Pour wet mixture into the dry mixture and stir until fully incorporated. Pour mixture into an oven-safe baking dish and sprinkle with chocolate chips.
- Bake for 35-40 minutes.
- Enjoy!
Recipe Provided by INFRA