Whether you’re looking to revamp your skincare routine (maybe a new, glowing face mask), mix up your natural cleaning products (you can never go wrong with hand sanitizer) or are shopping early for holiday gifts, Wyndmere Naturals is here to help! Keep scrolling for new DIY recipes – featuring products you can find at Basil Bandwagon Natural Market today.
Have you ever wondered why they package their essential oils in cobalt blue bottles? It’s because the colored bottles help keep out deteriorating sunlight which helps allow each product to stay fresh longer!
Christine Waltermyer is a local and renowned Wellness Chef, private chef to celebrities, published cookbook author and founder of the Natural Kitchen Cooking School, which offers an online Plant-Based Cooking Program. She also loves shopping at Basil Bandwagon! Visit naturalkitchenschool.com to subscribe to her email newsletter for new recipes, tips, and FREE access to the Power of Veggies mini-course!
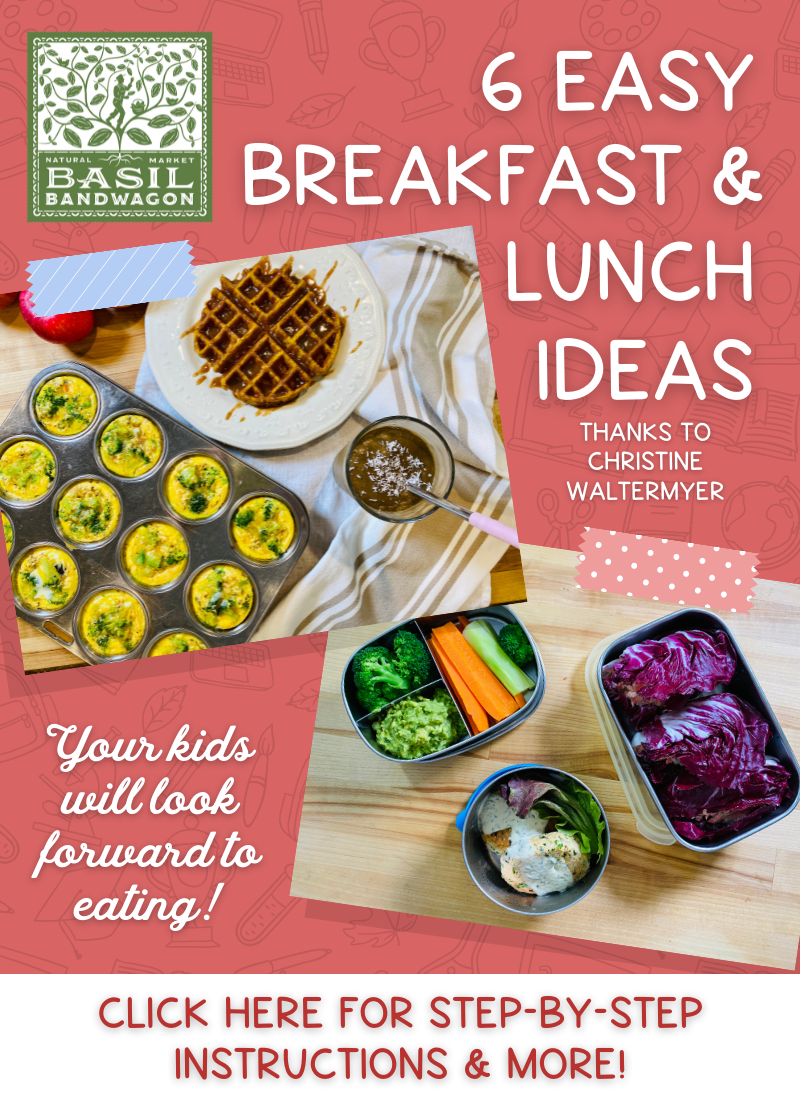
We’re more than halfway through the first half of this school year! 🤓 What better time to switch up your breakfast and lunch routines. Christine Waltermyer and the Natural Kitchen Cooking School have whipped up 6 easy recipes for us – 3 before-school breakfasts to keep them full until lunch 🧇 & 3 school lunch ideas that your kids will look forward to eating! 🥗
Place the shredded coconut and water into a blender. Blend on high for a few minutes, scraping down the sides as needed. Strain through a nut milk bag if desired.
In the blender, place the milk and all remaining ingredients. Puree until smooth.
Optional: Add a scoop of your favorite protein powder or some walnuts to add protein to this smoothie.
2tablespoonsLakanto monk fruit sweetener with erythritol
½cupunsweetened almond milk
¼cupavocado oil or melted coconut oiloptional
2eggs
½cupshredded carrot
Maple Almond Butter Topping:
¼cup almond butter
¼cupmaple syrup
Instructions
In a large bowl, combine the almond flour, coconut flour, sea salt, baking powder, vanilla powder, pumpkin pie spice, and monk fruit sweetener. Whisk to blend together.
Add the almond milk and optional avocado oil if using. In a small bowl, beat the eggs, then add them to the almond flour mixture. Stir well. Add the shredded carrot and fold in gently.
Preheat the waffle iron. Just before adding the batter, lightly brush with a silicone brush or spray the waffle iron with a little avocado oil or coconut oil. Using a spoon or measuring cup, quickly add half of the batter (about 1 cup). Spread it evenly over the waffle iron, then close it.
If you have the kind of waffle iron you can flip, cook for about 2 to 3 minutes on one side, then flip it. Cook for an additional 2 ½ minutes on the other side. If you have a regular waffle iron that does not flip, just cook for 4 to 5 minutes.
Carefully open the waffle iron. Let the cooked waffle cool slightly before removing. Repeat with remaining batter.
To make the maple almond butter topping: In a small bowl, mix together the almond butter and maple syrup. Serve the waffles warm, spread with the maple almond butter.
Heat a medium size cast iron skillet or other skillet of your choice over medium heat. Add the red onion, a small splash of water and a pinch of the sea salt. Cook for a few minutes, until they start to soften. Add the carrots, and another pinch of sea salt and splash of water. Cook for another few minutes, or until all vegetables are tender.
Crack all of the eggs into a large bowl. Beat the eggs. Add the Dijon mustard, sea salt and black pepper. Stir again.
Preheat the oven to 350 degrees F.
Prepare your muffin tin by generously greasing each muffin cup with some coconut oil or avocado oil. Add a spoonful of the cooked red onion-carrot mixture to each cup, evenly distributing the veggies among the 12 muffin cups.
Pour some of the egg mixture into each muffin cup, dividing equally. Bake for 25 minutes or until the tops are set and no longer wet. Cool for 15 minutes. Use a knife around the edges to release the egg muffin cups from the muffin tin.
½teaspoonsea salt (+ more for sprinkling on the finished patties)
a few grinds of freshly cracked black pepper
2tablespoonsavocado oil or coconut oil for frying
For the Dill Sauce:
½cupavocado mayonnaise
1teaspoondijon mustard
1tablespoonfresh dillfinely chopped
2teaspoonslemon juice
Instructions
Drain the canned salmon and place in a large bowl.
Add the eggs, almond flour, scallions, parsley, sea salt and pepper. Mix well, cover and refrigerate for 15 minutes.
Form the salmon mixture into 7 or so patties.
Heat a large skillet over medium heat. Add the avocado or coconut oil, and quickly add the salmon patties. Depending on the size of your skillet, you can add all of them or just 4 patties at a time.
Cook for about 4 or 5 minutes on one side. Using a spatula, carefully turn each patty. Fry for another few minutes on the other side.
To make the dill sauce: In a small bowl, combine all of the dill sauce ingredients. Stir well. Serve the salmon patties warm, drizzled with the dill sauce.
Pat the salmon dry using a paper towel. Sprinkle with sea salt and pepper.
Heat a skillet over medium heat. Add the avocado oil, then quickly add the salmon, flesh side-down. Cook uncovered for 4 to 5 minutes. Use a spatula to turn the salmon. Cook for three more minutes on the other side.
Once the salmon has cooled to the touch, remove any bones. You can also remove the skin and gray-colored fat if desired. Using a fork, flake the salmon apart. Place the prepared salmon in a large bowl.
Add the celery, onion, lemon juice, sea salt and pepper to taste, fresh dill and mayonnaise. Stir to combine and adjust seasoning to taste.
Fill radicchio or butter lettuce leaves with a generous spoonful of the salmon salad per leaf.
1cupbroccoli – a combination of broccoli florets & peeled stemssliced
sea salt
1avocadopitted
2teaspoonsfresh cilantrochopped
½teaspoonsea saltor to taste
black pepperto taste
1tablespoonchopped onion
1teaspoonfresh lime juiceor more to taste
Instructions
In a medium saucepan, bring a few inches of lightly salted water to a boil over medium high heat. Keep a strainer or colander nearby, with a plate underneath. Drop the broccoli florets and peeled stems into the water. Cook for a few minutes.
Remove the broccoli with a slotted spoon. Place them in the strainer to cool.
Bring the water back to a boil, then drop in the carrot planks. Cook for a few minutes. Remove the carrot planks with a slotted spoon. Place them in the strainer to cool.
Make the guacamole: In a large bowl, mash the avocados. Add the sea salt and black pepper to taste. Add the lime juice, cilantro, chopped onion and lime juice. Stir well.
Serve the cooled vegetables and guacamole, or pack them into a portioned lunch container as a snack on the go.
Enjoy!
Thank you to Christine Waltermyer and the Natural Kitchen Cooking School for working with us to help promote healthy, nutritious meals and products that are affordable, full of nutrients, and simple to make at home!
Christine Waltermyer is a local and renowned Wellness Chef, private chef to celebrities, published cookbook author and founder of the Natural Kitchen Cooking School, which offers an online Plant-Based Cooking Program. She also loves shopping at Basil Bandwagon! Visit naturalkitchenschool.com to subscribe to her email newsletter for new recipes, tips, and FREE access to the Power of Veggies mini-course!
Cut the bananas in half lengthwise. Place each banana half (wider end) on a popsicle stick. Place the banana halves on a parchment-lined plate or container. Freeze for a minimum of 2 hours.
Arrange your toppings in little bowls. Melt the chocolate chips in a double boiler or a stainless steel bowl placed on top of a saucepan filled with simmering hot water on medium heat. Add the coconut oil. Whisk occasionally until melted.
Use a silicone brush to brush the melted chocolate onto the frozen bananas. While the chocolate is still soft, sprinkle with any toppings of your choice. Work quickly as the chocolate freezes quickly. Place on parchment or wax paper to set. Refreeze the bananas, storing in an air-tight container.
Enjoy!
Notes
Note: Instead of putting the bananas on sticks, you can just slice them before coating with melted chocolate and toppings.
In a bowl, mix together the oat flour, maple syrup, coconut oil, almond butter, vanilla extract and sea salt. Stir well, then add 2 tablespoons of the carob chips. Roll into 8 bite-size little balls. Feel free to double the recipe if you want a larger batch. Refrigerate the cookie dough balls for about 12 minutes.
Using a double boiler or a stainless steel bowl placed over a saucepan of boiling water, melt the chocolate chips or carob chips. One at a time, drop the chilled cookie dough balls into the melted chocolate, turning it to completely cover it. Carefully place on a piece of parchment paper. Repeat with the remaining cookie dough balls. Feel free to sprinkle with flaked sea salt before they cool and harden. You can also use a spoon to drizzle a little extra melted chocolate on top. Chill the cookie dough balls again before serving.
Enjoy!
Thank you to Christine Waltermyer and the Natural Kitchen Cooking School for working with us to help promote healthy, nutritious meals and products that are affordable, full of nutrients, and simple to make at home!
Christine Waltermyer is a local and renowned Wellness Chef, private chef to celebrities, published cookbook author and founder of the Natural Kitchen Cooking School, which offers an online Plant-Based Cooking Program. She also loves shopping at Basil Bandwagon! Visit naturalkitchenschool.com to subscribe to her email newsletter for new recipes, tips, and FREE access to the Power of Veggies mini-course!
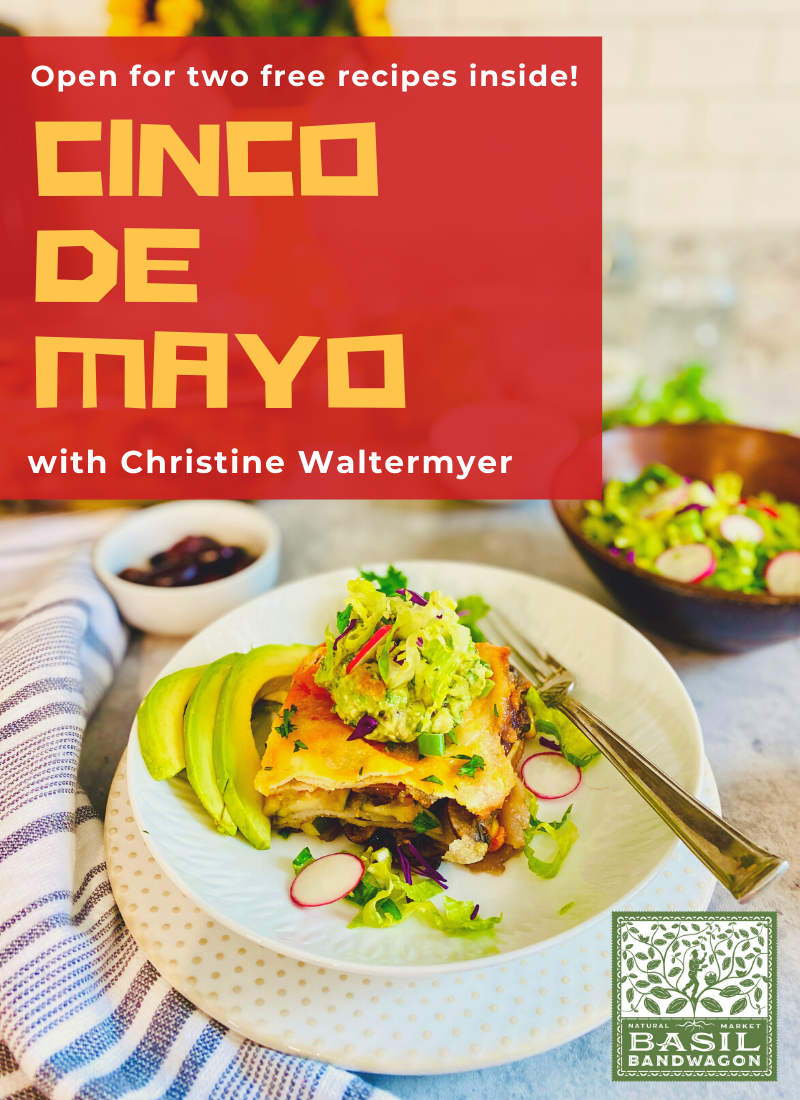
Happy Cinco de Mayo! Looking for some healthy plant-based alternatives for your favorite traditional holiday recipes? Check out two of our Cinco de Mayo favorites from Christine Waltermyer and The Natural Kitchen Cooking School below!
Keyword appetizer, chips and dip, cinco de mayo, dessert, fruit salsa, pita chips, salsa, snack, summer
Servings 4
Ingredients
16ozripe strawberriesdiced
½golden delicious applediced
½granny smith applediced
½any red variety red-skinned applediced
1kiwi fruitpeeled and diced
8ozred raspberries
2tablespoonspure maple syrup
pinchsea salt
½teaspoonpure vanilla extract
2tablespoonsall-fruit strawberry jam
juice of ½ a lime
juice of a mandarin orange (or a few tablespoons fresh orange juice)
Pita Chips
4whole grain pita pockets
avocado oil (spray or oil)
4teaspoonscinnamon
4tablespoonsraw cane sugar
Instructions
Preheat the oven to 350 degrees F.
In a large bowl, place all of the fruit. Add the maple syrup, sea salt, vanilla, jam, lime juice and orange juice. Stir gently.
Place the whole pita pockets on a baking sheet. Lightly spray or brush each one with a little avocado oil. Sprinkle each one with a tablespoon of raw cane sugar and a teaspoon of cinnamon. Cut each pita pocket into 4 pieces. Bake the pita chips in the preheated 350 degrees F. oven for 8 to 10 minutes. Cool for at least 15 minutes before serving them with the salsa.
Keyword casserole, cinco de mayo, enchilada, entree, vegan
Servings 6
Ingredients
Carrot Sauce
3large carrotscut into big chunks
¼large red onionchopped (½ cup)
1teaspoonchopped red beet
water
sea salt
lime (½ lime, juiced)optional
Casserole
2cloves garlicminced
1 yellow oniondiced
1medium zucchinicut into half moons
1 cupblack kalamata oliveschopped
16ozcrimini or button mushroomsde-stemmed and sliced
2teaspoonsolive oil
1teaspoonground cumin
½cupfrozen corn kernels
chili powder or crushed red pepperoptional
26ozcooked kidney beans
½cupvegan shredded cheese or cheese of your choice, for the top (plus extra if you want to add some in the layers)
18-count pack cassava flour tortillas or other tortillas
Instructions
Lightly oil a 9 x 13 glass casserole dish.
Make the sauce: In a medium saucepan, place the carrots, red onion and red beet. Add just enough water to almost cover the vegetables. Bring to a boil over medium high heat. Cover and reduce the heat to simmer on low for 20 minutes, or until the vegetables are fork-tender.
Once the vegetables are soft, place the cooked carrots, red onion and any remaining cooking liquid in a small blender. Add ½ teaspoon of the sea salt. You can also add a squeeze of fresh lime juice.
Preheat the oven to 400 degrees F.
In a large frypan, heat the olive oil over medium heat for a minute. Add the onion and garlic. Add a sprinkle of the sea salt to help the onions soften. Cook and stir for a few minutes. Add the mushrooms. Add another generous pinch or two of sea salt. Cover and cook for a few more minutes, or until the mushrooms soften. Add the zucchini, a little more salt, the corn kernels and the black olives. If you want to add spicy ingredients like chili powder or crushed red pepper, you can add that now.
In the prepared casserole, place about ½ cup of the carrot sauce on the bottom. Spread it around. Add a layer of tortillas, then top with ½ of the vegetables and ½ of the kidney beans. Feel free to add a little vegan cheese in the layers. Top with ½ cup of the sauce. Repeat the layers with another layer of tortillas, then the remaining beans and veggies, another ½ cup sauce, and another layer of tortillas. Spread with any remaining sauce.
Cover with foil. Bake for 15 minutes. Uncover the casserole and bake for another 8 minutes. Top with cheese and bake for another minute. Let the casserole cool for 5 minutes before slicing into squares. Serve with a side salad and guacamole.
Enjoy!
Notes
Note: If you want more sauce in this casserole, feel free to double the amount of sauce ingredients.
Thank you to Christine Waltermyer and the Natural Kitchen Cooking School for working with us to help promote healthy, nutritious meals and products that are affordable, full of nutrients, and simple to make at home!
Christine Waltermyer is a local Wellness Chef, private chef to celebrities, published cookbook author and founder of the Natural Kitchen Cooking School, which offers an online Plant-Based Cooking Program. She also loves shopping at Basil Bandwagon! Visit naturalkitchenschool.com to get your FREE copy of her cookbook, “7 Days of Deliciousness.”
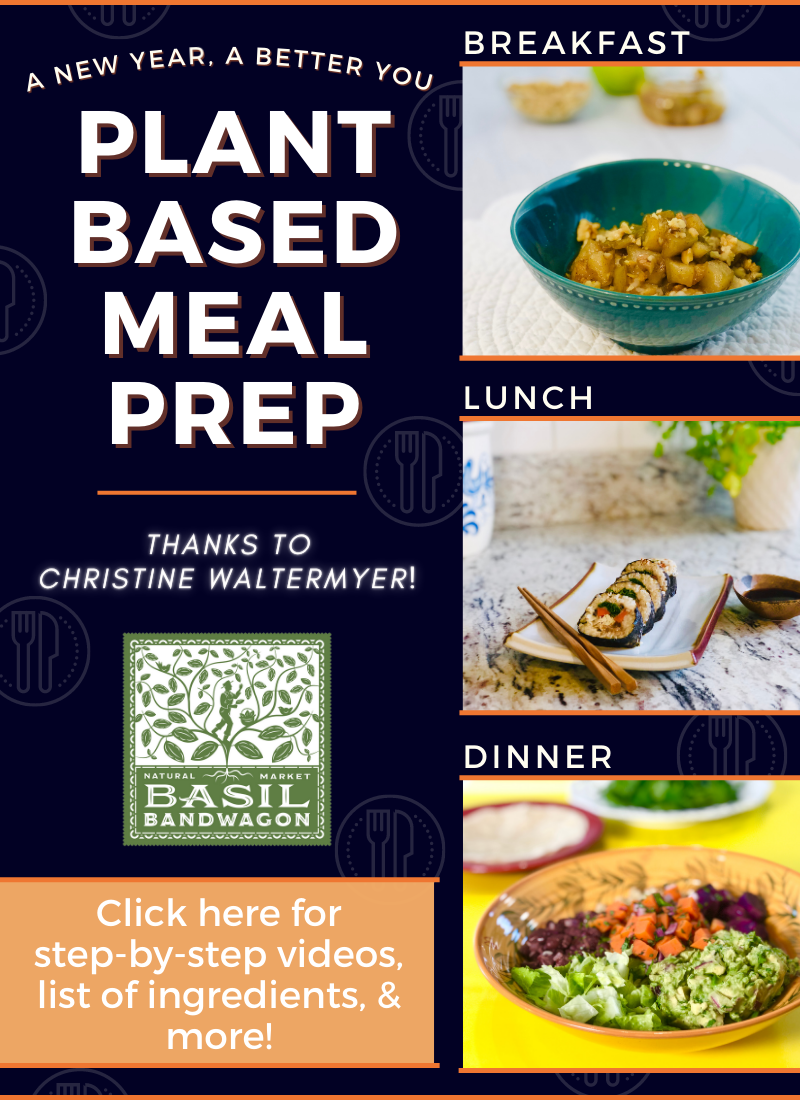
BREAKFAST
Creamy Brown Rice Cereal with Apple Pear Compote
Serves 1
Ingredients
1 cup cooked brown rice
1 cup water
1 pear, cored and chopped
1 apple, cored and chopped
Small handful of walnuts
Cinnamon
1-2 tablespoons maple syrup, plus extra for drizzling
Method
1. Chop up the fruit and place in a small pot with a pinch of sea salt. Add 1 to 2 tablespoons of the maple syrup, and ½ teaspoon of cinnamon. Bring to a gentle boil, then lower to simmer for 20 to 25 minutes.
2. Place the brown rice and water in a small pot. Bring to a boil over medium high heat. Reduce the heat to simmer on low for 20 minutes or so, tilting the lid to avoid cookovers.
3. Chop the walnuts. Using a potato masher, you can partly mash the rice at this point.
4. Place the cooked brown rice cereal in a bowl. Top with desired amount of apple pear compote and walnuts, adding extra maple syrup if you wish.
LUNCH
Vegetarian Sushi
Serves 1-2
Ingredients
1 cup cooked brown rice
1 sheet sushi nori
1 package Pumfu or firm tofu, cut into long strips
1-2 tablespoons almond butter (or peanut butter) – I used the sprouted kind
2 tablespoons raw sauerkraut, drained and pressed to remove liquid
3-4 long thin carrot strips
2 cups kale leaves, chopped up
Coconut aminos or soy sauce
Equipment: bamboo sushi mat
Method
1. Steam the carrot strips and kale in a steamer basket over boiling water, covered, for 5 minutes or until the carrots and kale are tender but still brightly colored.
2. Place the pumfu or tofu strips in a frypan with a ¼ cup water and 1 tablespoon of coconut aminos or soy sauce. Bring to a boil over medium high heat, then reduce heat to simmer on medium low for about 15 minutes, or until the water has cooked off. Transfer the pumpfu or tofu to a plate to cool.
3. Place the nori on a sushi mat. Cover most of the lower portion of the nori sheet with rice, leaving about an inch on top that is uncovered. Add a horizontal line of the almond butter, then add the carrots, pumfu and kale. Using your thumbs, lift the sushi mat up and over the fillings. Tuck the nori and rice over them and roll forward, pulling out the mat. Tightly tuck the roll, then roll all the way forward and tuck again. Using a sawing motion, carefully slice the sushi roll in half, and then into about 8 pieces. Serve with coconut aminos or soy sauce.
DINNER
Mexican Buddha Bowl
Serves 1-2
Ingredients
2 – 4 tortillas of your choice (I love the Siete brand almond flour tortillas)
1 13-oz. jar or can kidney beans, black beans or pinto beans (Jovial brand is great)
1 medium red onion, diced
3 cloves garlic, minced
cumin
Cilantro
½ teaspoon apple cider vinegar
2 carrots, peeled and diced
Olive oil
Japanese yams
Avocados
1 to 2 limes
Shredded lettuce
1 cup cooked quinoa
Dressing:
3 tablespoons olive oil
1 – 2 tablespoons lime juice
¼ teaspoon sea salt
1-2 teaspoons chopped cilantro
Optional: 1 – 2 teaspoons maple syrup
Method
1. In a small pot, cover the carrots with water. Bring to a boil over medium high heat, then reduce heat to simmer on medium until soft. Drain and set aside.
2. Place the sweet potatoes in a small pot and cover with water. Boil for about 20 minutes, or until soft. When finished
3. Place about ⅓ cup of the diced onion in a bowl to save for later to cook with the beans. Place the remaining diced onion in a bowl and add ¼ teaspoon of the sea salt and ½ teaspoon of apple cider vinegar. Let it sit for 15 minutes.
4. To cook the beans: Heat a small pan over medium heat. Add 1 or 2 teaspoons of the olive oil. Add the ⅓ cup diced onion, 2 cloves minced garlic and a pinch of salt. Cook and stir for 8 to 10 minutes, or until the onion has softened.
5. Meanwhile, make the carrot salsa: Add 1 tablespoon of apple cider vinegar or lime juice to the cooked carrots. Add 2-3 tablespoons chopped cilantro and 1-2 teaspoons of the marinated red onion. Stir to combine.
6. To the cooking onion and garlic add the beans, cumin and sea salt to taste. Feel free to add cayenne, chopped jalapeno etc. if you like it hot. Cook for 5 to 10 minutes.
7. Make the guacamole: Chop up a few more tablespoons of cilantro and place in a bowl. Remove the pits from 2 avocados. Score the avocado flesh into little squares and scoop out the contents into the bowl. Add 1 clove minced garlic, juice of one lime and ½ teaspoon of sea salt, or to taste. Stir together, partly mashing the avocado to make it a little creamy.
8. Check on the sweet potatoes and beans. Cook longer if needed.
9. Briefly warm the tortillas on a warm cast iron skillet, a few minutes on each side over medium heat. Keep the tortillas warm under a towel.
10. When the sweet potatoes have finished cooking, peel them and slice them.
11. In a large shallow bowl, arrange equal portions of the beans, quinoa, sweet potatoes, guacamole, lettuce, and carrot salsa. Drizzle evenly with the dressing and serve.
Thank you to Christine Waltermyer and the Natural Kitchen Cooking School for working with us to help promote healthy, nutritious meals and products that are affordable, full of nutrients, and simple to make at home!
Christine Waltermyer is a local Wellness Chef, private chef to celebrities, published cookbook author and founder of the Natural Kitchen Cooking School, which offers an online Plant-Based Cooking Program. She also loves shopping at Basil Bandwagon! Visit naturalkitchenschool.com to get your FREE copy of her cookbook, “7 Days of Deliciousness.”
Vegetable Broth
Makes 8 cups
Ingredients
1 cup fresh maitake mushrooms, or ½ cup dried
2 celery stalks, cut into big chunks
2 carrots, cut into chunks
2 to 3 cups winter squash, cut in big chunks
½ cup fresh burdock root, cut into pieces (or ¼ cup dried burdock)
1 small bunch parsley (you can leave the stems on)
This vegetable broth can be made in an Instapot, pressure cooker or regular soup pot.
For Instant Pot or pressure cooker: Place all ingredients in the Instant Pot or a large pressure cooker. Place the lid on your pressure cooker or Instant Pot and bring to full pressure on high heat. After 15 minutes, remove the pot from the heat and let the pressure reduce naturally. Strain out the ingredients by pouring the broth through a strainer into a large bowl. Remove the lid and cool completely before pouring into tall glass mason jars.
For regular soup pot: Place all ingredients in a large soup pot. Cover with a lid and bring to a boil over medium high heat. Reduce heat to simmer on low for 1 hour. Remove from heat. Strain out the ingredients by pouring the broth through a strainer into a large bowl. Cool before pouring into glass mason jars.
Store the vegetable broth in covered jars in the refrigerator for 3 to 5 days, or freeze for up to 4 months.
Lemon Sage Cold Care Tea
Serves 1
Ingredients
1 cup (8 oz.) water
10 fresh sages leaves (or one teaspoon dried sage leaves)
1 teaspoon fresh lemon juice
1 teaspoon raw honey or brown rice syrup
Method
Place the water in a small saucepan. Bring to a boil over medium high heat. Turn off the heat and add the sage leaves. Remove from the heat and let steep for 15 minutes. Strain the tea through a small strainer into a mug. Add the lemon juice and sweetener of your choice. Enjoy warm.
Thank you to Christine Waltermyer and the Natural Kitchen Cooking School for working with us to help promote healthy, nutritious meals and products that are affordable, full of nutrients, and simple to make at home!
Thank you to Christine Waltermyer and the Natural Kitchen Cooking School for working with us to help promote healthy, nutritious meals that are affordable, full of nutrients, and simple to make at home!
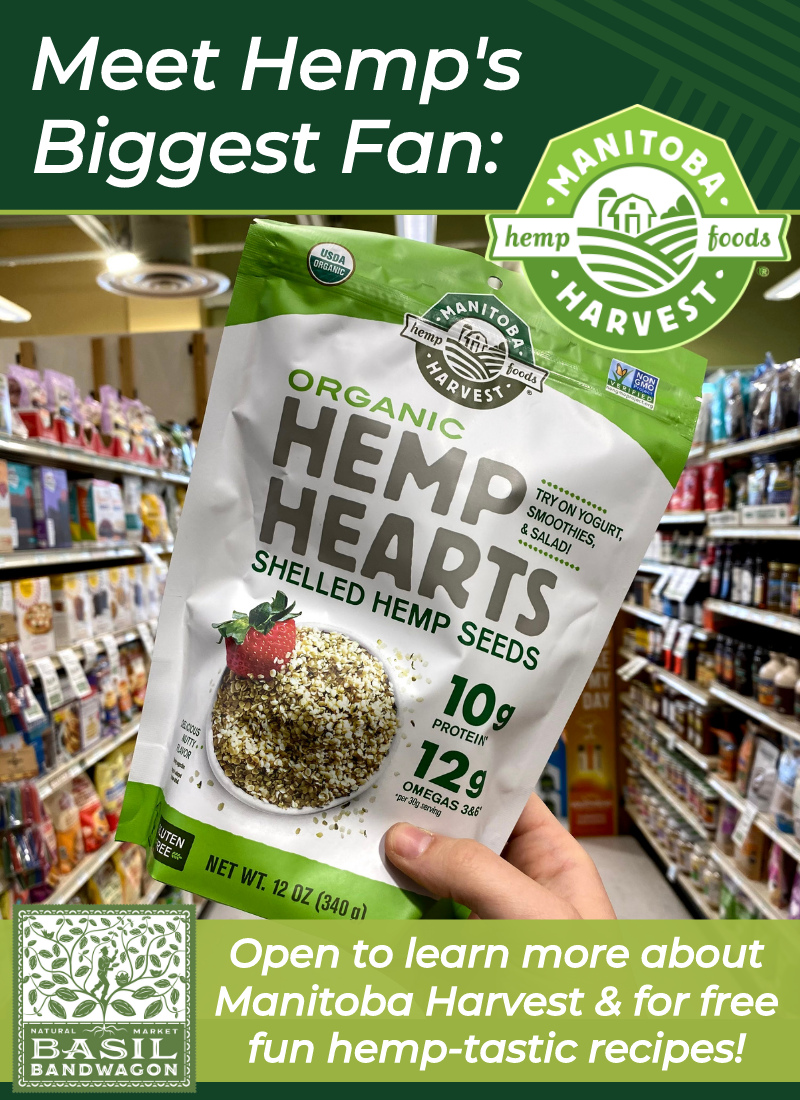
Manitoba Harvest’s mission to transform consumer health starts simply and sustainably: with hemp. Since 1998, they’ve grown their portfolio of hemp products with a dedication to quality, sustainability, and consumer wellness that has positioned the company as the global leader in hemp foods.
They’re Hemp’s Biggest Fan
Their passion for hemp foods is rooted in their founder Mike Fata’s personal transformation. He used to weigh over 300 pounds and was sick and tired of being sick and tired. When he decided it was time for a change, he overhauled his diet, focusing on protein, healthy fats, and fiber – all nutrients found in hemp foods!
Since hemp foods played such an essential role in Mike’s health transformation, he wanted everyone to be able to try them.
Shop Hemp
We’ve have them in all shapes, sizes, and flavors: Hemp Yeah! granola, Hemp Yeah! milk*, Hemp Yeah! snack bars, hemp hearts, Hemp Yeah! protein, hemp seed oil and capsules!
*not pictured
There are so many ways to add their products in your everyday meals! We’ve added their Organic Hemp Hearts in our October Smoothie of the Month – Caramel Craze! It’s everything we would imagine fall to be with bananas, dry oats, local apple butter, almonds, seasonal spices, apple juice, almondmilk, & a vegan caramel drizzle!
Check out a few of these creative recipes that you can use Manitoba Harvest’s Hemp Hearts at home!
-1 tablespoon sesame oil (or use olive, canola oil)
-1 tablespoon soy sauce (or tamari for a gluten free option)
-2 tablespoons almond flour
-3 tablespoons hemp hearts
Method
1. Drain water from tofu and gently squeeze as much water as possible using your palms.
2. Place tofu on a plate and place another plate over it. Then place a heavy object (i.e. a book, canned goods, or a skillet) to help squeeze additional water for 30 minutes or so. Drain water in between that accumulates on plate.
3. Cut tofu into cubes and use a paper towel to absorb additional moisture and pat dry. You may have to repeat process a couple of times.
4. Preheat oven to 400° F.
5. Line a baking sheet with parchment paper or silicon mat.
6. In a medium bowl, combine tofu with sesame oil, soy sauce, and combine well.
7. Mix in almond flour and hemp seeds until tofu is evenly coated.
8. Arrange tofu in an even layer on a baking sheet.
9. Bake for 30-35 minutes. Toss it half way and continue baking until it looks golden brown.
10. Enjoy by itself or mix with your favorite salad!
1. Bring water to a boil over high heat. Add the tea bags, cover and steep for 10 minutes.
2. In a high power blender, combine the cinnamon, ginger, vanilla, honey, hemp seeds, cashews, and steeped tea. Blen on medium for 2 minutes, then blend on high for about 1 minute – or until the drink is smooth and frothy. Pour into a mug. If desired, top with a sprinkle of cinnamon and hemp seeds. Enjoy!
1. Blend walnuts for a minute or so until they’re broken down.
2. Add the rest of the ingredients and blend until a dough forms.
3. Roll into approximately 16 balls and let them set in the freezer for a couple hours. These can be stored in the fridge for at least a week or in the freezer for up to 3 months.
4. Enjoy!
NOTE: You can roll them in a mixture of coconut sugar and cinnamon for an extra treat, or you can roll them in hemp seeds, chia seeds, coconut or cacao powder for an extra treat!
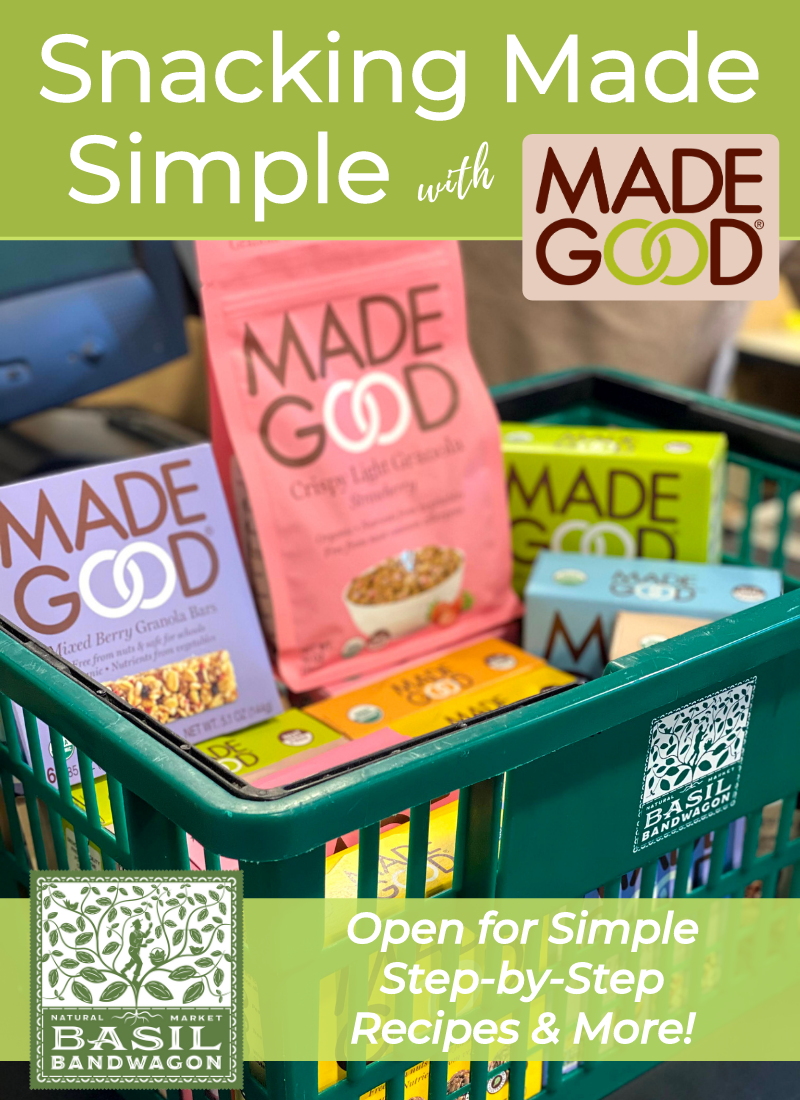
We can #TrustInSomethingGood with all of MadeGood’s products! MadeGood snacks are baked with good intentions with organic ingredients, whole grains, and veggies.
Their snacks check all of the boxes:
– Have 6 hidden veggies in every snack
– Free from the most common allergens
– Certified organic, vegan, and gluten free
– Non-GMO Project certified
– Safe for schools
– Super delicious
No wonder why their snacks are loved by kids and grown-ups!
Stock up on MadeGood Crispy Squares and Granola Minis before their 2 for $7 sale ends on September 30th, 2020!
Check out these simple recipes you can make at home with MadeGood snacks!
All ingredients can be found in all Basil Bandwagon Natural Market locations.
Morning Breakfast Parfait
Whether you or your kids are going to school virtually or in person, this recipe is the perfect start to your day! The best part – it can be customized to fit everyone’s needs and likings.
Watching your serving sizes? Pro tip – stock up on your favorite yogurt or yogurt alternative cups and use one per parfait. Now you can mix and match all of your favorite flavors!
Ingredients for 1 Serving
-1 MadeGood Granola Minis packet
-Your favorite fresh fruit
-1 cup of your favorite yogurt
Method
1. Alternate layers of fruit and granola with yogurt until your glass is full. Serve parfaits immediately.
2. Enjoy!
Granola Stuffed Baked Apples
Looking for a warm and cozy fall dessert? We found the perfect one – Granola Stuffed Baked Apples!
Have you been interested in hemp products? Well now’s the time to start! PlusCBD Oil has been a pioneer in the CBD industry, taking extraordinary efforts to make high-quality, safe, and effective hemp CBD oil products.
Why should I take CBD oil? Great question! CBD can have a positive effect on general well-being, impacting mood, sleep, stress levels, and so much more. Everyone has their preference on the way they consume CBD- capsules, topically, liquid droppers, gummies, etc. Luckily for us, PlusCBD Oil just had a price decrease for all of their products so now you can try more than one and feel like you’re not breaking the bank!
How much should I take? Well that can be tricky… The best thing to do is start small and work your way up. Start with a couple of drops a day at bedtime (that way if you take too much and it makes you sleepy, you’ll be ready for bed!). If you feel like it didn’t help, try a couple more drops and work your body into it. Everyone has different tolerances so a strength that may work for your best friend may not work for you – and that’s okay! Check out some other common CBD concerns below:
Do you have more questions? Come on in or call us! Our amazing Wellness Ambassadors are on the sales floors and ready to help you find the perfect CBD for you!
↓Scroll down for recipes, savings, & more ↓
Keep Calm and Chai On
Ingredients
Strong brewed chai tea
nut milk (use your favorite!)
PlusCBD Oil unflavored oil
sweetener of your choice (sugar, honey, whichever kind you prefer)
cinnamon
nutmeg
ice cubes
Method
1. In whatever cup you plan on drinking out of, pour in the milk and chai tea you want (I prefer about half of each in the glass). It’s also easier to measure these liquids in the glass so I don’t over-pour for myself.
2. Add CBD oil. There is no right or wrong amount of oil but make sure you use only the dosage you normally take. If you haven’t used CBD before, start with a couple of drops and you can always add more as you go. Mix.
3. Add your sweetener. There’s no right or wrong amount of sweetener either, as long as you’re using what you like you’re good to go! 🙂
4. Next, add a dash of cinnamon and a small sprinkle of nutmeg. Mix.
5. Add ice cubes, mix once more, and enjoy!
Triple C Milkshake
Ingredients
4 large scoops (about 1 1/2 cups) cookies & cream ice cream
1/4 cup milk
PlusCBD Oil unflavored oil
Method
1. In a blender, blend together ice cream, milk, and CBD oil.
2. Pour into a glass, top with your favorite toppings, and enjoy!
But First, Coffee!
Ingredients
8oz freshly brewed coffee
creamer (use your favorite!)
PlusCBD Oil unflavored oil
ice cubes
collagen peptides (optional; use your favorite!)
cinnamon (optional)
Method
1. Brew coffee and place in refrigerator.
2. Once cooled, combine coffee, creamer, CBD Oil, collagen, and ice in a glass.
3. Top with a sprinkle of cinnamon and enjoy!
Stock up on all PlusCBD Oil products by the end of June to take advantage of their 25% OFF discount!
BOGO DEAL! With the purchase of any PlusCBD Oil product, you’ll receive a FREE 10ct 5mg gummy pack!**
*PLEASE NOTE:These statements have not been evaluated by the Food and Drug Administration. These products are not intended to diagnose, treat, cure, or prevent any disease.