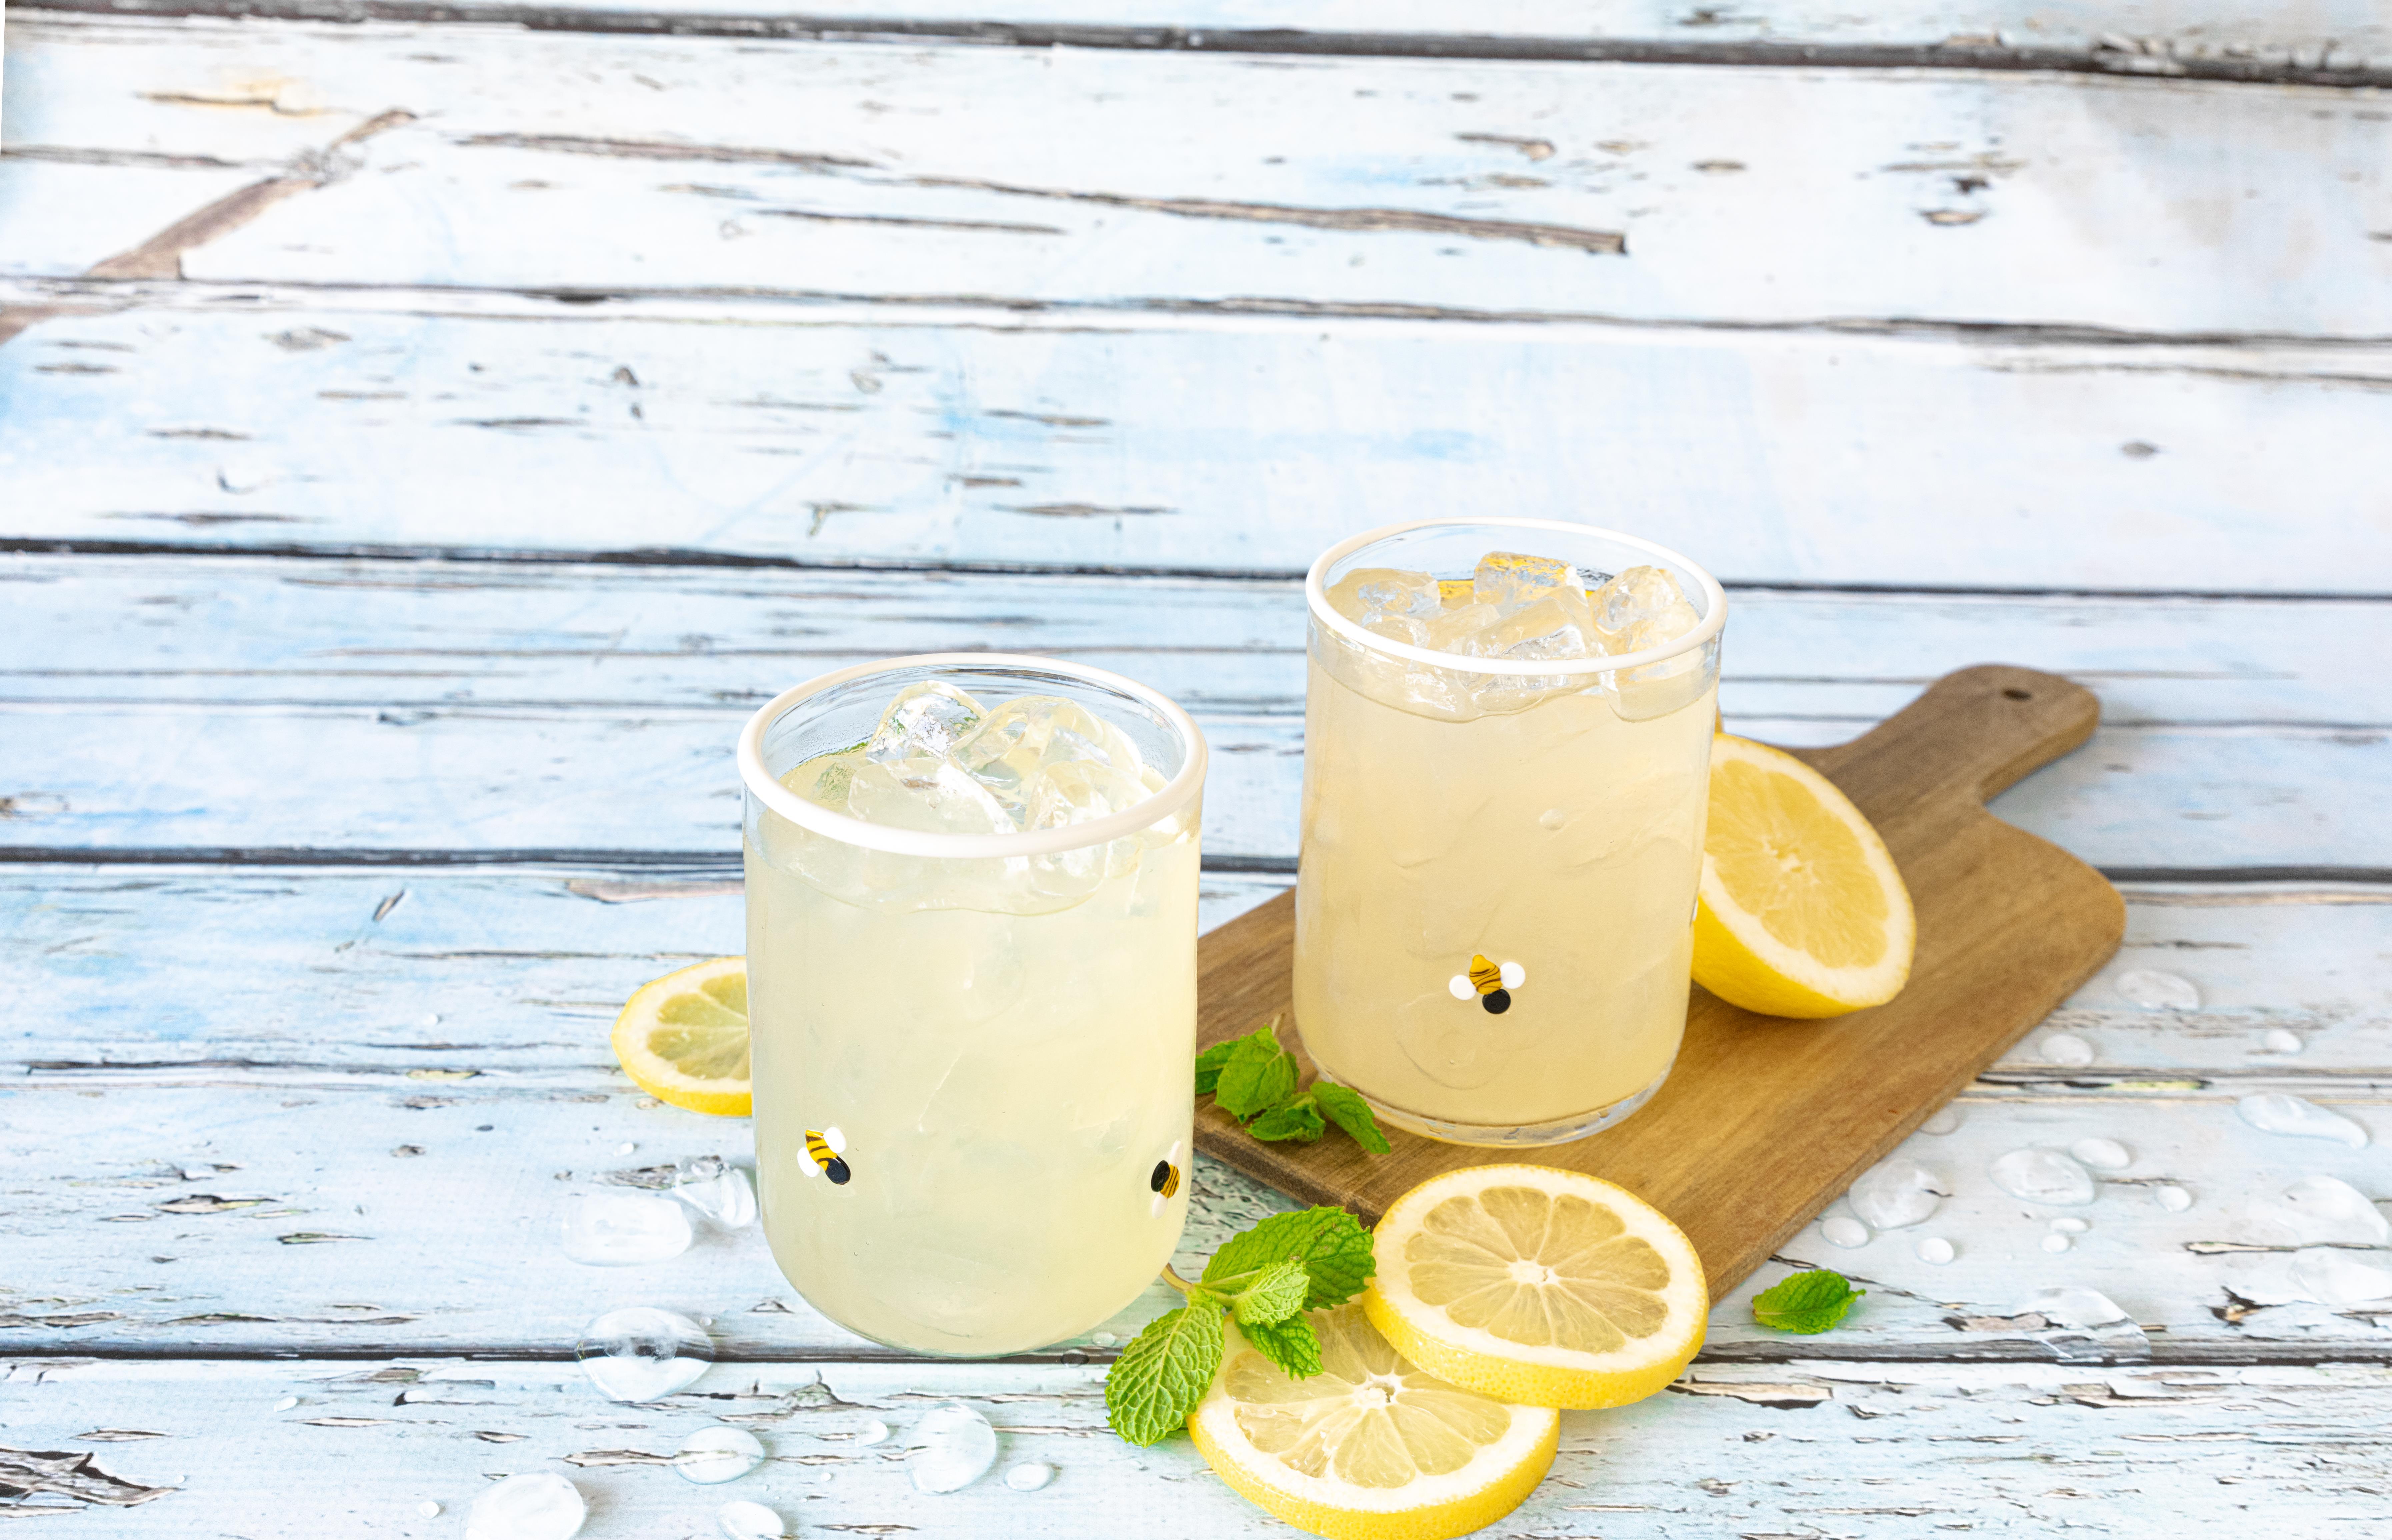
1cupfresh squeezed lemon juicefrom about 4-6 lemons
Method
Combine sugar and ⅔ cup water in a saucepan. Heat over medium heat, stirring occasionally until sugar has dissolved. Set aside to cool, approximately 10 minutes.
Combine sugar water, lemon juice, and remaining water in a pitcher. Stir well and chill before serving. Enjoy!
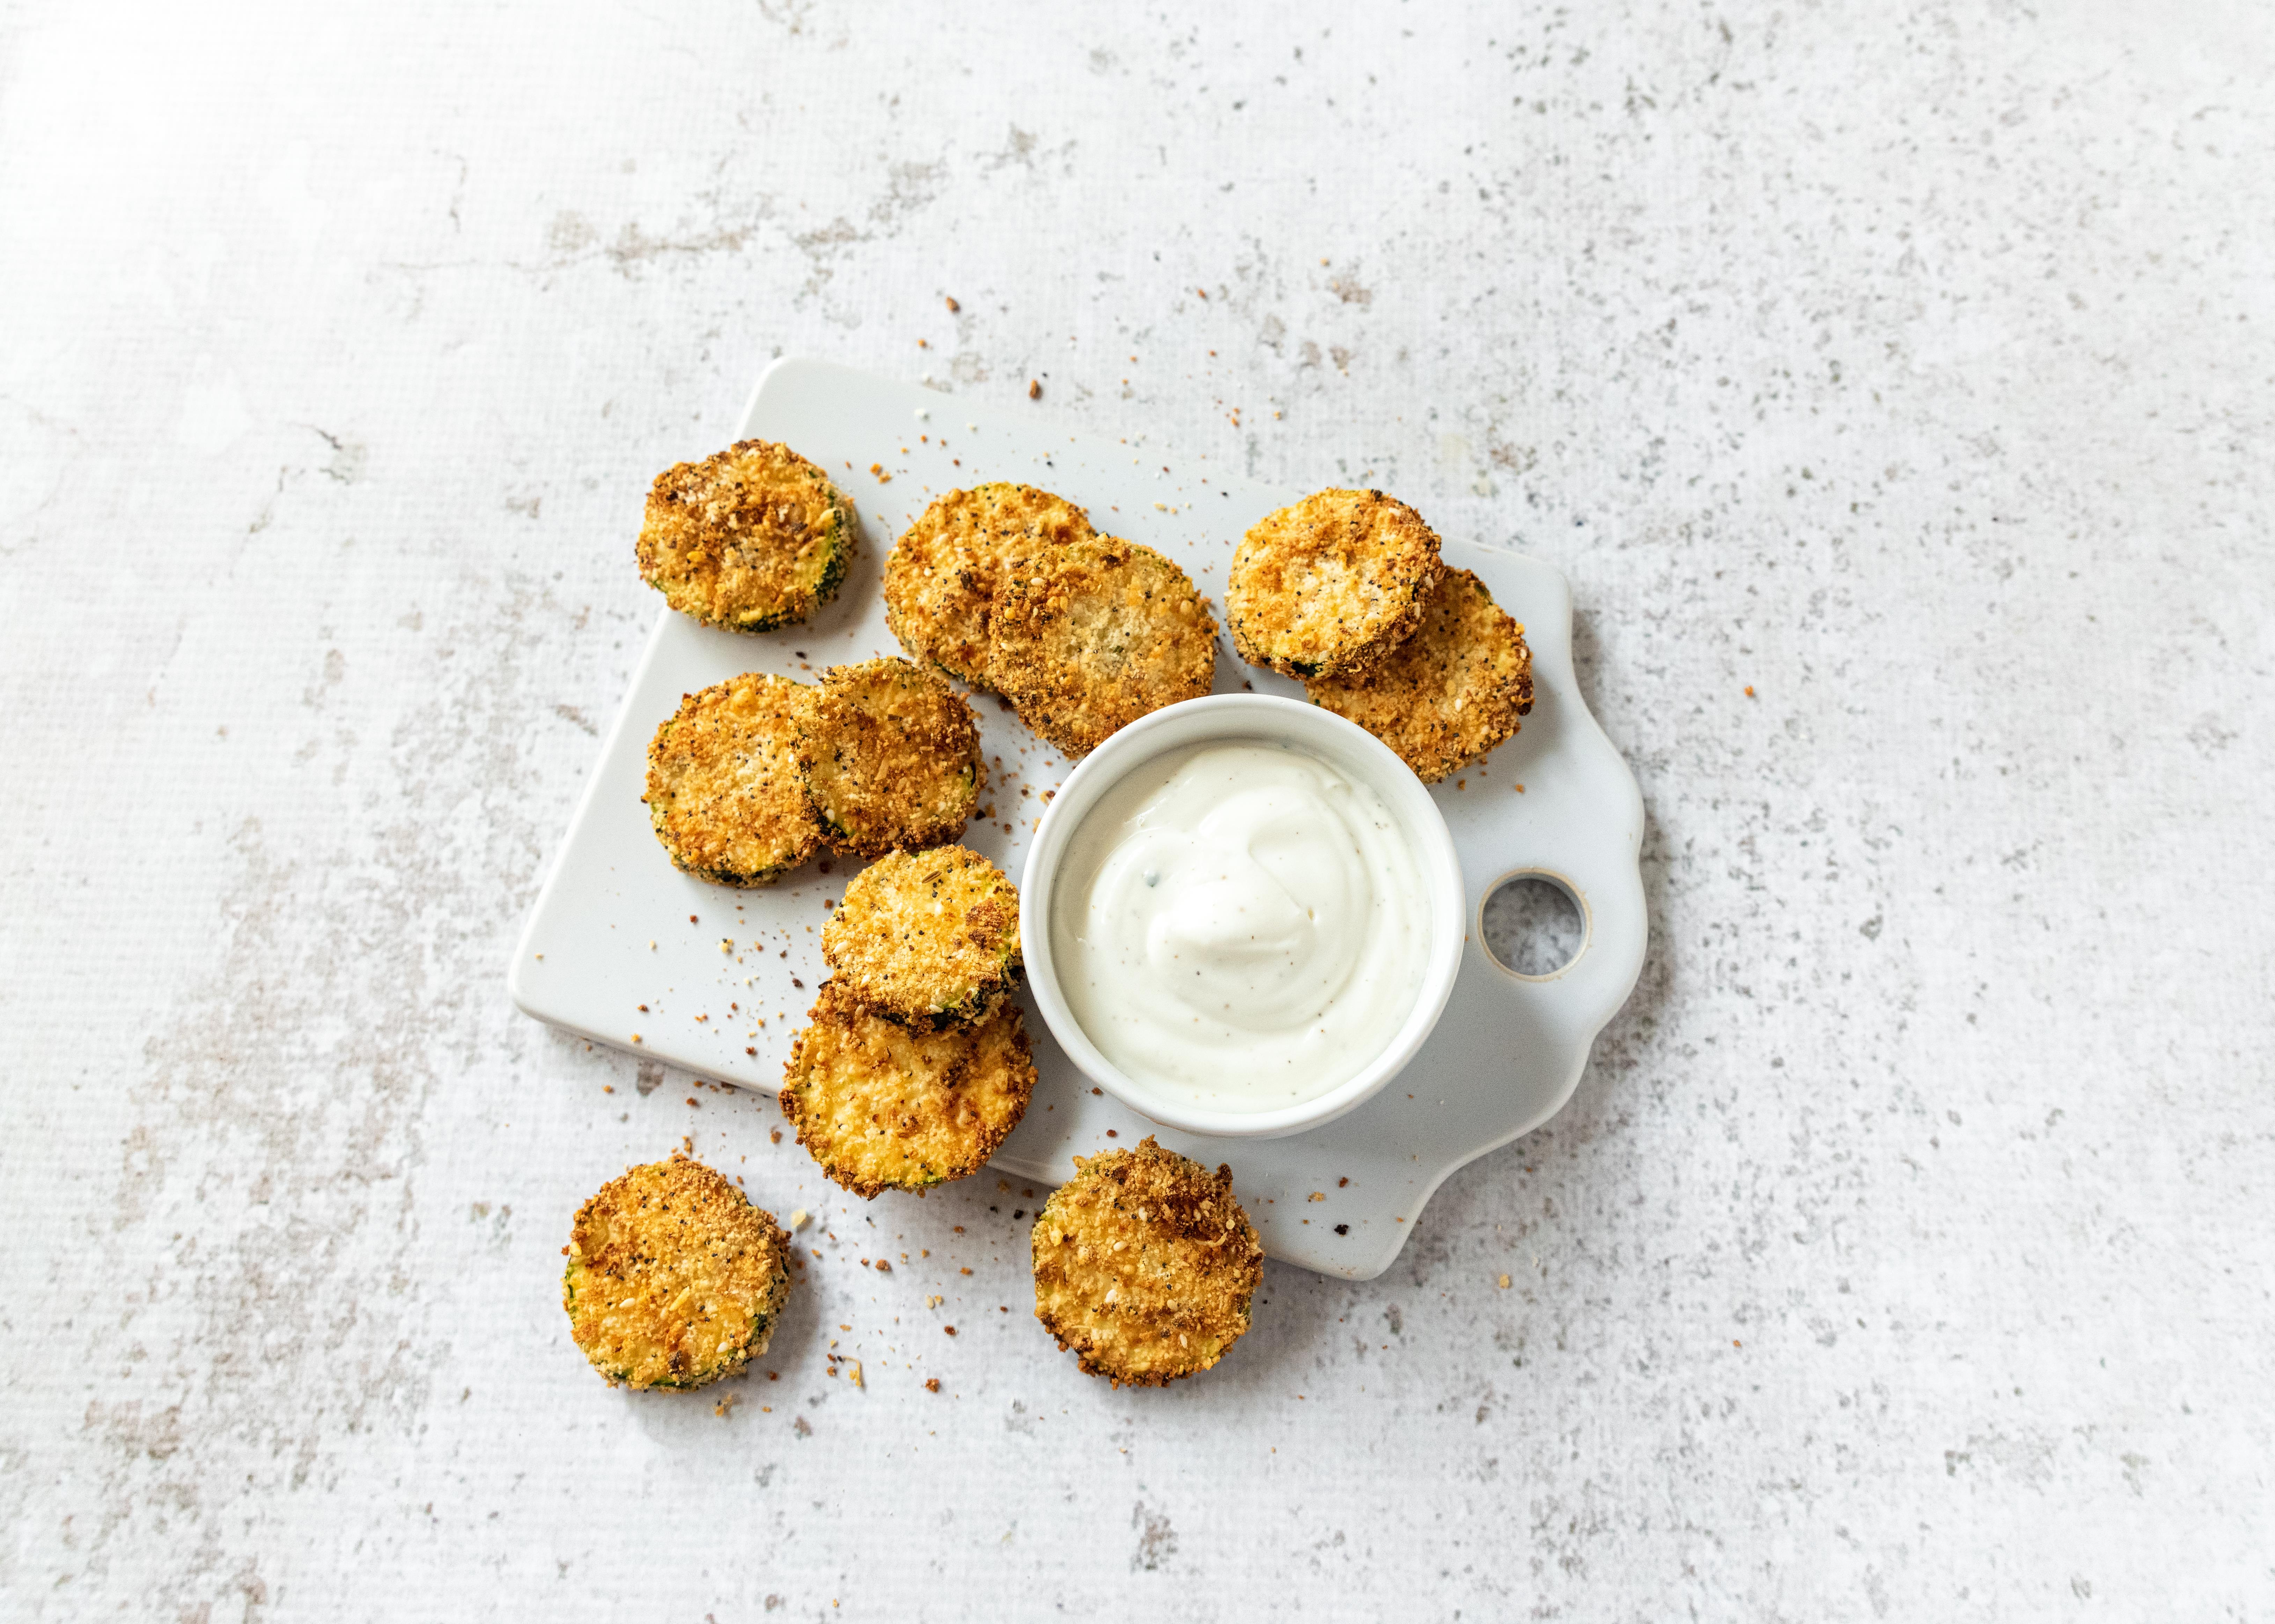
Preheat your air fryer to 400°F. On a baking tray or shallow dish, combine panko breadcrumbs, parmesan cheese, and everything seasoning. In a separate bowl, whisk the eggs.
In batches, coat each zucchini slice with the egg mixture. Transfer to the breadcrumb mixture, pressing to make a nice crust on each side.
Air fry zucchini slices in batches. Place slices directly in fryer basket, leaving room for the air to circulate -do not crowd the basket. Cook for 8 minutes, flipping halfway through. Promptly remove zucchini chips from fryer basket and place on a cooling rack. Sprinkle with salt while hot. Repeat with remaining zucchini slices.
Serve with your favorite dipping sauce. Enjoy!
Notes
Can’t find everything bagel seasoning? Substitute with ½ teaspoon onion powder, ½ teaspoon garlic powder, ½ teaspoon poppyseeds, and 2 teaspoons sesame seeds.
Summer heat can take a toll on your health and wellness. Stay safe and fit, no matter what the thermometer says, with these hot tips.
Heatstroke dangers
“Never ignore heat exposure symptoms,” says Joseph Sudimack, MS, CSCS. “There’s an increased risk of having something mild, such as muscular cramps, or [something more severe like a] life-threatening event [like] heatstroke.
“Heat-related muscular cramps are characterized by the muscle contracting involuntarily, with dehydration and electrolyte imbalance being the likely culprit,” Sudimack explains. “If your core temperature exceeds 40 C (104 F), you’re at risk of heatstroke.
Heatstroke symptoms
confusion
irritability
profuse sweating
increased heart rate
fatigue
nausea
vomiting
6 tips to heat-proof your summer workout
“It’s easy to over-tax your body when temperatures are high,” warns personal trainer Jack Craig. Thankfully, you can build your summer body without succumbing to summer heat.
1. Start slow
“Heat acclimation doesn’t happen all at once,” says Sudimack. He recommends slowly increasing the amount of time spent outdoors to help your body adapt to the heat. It can take 10 to 14 days to acclimate.
2. Dress for the occasion
“Most guys will take off their shirts to stay cool,” says Craig. “This puts you at risk for dangerous sun exposure.” To combat this, use sunscreen with an SPF of 30 or higher and consider covering up.
“It seems counterintuitive, but a thin, long-sleeved sun shirt can keep you cooler by providing evaporative cooling, and by keeping the sun off your skin,” Craig suggests.
3. Shift your schedule
The sun is at its strongest between 11 am and 3 pm. “Focus on exercising early in the morning or after the sun has set,” advised Sudimack. If those aren’t options, he suggests heading indoors to a gym.
4. Increase your fluid intake
“The most obvious tip is hydration,” says certified personal trainer Mark Bohannon. “Weigh yourself before and after exercise to know how much water weight you’ve lost, and then aim to drink a little more than you’ve lost.”
5. Take extra breaks
“Stop if you feel faint, have cramps, or if something doesn’t feel right,” warns Bohannon. “It’s not worth pushing through those barriers when it’s so hot. Save the high-intensity exercises for cooler days, and be sensible!”
6. Cool down
“Extend the cool-down period,” suggests physical therapist Lalitha McSorley. “A cool-down period allows your heart rate to return to its normal state. Stretching and light cardio can help you cool down.”
Stay hydrated in the heat
“Be proactive,” suggests Sudimack. “If you’re thirsty, you’re already dehydrated. Drink water before, during, and after exercise.”
“If your urine is darker than light yellow, you’re dehydrated,” warns Sudimack.
Consider adding electrolytes if you sweat a lot or find yourself cramping.
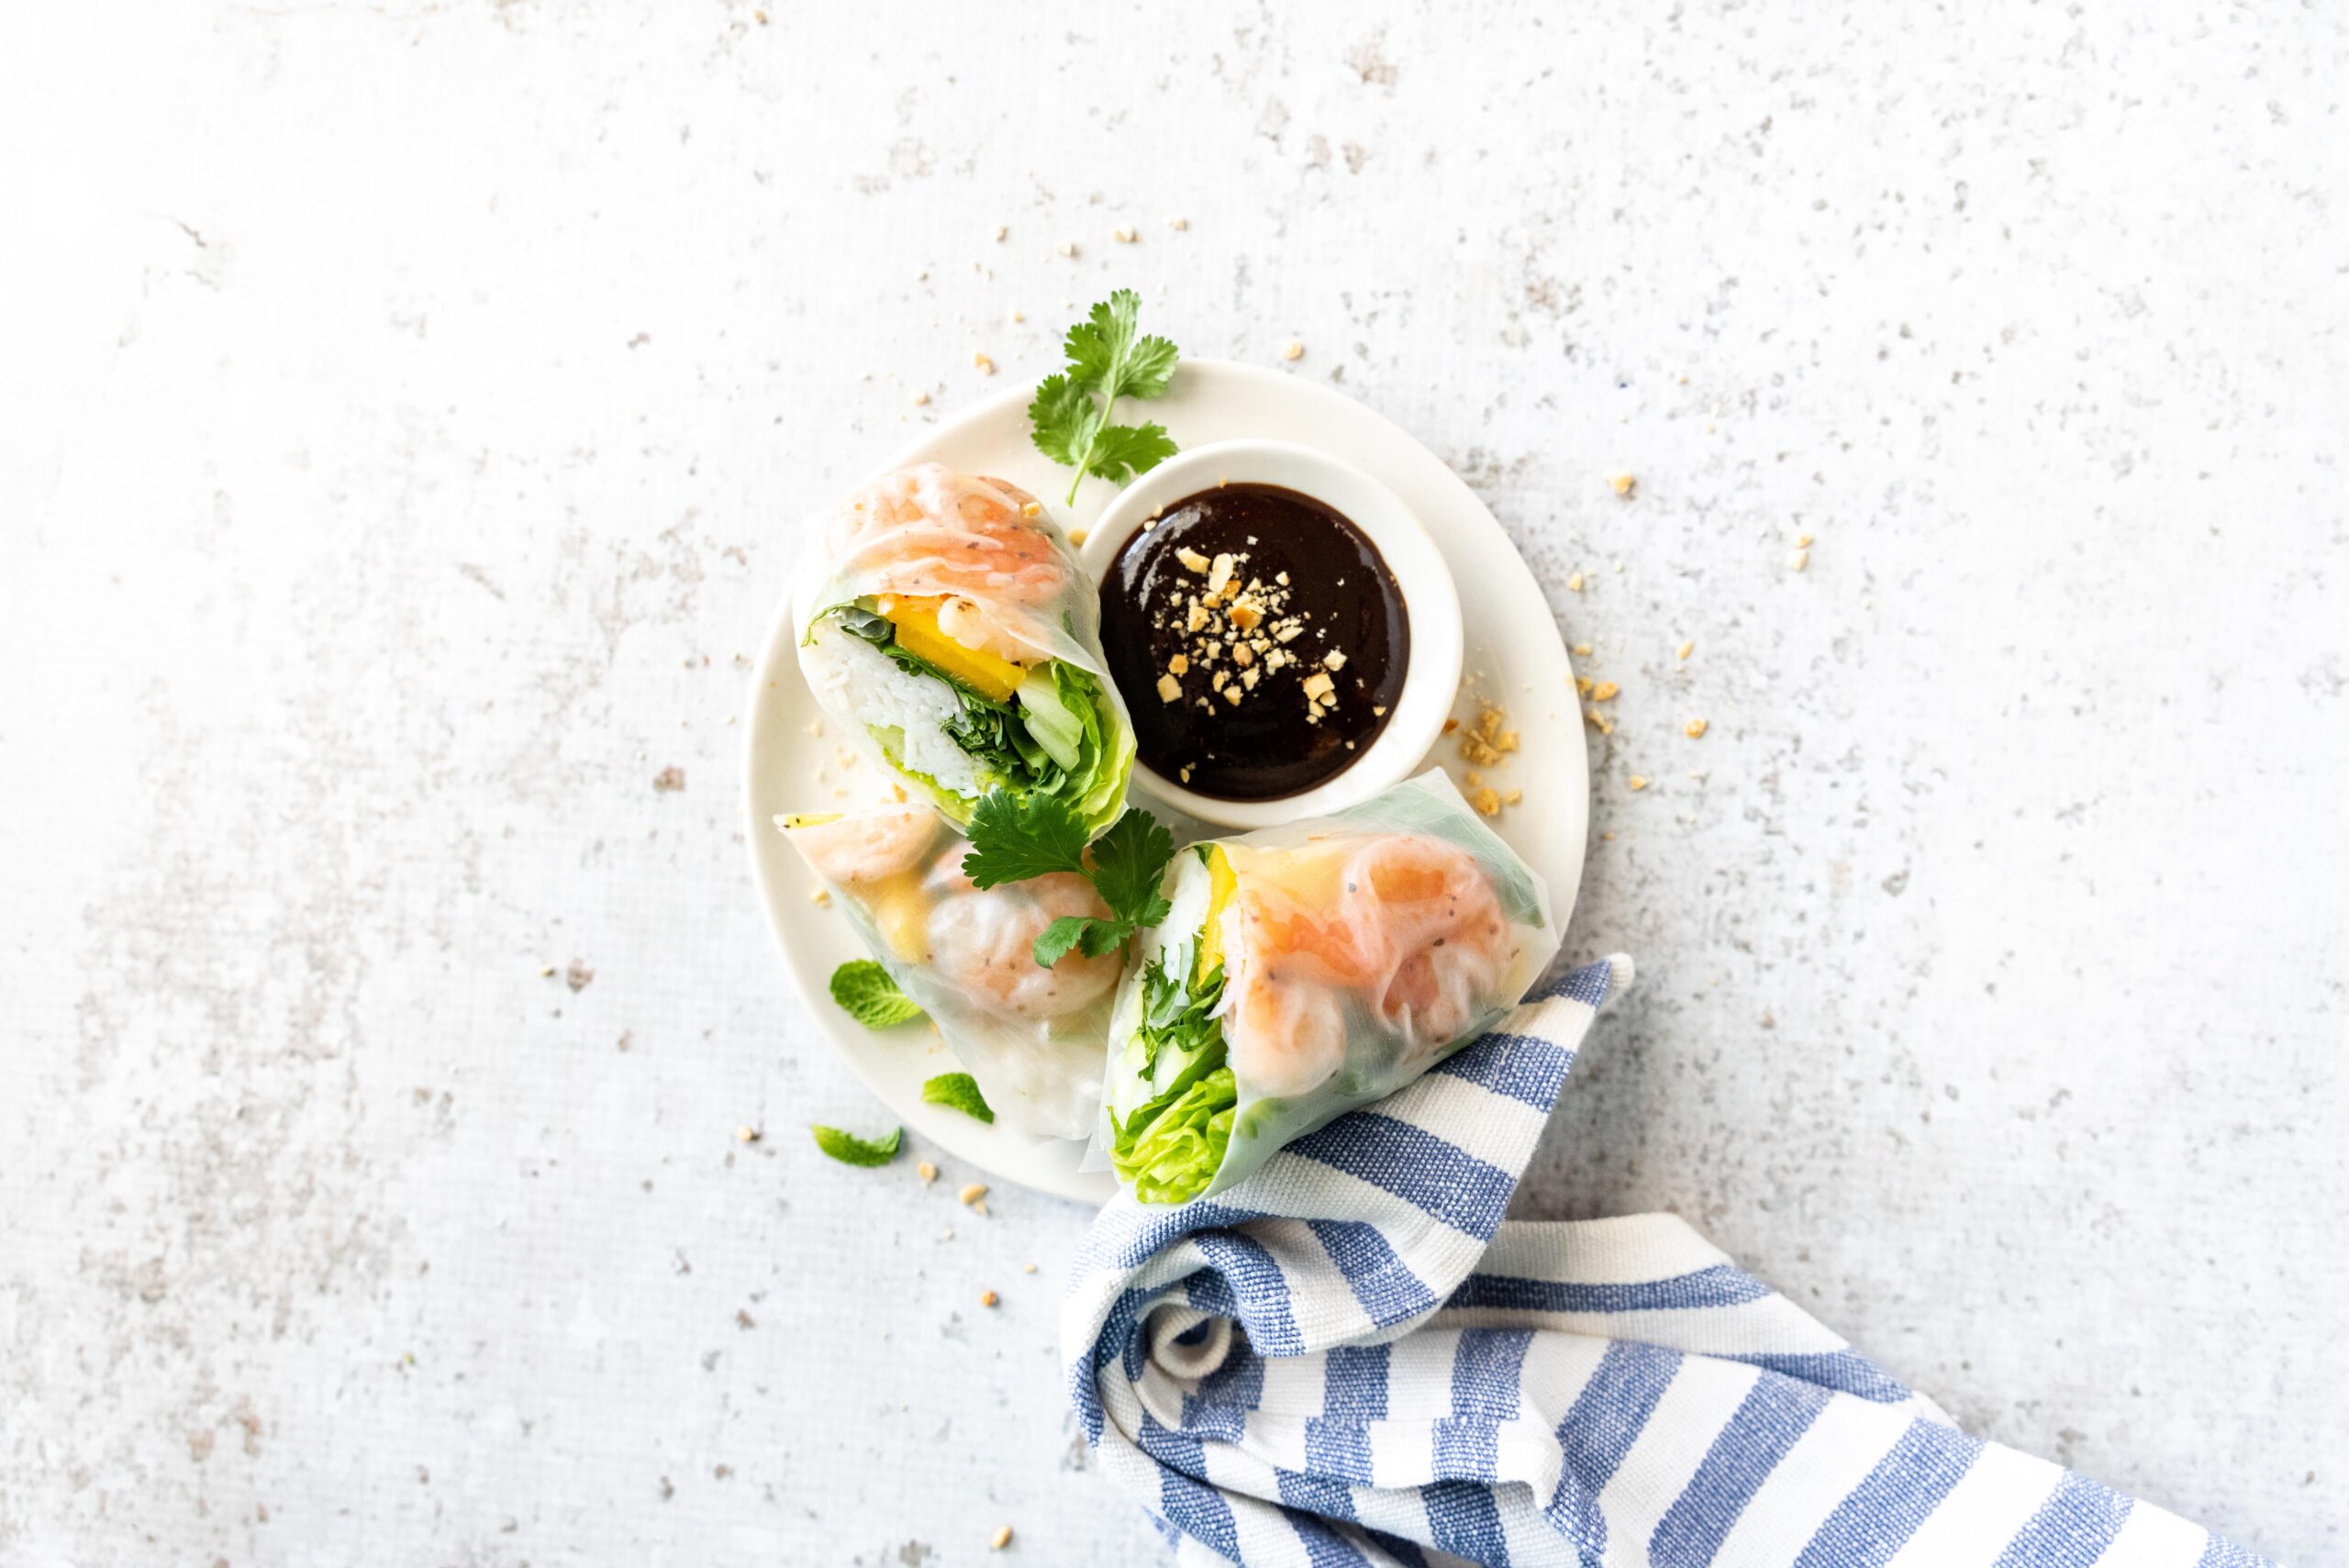
The delicate flavor of shrimp pairs nicely with fresh herbs and sweet mango. Rolling your own spring rolls may be tricky at first, but you’ll impress your friends and have complete control of the ingredients. Don’t like cilantro? Leave it out! Want to go big on veggies? Try adding shredded carrot or thinly sliced bell pepper. The trickiest bit is dialing in just how long-or should we say short-to leave the rice paper round in water. They should still feel firm and tacky when you first pull them from the water. As you construct your spring roll masterpiece, the water is absorbed to give you the perfect, pliable, rollable wrapper.
1poundcooked extra-large (16-20) peeled and deveined shrimpthawed if frozen
129 ½ inch rice paper rounds
1large head romaine lettuceleaves quartered
1large cucumberpeeled, seeded, and julienned
1large mangopeeled, pitted, and sliced
½bunch cilantro
1ouncefresh mintstemmed
1 ½ – 2cupshoisin or sweet chili sauce
Method
Cook vermicelli noodles according to package instructions. Drain and rinse with cold water.
Cut shrimp in half.
In a large shallow bowl, place a couple of inches of water.
To assemble spring rolls, submerge one rice paper round in the water for a few seconds and place on a flat surface. The rice paper will still be firm but will soften quickly.
Place the ingredients in the center of the rice paper starting with some romaine followed by cucumber and mango. Place three shrimp halves above the romaine and a small bundle of noodles below the romaine. Top with a sprinkle of herbs.
Close the spring roll by folding in the sides covering the filling then rolling upwards until sealed. Repeat with remaining ingredients and serve with your dipping sauce of choice.
Notes
Shrimp sizing: Shrimp is measured by the number of shrimps in one pound. For example, 16/20 would indicate that there are 16 to 20 shrimp per pound. The higher the number, the smaller the shrimp are and vice versa.
When it comes to cooking with sun-ripened garden crops, it’s best to keep it simple and let the flavor of your main ingredients shine. Garden-harvested foods are at their peak ripeness and will have more nutrients and flavor than store-bought fruits or vegetables that would have had to be picked early for market.
Pea, Basil, and Feta Dip
This dip can be whipped up in a flash and goes perfectly with any array of garden-fresh veggies available this time of year.
Ingredients:
8 oz (225 g) feta cheese
1/4 cup (60 mL) plain Greek yogurt
1/2 cup (125 mL) blanched fresh green peas, plus extra for garnish
1/4 cup (60 mL) raw walnuts
3/4 cup (180 mL) packed basil leaves and tender stems, plus extra for garnish
1 garlic clove, peeled
1 lemon
2 Tbsp (30 mL) olive oil
Salt, to taste
Instructions:
In food processor fitted with steel blade attachment, pulse together feta cheese and yogurt, scraping down bowl as needed, until smooth and creamy. Transfer to large plate, spreading over bottom of plate to cover. Set aside and wipe out food processor.
To food processor, add peas, walnuts, basil, garlic, zest of half a lemon, juice of whole lemon, and olive oil. Blend, scraping down sides of bowl as needed, until textured but creamy and well combined. Taste and adjust seasoning with salt. Dollop basil mixture over whipped feta, running a knife lightly through mixture to marble the two dips together. Garnish with extra peas and basil leaves, if desired. Serve alongside crackers and vegetables for dipping.
Serves 6
Each serving contains: 215 calories; 14 g protein; 15 g total fat (7 g sat. fat); 7 g total carbohydrates (6 g sugars, 1 g fiber); 456 mg sodium
Carrot, Raspberry, and Olive Tartine
This lovely open-faced sandwich is at once earthy, bright, briny, and fruity.
Ingredients:
3/4 cup (180 mL) fresh raspberries, divided
3 Tbsp (45 mL) olive oil
1 large lemon
1/3 lb (150 g) carrots, about 3 medium carrots
1/2 cup (125 mL) coarsely chopped flat-leaf parsley leaves
1/4 cup (60 mL) roughly chopped Castelvetrano olives
1/3 cup (80 mL) ricotta cheese
3 slices whole grain country loaf, toasted
Instructions:
In medium bowl, smash 1/4 cup (60 mL) raspberries with a fork. Add olive oil and zest and juice of lemon. Whisk until well combined and set aside.
On large holes of box grater, grate carrots and add to dressing mixture. Gently fold in chopped parsley and olives.
Divide ricotta cheese, spreading evenly over slices of bread. Generously heap on carrot mixture and top with fresh raspberries. Drizzle over any remaining vinaigrette left in bowl and serve.
Serves 3
Each serving contains: 332 calories; 7 g protein; 19 g total fat (4 g sat. fat); 33 g total carbohydrates (5 g sugars, 6 g fiber); 373 mg sodium
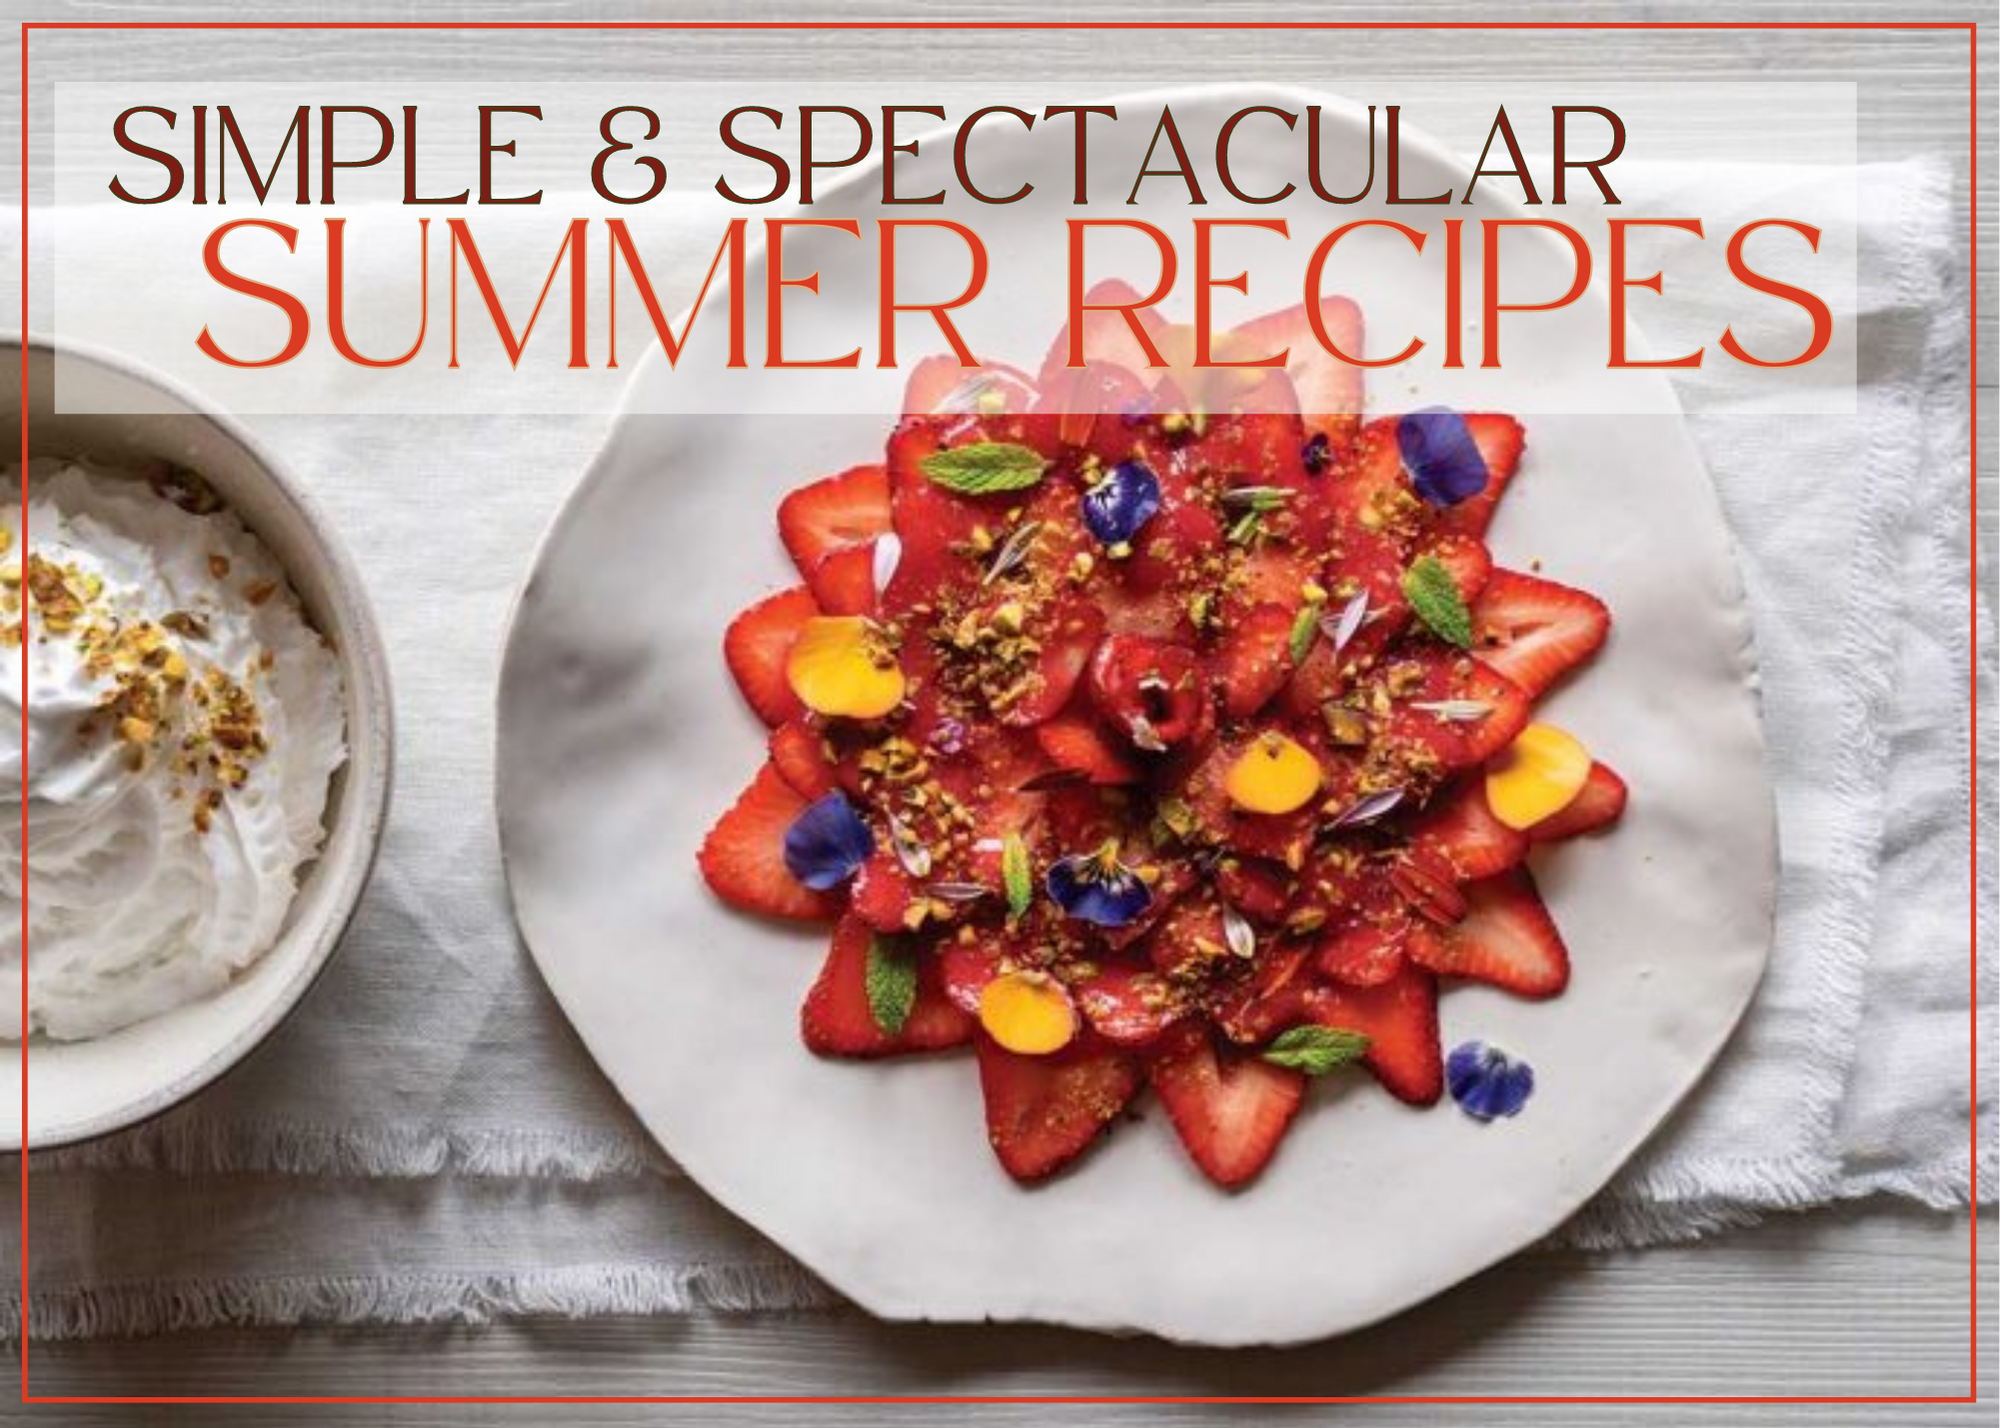
Strawberry Carpaccio
This simple dessert celebrates the glory that is the summer strawberry.
Ingredients:
3/4 lb (340 g) strawberries, washed and hulled, divided
1/2 tsp (2 mL) orange blossom water
1 to 2 tsp (5 to 10 mL) honey (optional)
1/4 cup (60 mL) toasted pistachios, roughly chopped
2 Tbsp (30 mL) mint leaves
Edible flower petals, for garnish
Instructions:
In blender, add 1/4 lb (113 g) strawberries and orange blossom water. Blend until smooth. Taste and adjust sweetness with honey, if desired. Into small bowl, strain strawberry puree through fine-mesh sieve. Discard any pulp left in sieve and set aside.
Cut remaining strawberries into thin slices, lengthwise. Arrange them over chilled serving plates in a single layer, slightly overlapping. Drizzle with a few spoonfuls of strawberry puree before garnishing with a scattering of pistachios, mint leaves, and edible flower petals.
Serves 2
Each serving contains: 108 calories; 3 g protein; 4 g total fat (0 g sat. fat); 19 g total carbohydrates (12 g sugars, 5 g fiber); 44 mg sodium
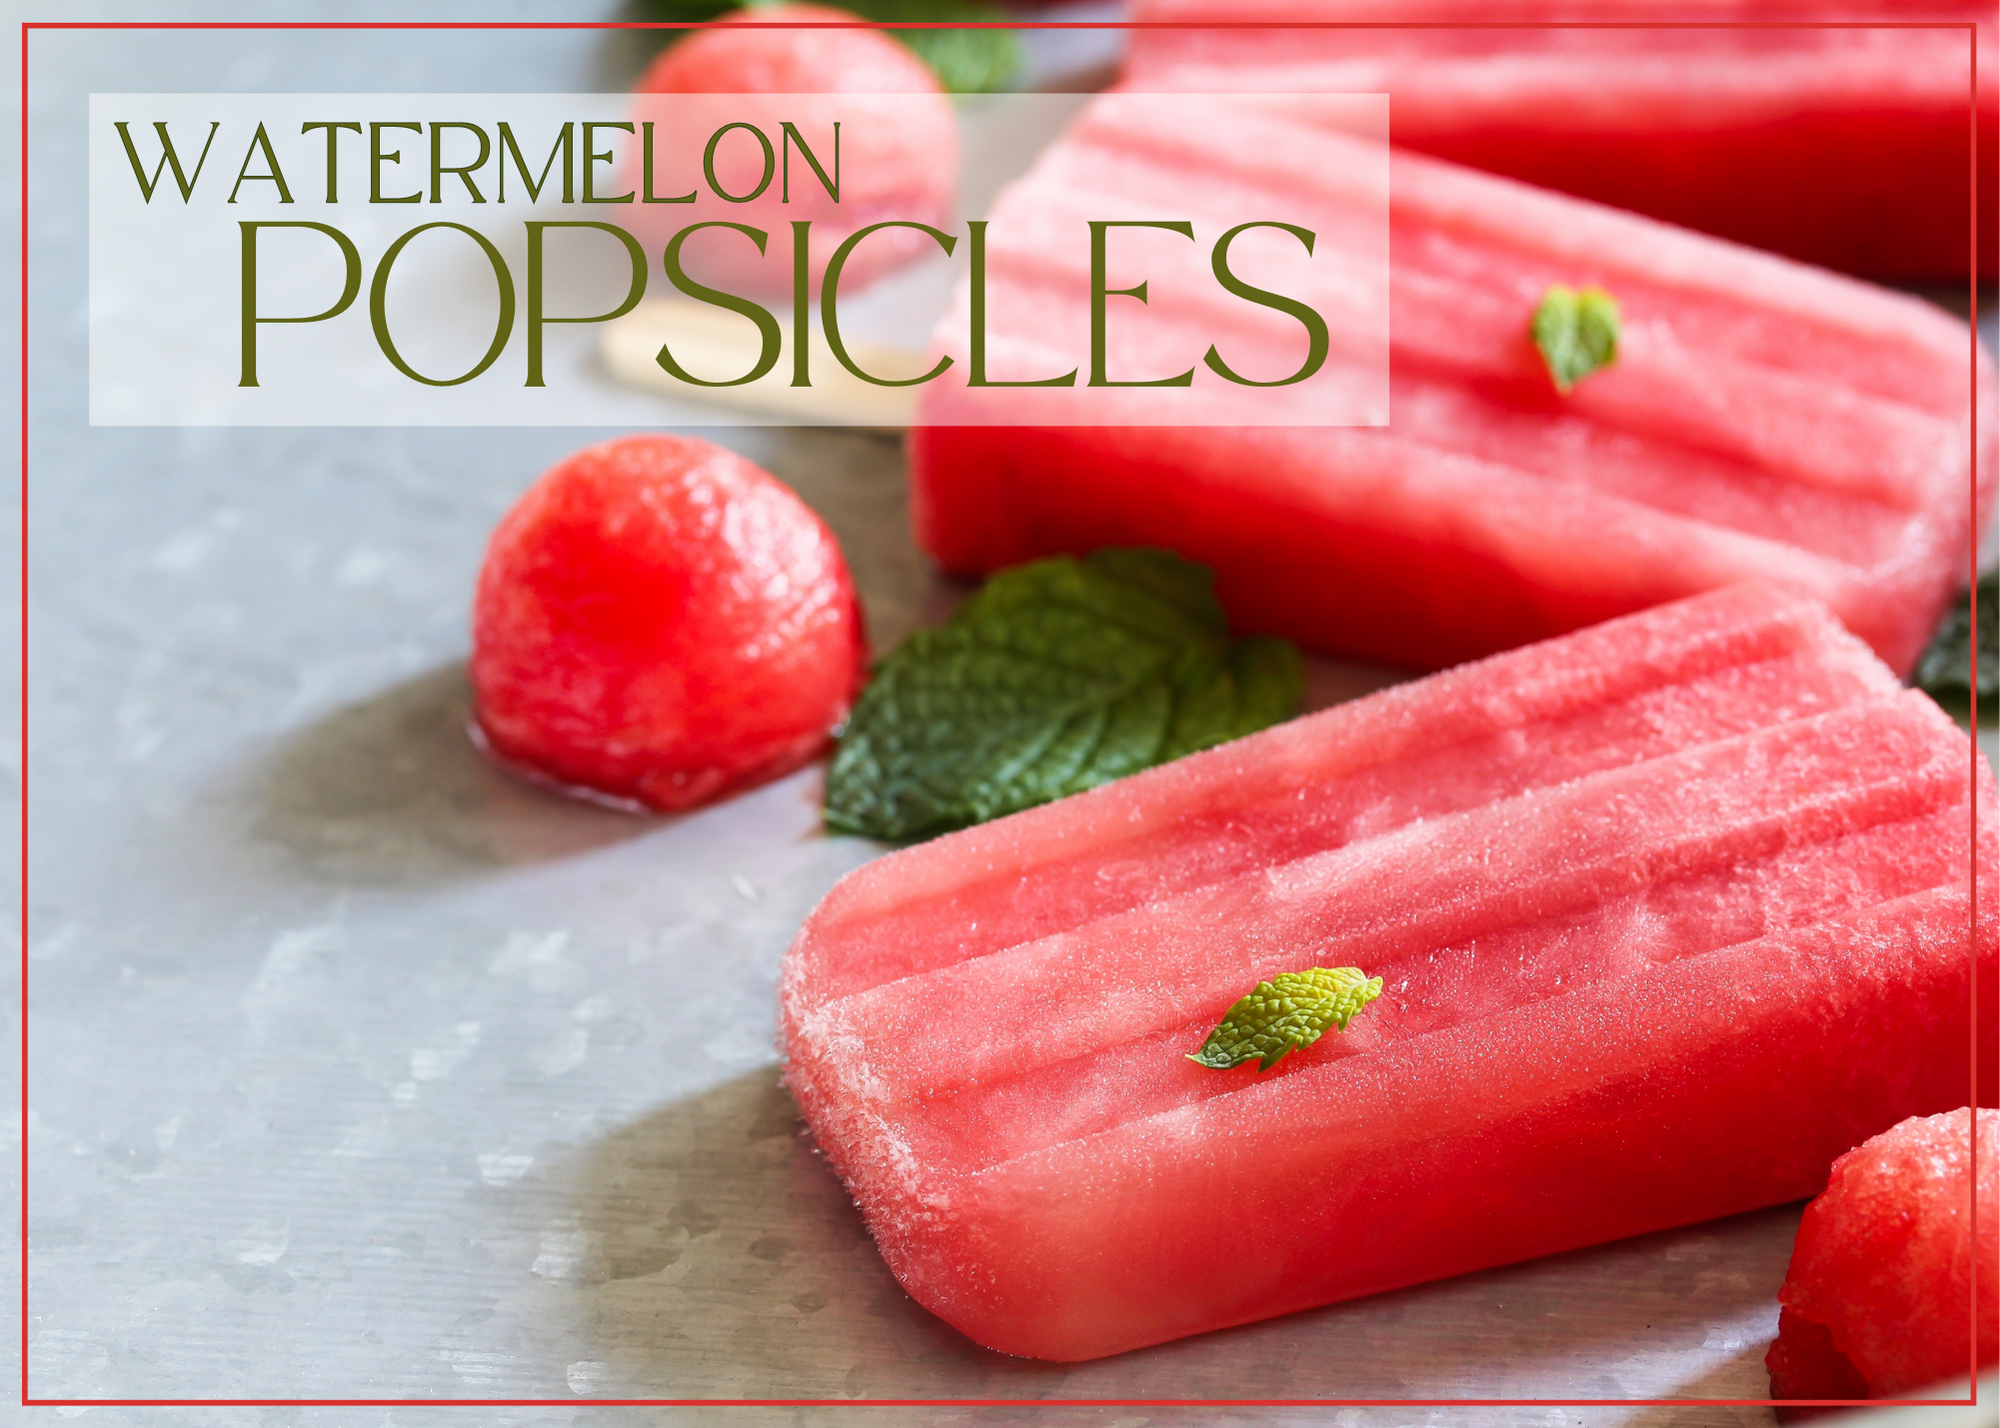
On a hot summer day, nothing beats the sweet, juicy goodness of watermelon.
Imagine that refreshing flavor transformed into a delightful frozen treat: watermelon popsicles! These vibrant and mouthwatering popsicles are incredibly easy to make and will keep you cool all summer long.
Bursting with natural sweetness and hydration, they are perfect for both kids and adults alike.
So let’s dive into this simple yet delicious recipe and get ready to savor the essence of summer in every bite.
Nicole Catenaro
Refreshing Watermelon Popsicles
These delightful watermelon popsicles are a cool and healthy way to beat the summer heat. With just a few simple steps, you can enjoy the refreshing taste of watermelon popsicles! So gather your ingredients, get creative with your molds, and let the sweet flavors of this frozen treat transport you to a sunny paradise. Enjoy!
1-2tablespoonsHoney or sweetener of choice(optional, adjust to taste)
Method
Start by cutting the watermelon into small chunks, removing any seeds if necessary. Ensure the watermelon is ripe and juicy for the best flavor.
If you're using wooden popsicle sticks, soak them in water for about 10 minutes to prevent them from splintering during freezing.
Place the watermelon chunks into a blender or food processor. Blend until you achieve a smooth and liquid consistency.
Add the freshly squeezed lime juice to the watermelon puree. Lime juice enhances the overall flavor and adds a tangy kick.
Taste the watermelon mixture and assess its sweetness. Depending on the natural sweetness of the watermelon, you may choose to add a little honey or sweetener of choice.
If desired, gradually add the sweetener of your choice, blending again until well combined. Remember, watermelons are already sweet, so add sweeteners sparingly to maintain a balanced taste.
Carefully pour the watermelon mixture into popsicle molds or small paper cups, leaving a little space at the top for expansion during freezing.
Place the popsicles in the freezer and let them set for about 30 minutes to an hour, or until they become partially frozen.
Once partially frozen, insert the popsicle sticks deeper into the molds or cups to secure them in place. This will help the sticks stand straight when the popsicles are fully frozen.
Return the popsicles to the freezer and allow them to freeze completely for about 4-6 hours or overnight.
When ready to enjoy, remove the popsicles from the molds or peel away the paper cups. If the popsicles don't easily release from the molds, run the bottom of the molds under warm water for a few seconds to loosen them.
Serve the watermelon popsicles immediately and relish in the refreshing taste of summer. They are perfect for poolside lounging, backyard barbecues, or simply as a guilt-free dessert.
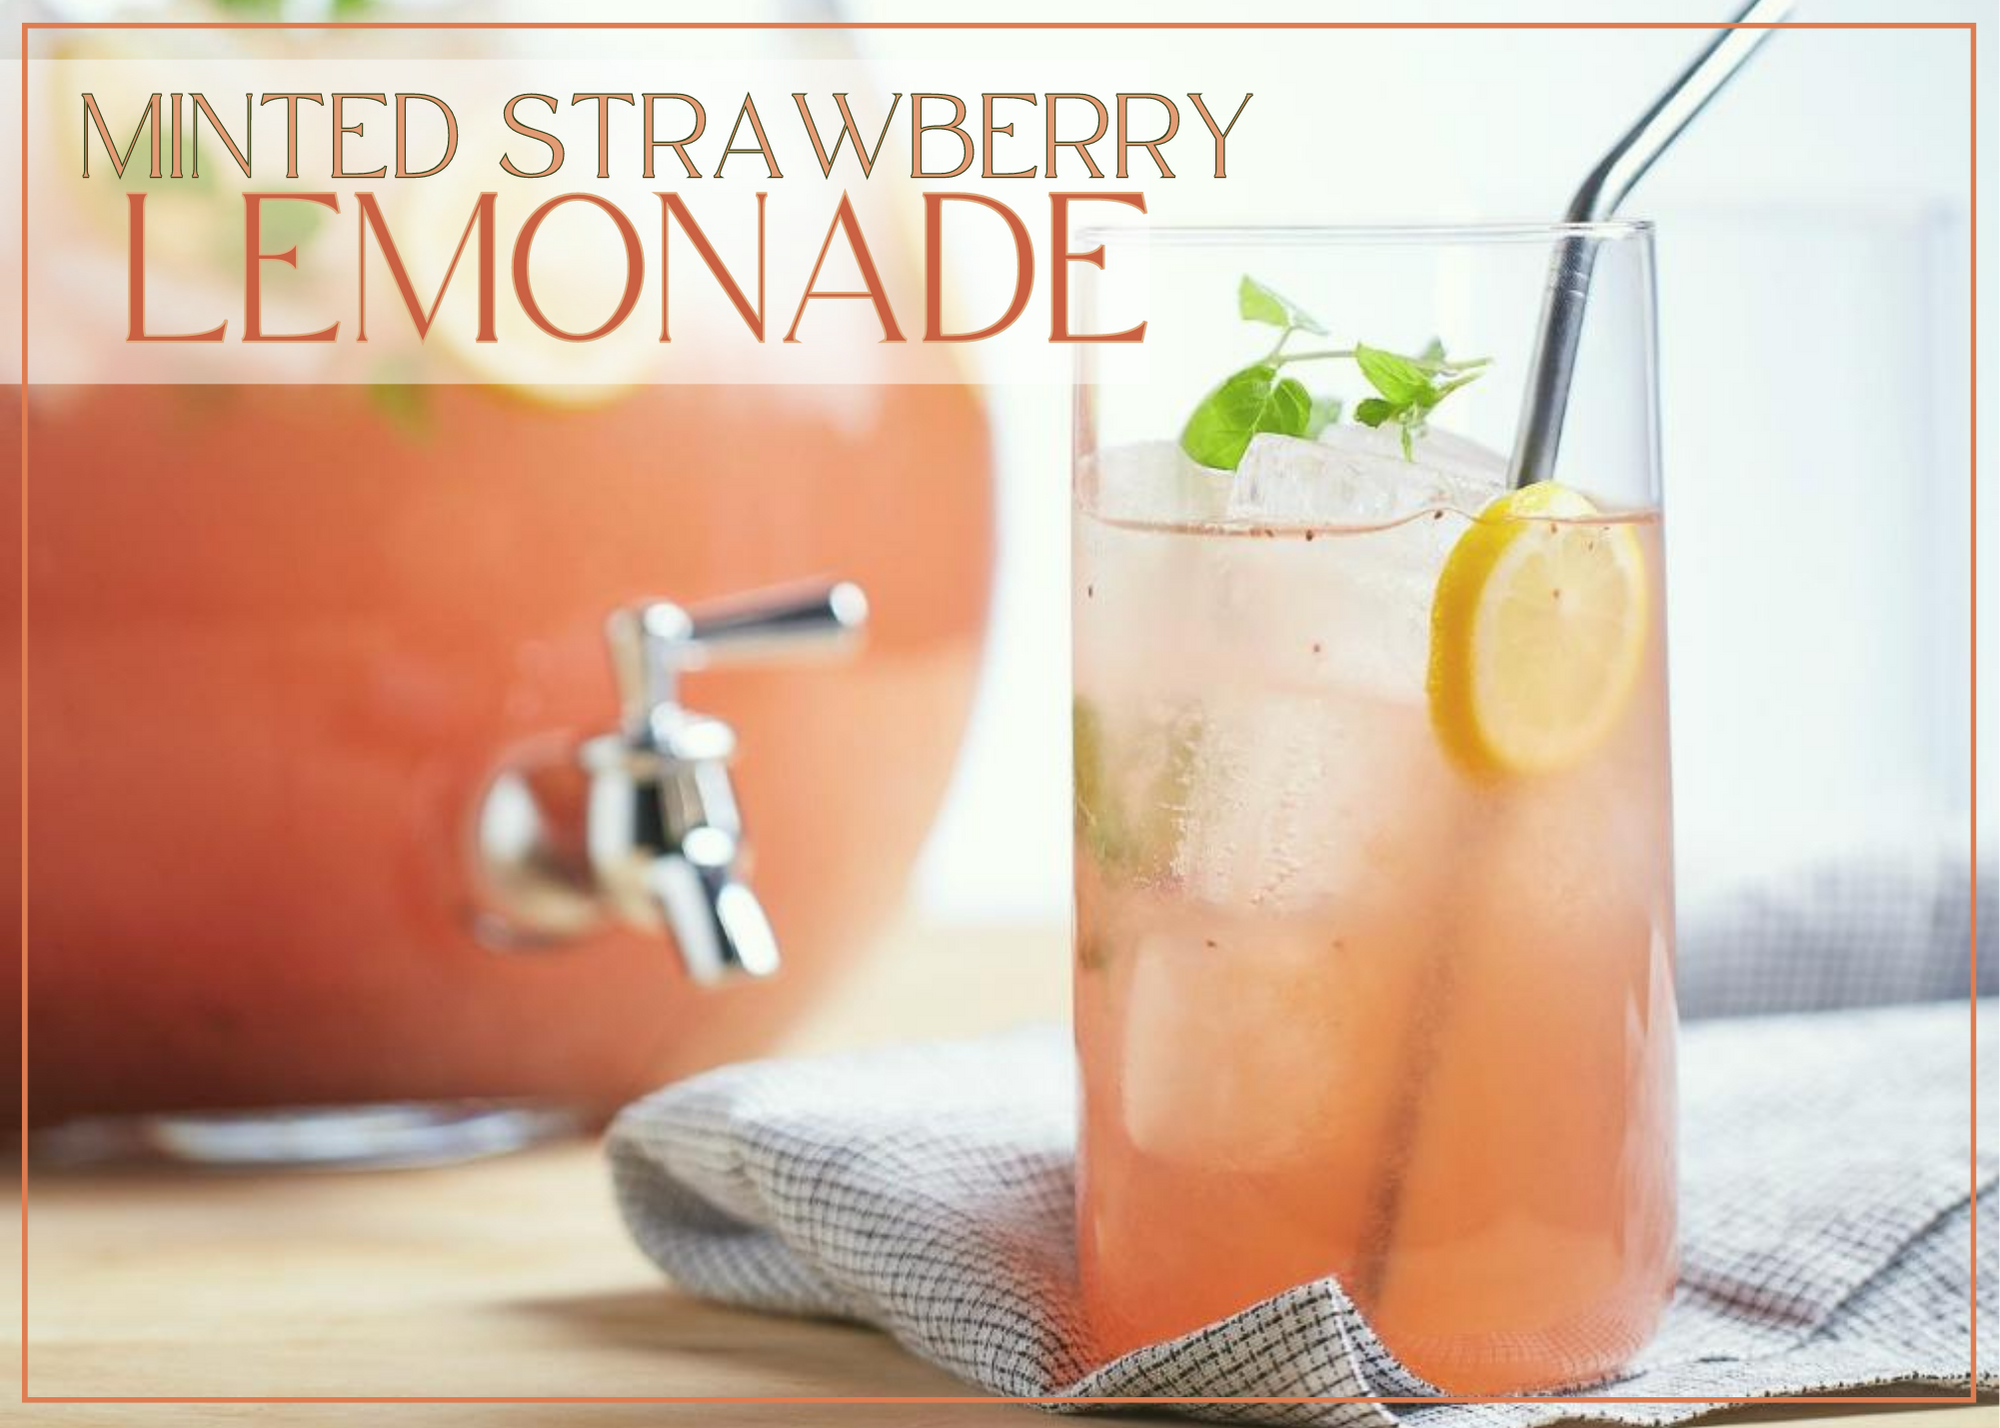
For a quick and delicious addition to your summer table try this minty-sweet-tart drink! Try different variations for a fun twist, such as basil instead of mint, or limes instead of lemons! Give it a try this summer to help beat the heat!
Thanks to Christine Waltermyer & The Natural Kitchen Cooking School!
Christine Waltermyer is a local and renowned Wellness Chef, private chef to celebrities, published cookbook author and founder of the Natural Kitchen Cooking School, which offers an online Plant-Based Cooking Program. She also loves shopping at Basil Bandwagon! Visit naturalkitchenschool.com to subscribe to her email newsletter for new recipes, tips, and FREE access to the Power of Veggies mini-course!
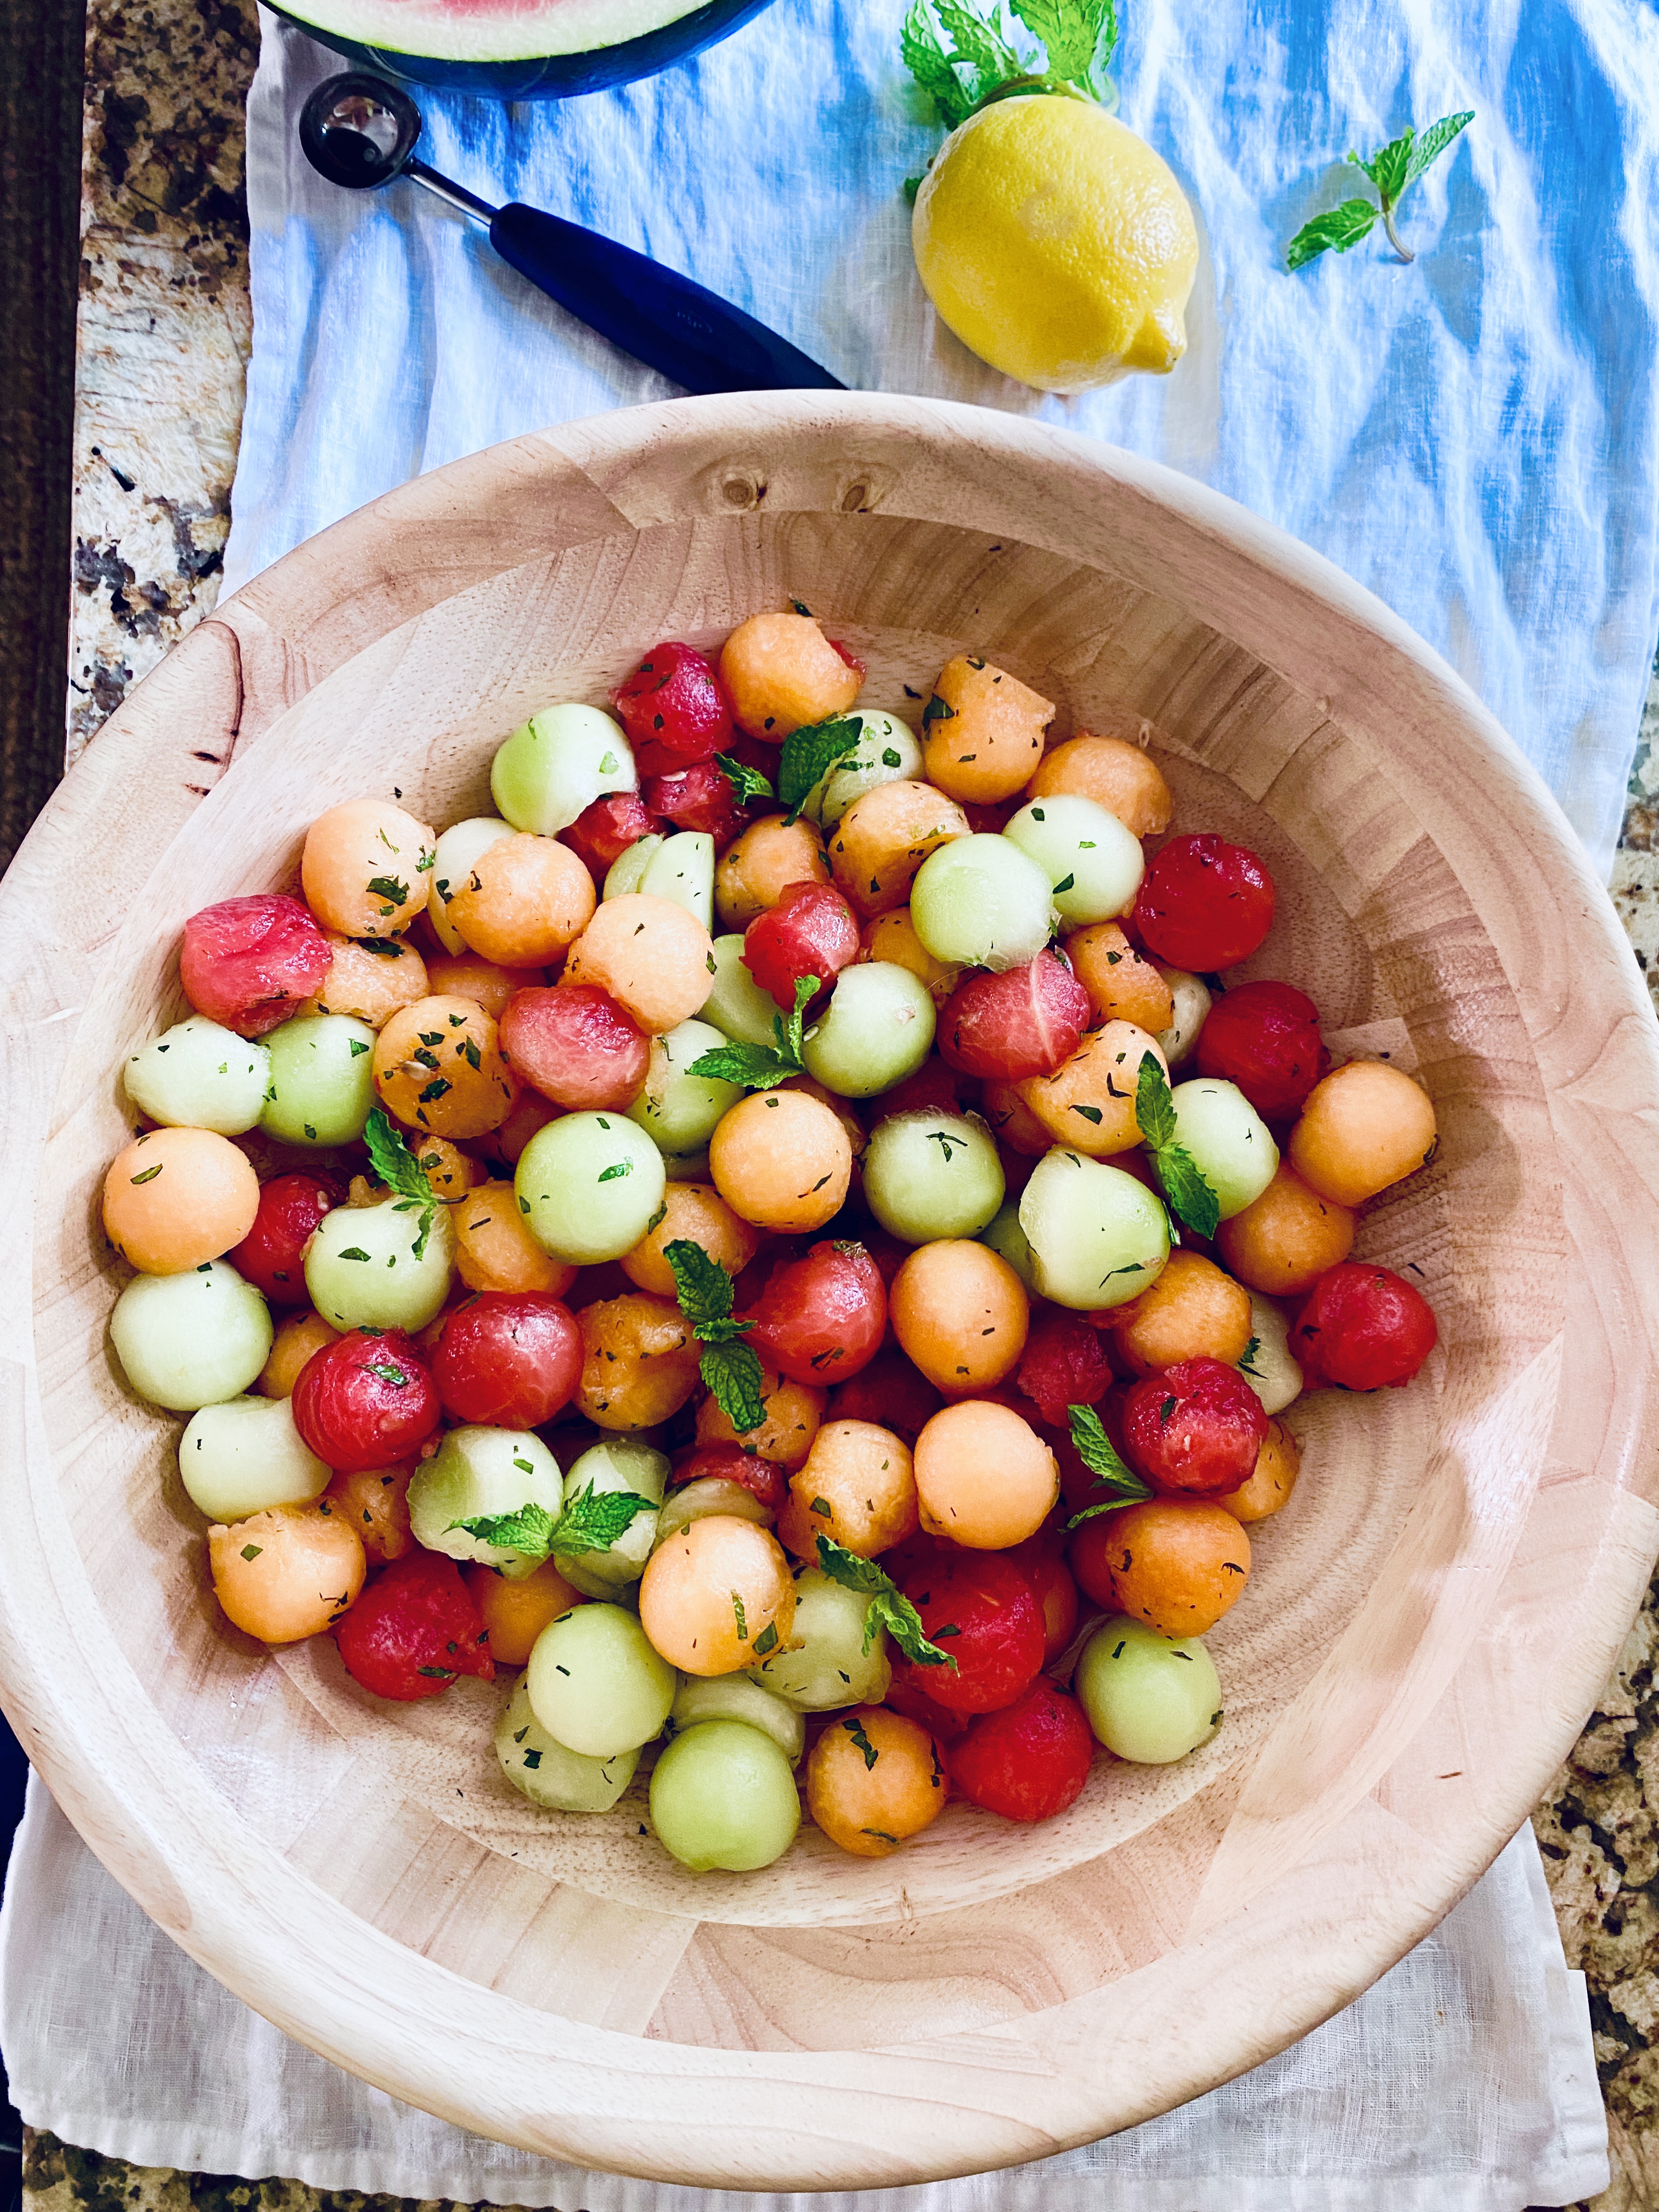
Summer is time for fresh, colorful salads – and melons! Thanks to Christine Waltermyer and The Natural Kitchen Cooking School, you can learn how to cut a melon (whether it’s a honeydew, cantaloupe or watermelon!) and use it to make a bright, refreshing salad with citrus dressing. Scroll down for the recipe!
Use a melon ball scoop to create little balls from each of the melons. Place them in a large bowl.
Make the citrus dressing: In a small bowl, combine the lemon juice, lime juice, sea salt, honey and mint. Whisk together. Pour over the melon balls and gently toss until evenly coated. You can serve right away or chill before serving. If you refrigerate it, stir the salad again just before serving.
Enjoy!
Thank you to Christine Waltermyer and the Natural Kitchen Cooking School for working with us to help promote healthy, nutritious meals and products that are affordable, full of nutrients, and simple to make at home!
Thanks to Christine Waltermyer & The Natural Kitchen Cooking School!
Christine Waltermyer is a local and renowned Wellness Chef, private chef to celebrities, published cookbook author and founder of the Natural Kitchen Cooking School, which offers an online Plant-Based Cooking Program. She also loves shopping at Basil Bandwagon! Visit naturalkitchenschool.com to subscribe to her email newsletter for new recipes, tips, and FREE access to the Power of Veggies mini-course!
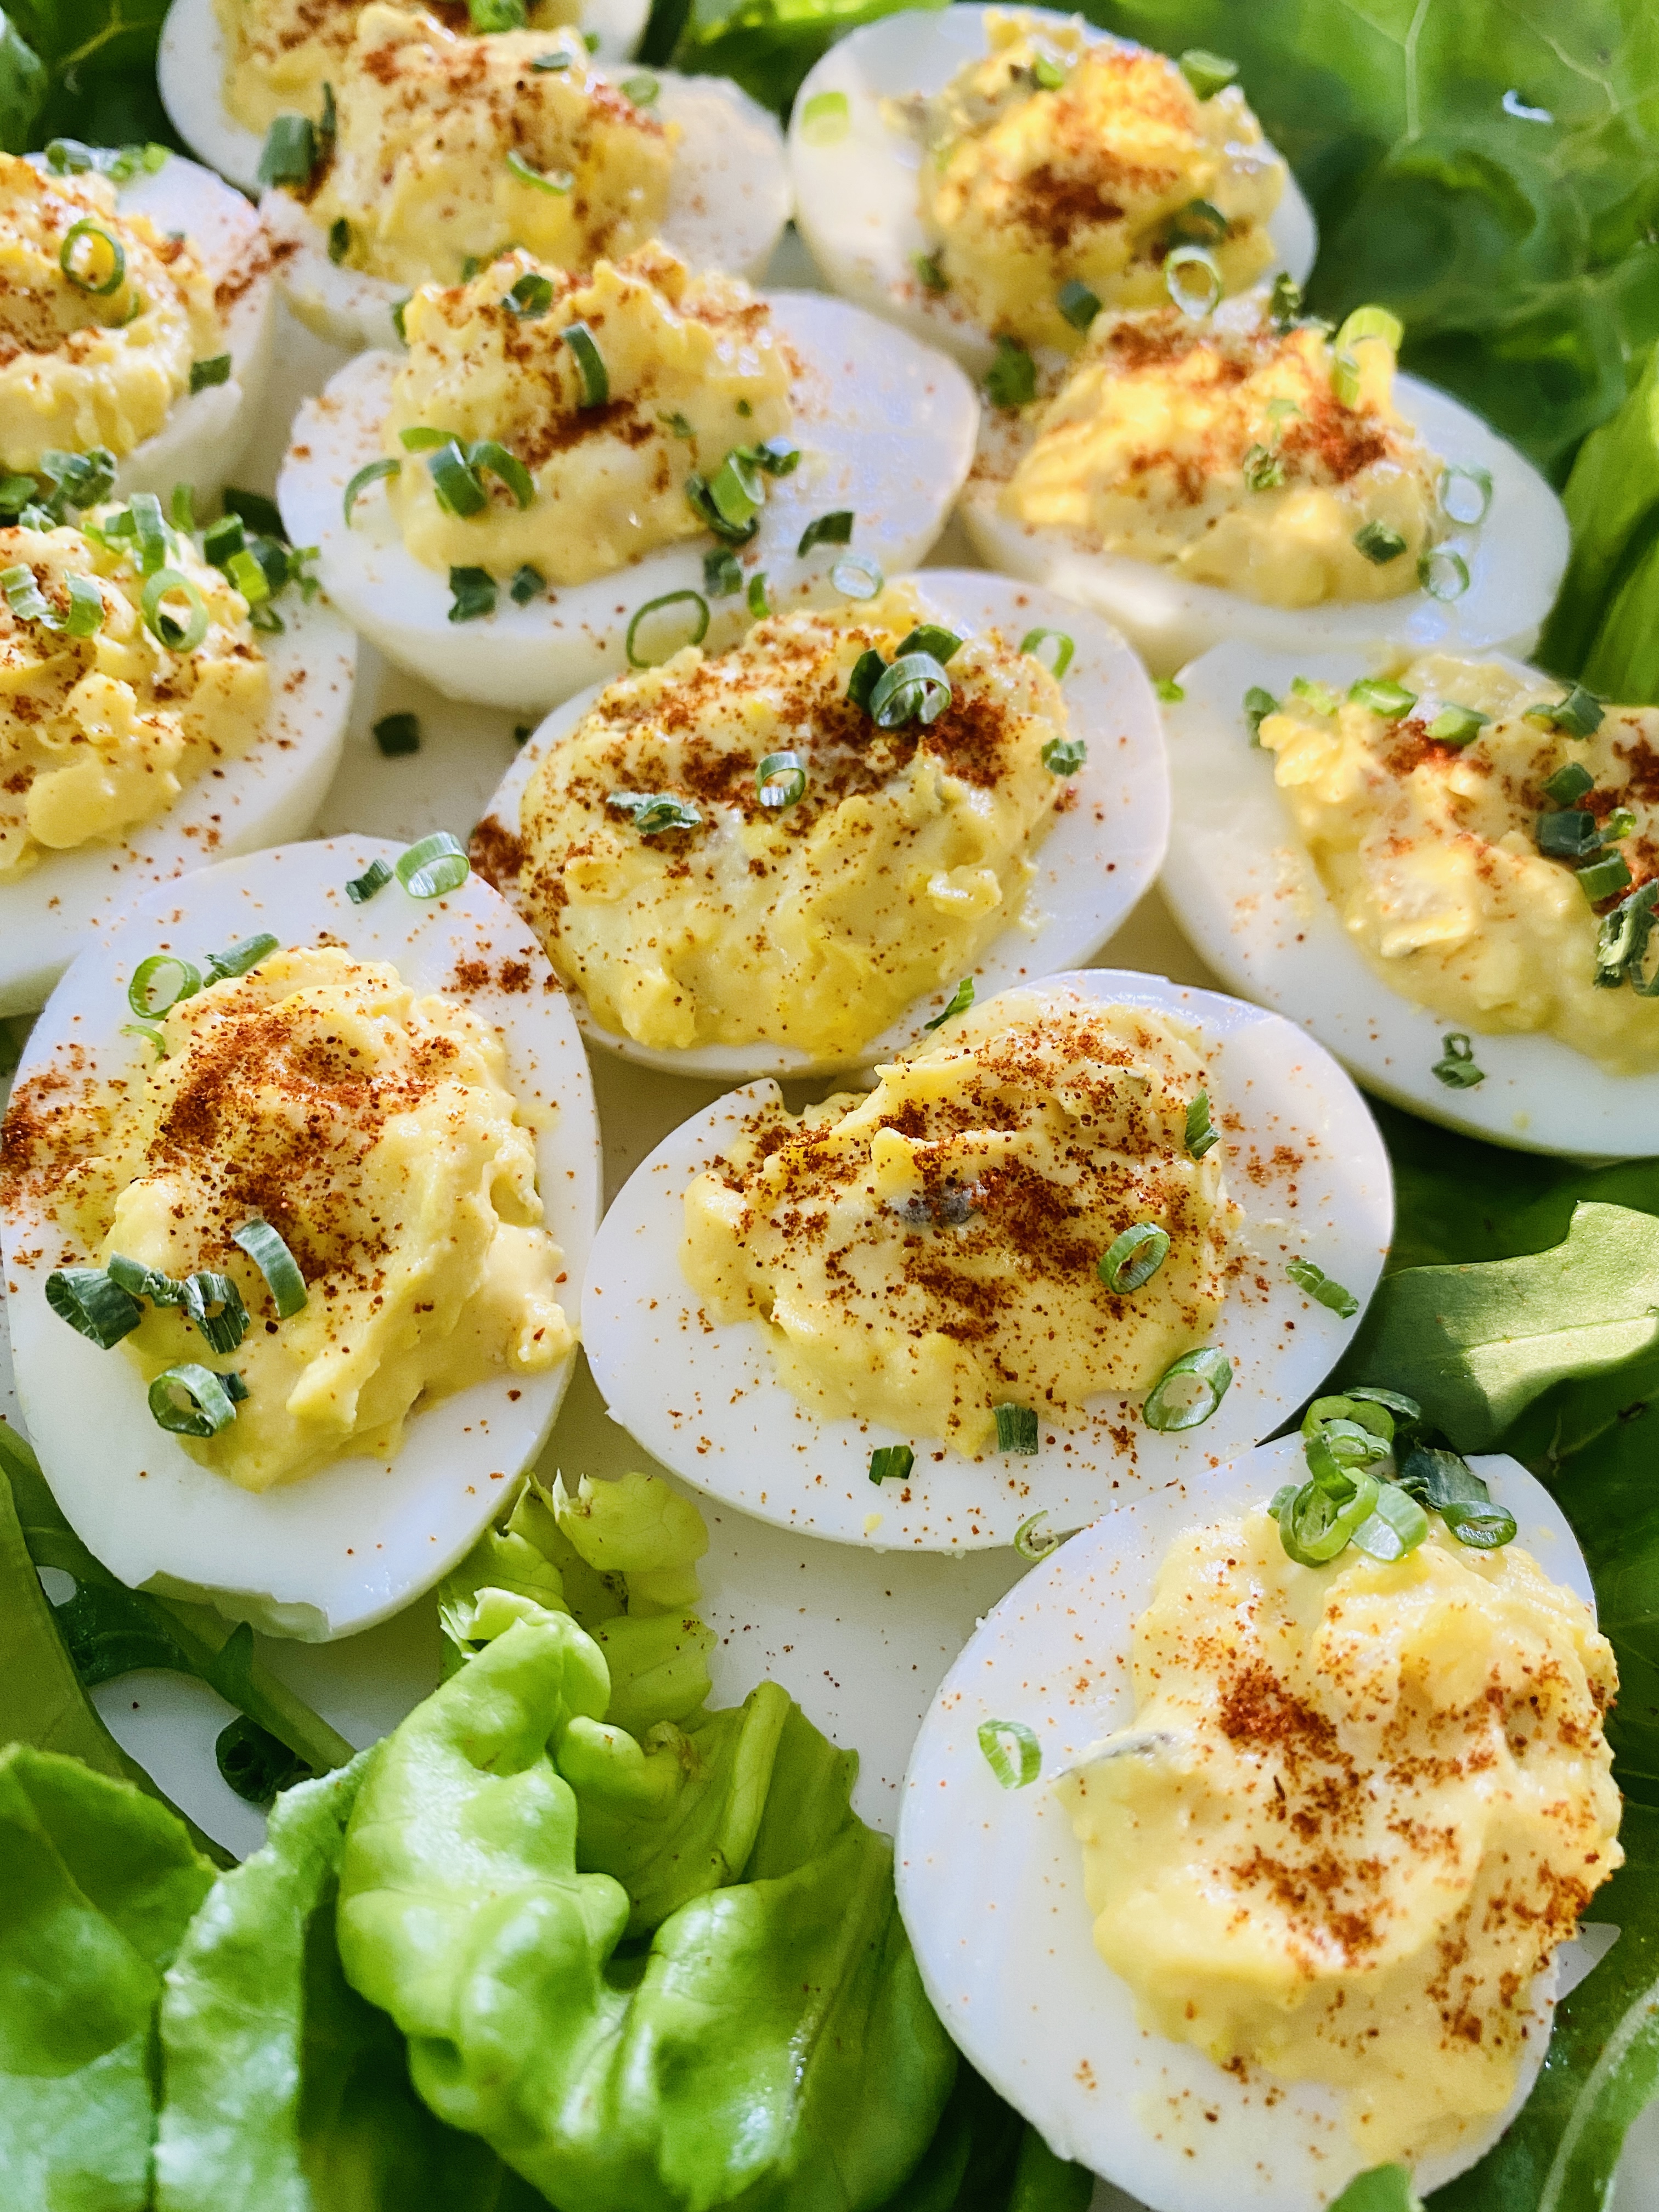
Whether you’re getting ready for back-to-school or you’re throwing the last end of summer party, these deviled eggs are the recipe you’re looking for. Not only is it a simple appetizer, but it can fit perfectly in your lunchbox, too! Scroll down for this easy step-by-step recipe thanks to Christine Waltermyer and The Natural Kitchen Cooking School.
Deviled eggs are nutritious as a snack or party appetizer. Use a pastry bag fitted with a large star tip to get that fun swirl shape of the filling.
Course Appetizer
Keyword appetizer, deviled eggs, snack
Servings 10deviled eggs
Ingredients
6eggs
2tablespoonsmayonnaise (I use a keto coconut oil brand)
1teaspoondijon mustard
1tablespoonsweet pickle relish
Sea salt and white pepper to taste
Smoked paprika
Fresh chives, chopped finelyoptional
Instructions
Place eggs in a single layer in a medium saucepan. Add enough water to cover by 2 inches. Bring to a boil, cover, remove from heat, and let stand for 12 minutes.
While the eggs are cooking, fill a bowl with cold water and ice. When the eggs have finished cooking, use a mesh strainer to scoop the eggs out and place them in the ice bath.
To peel the eggs, tap each egg on the wide end until it cracks. Peel under cold running water, using a small spoon to help remove the shell.
Cut the peeled eggs in half lengthwise. Carefully remove the yolks. Place the yolks in a small bowl. Mash lightly with a fork. Add the mayonnaise, mustard, pickle relish, sea salt and white pepper. Stir well.
Carefully spoon the egg yolk mixture into the egg whites. Feel free to use a pastry bag fitted with a large star tip to make a fancy shape. Garnish with the smoked paprika and optional chopped chives.
Enjoy!
Thank you to Christine Waltermyer and the Natural Kitchen Cooking School for working with us to help promote healthy, nutritious meals and products that are affordable, full of nutrients, and simple to make at home!
Thanks to Christine Waltermyer & The Natural Kitchen Cooking School!
Christine Waltermyer is a local and renowned Wellness Chef, private chef to celebrities, published cookbook author and founder of the Natural Kitchen Cooking School, which offers an online Plant-Based Cooking Program. She also loves shopping at Basil Bandwagon! Visit naturalkitchenschool.com to subscribe to her email newsletter for new recipes, tips, and FREE access to the Power of Veggies mini-course!
Summer is time for ice cream – but let’s make it homemade! It’s easier than you think and thanks to Christine Waltermyer and the Natural Kitchen Cooking School, we have an easy cherry vanilla ice cream recipe that you can try at home today 🍒🍦
1cupheavy cream (I used dairy but you could use coconut-based cream for non-dairy)
2cupsfrozen sweet cherries
¼cuppowdered sugar
Pinch sea salt
1teaspoonvanilla powder (or vanilla extract)
1teaspoonlemon juiceoptional
1pasteurized egg yolkoptional
Instructions
Pour the heavy cream into the bowl of a food processor. Whip it until fluffy. Add the frozen cherries, heavy cream, sugar, sea salt, vanilla powder, and optional lemon juice and egg yolk. Puree until completely smooth.
Freeze the ice cream using one of these two methods:1. Pour the ice cream into small single serving containers and freeze them. This makes it easy to take out and bring to room temperature for a few minutes to help it soften before serving.2. Or, pour the whole batch into a shallow pan and freeze for 1 hour. Swirl with a fork and freeze again. Stir every hour until firm, then transfer into a storage container.
Enjoy!
Notes
This is a firmer ice cream once it’s frozen, so just allow for letting it sit at room temperature for a few minutes before serving and you’ll be all set to enjoy delicious creamy ice cream!
Thank you to Christine Waltermyer and the Natural Kitchen Cooking School for working with us to help promote healthy, nutritious meals and products that are affordable, full of nutrients, and simple to make at home!