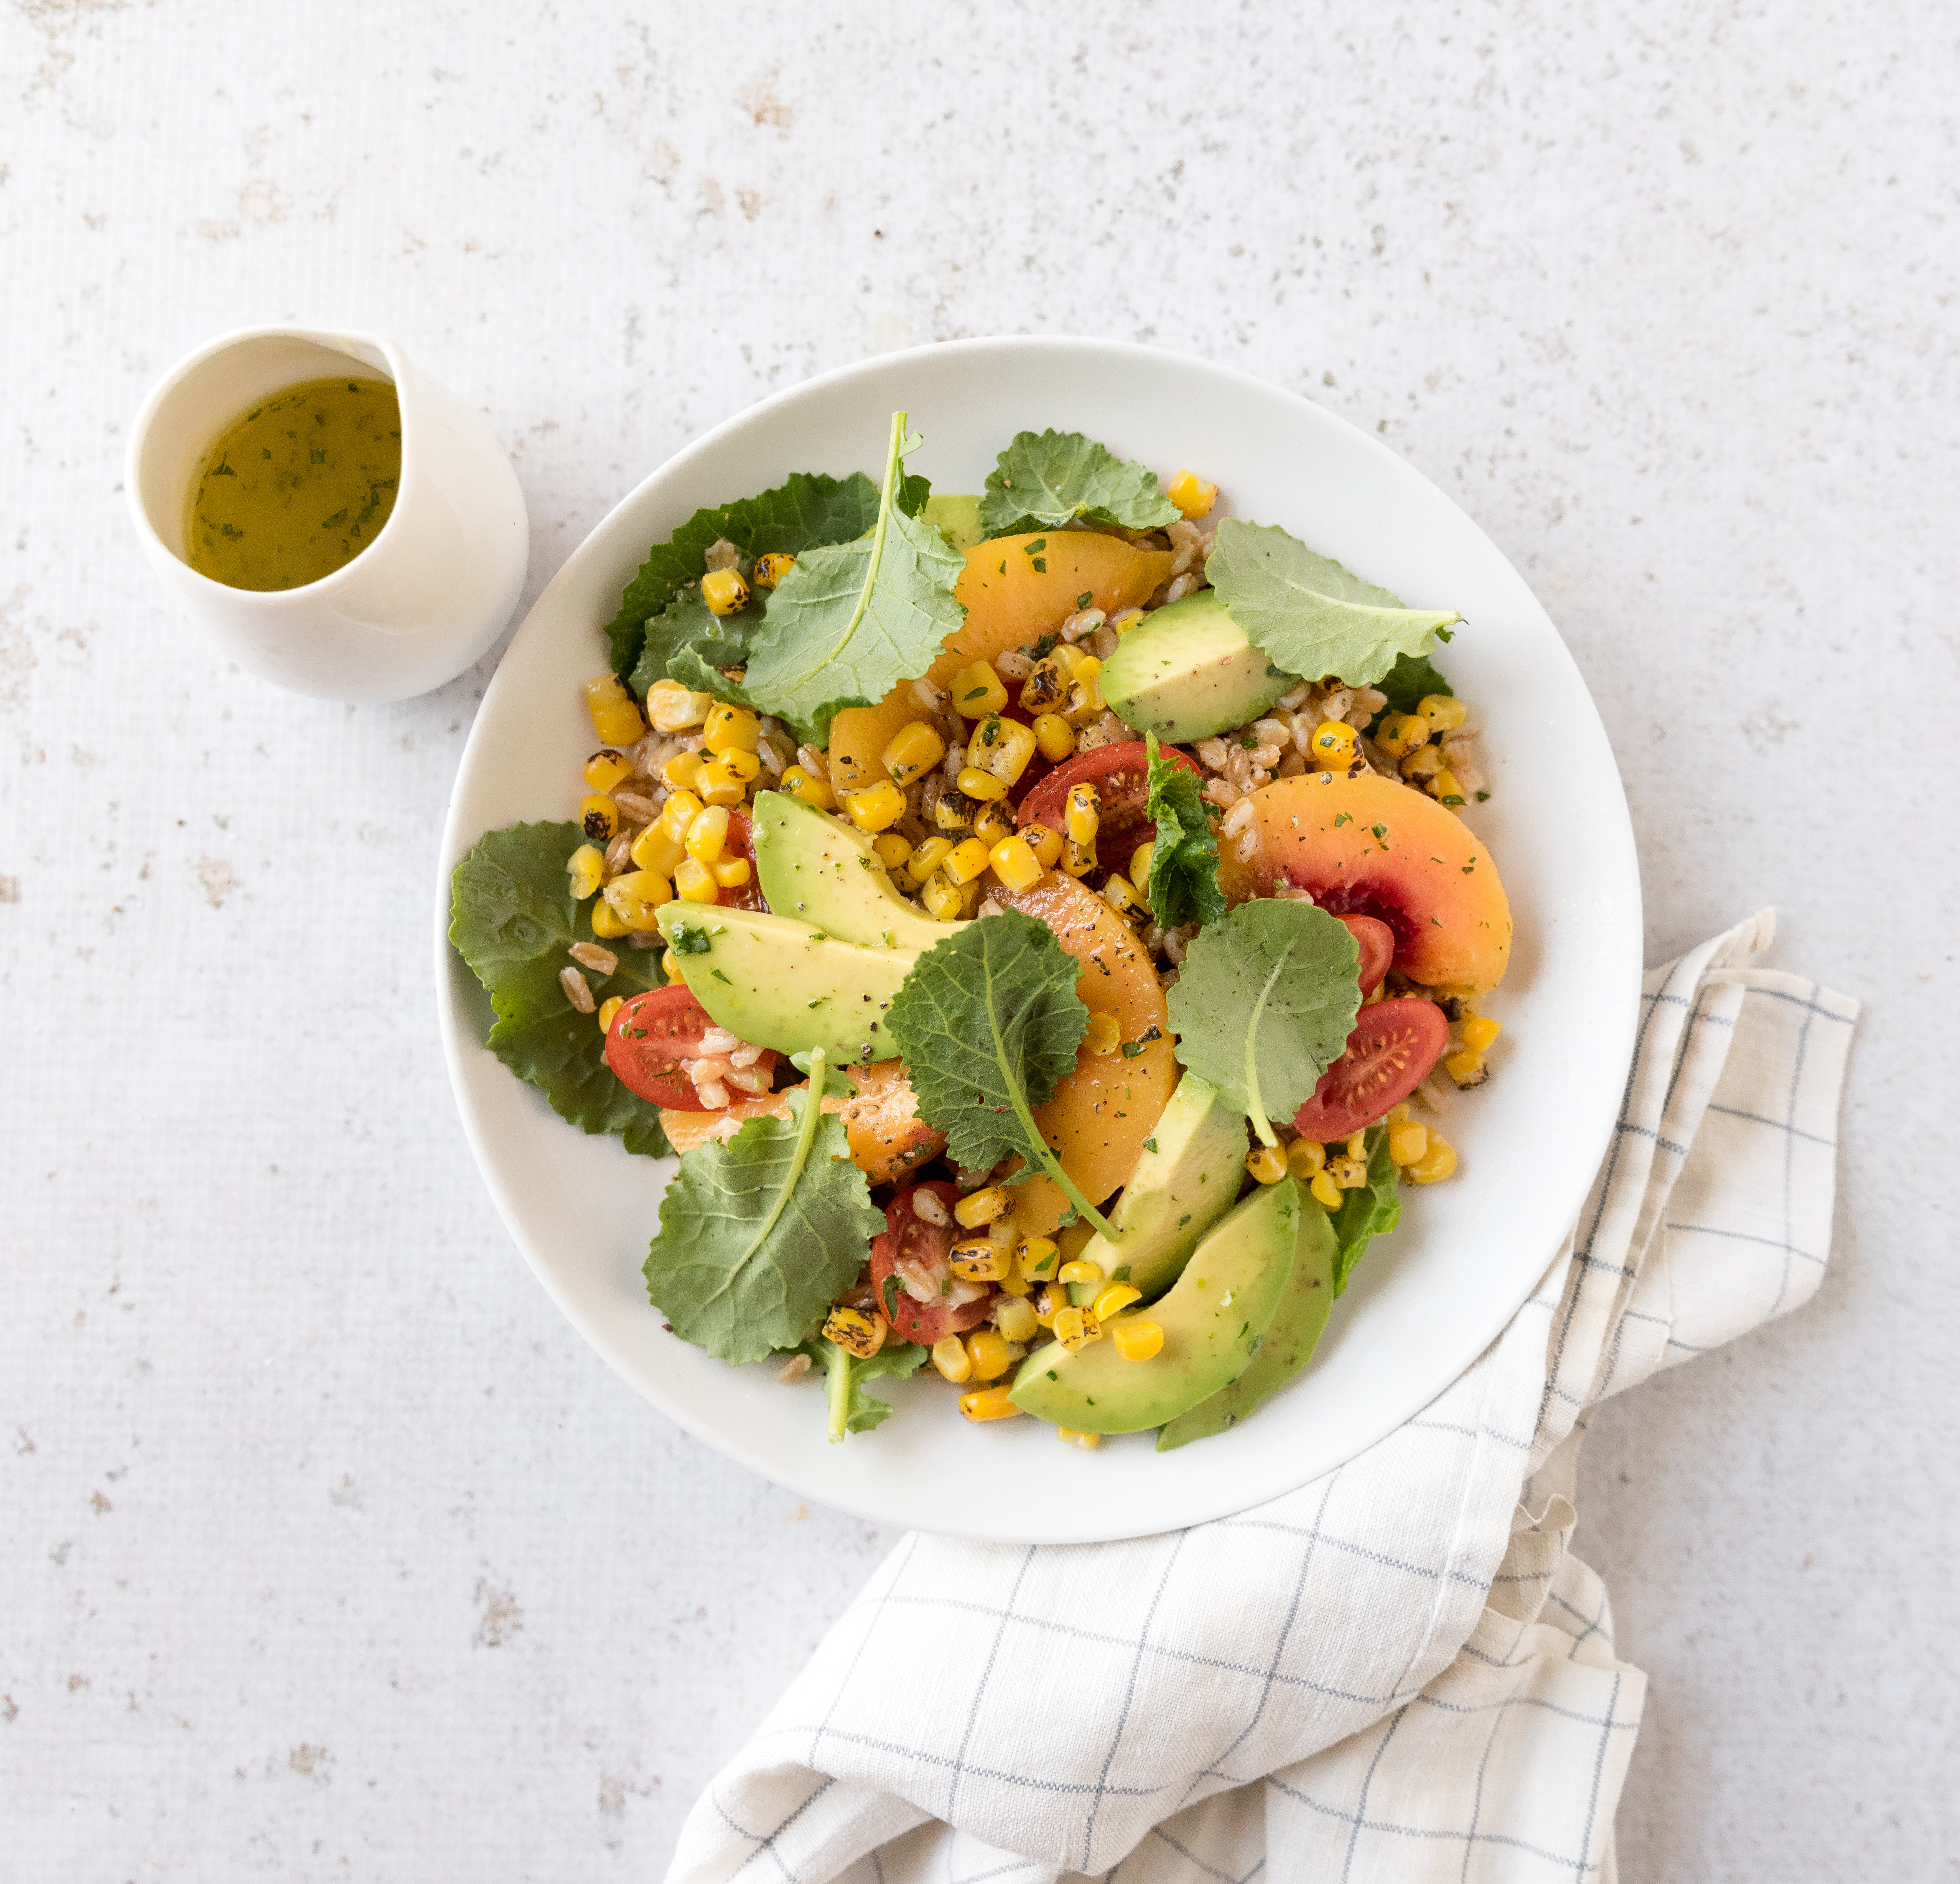
Grilled Corn and Peach Salad
Looking for the perfect side dish for your next grill night? Look no further! Grilled Corn and Peach Salad combines the season’s peak produce with the smoky fire of the grill. With farro and baby kale, this salad doesn’t have to be relegated to the side. Make it the star of the show with some grilled chicken or scallops. Tarragon has a pungent, bittersweet flavor that holds its own in the salad. If you can’t find tarragon, or don’t love its fennel-like notes, you can always substitute basil, dill, or any other soft herb you like.

Grilled Corn and Peach Salad
Servings 4
Ingredients
- 1 cup farro
- 2 peaches segmented
- 2 ears of corn
- 1 cup cherry tomatoes halved
- 1 avocado sliced
- 3 cups baby kale
Dressing
- 6 tablespoons olive oil
- 3 tablespoons lemon juice
- 1 tablespoon cane sugar or agave nectar
- 1 tablespoon fresh tarragon minced
- ¼ teaspoon sea salt
Instructions
- In a medium saucepan, cover farro generously with water. Add a pinch of salt and bring to a simmer. Cook for 20-30 minutes or until farro is tender. Drain and set aside to cool.
- Meanwhile, prepare corn for grilling by pulling back husks to the base and removing the silk. Fold husks back into place and submerge corn in a large bowl of cold water to soak for at least 30 minutes. While soaking, preheat grill to medium-high heat.
- Remove corn from water and shake off excess. Place the corn on the grill, and grill for 15 to 20 minutes, turning every five minutes, or until kernels are tender. Remove the husks and remove the kernels once cool enough to handle.
- Combine corn kernels, farro, peaches, tomatoes, avocado, and kale.
- Whisk together dressing ingredients and toss with salad. Adjust seasoning to taste and serve promptly.
- Enjoy!
Recipe Provided by INFRA