Category: Food & Farms

  • Back to School Snack Ideas

    Back to School Snack Ideas


    Back to School Snack Ideas

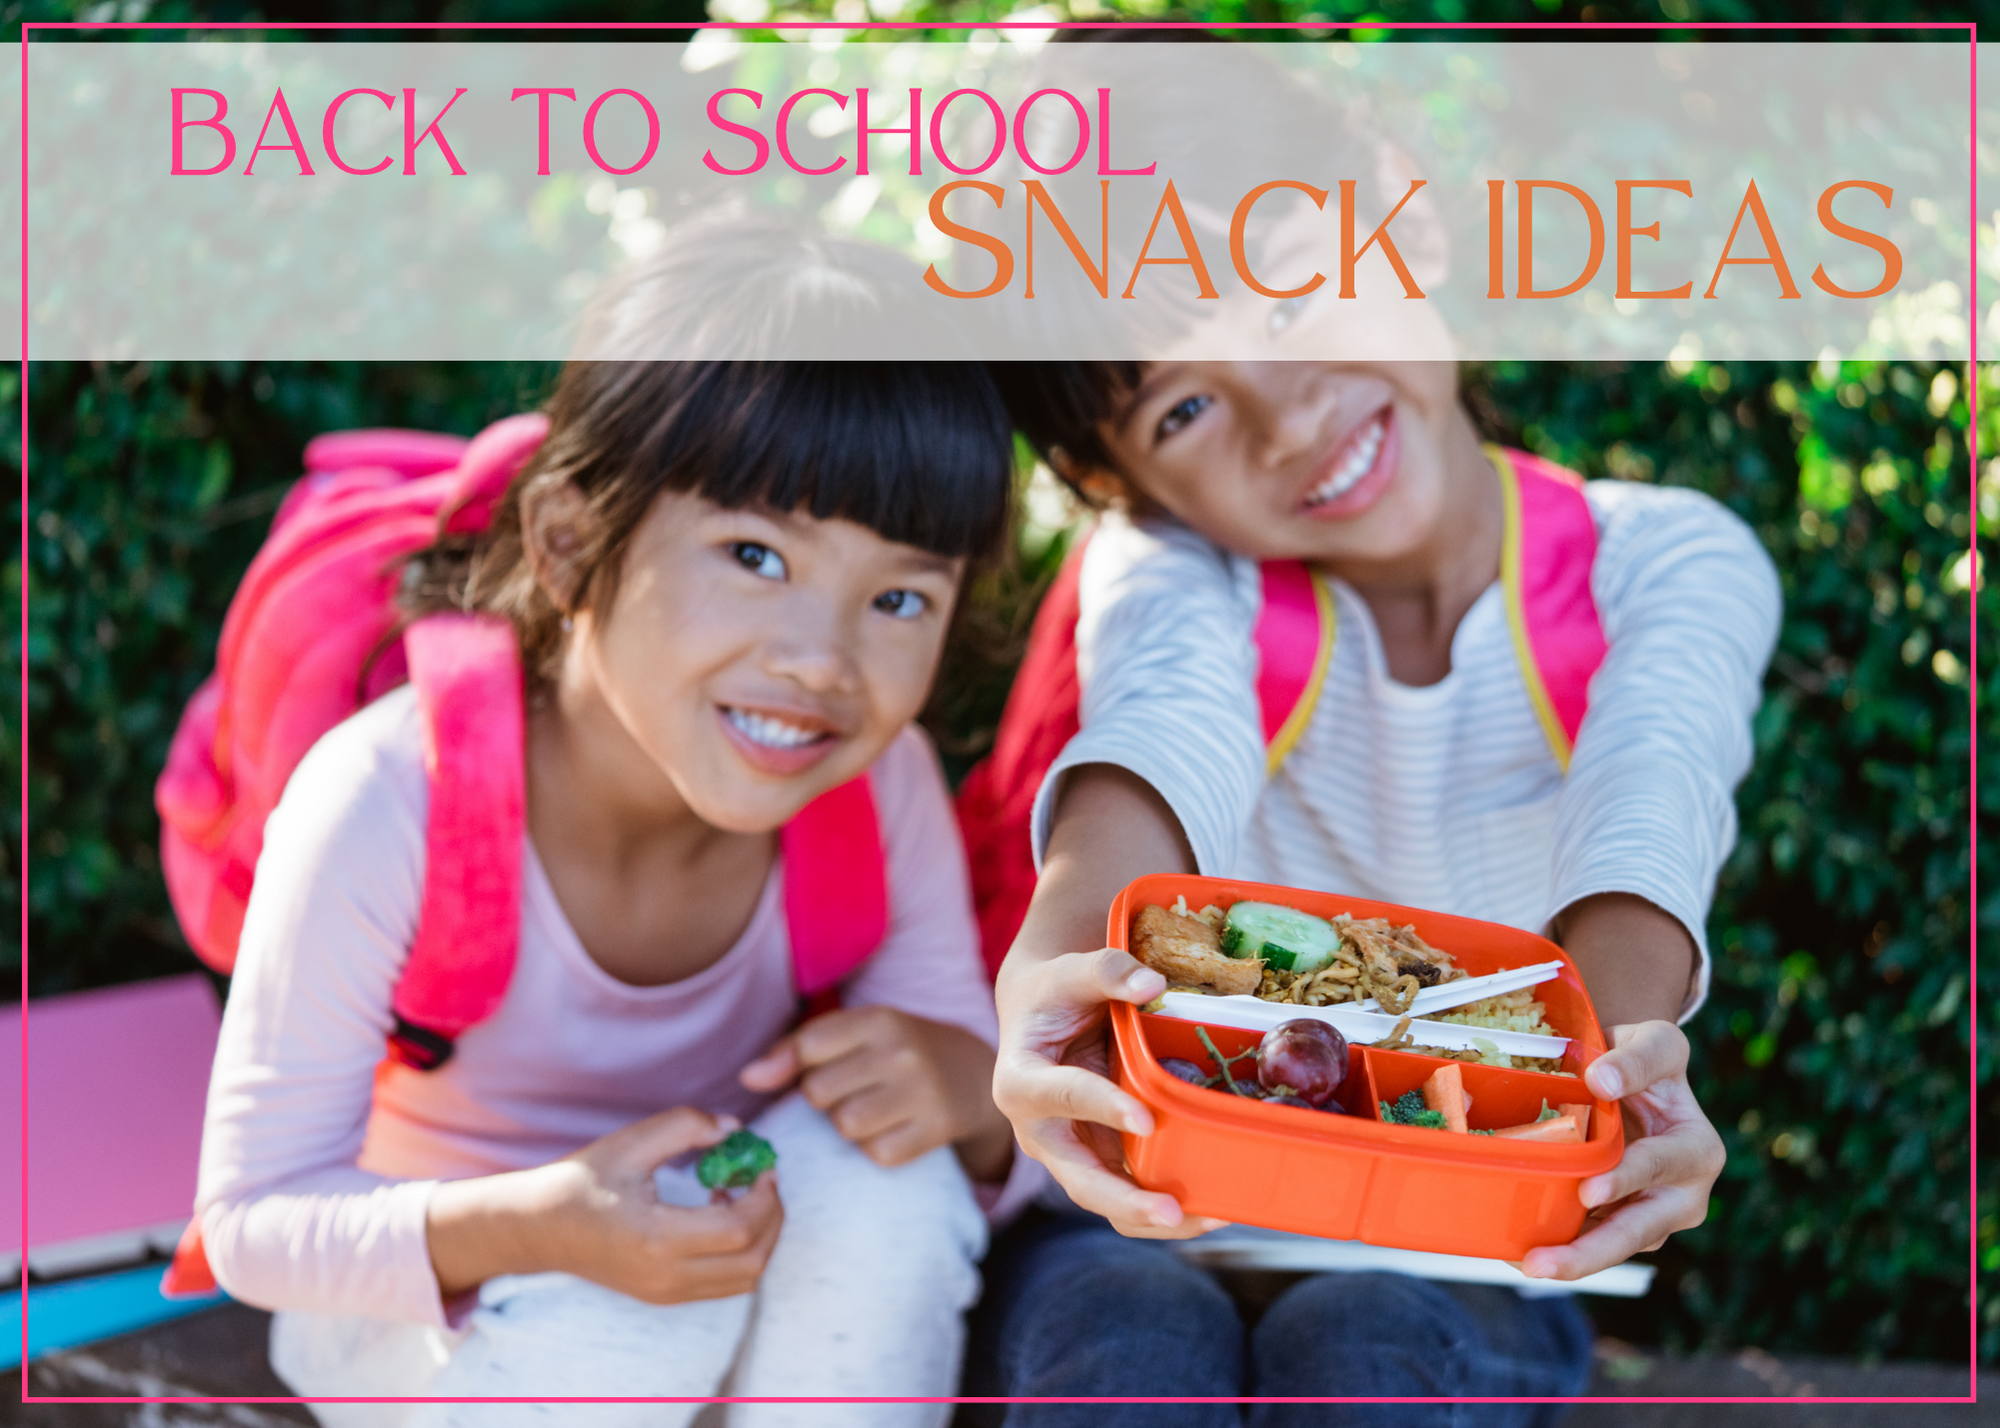
    Creating delicious and healthy snacks for kids as they head back to school is a great way to ensure they have energy and focus throughout the day. Here are some simple and nutritious snack ideas:

    Fruit Kabobs:

    Ingredients: Assorted fruits (e.g., strawberries, grapes, pineapple chunks, melon), wooden skewers, yogurt or honey for dipping.
    Instructions: Thread the fruit onto the skewers and serve with yogurt or honey for dipping.


    Homemade Trail Mix:

    Ingredients: Nuts (almonds, cashews, or mixed nuts), dried fruits (raisins, cranberries, apricots), whole-grain cereal, and dark chocolate chips (in moderation).
    Instructions: Mix these ingredients together in a bowl, and portion them into small snack bags for easy grab-and-go snacks.


    Vegetable Sticks with Hummus:

    Ingredients: Carrot sticks, cucumber slices, celery sticks, bell pepper strips, and your child’s favorite flavor of hummus.
    Instructions: Wash and cut the vegetables, and serve with hummus for dipping.


    Yogurt Parfait:

    Ingredients: Greek yogurt, granola, fresh berries, and a drizzle of honey.
    Instructions: Layer yogurt, granola, and berries in a glass or container. Drizzle honey on top.


    Mini Quesadillas:

    Ingredients: Whole-grain tortillas, shredded cheese, and diced cooked chicken (optional).
    Instructions: Sprinkle cheese and chicken (if using) on a tortilla, top with another tortilla, and heat in a skillet until the cheese melts. Cut into wedges.


    Homemade Energy Bites:

    Ingredients: Rolled oats, honey, peanut butter, mini chocolate chips, and chia seeds.
    Instructions: Mix all the ingredients together, roll into small balls, and refrigerate until firm.


    Apple “Cookies”:

    Ingredients: Apple slices, peanut butter or almond butter, and toppings like raisins, shredded coconut, or mini chocolate chips.
    Instructions: Spread nut butter on apple slices and sprinkle with toppings.


    Ants on a Log:

    Ingredients: Celery sticks, peanut butter or cream cheese, and raisins.
    Instructions: Fill the celery with peanut butter or cream cheese and top with raisins.


    Cheese and Whole-Grain Crackers:

    Ingredients: Sliced cheese and whole-grain crackers.
    Instructions: Pair slices of cheese with whole-grain crackers for a simple yet satisfying snack.


    Smoothie Popsicles:

    Ingredients: Blend yogurt, fresh or frozen fruit, a bit of honey, and pour into popsicle molds.
    Instructions: Freeze until solid for a refreshing, healthy treat.

    Remember to consider any food allergies or dietary restrictions your child may have when preparing these snacks. These snacks are not only tasty but also provide essential nutrients to help your kids stay energized and focused throughout the school day.
  • Superfood Kale Salad

    Superfood Kale Salad


    Superfood Kale Salad

    This superfood kale salad is like getting
    to eat a whole bowl of guacamole without sharing—and without feeling guilty

    Think of this recipe as the perfect canvas. You can enjoy the subtle nuttiness of sunflower seeds and hemp hearts. Add it to wraps or sandwiches that could use a boost. Top with your favorite protein for a more substantial meal. Grilled tofu will keep things plant-based. You can also add some grilled shrimp, cotija cheese, diced ripe mango, and a bit of your favorite salsa for a shrimp taco salad. The canvas can take anything you throw at it, so don’t sleep on this superfood kale salad!


    Superfood Kale Salad

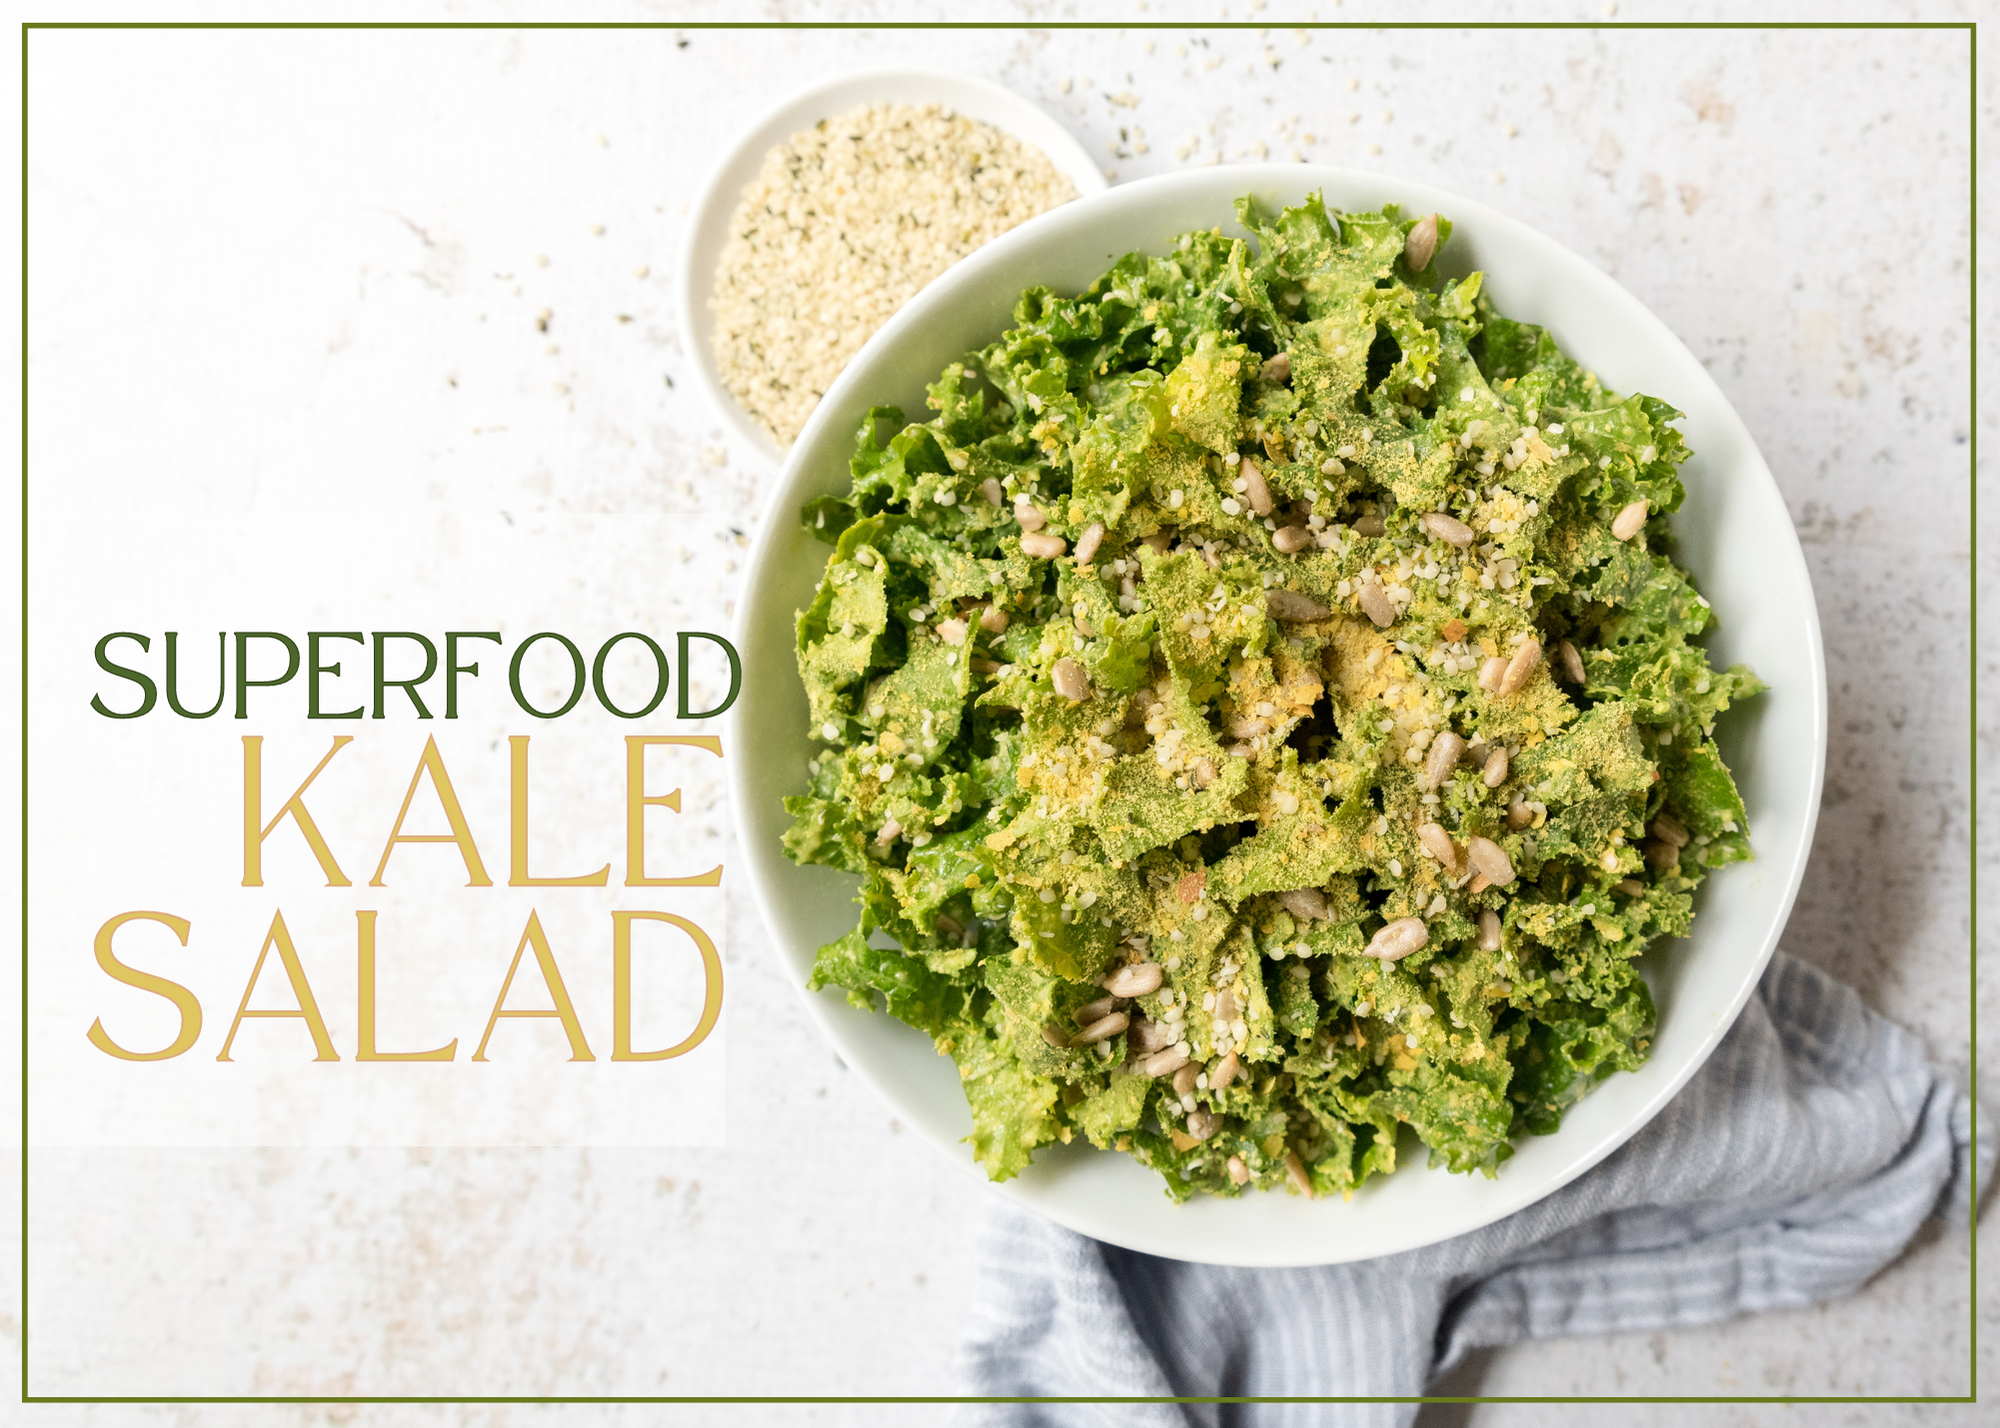
    This superfood kale salad is full on savory goodness with nutritional yeast, seeds, and of course avocado. By massaging kale, you can overcome the sometimes-fibrous nature of this nutritional powerhouse.

    Ingredients
      

    • 1 bunch green kale
    • 1 large ripe avocado peeled and pit removed
    • 2 large garlic cloves minced
    • 1/3 cup nutritional yeast
    • 2 tbsp lemon juice
    • 2 tbsp olive oil
    • 1/2 tsp sea salt
    • 1/4 cup roasted sunflower seeds
    • 2 tbsp hemp hearts

    Method
     

    1. Remove stems from kale and chop leaves into bite size pieces. Set aside.
    2. In a large mixing bowl place avocado, garlic, olive oil, nutritional yeast, lemon juice, and salt. Fork through the mixture to mash avocado and to blend ingredients.
    3. Add kale and mix thoroughly with both hands, massaging until kale is fully coated. Adjust seasoning to taste.
    4. To serve, garnish with sunflower seeds and hemp hearts.
    5. Enjoy!

    Recipe Courtesy of INFRA

  • Peach-Thyme Compote

    Peach-Thyme Compote


    Peach-Thyme Compote

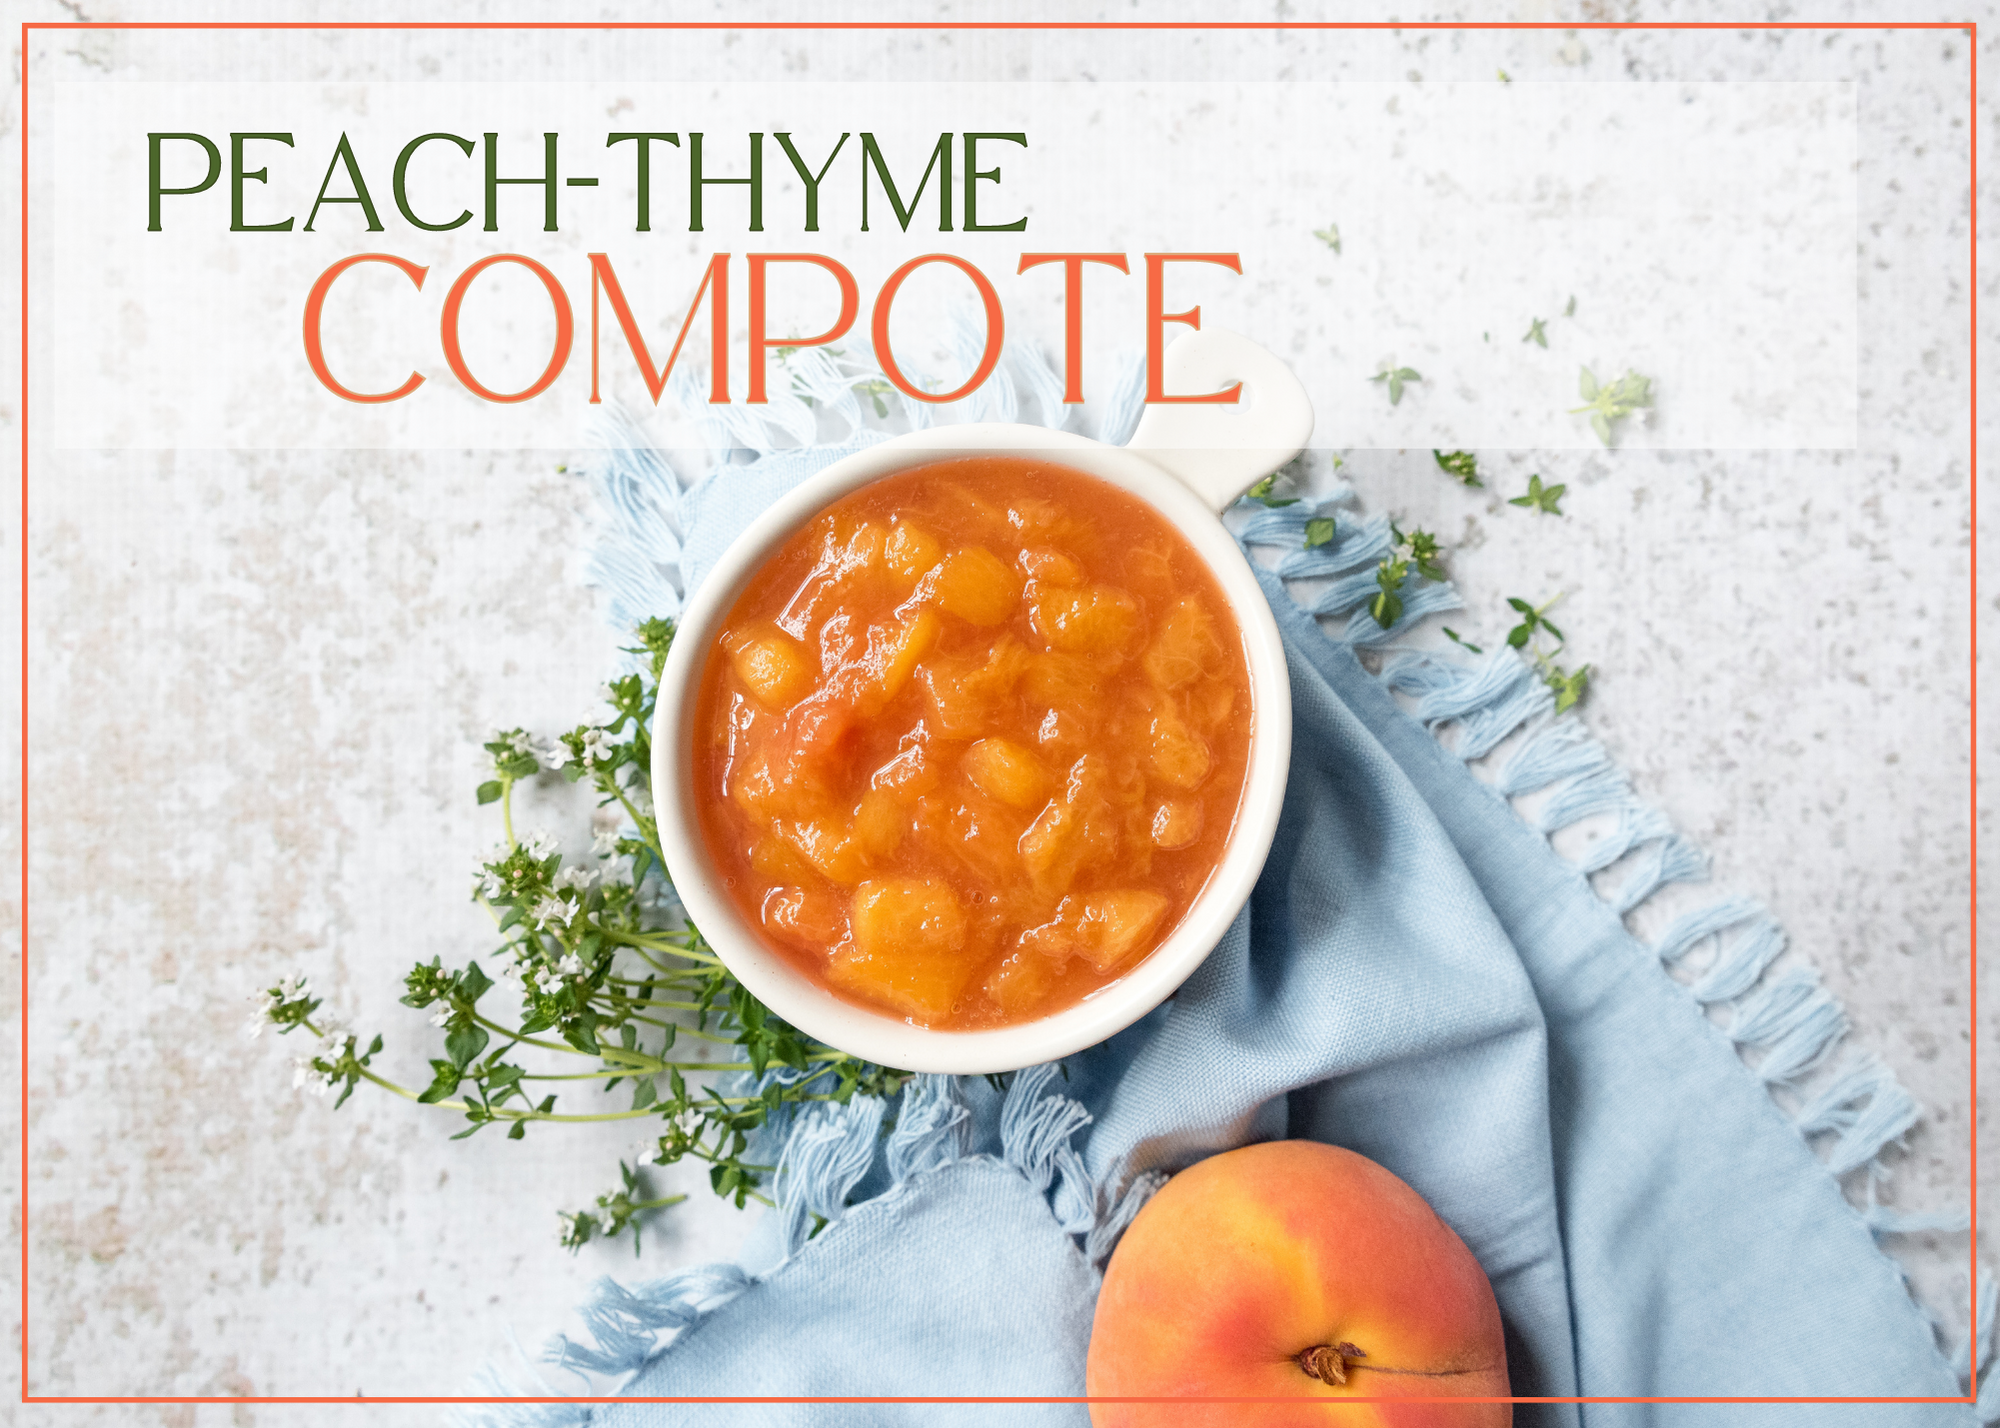
    This peach-thyme compote is easier than making jam, but you can use it anywhere you’d use jam or jelly. Toast? French toast? Cheese boards? Ice Cream?!? It does it all!

    While stone fruit season runs throughout the summer months, August is National Peach Month. If you’ve got a small bounty of peaches, try making this peach-thyme compote. With just four ingredients and a bit of water, you can make an elevated spread that captures the essence of summer.

    Thyme adds complexity while the acidity of lemon juice tames the sweetness. You can switch different herbs and get creative. Since you’re not canning a jam, you don’t need to worry about straying from the recipe basics. Want to mix stone fruit or other seasonal goodies? If it grows together, it goes together!


    Peach-Thyme Compote

    Use the compote in sweet or savory applications. Grilled cheese sandwiches, as a glaze for organic chicken, with crepes, on a biscuit, or as an ice cream topper, this compote will complement your meals for the rest of the summer! 

    Ingredients
      

    • 2 lbs ripe, firm peaches
    • 1/4 cup organic sugar
    • 1/4 cup water
    • 2 tbsp fresh lemon juice
    • 1 thyme sprig

    Method
     

    1. Bring a medium pot of water to a simmer.
    2. Drop in peaches for 15-30 seconds then remove from simmering water and place in cold water.
    3. Remove skins once cool enough to handle.
    4. Chop peaches, remove stones, and place in a medium saucepan. Add remaining ingredients and bring to a hard boil.
    5. Cook for 5-8 minutes or until peaches are cooked.
    6. Spread cooked peach mixture on a rimmed backing sheet for rapid cooling. Discard thyme sprig.
    7. Store cooled peach compote in a sealable container in the refrigerator until ready to use.

    Recipe Courtesy of INFRA

  • Lemon Blueberry Cheesecake Pops

    Lemon Blueberry Cheesecake Pops


    Lemon Blueberry Cheesecake Pops

    Who says you can’t indulge in something sweet and refreshing that’s also healthy and affordable?

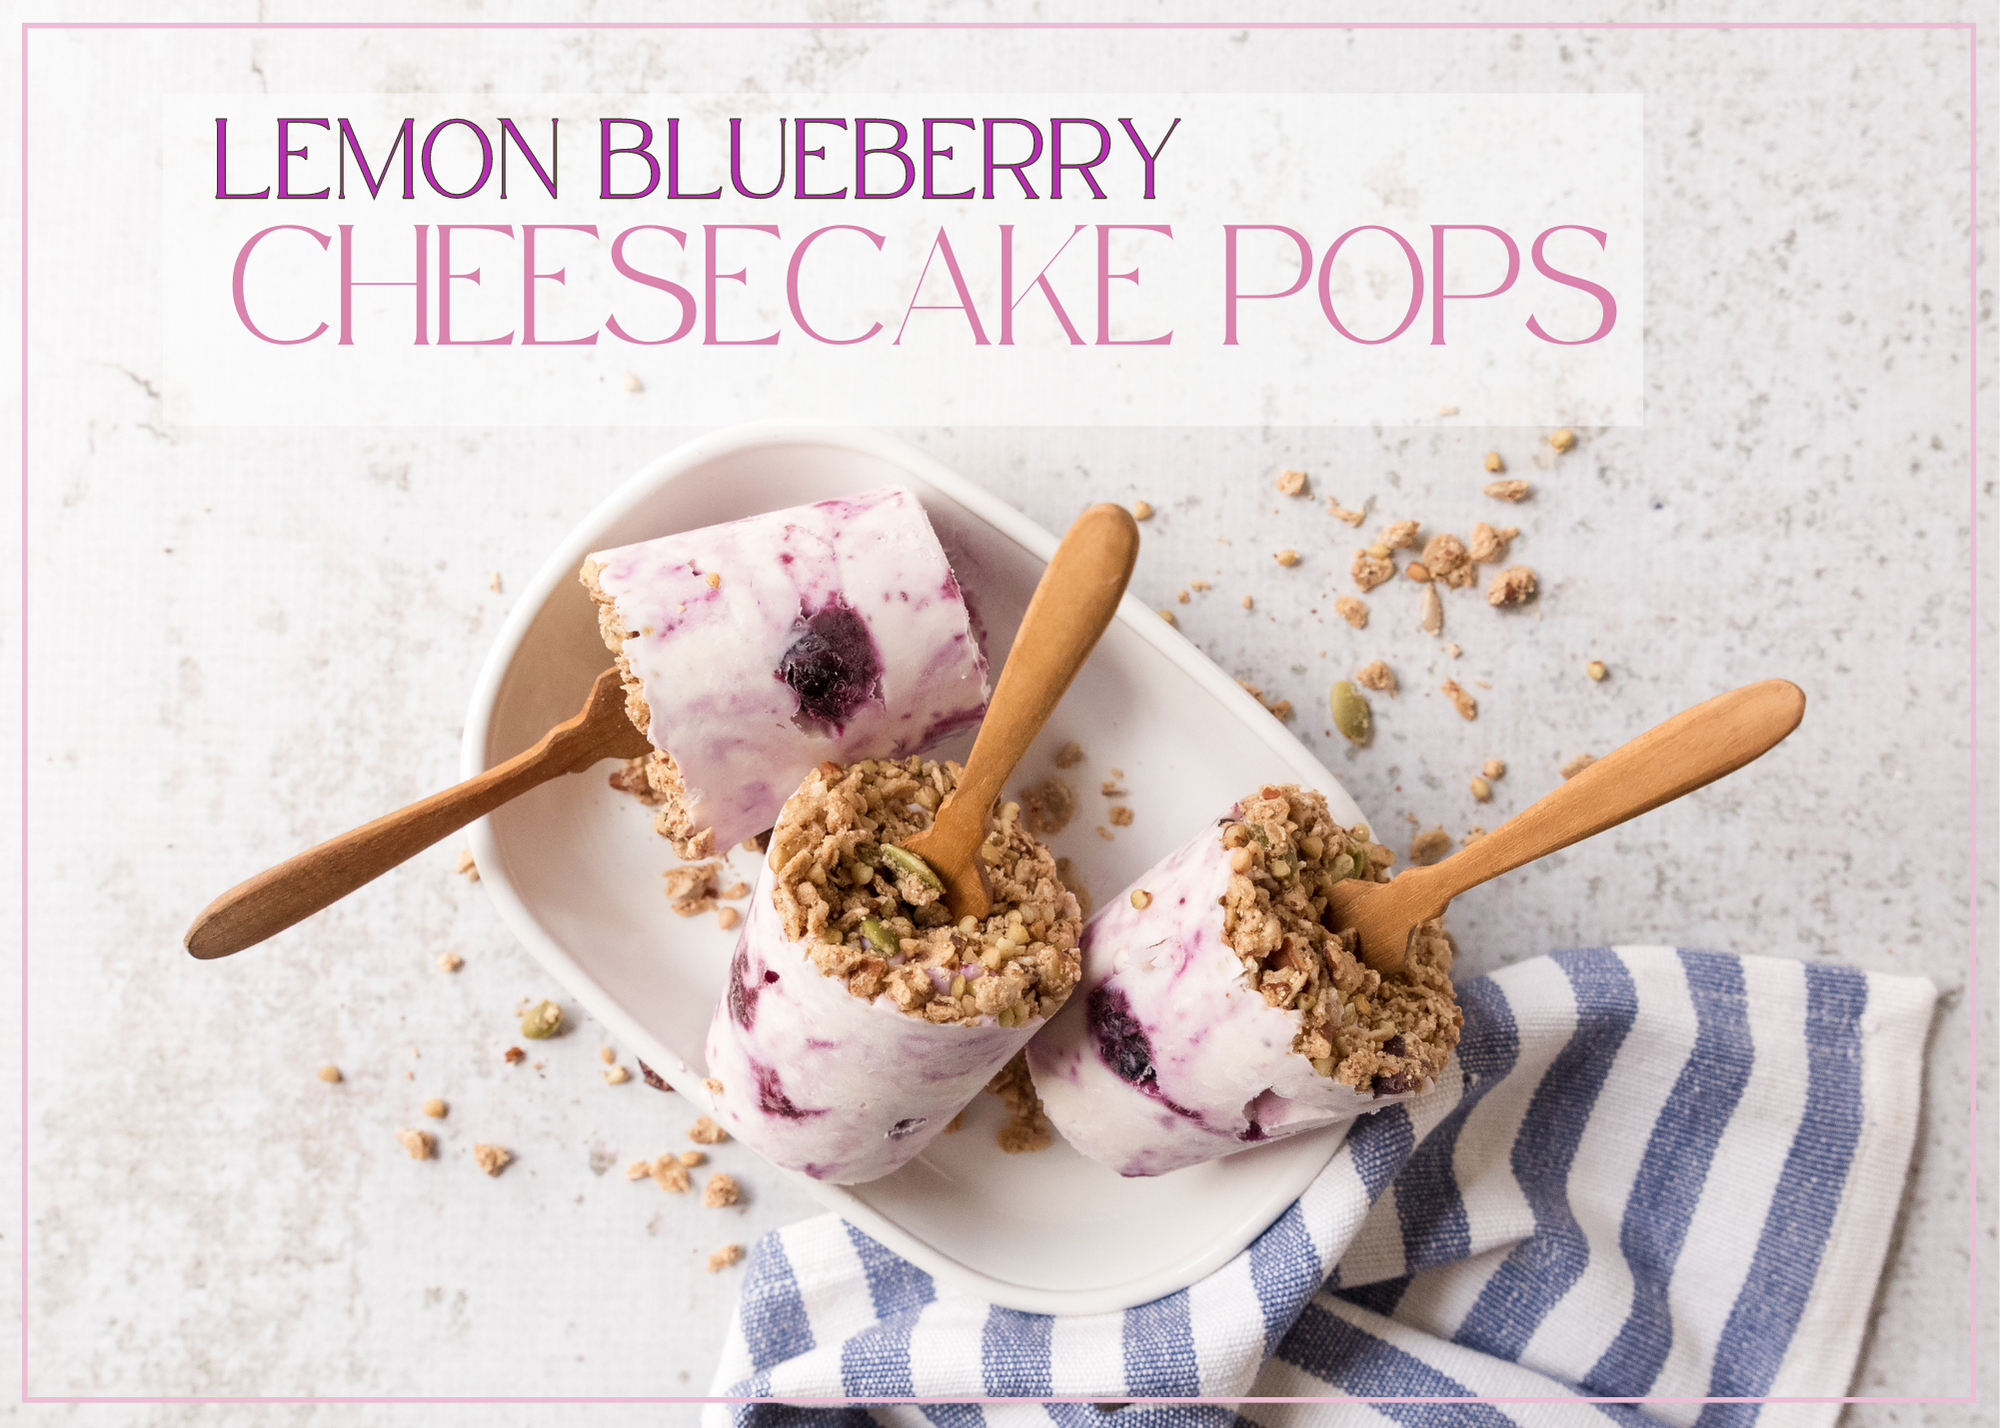
    Made with whole ingredients like lemon yogurt, fresh blueberries, and a crunchy granola topping, these pops are tasty and nutritious. Plus, making your own summer treats at home can be a lot more affordable than buying them at the store.

    Not only are these pops healthy, they’re also easy to make. Simply combine the ingredients with a hand mixer, pour into popsicle molds, and let them freeze. In just a few hours, you’ll have a batch of delicious and refreshing treats that you can enjoy guilt-free all summer long.

    The next time you’re craving something sweet, skip the store-bought options and make your own Lemon Blueberry Cheesecake Pops. Not only will your taste buds thank you, but your wallet and your body will too!


    Lemon Blueberry Cheesecake Pops

    Lemon blueberry cheesecake pops are a refreshing and delicious treat that's perfect for summer! Made with whole ingredients, these pops are easy and a cinch to make!
    Servings: 8

    Ingredients
      

    • 1 Pint fresh blueberries
    • 1/3 Cup cane sugar divided
    • 2 Tablespoons water
    • 1 Teaspoon lemon zest
    • 2 Cups softened cream cheese
    • 1 Cup lemon yogurt
    • 1/2 Cup granola
    • 8 paper cups
    • 8 wooden popsicle sticks or small reusable popsicle molds with sticks

    Method
     

    1. Place blueberries, two tablespoons sugar, water, and lemon zest in a small saucepan and bring to a simmer. Cook for five minutes or until blueberries are tender and mixture has thickened. Set aside to cool.
    2. In a mixing bowl, use a hand mixer to cream together cream cheese and remaining sugar until fluffy. Stir in yogurt until thoroughly mixed. Fold in blueberry mixture to create swirls of fruit.
    3. Spoon mixture into eight small paper cups leaving a quarter inch of space from the top of the cups.
    4. Top off cups with granola and gently press into the cheesecake mixture. Insert a popsicle stick into the center of each cup and freeze for a minimum of four hours.
    5. To serve, peel away paper cup and enjoy!

    Recipe Courtesy of INFRA

  • 5 Brain “Washing” Tips

    5 Brain “Washing” Tips


    5 Brain “Washing” Tips

    Keep a clear head


    While we pay close attention to our body’s detox systems and work to support them through lifestyle choices, how many of us are thinking of detoxing our brains too? Here are some detox tips to help you keep a clear head.

    Your brain’s cleanup team

    It’s only been in the past few years that researchers have begun to understand how the brain keeps itself clean. Named to acknowledge the role of glial cells in the process, the “glymphatic system” relies on cerebrospinal fluid (CSF) filling spaces next to smaller blood vessels leading to the brain.

    The CSF interchanges with the fluid between brain cells, also known as interstitial fluid. Waste is then carried away, including tau proteins and amyloid-beta plaques associated with Alzheimer’s disease.

    Because neural cells are highly sensitive to their environment, waste products of neural metabolism must be promptly and efficiently removed from the interstitial space. The custodial team can experience a few obstacles, however.

    For example, animal research shows that daytime release of the hormone norepinephrine (an adrenal hormone that helps you wake up, focus, and store memories) could slow glymphatic clearance. The research also showed an 80 to 90 percent increase in glymphatic clearance during slow-wave sleep compared to awake time. We’re still learning about the glymphatic system, but so far it’s clear that the brain requires sleep.

    As scientists continue to learn more, here are five tips for a clearer brain:

    1. Avoid doomscrolling
      You probably didn’t need research to tell you that spending just a few minutes online can topple your emotional house of cards. If you must go online for news, get the info you need as quickly as possible and move on. Before getting back to your real life, seek out people and stories that leave you feeling optimistic about the state of the world.
    2. Turn down the volume
      Give yourself some daily silence. Evidence is mounting that noise stress impairs cognition, coordination, and eating. Studies also show that excessive noise adds to emotional stress and increases anxiety-like behavior. In your brain, noise stress increases nitric oxide and free-radical production, which can cause damage to brain cells.
    3. Turn out the lights
      Treat yourself to some blue-light blocking glasses to wear in the evening to trick your brain into producing melatonin. The sleep hormone melatonin is suppressed by short-wave (blue) light. This is a good thing during the day, but the blue light from devices and screens that can disrupt the body’s circadian rhythm can also have negative effects on our sleep patterns.
    4. Get grounded
      Research has shown that touching the earth with your feet helps restore your body’s natural electrical status and positively influences your nervous system and brain. Being in nature also improves mental and physical well-being.
    5. Consider supplements
      Ask your health care practitioner before taking any new supplement. The following may help support brain health.
      • Bacopa
      • Lion’s mane mushroom
      • Marine omega-3
      • Milk thistle


    Article courtesy of Alive Magazine, By Lisa Petty, PhD

  • From the Garden to the Dinner Table

    From the Garden to the Dinner Table


    From the Garden to the Dinner Table

    Simple & spectacular summer recipes

    When it comes to cooking with sun-ripened garden crops, it’s best to keep it simple and let the flavor of your main ingredients shine. Garden-harvested foods are at their peak ripeness and will have more nutrients and flavor than store-bought fruits or vegetables that would have had to be picked early for market.


    Pea, Basil, and Feta Dip

    This dip can be whipped up in a flash and goes perfectly with any array of garden-fresh veggies available this time of year.

    Ingredients:

    8 oz (225 g) feta cheese

    1/4 cup (60 mL) plain Greek yogurt

    1/2 cup (125 mL) blanched fresh green peas, plus extra for garnish

    1/4 cup (60 mL) raw walnuts

    3/4 cup (180 mL) packed basil leaves and tender stems, plus extra for garnish

    1 garlic clove, peeled

    1 lemon

    2 Tbsp (30 mL) olive oil

    Salt, to taste

    Instructions:

    In food processor fitted with steel blade attachment, pulse together feta cheese and yogurt, scraping down bowl as needed, until smooth and creamy. Transfer to large plate, spreading over bottom of plate to cover. Set aside and wipe out food processor.

    To food processor, add peas, walnuts, basil, garlic, zest of half a lemon, juice of whole lemon, and olive oil. Blend, scraping down sides of bowl as needed, until textured but creamy and well combined. Taste and adjust seasoning with salt. Dollop basil mixture over whipped feta, running a knife lightly through mixture to marble the two dips together. Garnish with extra peas and basil leaves, if desired. Serve alongside crackers and vegetables for dipping.

    Serves 6

    Each serving contains: 215 calories; 14 g protein; 15 g total fat (7 g sat. fat); 7 g total carbohydrates (6 g sugars, 1 g fiber); 456 mg sodium


    Carrot, Raspberry, and Olive Tartine

    This lovely open-faced sandwich is at once earthy, bright, briny, and fruity.

    Ingredients:

    3/4 cup (180 mL) fresh raspberries, divided

    3 Tbsp (45 mL) olive oil

    1 large lemon

    1/3 lb (150 g) carrots, about 3 medium carrots

    1/2 cup (125 mL) coarsely chopped flat-leaf parsley leaves

    1/4 cup (60 mL) roughly chopped Castelvetrano olives

    1/3 cup (80 mL) ricotta cheese

    3 slices whole grain country loaf, toasted

    Instructions:

    In medium bowl, smash 1/4 cup (60 mL) raspberries with a fork. Add olive oil and zest and juice of lemon. Whisk until well combined and set aside.

    On large holes of box grater, grate carrots and add to dressing mixture. Gently fold in chopped parsley and olives.

    Divide ricotta cheese, spreading evenly over slices of bread. Generously heap on carrot mixture and top with fresh raspberries. Drizzle over any remaining vinaigrette left in bowl and serve.

    Serves 3

    Each serving contains: 332 calories; 7 g protein; 19 g total fat (4 g sat. fat); 33 g total carbohydrates (5 g sugars, 6 g fiber); 373 mg sodium


    Strawberry Carpaccio

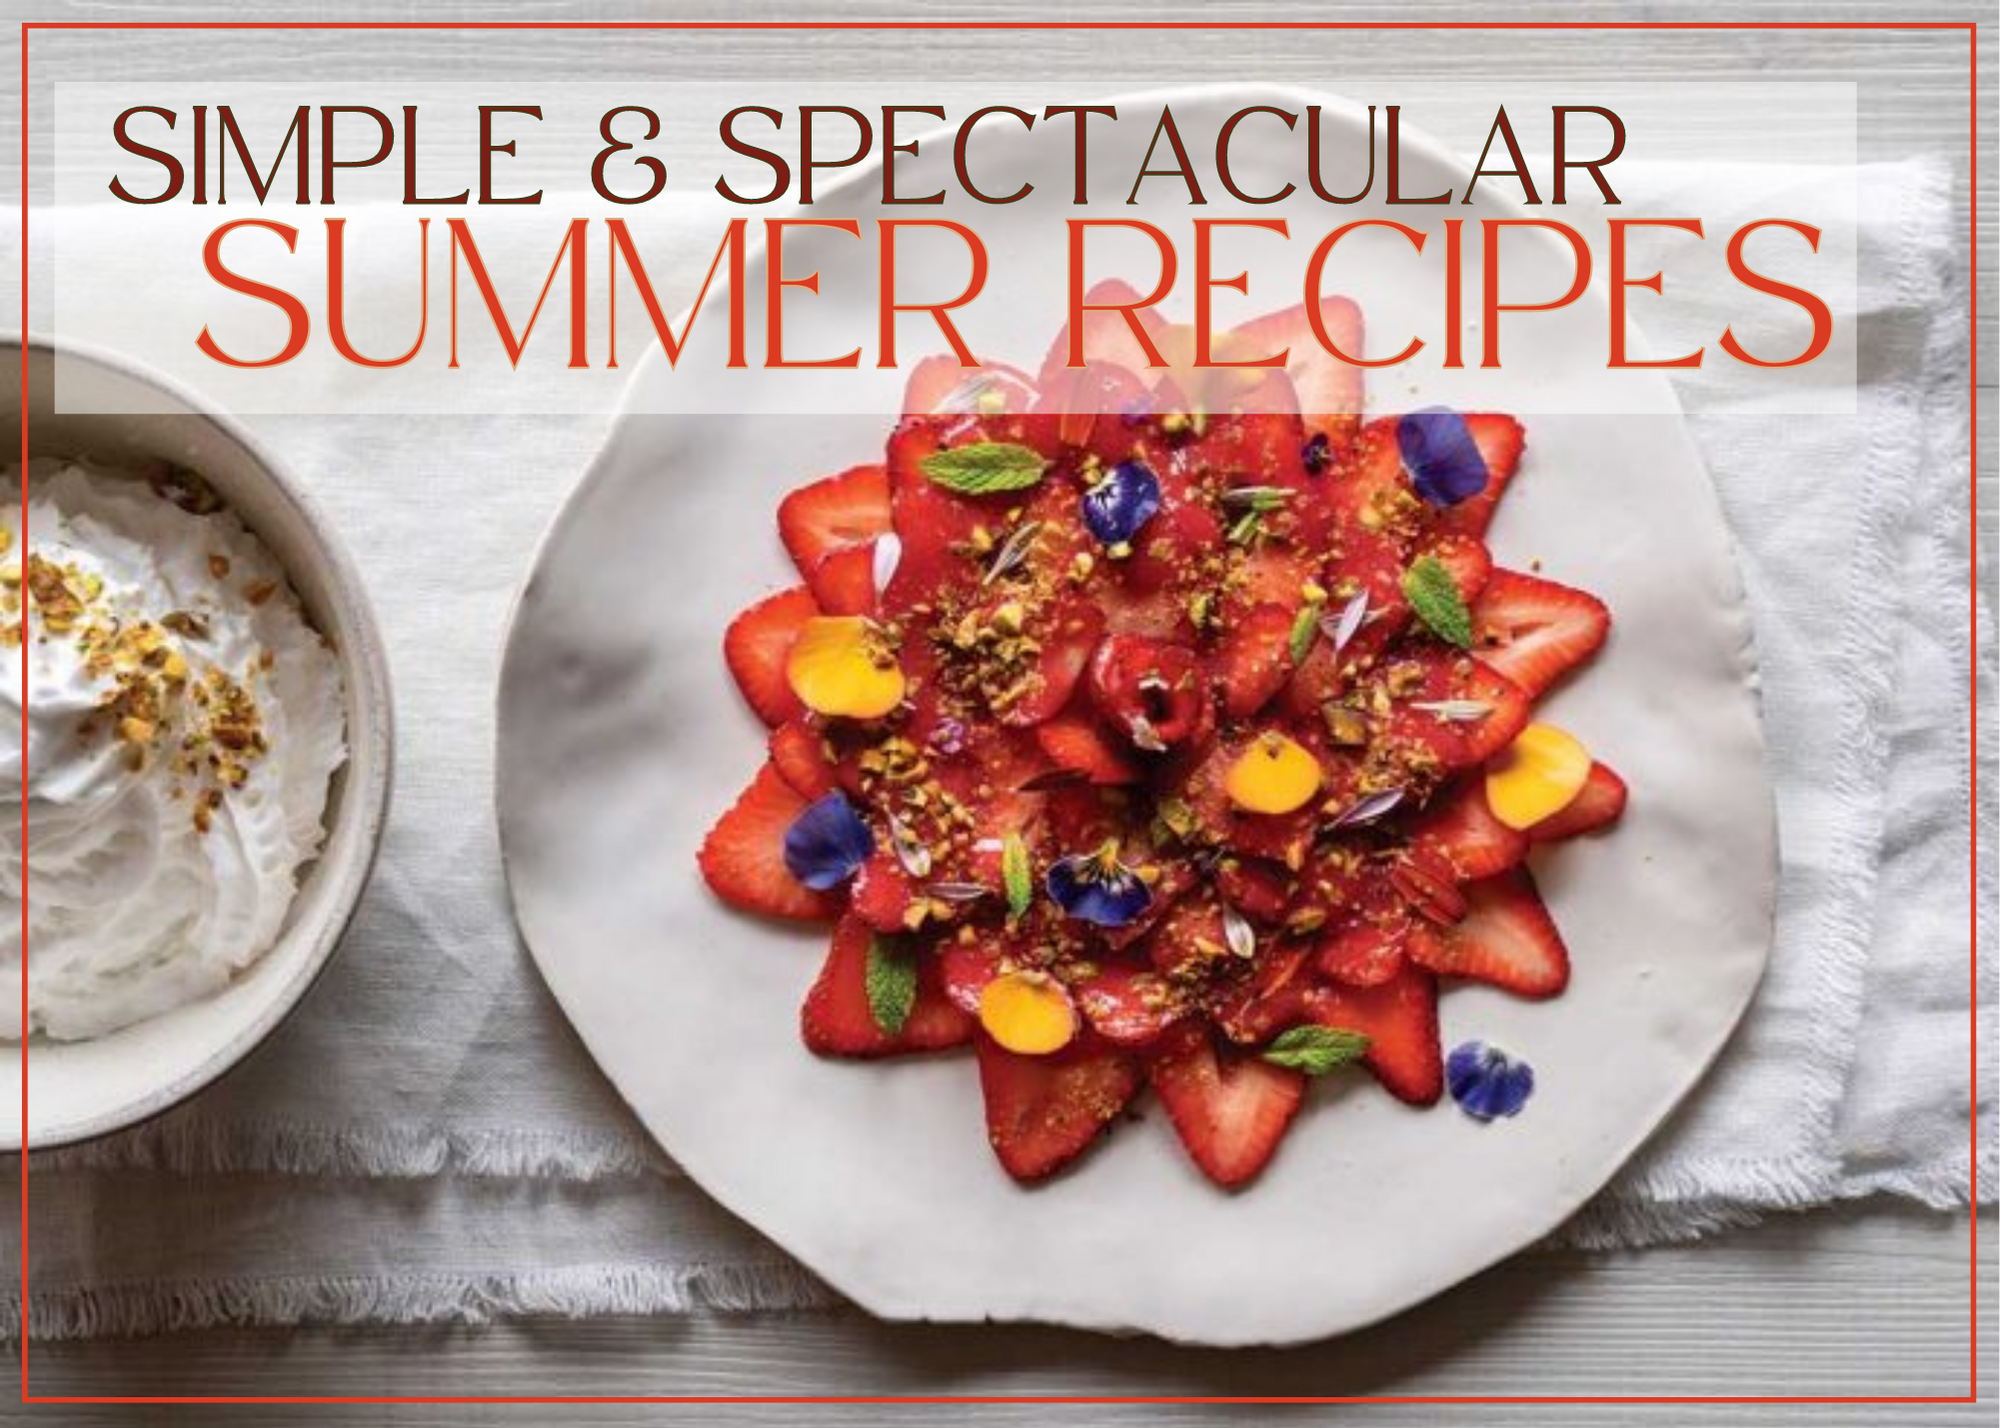
    This simple dessert celebrates the glory that is the summer strawberry.

    Ingredients:

    3/4 lb (340 g) strawberries, washed and hulled, divided

    1/2 tsp (2 mL) orange blossom water

    1 to 2 tsp (5 to 10 mL) honey (optional)

    1/4 cup (60 mL) toasted pistachios, roughly chopped

    2 Tbsp (30 mL) mint leaves

    Edible flower petals, for garnish

    Instructions:

    In blender, add 1/4 lb (113 g) strawberries and orange blossom water. Blend until smooth. Taste and adjust sweetness with honey, if desired. Into small bowl, strain strawberry puree through fine-mesh sieve. Discard any pulp left in sieve and set aside.

    Cut remaining strawberries into thin slices, lengthwise. Arrange them over chilled serving plates in a single layer, slightly overlapping. Drizzle with a few spoonfuls of strawberry puree before garnishing with a scattering of pistachios, mint leaves, and edible flower petals.

    Serves 2

    Each serving contains: 108 calories; 3 g protein; 4 g total fat (0 g sat. fat); 19 g total carbohydrates (12 g sugars, 5 g fiber); 44 mg sodium


    Article courtesy of Alive Magazine

  • Cacao Superfood Trail Bars

    Cacao Superfood Trail Bars


    Cacao Superfood Trail Bars

    Whether you’re hitting the trails or embarking on a summer road trip, having a convenient and nutritious snack on hand is a must!

    That’s where these Cacao Superfood Trail Bars come in.

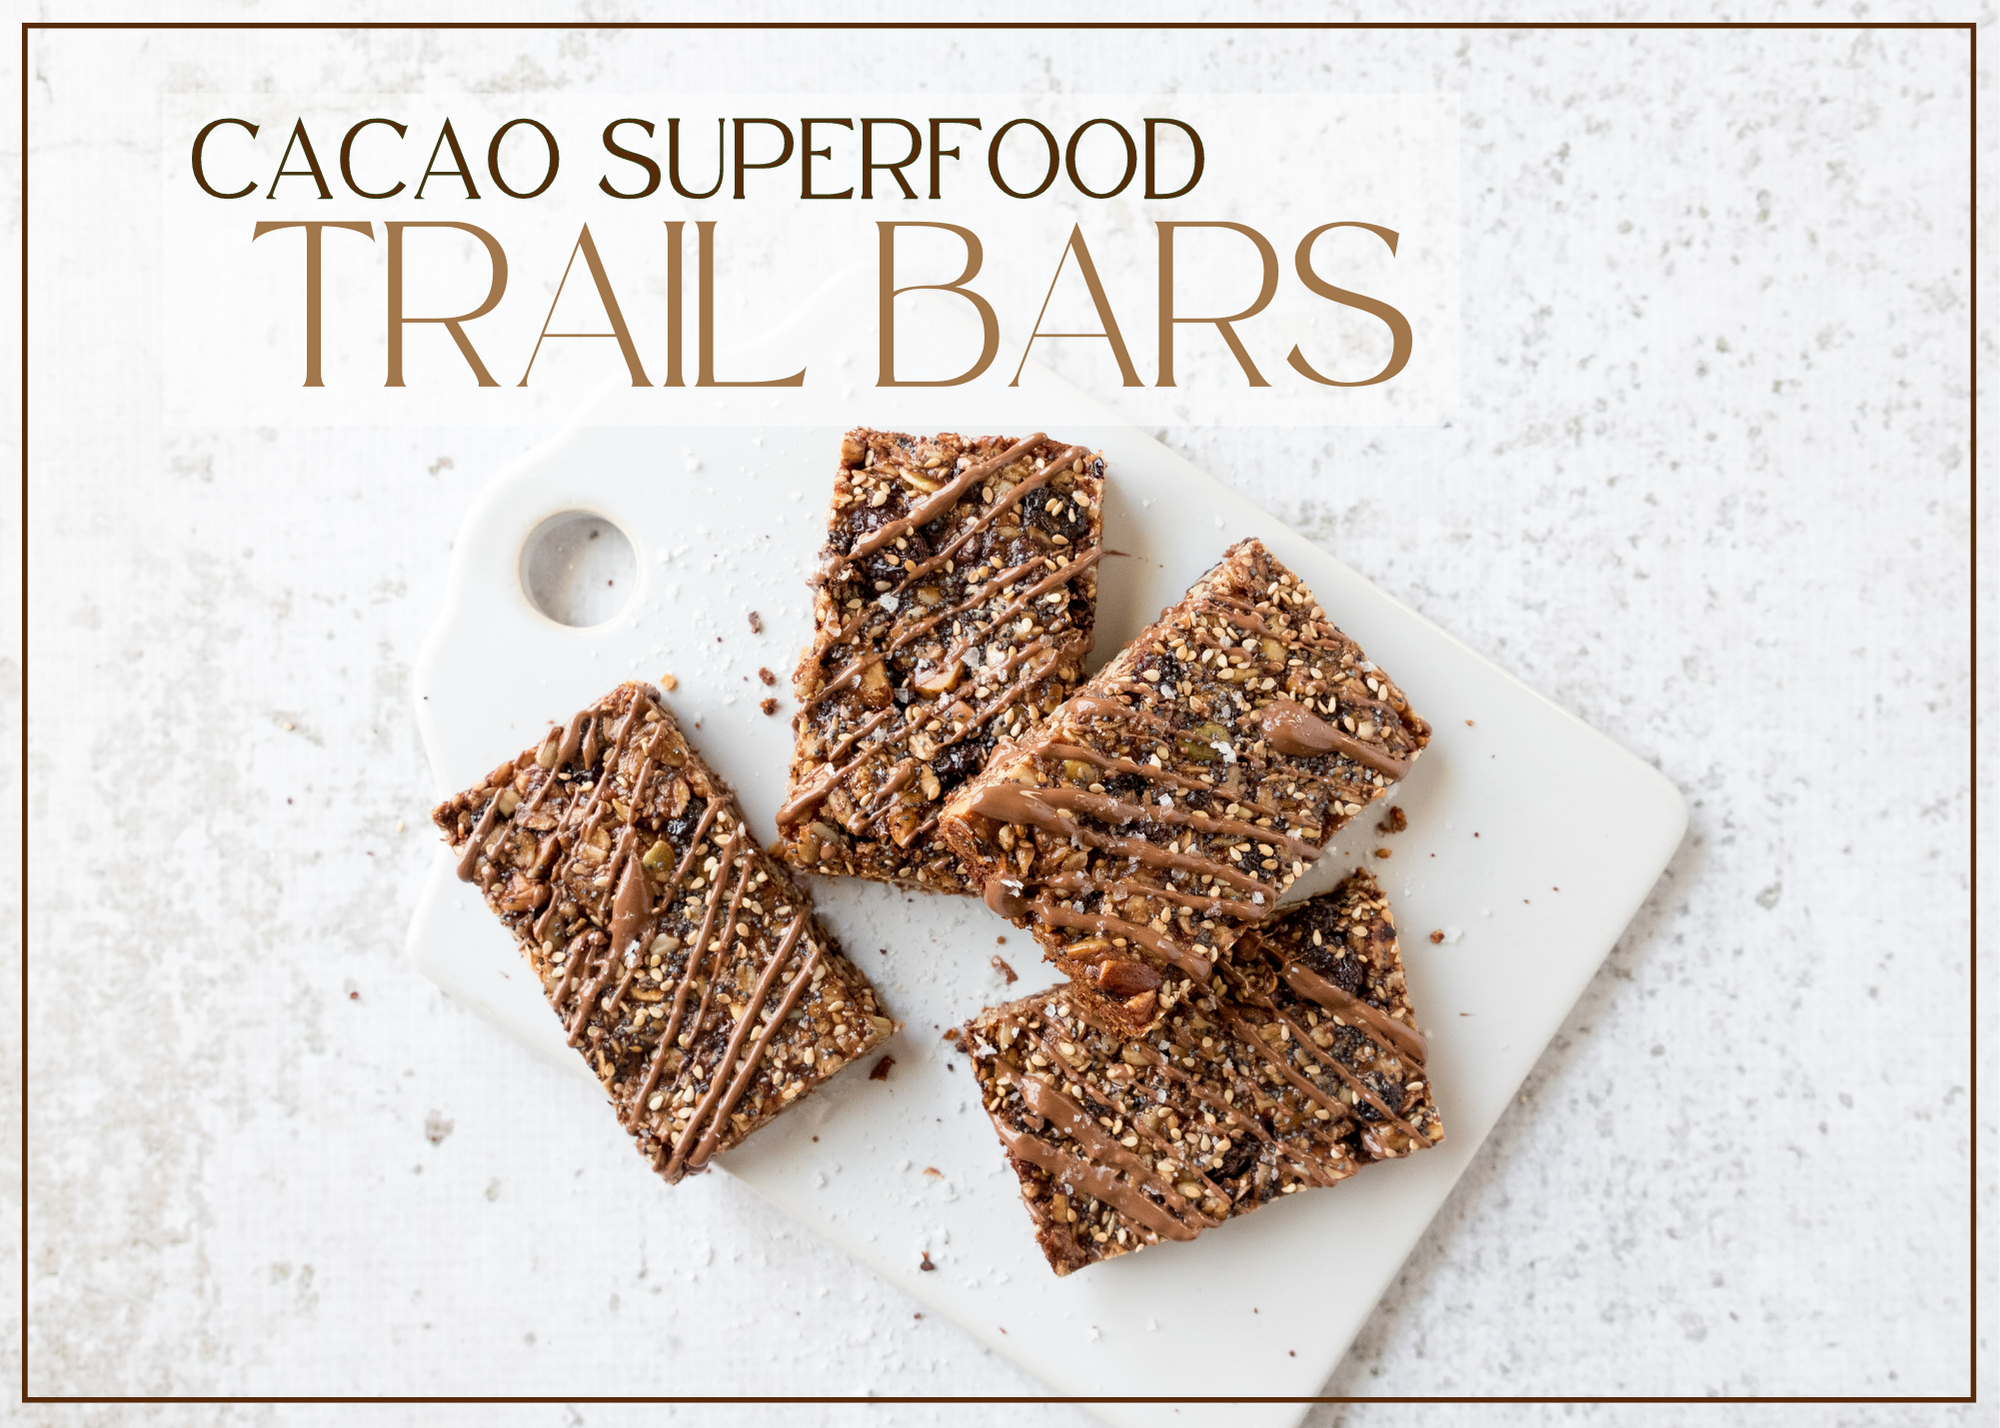
    Packed with all the goodness of trail mix, including nuts, seeds, and dried fruit, these bars are the perfect fuel for any adventure. Plus, they’re super easy to make and can be customized to your liking. One of the best things about these bars is their portability. Simply pack them in a reusable container or wrap them in wax paper for a grab-and-go snack that’s perfect for hiking, camping, or any outdoor activity. And because they’re made with whole ingredients like oats, nuts, and dried fruit, you’ll feel satisfied and energized for hours.

    Not only are these bars convenient and nutritious, but they’re also affordable. Making your own snacks at home is a great way to save money, and these bars can be made in large batches to last you through multiple adventures. You can also get most of the ingredients from the bulk section, so you can avoid the single-use packaging that normally comes with granola bars.

    Next time you’re gearing up for an outdoor adventure, don’t forget to make a batch of Cacao Superfood Trail Bars!


    Cacao Superfood Trail Bars

    If you're looking for a delicious and portable snack that's perfect for your summer adventures, look no further than these Cacao Superfood Trail Bars!
    Servings: 8

    Ingredients
      

    • 1 Cup gluten-free rolled oats
    • 1/2 Cup dry roasted almonds roughly chopped
    • 1/3 Cup cacao nibs
    • 1/4 Cup dry roasted pecans roughly chopped
    • 1/2 Cup roasted sunflower seeds
    • 1/4 Cup hemp seeds
    • 1/4 Cup sesame seeds
    • 1/4 Cup currants
    • 1/2 Cup raw honey or syrup sweetener of choice
    • 1/3 Cup creamy peanut or almond butter
    • 2 Ounces dark chocolate chopped
    • 1/4 Teaspoon olive oil

    Method
     

    1. Preheat oven to 350° F. In a medium-size mixing bowl, combine oats, nuts, cacao nibs, sunflower seeds, hemp seeds, sesame seeds, and currants.
    2. Heat peanut or almond butter and honey or syrup sweetener in a small saucepan and stir until very warm. Pour over oat mixture and stir until well blended and everything is coated.
    3. Line a 9'x9" baking pan with parchment paper. Add mixture to the pan and with wet hands, press mixture flat.
    4. Bake for 15 minutes. Allow bars to cool before removing from the pan. Cut into eight bars and place on a cooling rack.
    5. Fill a medium-sized pot with two inches of water and place a heatproof metal or glass mixing bowl on top. You want it to fit snugly without touching the water. Bring the water to a simmer over medium-low heat. Add the chocolate and olive oil to the bowl and stir until melted and combined.
    6. Drizzle the chocolate over the cooled bars.
    7. Enjoy!

    Recipe Courtesy of INFRA

  • Mango Relish Dogs

    Mango Relish Dogs


    Mango Relish Dogs

    The combination of sweet and savory flavors from the mango chutney paired with the smoky and satisfying taste of plant-based hot dogs creates a truly delicious and satisfying experience.

    Give a new flavor profile to the folks sitting around your table—whether they be picky kids or adventurous eaters, experienced in plant-based or just experimenting with alternatives. There are many reasons to enjoy plant-based mango chutney hot dogs.

    Looking for another way to spice things up? Customize your mayo with a touch of sriracha and black pepper or lime zest and chopped cilantro.

    Whether it’s for the unique flavor, nutritional benefits, or ethical considerations, these hot dogs are a delicious and satisfying choice for any occasion. Plus, you can have a meal ready to go in less than 20 minutes! You can have more time to enjoy time outside after warming up the grill.


    Mango Relish Dogs

    These are perfect for those who love a little bit of sweetness and tanginess in their hot dogs. Plus, it's vegan and plant-based!
    Servings: 6

    Ingredients
      

    Mango Pickle Relish
    • 1 Cup sweet pickle relish
    • 1/2 Cup mango chutney
    • 1 Teaspoon rice vinegar
    • 1 Teaspoon dry mustard powder
    • 1 Teaspoon chili flakes
    • 1/2 Teaspoon curry powder
    Hot Dogs
    • 6 plant-based classic smoked hot dogs
    • 6 hot dog buns
    • 1/2 small red onion julienned
    • 1/2 Cup plant-based mayo

    Method
     

    1. Combine all relish ingredients in a bowl and adjust seasoning to taste.
    2. Butterfly hot dogs and sear each side in a hot skillet with olive oil until golden crisp, approximately three minutes per side. Alternatively, grill hot dogs.
    3. To assemble, place hot dogs in buns then fill with relish. Drizzle on mayo and garnish with red onion.

    Recipe Courtesy of INFRA

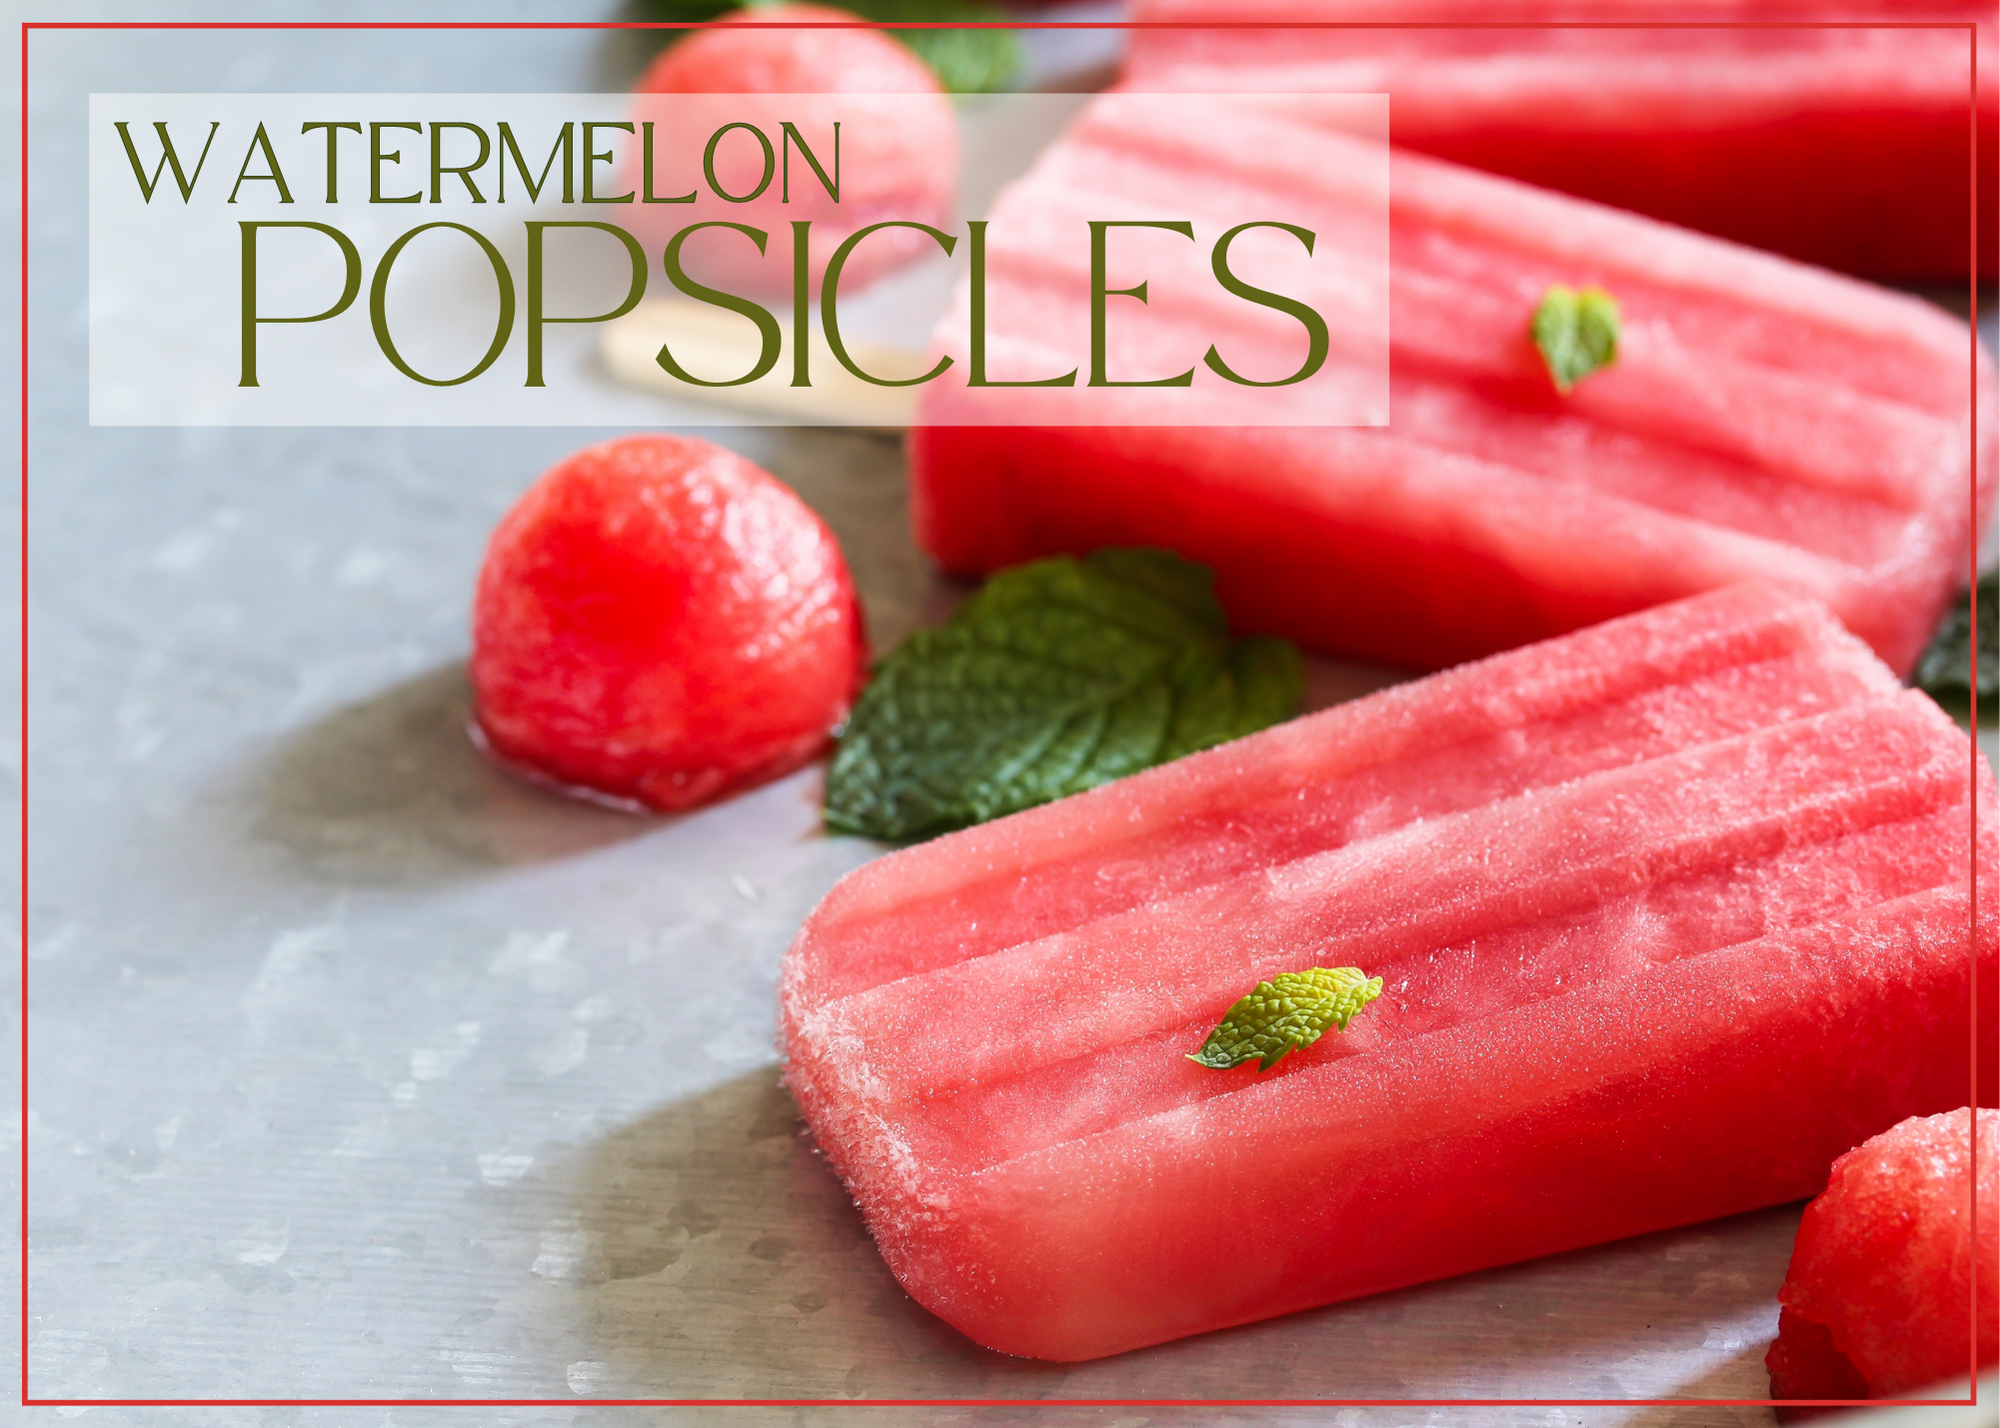
  • Refreshing Watermelon Popsicles

    Refreshing Watermelon Popsicles


    On a hot summer day, nothing beats the sweet, juicy goodness of watermelon.

    Imagine that refreshing flavor transformed into a delightful frozen treat: watermelon popsicles! These vibrant and mouthwatering popsicles are incredibly easy to make and will keep you cool all summer long.

    Bursting with natural sweetness and hydration, they are perfect for both kids and adults alike.

    So let’s dive into this simple yet delicious recipe and get ready to savor the essence of summer in every bite.


    Nicole Catenaro

    Refreshing Watermelon Popsicles

    These delightful watermelon popsicles are a cool and healthy way to beat the summer heat. With just a few simple steps, you can enjoy the refreshing taste of watermelon popsicles! So gather your ingredients, get creative with your molds, and let the sweet flavors of this frozen treat transport you to a sunny paradise. Enjoy!

    Ingredients
      

    • 4 cups Fresh watermelon chunks (seedless)
    • 1 tablespoon Freshly squeezed lime juice
    • 1-2 tablespoons Honey or sweetener of choice (optional, adjust to taste)

    Method
     

    1. Start by cutting the watermelon into small chunks, removing any seeds if necessary. Ensure the watermelon is ripe and juicy for the best flavor.
    2. If you're using wooden popsicle sticks, soak them in water for about 10 minutes to prevent them from splintering during freezing.
    3. Place the watermelon chunks into a blender or food processor. Blend until you achieve a smooth and liquid consistency.
    4. Add the freshly squeezed lime juice to the watermelon puree. Lime juice enhances the overall flavor and adds a tangy kick.
    5. Taste the watermelon mixture and assess its sweetness. Depending on the natural sweetness of the watermelon, you may choose to add a little honey or sweetener of choice.
    6. If desired, gradually add the sweetener of your choice, blending again until well combined. Remember, watermelons are already sweet, so add sweeteners sparingly to maintain a balanced taste.
    7. Carefully pour the watermelon mixture into popsicle molds or small paper cups, leaving a little space at the top for expansion during freezing.
    8. Place the popsicles in the freezer and let them set for about 30 minutes to an hour, or until they become partially frozen.
    9. Once partially frozen, insert the popsicle sticks deeper into the molds or cups to secure them in place. This will help the sticks stand straight when the popsicles are fully frozen.
    10. Return the popsicles to the freezer and allow them to freeze completely for about 4-6 hours or overnight.
    11. When ready to enjoy, remove the popsicles from the molds or peel away the paper cups. If the popsicles don't easily release from the molds, run the bottom of the molds under warm water for a few seconds to loosen them.
    12. Serve the watermelon popsicles immediately and relish in the refreshing taste of summer. They are perfect for poolside lounging, backyard barbecues, or simply as a guilt-free dessert.

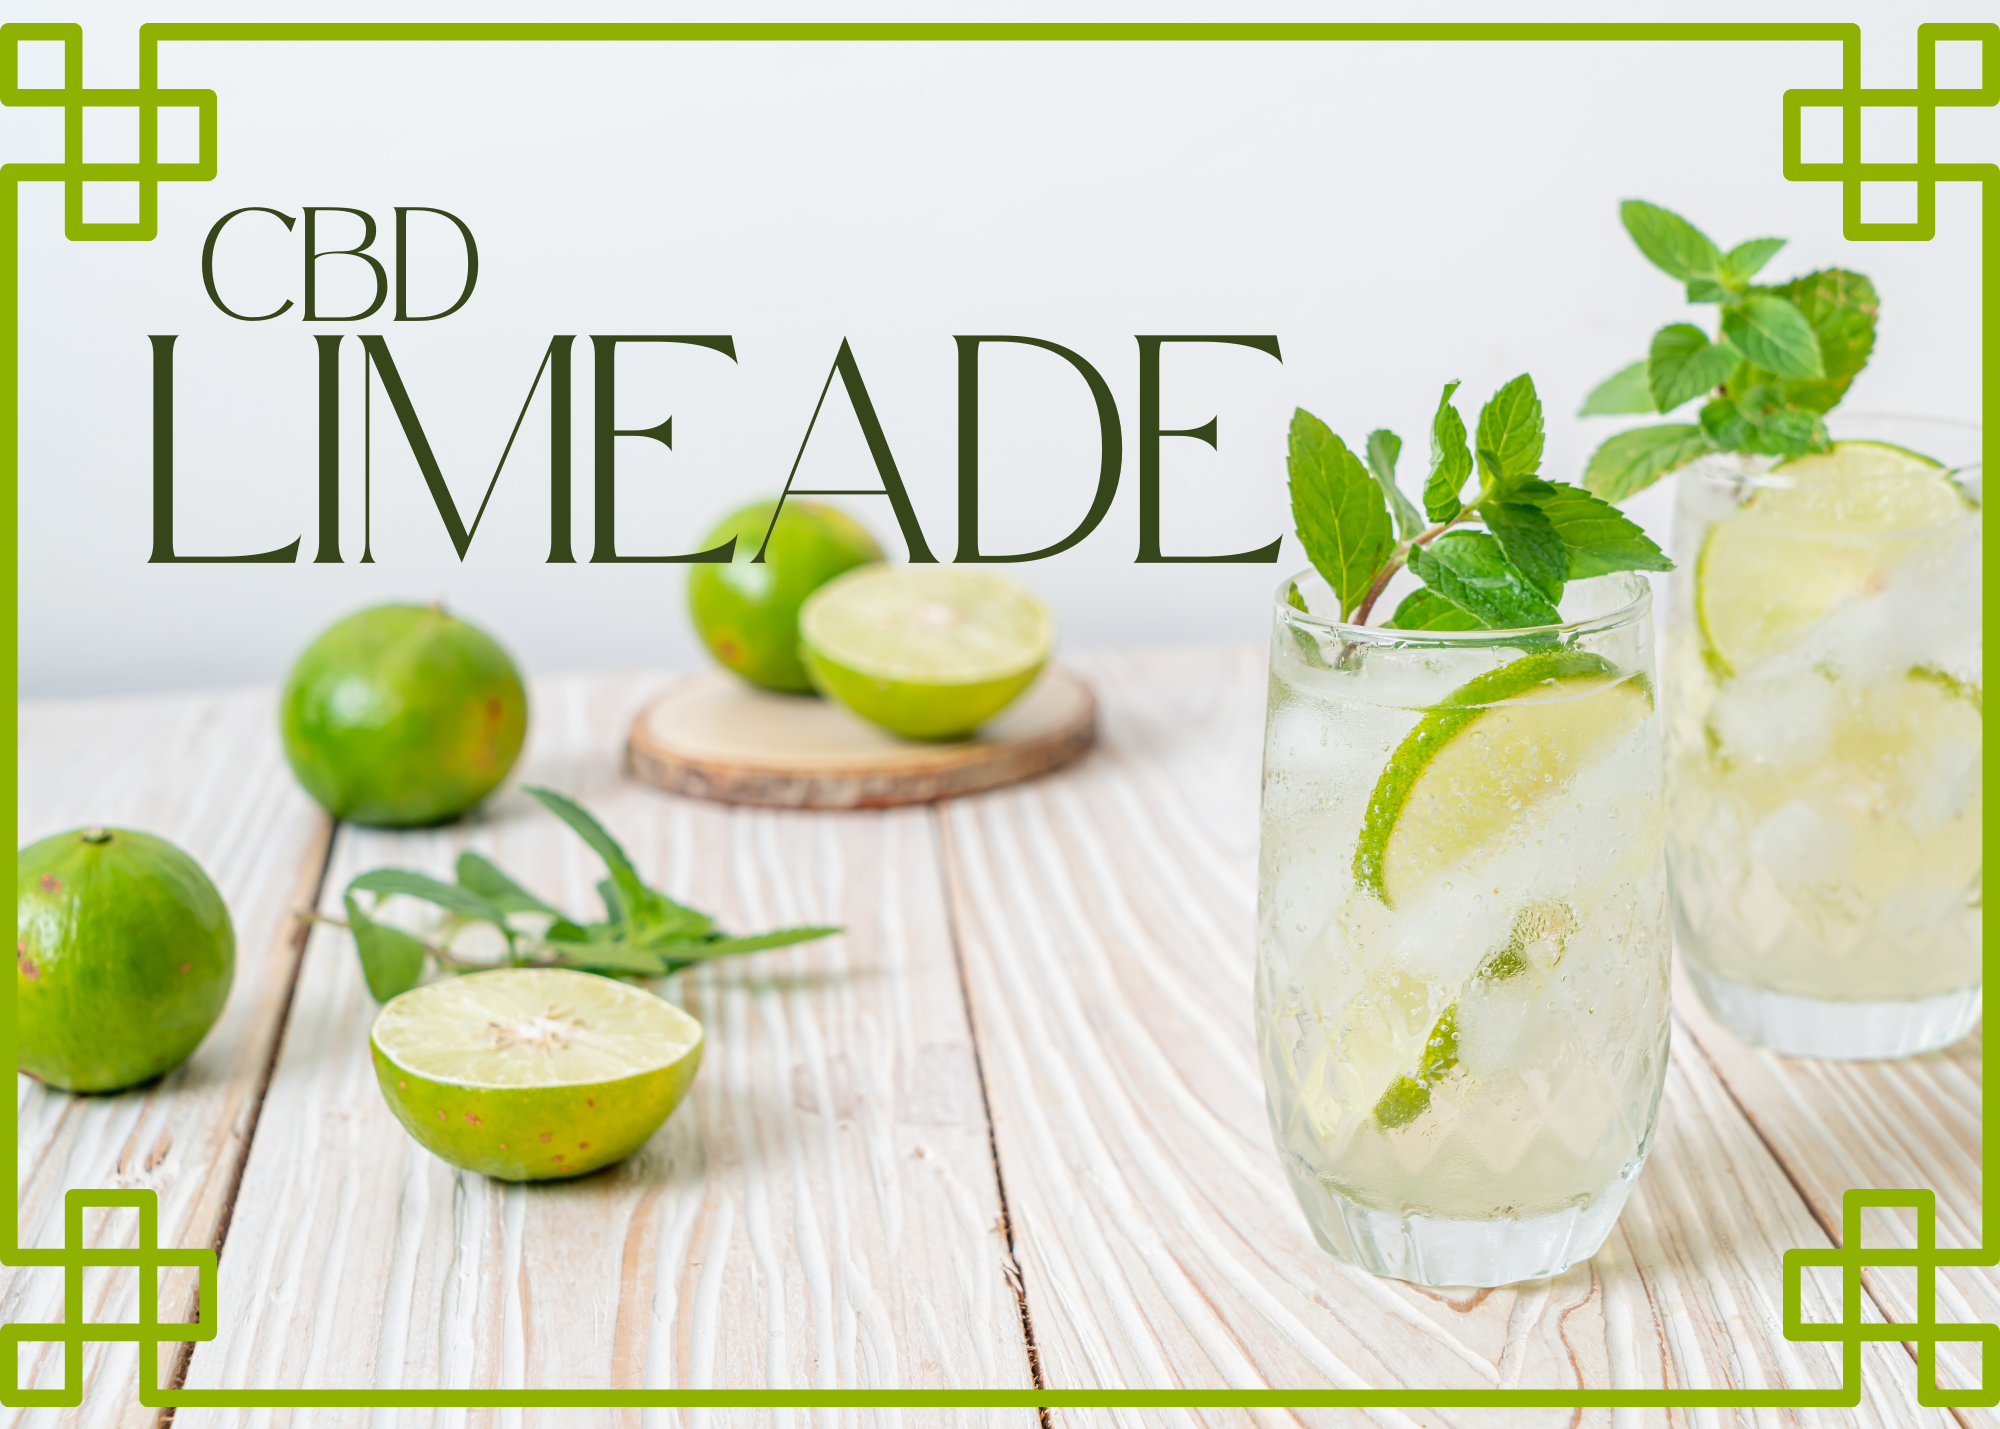
  • CBD Limeade

    CBD Limeade


    Looking for a delicious and refreshing way to incorporate CBD into your summer routine? Look no further than CBD-infused limeade! This delightful beverage combines the tangy flavors of fresh limes with the potential relaxation benefits of CBD oil or CBD-infused tincture. Whether you’re hosting a summer gathering or simply want a relaxing drink to enjoy on a sunny day, this CBD limeade recipe is a fantastic choice.


    CBD Limeade

    Remember, it's crucial to follow the dosage guidelines provided with your CBD product and consult with a healthcare professional if you have any concerns or questions about using CBD. So, take a sip of this delightful beverage and savor the unique combination of zesty lime flavors and the potential benefits of CBD. Cheers to a refreshing and relaxing experience!
    Prep Time 20 minutes
    Servings: 4

    Ingredients
      

    • 6 Limes
    • 1/2 cup Fresh Lime Juice
    • 4 cups Water
    • 1/2 cup Honey adjust according to taste
    • CBD oil or CBD-infused tincture as per your desired dosage
    • Ice cubes
    • Lime slices for garnish
    • Fresh mint leaves for garnish

    Method
     

    1. Begin by squeezing the juice from 4 to 6 limes, collecting the juice in a pitcher.
    2. Add 4 cups of water to the pitcher along with the fresh lime juice.
    3. Stir in 1/2 cup of honey until it completely dissolves.
    4. Add your preferred dosage of CBD oil or CBD-infused tincture to the pitcher. Start with a small amount and gradually increase until you reach your desired dosage. Make sure to follow the instructions on the CBD product regarding dosage.
    5. Stir the limeade mixture well to ensure that the CBD is evenly distributed throughout.
    6. Take a moment to taste the limeade and adjust the flavor if needed. You can add more lime juice, water, or honey to achieve the desired taste profile.
    7. Fill glasses with ice cubes and pour the CBD-infused limeade over the ice, allowing it to chill.
    8. For an eye-catching presentation, garnish each glass with a lime slice and, if you like, a few fresh mint leaves.
    9. Enjoy!