Eat for the Planet
Sustainable recipes you’ll love
More of us than ever are coming to understand the links between the food we eat and its impact on the planet. Eating a diet rich in legumes and organic vegetables, with a reduced emphasis on meat, is recognized as being better for us and the planet. Read on to discover delicious recipes that will help you include more sustainable ingredients in your meal plans.

Leek and Mushroom Tartines with Wilted Watercress
Watercress is relatively disease and pest resistant, so it doesn’t require pesticides. It’s easy to grow, and it’s packed with nutrition.
Ingredients
Method
- In large skillet on high, heat 1 Tbsp (15 mL) olive oil. When oil is hot, add mushrooms and thyme sprigs and cook for about 5 minutes, shaking pan from time to time to toss, but otherwise keeping movement to a minimum. Once mushrooms are browned, add a pinch of salt and lemon juice, stir through, and tip out onto plate to rest.
- Reduce heat to medium and, in the same pan, add remaining 1 tsp (5 mL) olive oil, leeks, and remaining salt. Cook leeks, being careful not to brown, for about 5 minutes, or until just soft. Tip mushrooms and thyme sprigs back into the pan, add honey, and combine with leeks. Remove pan from heat.
- Toast 2 pieces of bread. When ready, add watercress to still-warm leek and mushroom mixture and mix through, just wilting watercress. Spoon onto toasted and plated bread and season with black pepper.
- Enjoy!

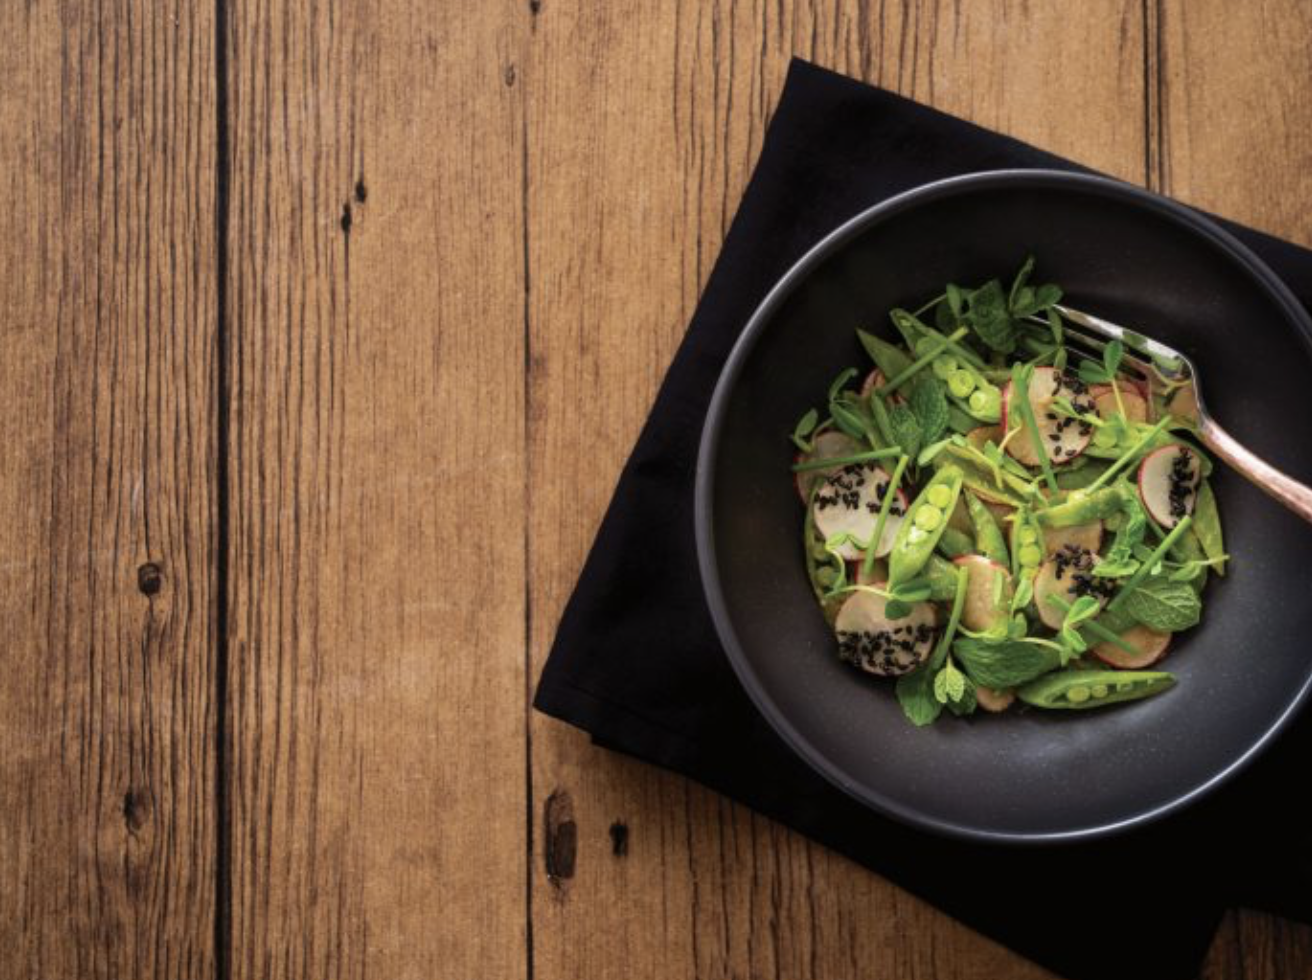
Herby Lentil Salad with Spinach and Peas
Symbiotic bacteria called Rhizobium invade the roots of lentils and legumes such as peas and beans, allowing them to “fix,” or use, nitrogen. This also improves the quality of the soil they grow in.
Ingredients
Method
- Pick over lentils, removing pebbles or debris, and rinse. Bring a large pot of water to boil and add lentils and bay leaf. Reduce to medium-low and cook lentils at a slow simmer for 20 minutes, or until tender but not mushy. Drain and rinse with cool water to stop the cooking process.
- In separate pot, blanch green peas for 2 to 3 minutes; drain and rinse with cool water.
- In small bowl, combine herbs, vinegar, olive oil, and salt.
- In large bowl, place cooked and cooled lentils. Pour dressing overtop lentils; add green onions, peas, and baby spinach; and toss together. Tip out onto large shallow platter to serve.
- Enjoy!

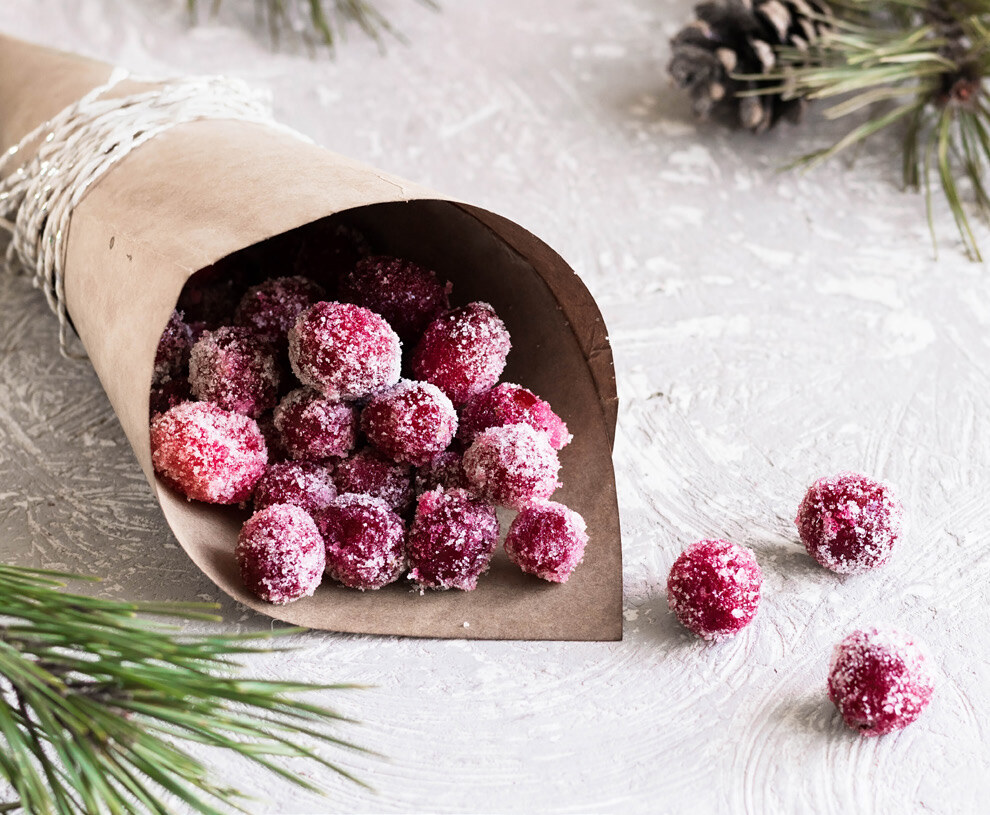
Poached Rhubarb with Cinnamon, Mint, and Ginger
Selecting seasonal fruit reduces the need for heating, refrigeration, artificial lighting, pesticides, and increased transport. While rhubarb’s season may be short, the plant is a perennial that can produce for years.
Ingredients
Method
- Preheat oven to 375 F (190 C).
- In shallow 10 x 10 x 3 in (26 x 26 x 8 cm) baking pan, arrange rhubarb in one layer. Cut ginger in 3 or 4 chunks and add to pan along with cinnamon stick and mint sprig.
- In small bowl or jug, mix together orange juice, water, and honey. Pour over rhubarb mixture.
- Place baking tray in preheated oven and poach for approximately 20 to 30 minutes. Rhubarb is done when it is fork tender but still retains its shape. Serve over porridge or granola, or use as a dessert topping or cake filling.
- Enjoy!
Article Provided by Alive Magazine