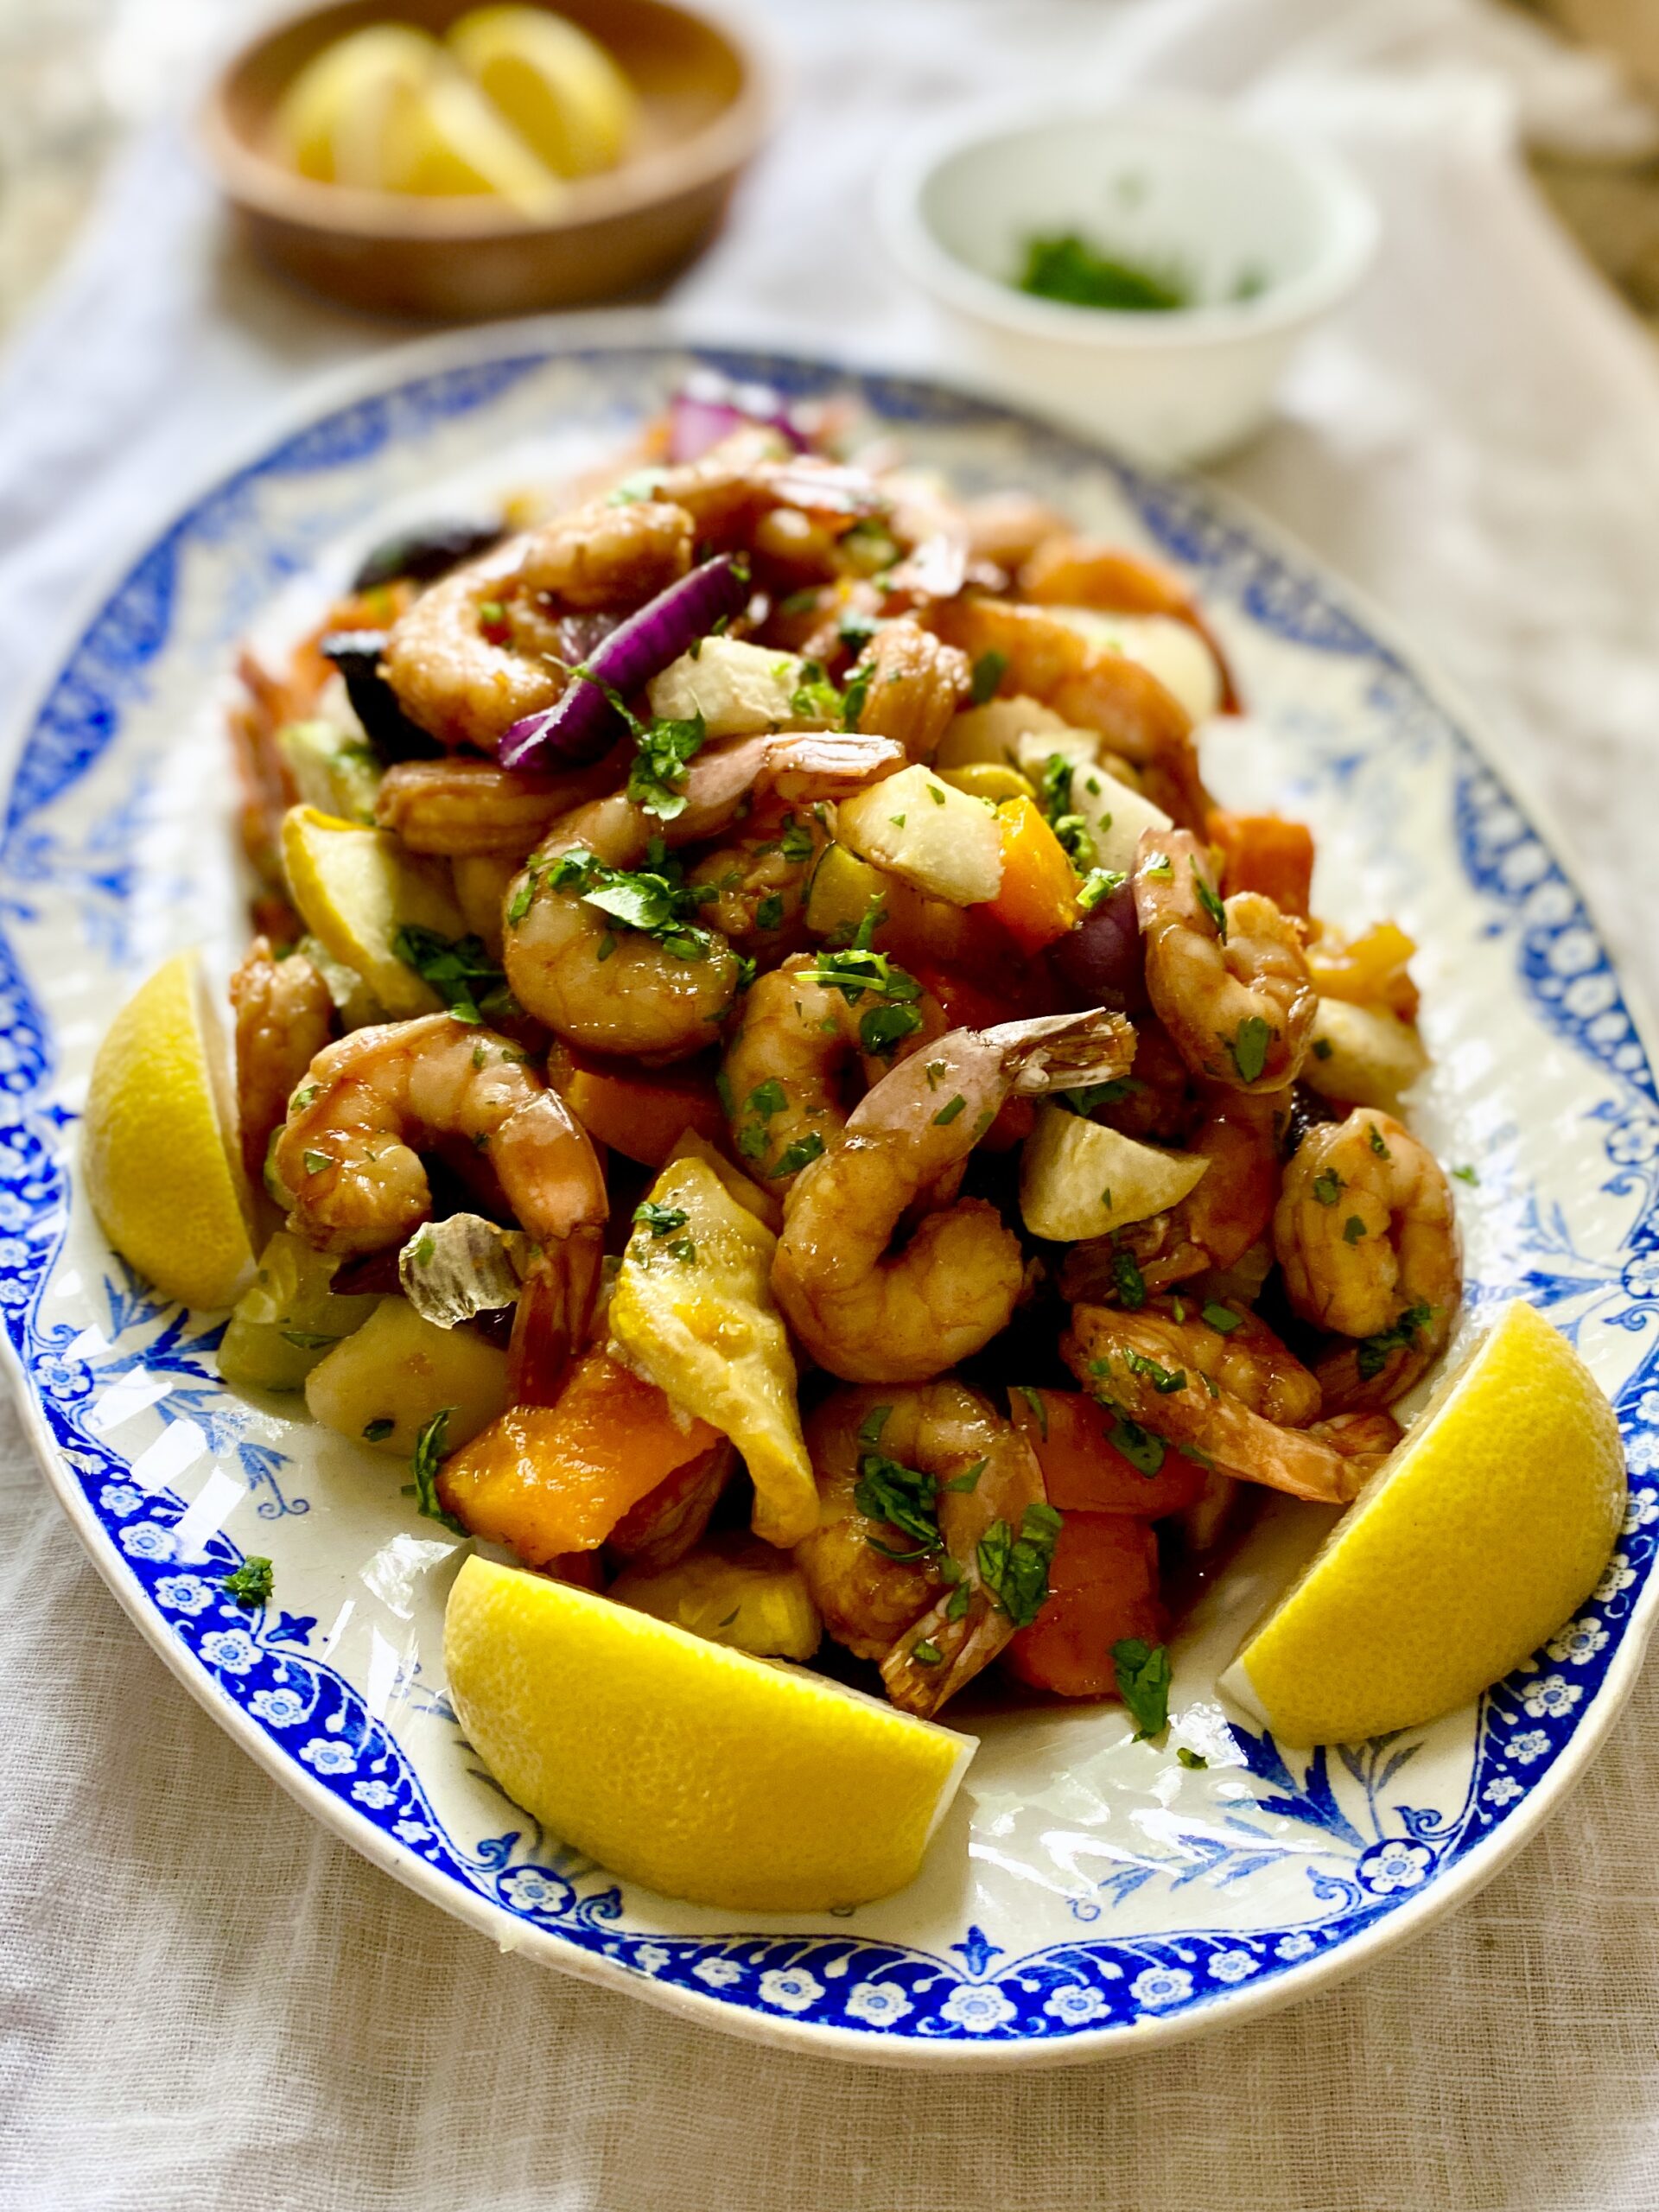

Honey Glazed Shrimp Sheet Pan Dinner
Servings 2
Equipment
- 1 Medium bowl
- 1 whisk
- 1 jar
- 1 large rimmed baking sheet
Ingredients
- ⅓ cup honey
- ¼ cup coconut aminos
- 1 ½ teaspoons onion powder
- Sea salt & white pepper to taste
- 1 pound uncooked shrimp thawed if frozen, peeled & deveined
- 2 cipollini onions (or 2 small yellow or red onions) sliced into onion rings
- 4 ounces crimini mushrooms sliced in half
- ½ medium sized celery root peeled and diced
- 1 small turnip peeled and diced
- 1 cup zucchini sliced into bite size pieces
- 1 – 2 small patty pan squashes sliced
- 1 cup winter squash (red kabocha, delicata, honeynut, butternut, etc.) diced
- 1 – 2 tablespoons refined coconut oil (or melted ghee, tallow or olive oil)
- Lemon wedges & chopped cilantro for garnish
Instructions
- Make the Marinade: In a medium mixing bowl, whisk together the honey, coconut aminos, ½ teaspoon of the onion powder and sea salt and white pepper to taste. You will use half of this marinade to marinate the shrimp. Save the other half for cooking the shrimp.
- Marinate the Shrimp: Place the shrimp in a medium size glass bowl. Add 1/2 of the marinade and toss well to combine. Cover the bowl and place it in the refrigerator for at least 15 minutes. To make the shrimp even more flavorful you can marinate them up to 8 hours, or overnight. Pour the rest of the marinade into a glass jar and refrigerate.
- Preheat the oven to 375-degrees F. Line a large, rimmed baking sheet with parchment paper.
- Season and roast the vegetables: Add the vegetables to the baking sheet and toss with the coconut oil. Season with the remaining onion powder and sea salt and white pepper to taste. Toss again. Arrange the vegetables in a single layer. Roast for 15 minutes. Remove the sheet pan from the oven. Flip the vegetables over. Return to oven and roast for 15 more minutes.
- Add shrimp + bake: Remove the baking sheet from the oven. Use a spatula or tongs to carefully move the vegetables over to one side to make room for the shrimp. Add the shrimp to the baking sheet. Discard the used marinade. Drizzle the shrimp with the remaining unused marinade in the jar. Return the baking sheet to the oven and bake for 5 to 7 minutes, or until the shrimp are pink and firm to the touch.
- Serve the roasted vegetables and shrimp with lemon wedges and garnished with the cilantro. This goes well served over some fluffy cooked white rice.
- Enjoy!