Tag: INFRA

  • Stuffed Jalapeño Peppers

    Stuffed Jalapeño Peppers

    Stuffed Jalapeño Peppers


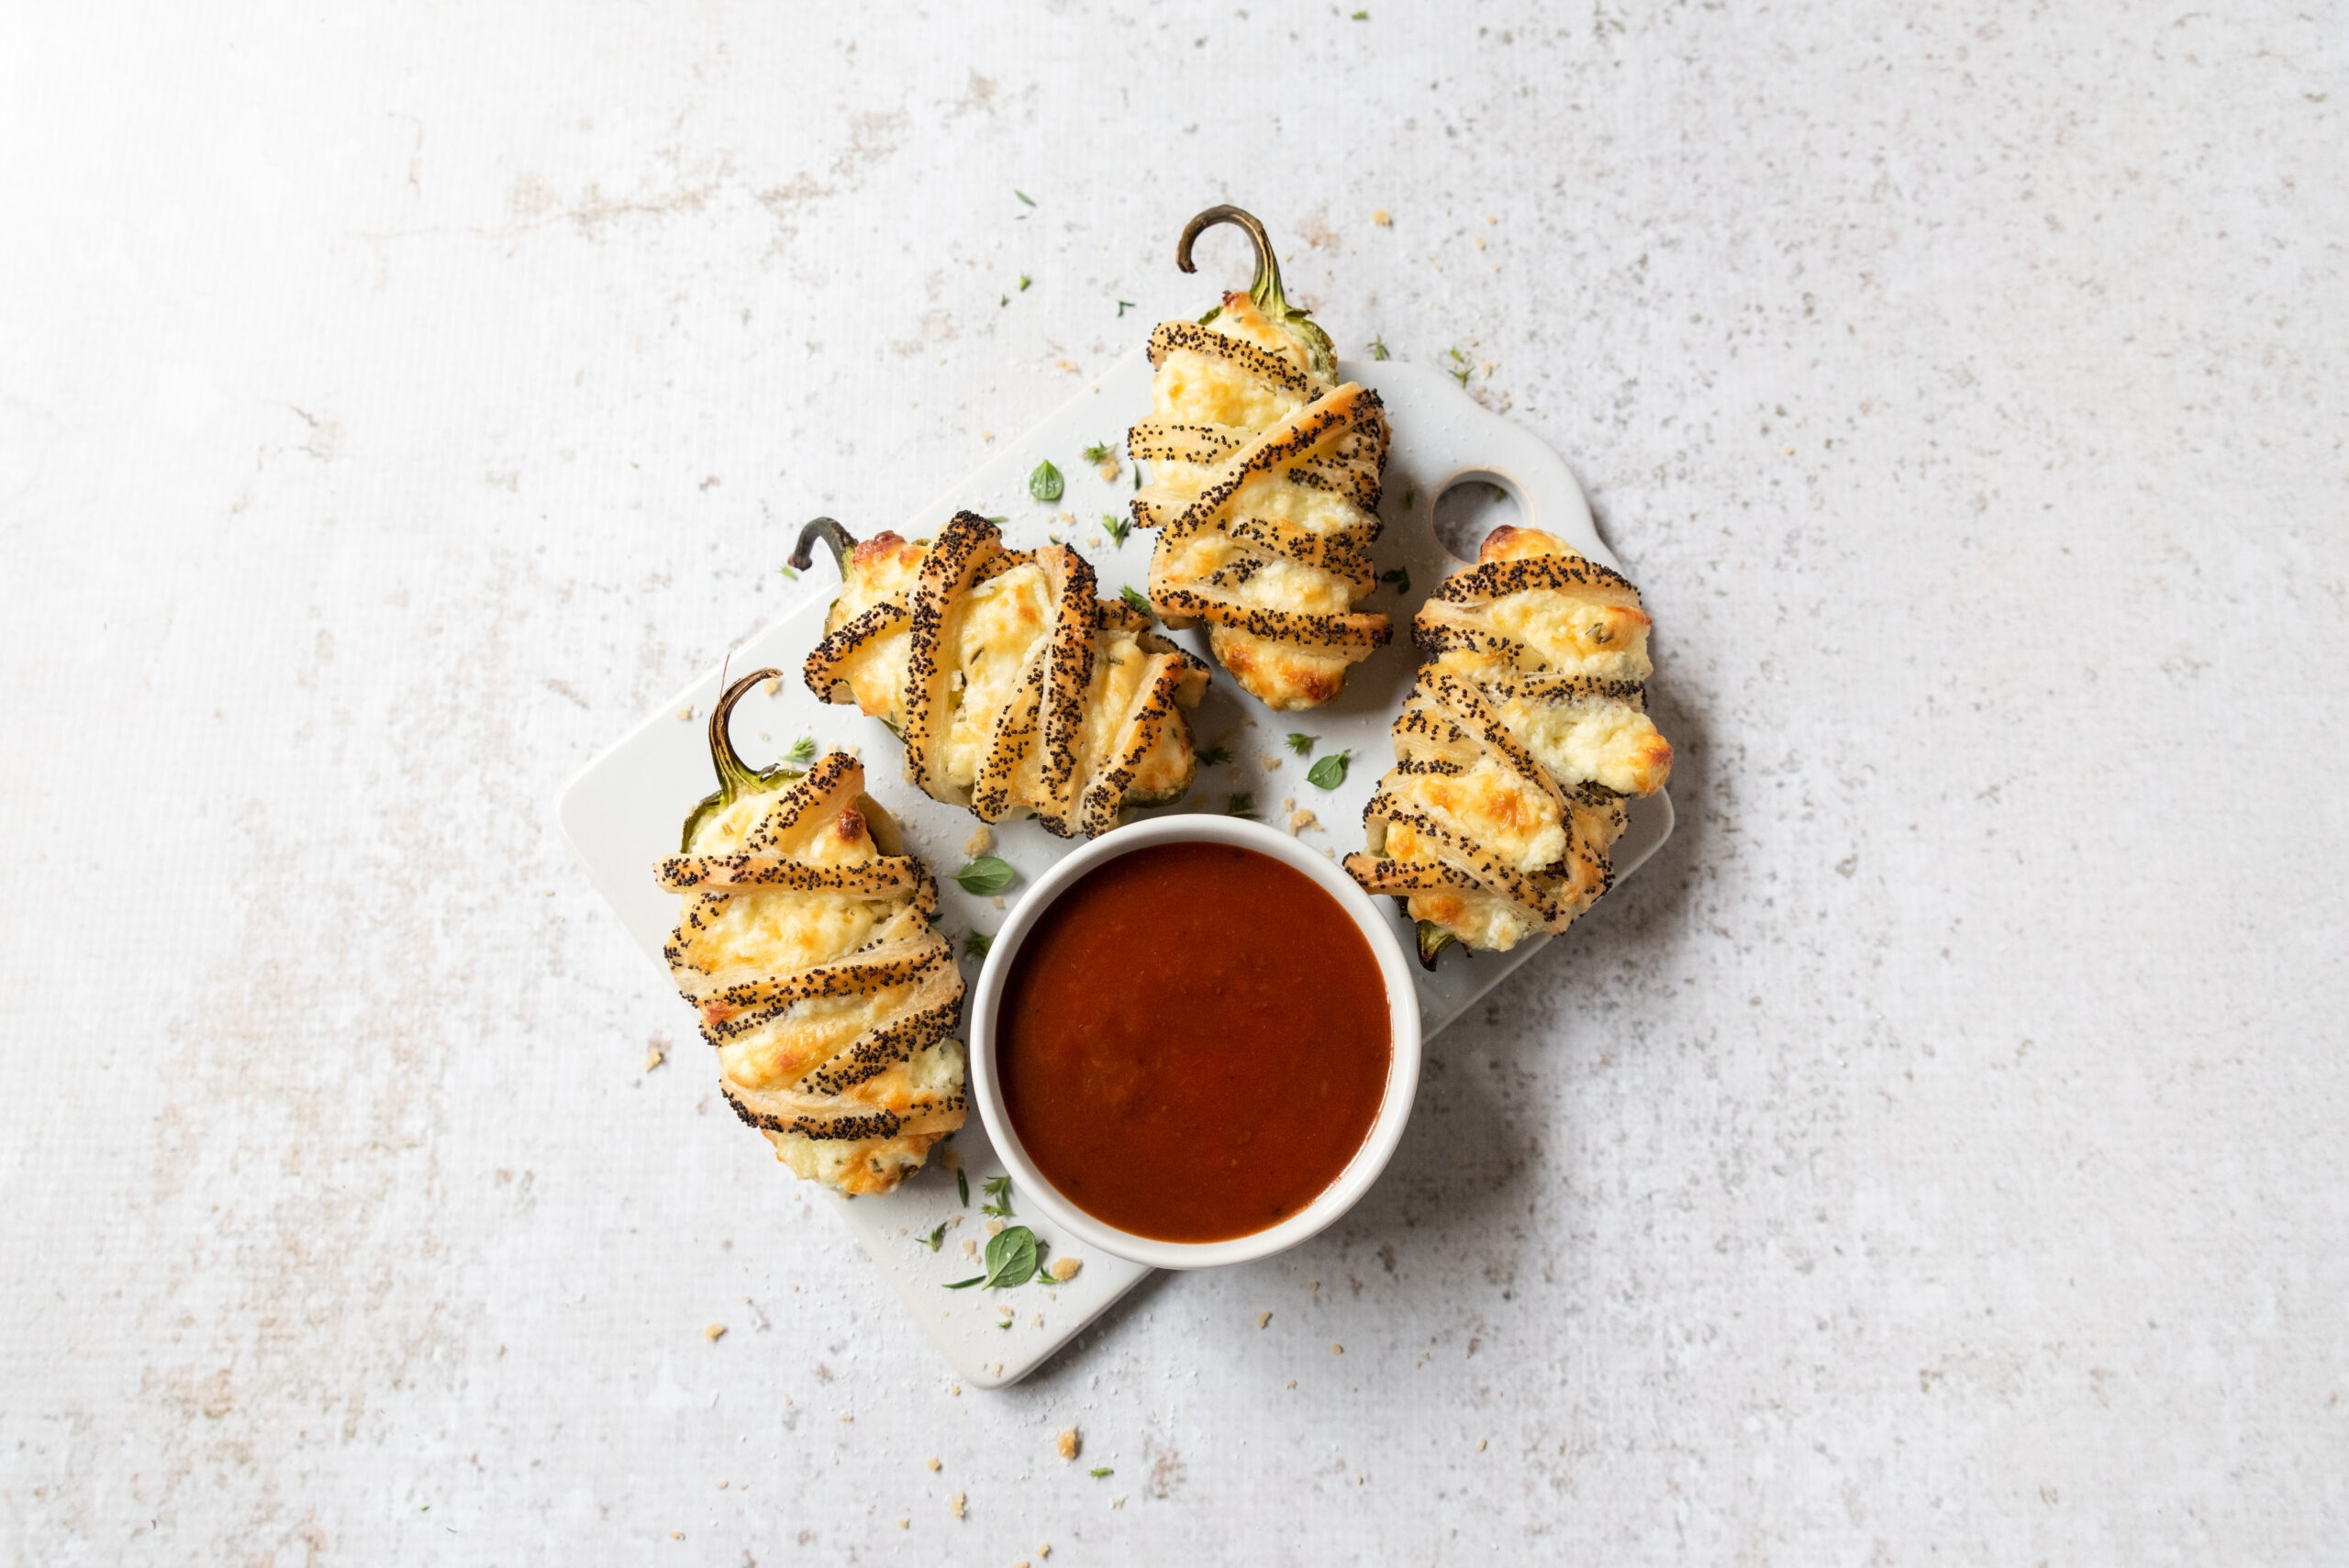
    The oven won’t be the only thing heating up this weekend! These stuffed jalapeño poppers are the perfect combination of easy and fancy. Don’t let the puff pastry scare you. Creamy, cheesy, and wrapped up like a nice package, these poppers will be equally at home during halftime or a party spread.

    Stuffed Jalapeño Peppers

    Servings 16

    Ingredients

    • 8 large jalapeños
    • 8 oz cream cheese room temperature
    • 8 oz shredded Monterey jack cheese
    • ¼ cup shredded Parmesan cheese
    • 2 green onions thinly sliced
    • ¼ tsp sea salt
    • 1 sheet puff pastry thawed
    • 1 tbsp poppy seeds
    • 1 large egg beaten

    Instructions

    • Preheat oven to 400°F. Halve jalapeño peppers and remove seeds and pith.
    • In a medium bowl, combine cream cheese, Monterey jack cheese, Parmesan cheese, scallions, and salt.
    • Fill jalapeños with cheese mixture and smooth off the top. Set aside.
    • Lay out puff pastry and brush with beaten egg then sprinkle with poppy seeds. Cut pastry into ¼ inch strips, then wrap strips of pastry around jalapeños in a crisscross pattern.
    • Place assembled peppers on a parchment lined baking sheet and bake for 20–30 minutes or until puff pastry is golden in color. Serve with barbecue sauce.

    Recipe Provided by INFRA

  • Curry Beet Salad

    Curry Beet Salad

    Curry Beet Salad


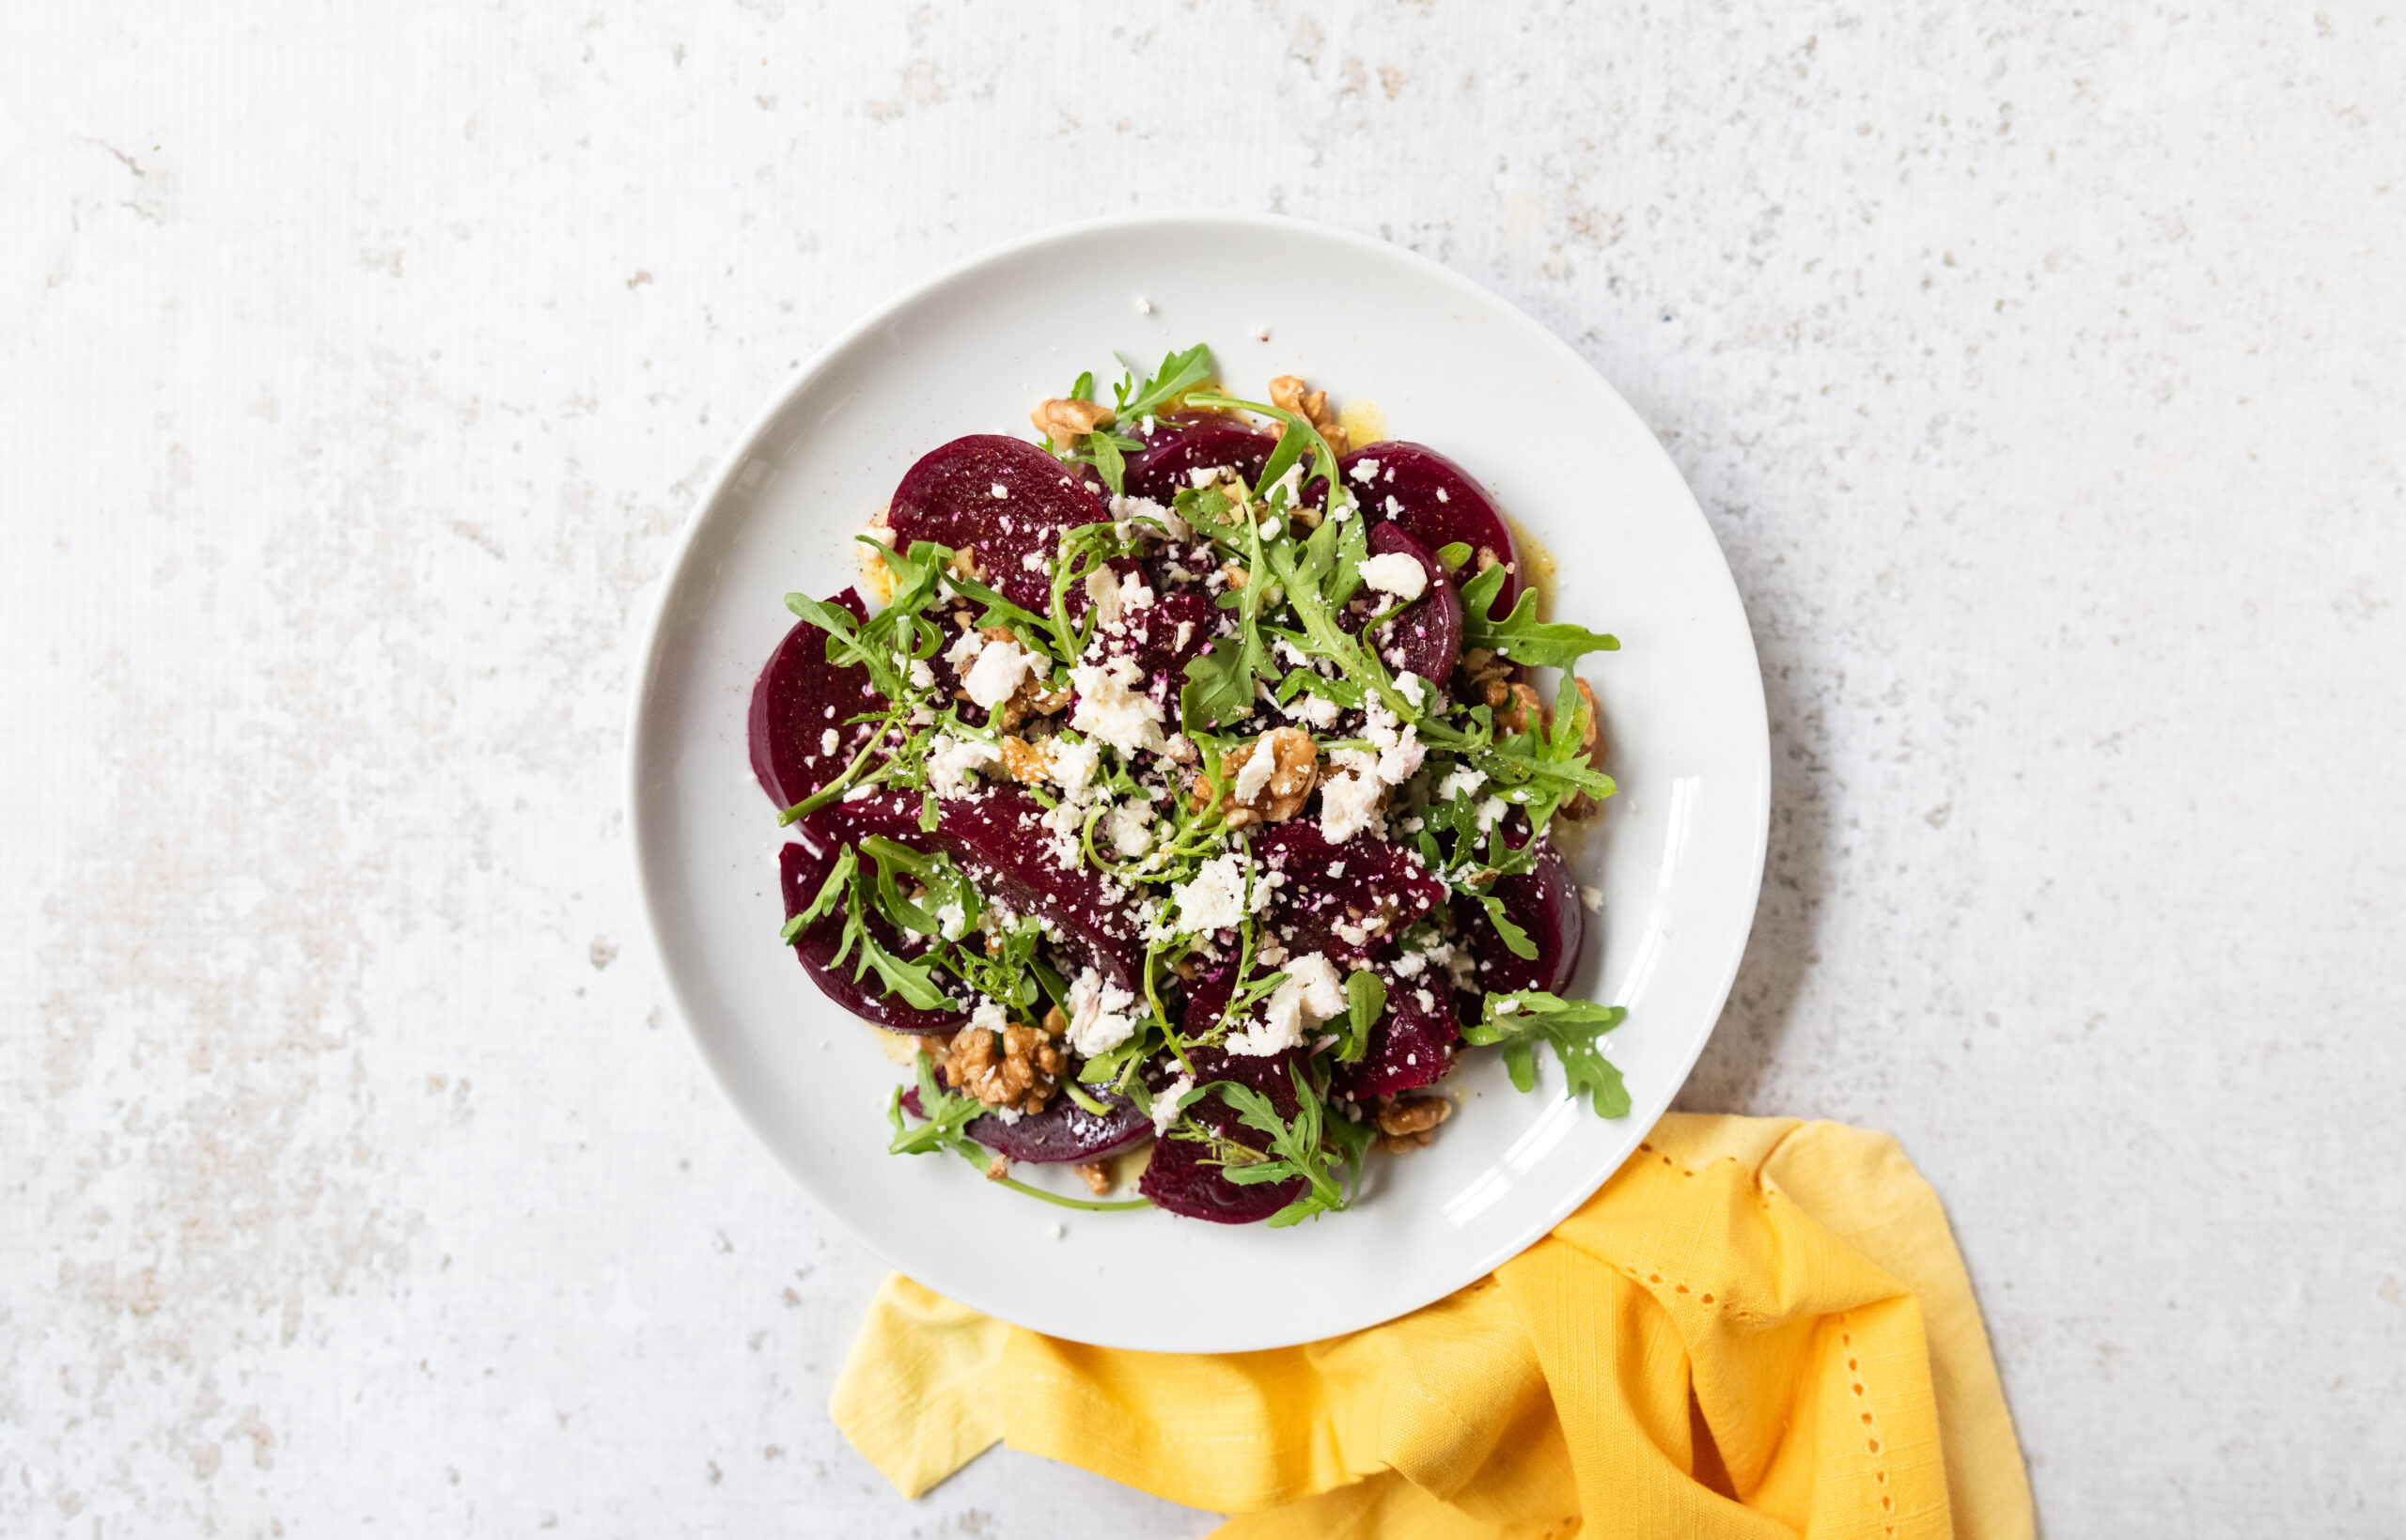
    Tender beets can stand up to strong flavors like curry in this colorful fall salad. For a shortcut, opt for pre-steamed beets for a stunning salad in no time!

    Curry Beet Salad

    Opt for a seasonal goat cheese with cranberry flavor for an ideal pairing in this recipe.
    Servings 2

    Ingredients

    • 2 pounds red beets
    • 2 oz baby arugula
    • ½ cup walnuts toasted
    • ½ cup crumbled feta or 2 ounces herbed goat cheese crumbled
    • cup avocado oil
    • 3 tbsp rice vinegar
    • 1 tbsp honey
    • ½ tbsp curry powder
    • ¼ tsp sea salt

    Instructions

    • Preheat oven to 350°F. Place whole beets in a deep baking dish and cover with water. Cover and bake for 2–4 hours or until beets are knife tender, depending on the size of the beets.
    • When beets are tender, drain and submerge in cold water. Remove skins and set aside to cool completely.
    • To prepare salad, chop beets and place in a mixing bowl. Add arugula, walnuts, and feta or goat cheese. Whisk together avocado oil, rice vinegar, honey, curry powder, and salt. Pour over salad and toss. Adjust seasoning to taste and serve.

    Recipe Provided by INFRA
  • Banana-Chocolate Crumb Cake

    Banana-Chocolate Crumb Cake

    Banana-Chocolate Crumb Cake


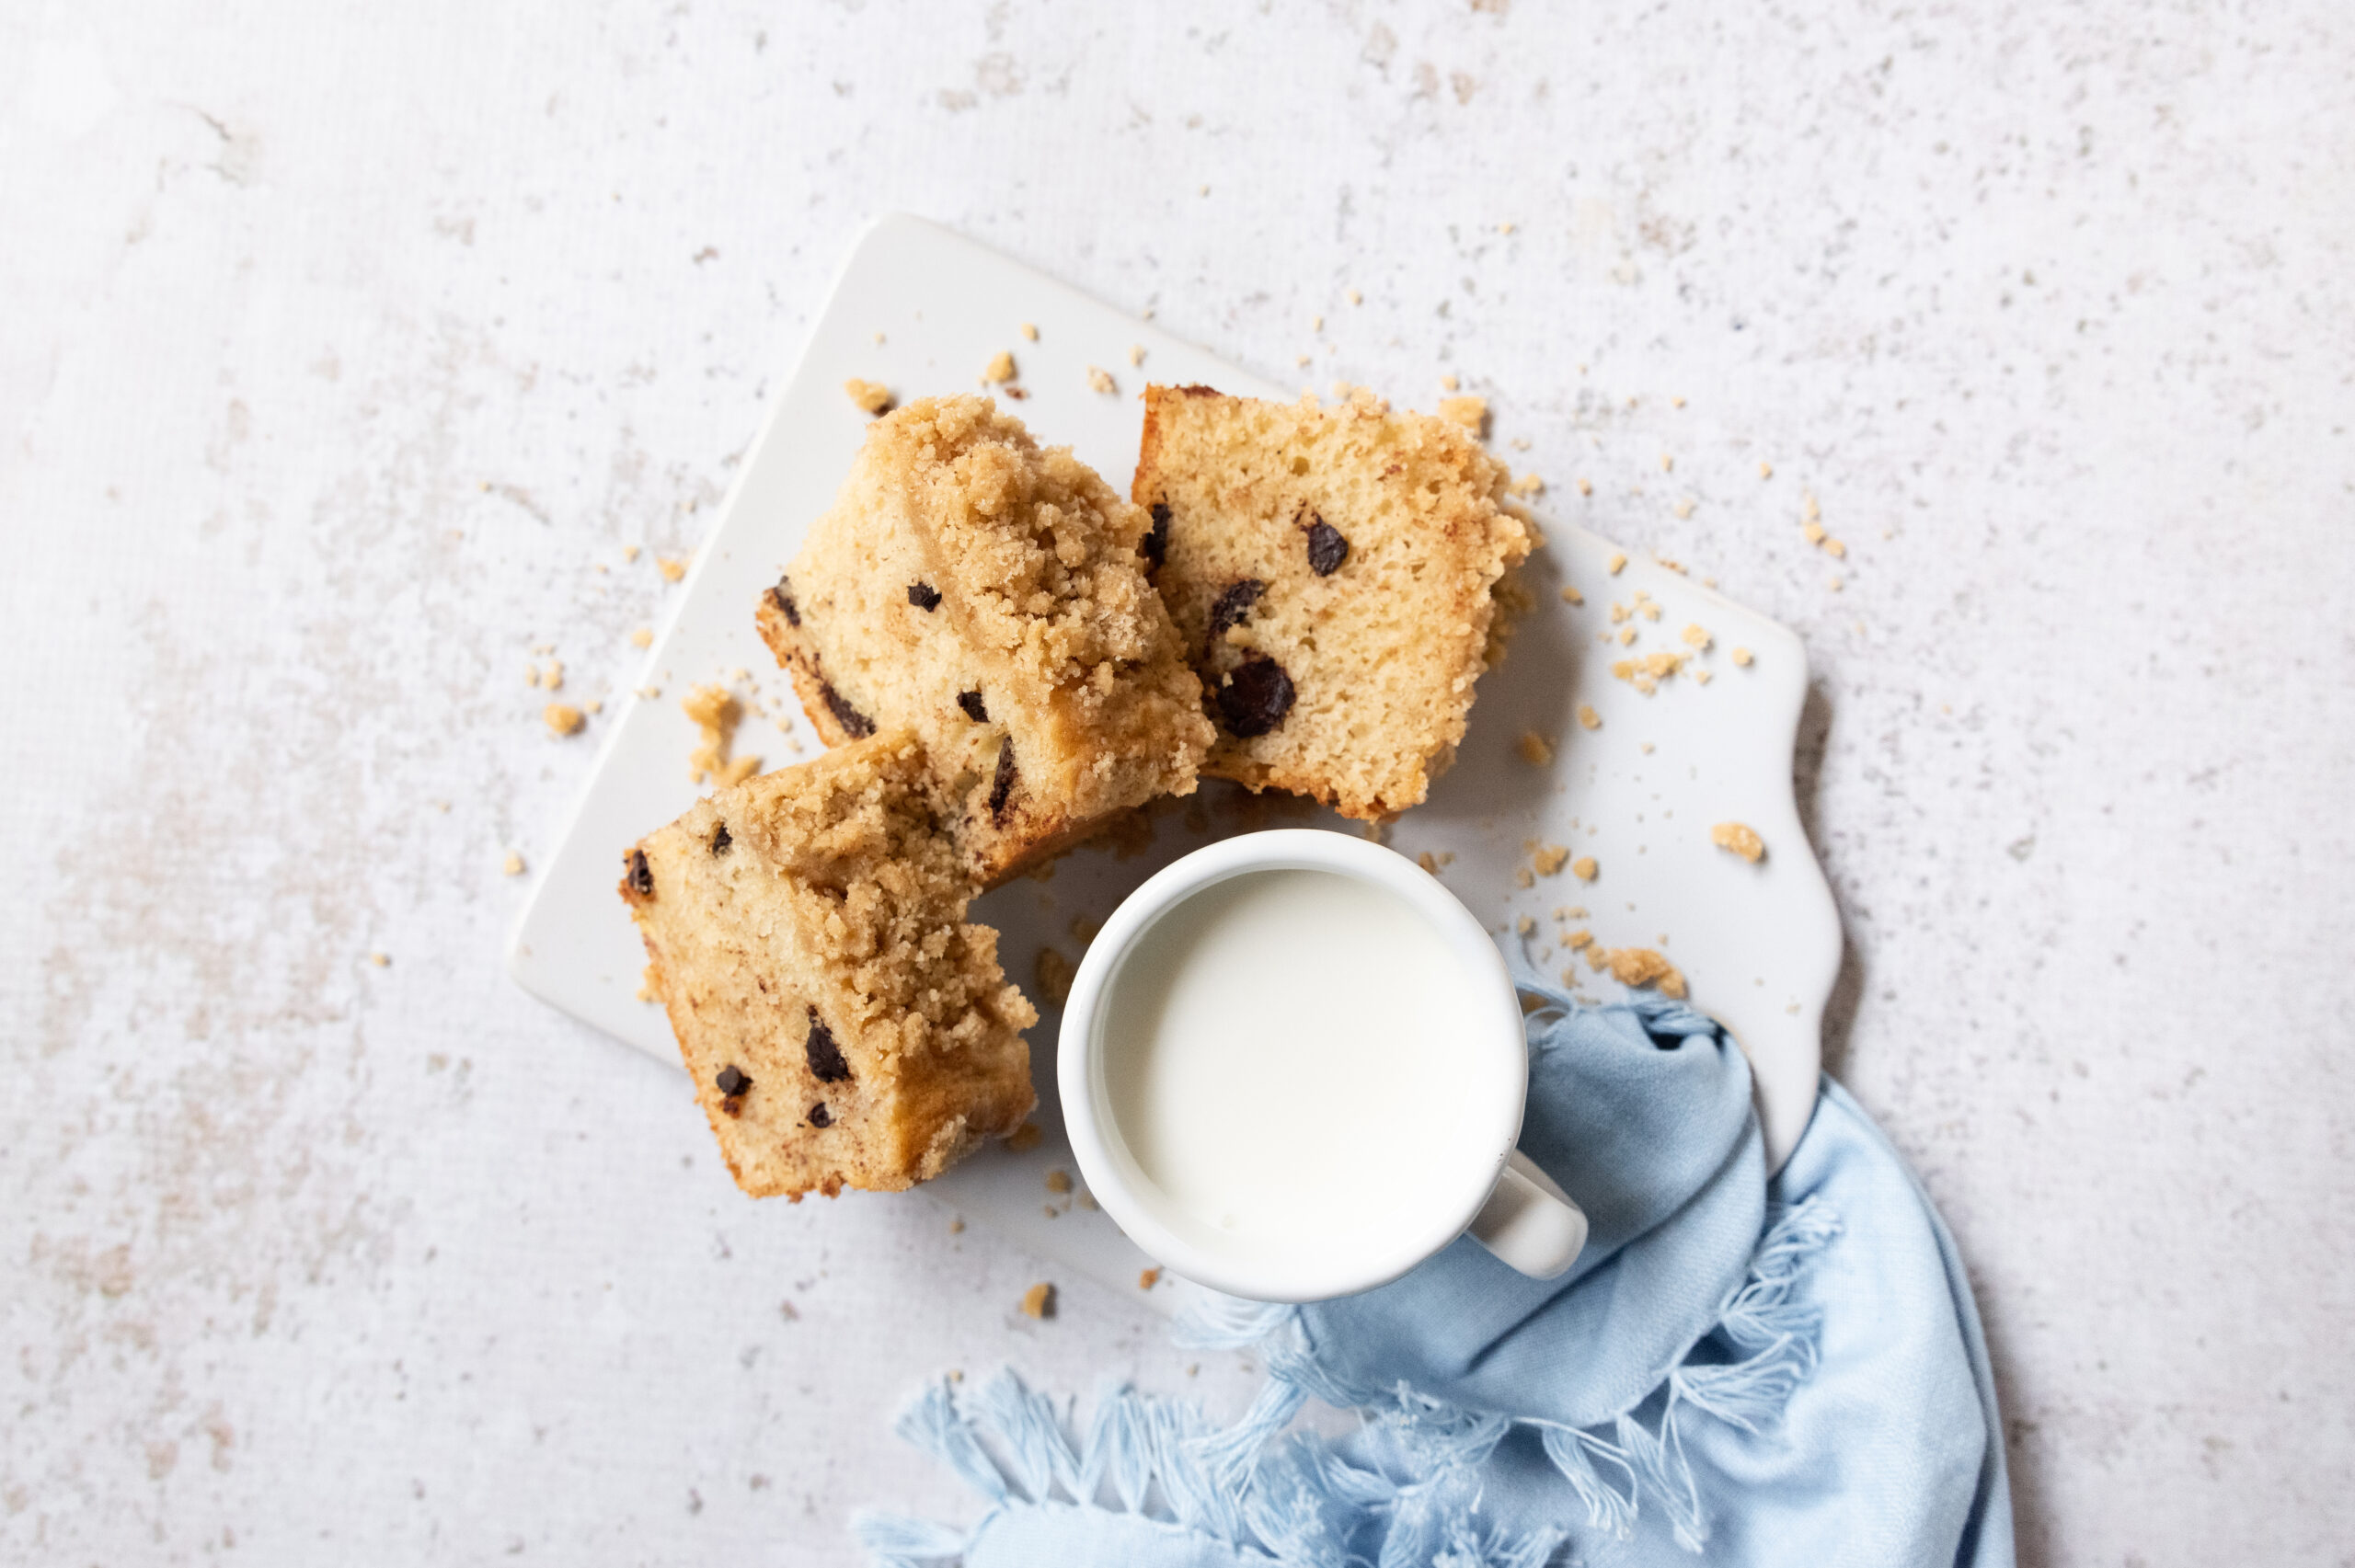
    Bananas and chocolate are a classic combination for good reason. They simply taste better together! Try this banana-chocolate crumb cake with fair trade ingredients for a dish that tastes as good as it is for people the people and the planet.

    Banana-Chocolate Crumb Cake

    Servings 6

    Ingredients

    Crumb Topping

    • ½ cup all-purpose flour
    • cup light brown sugar
    • ¼ cup cane sugar
    • 3 tbsp unsalted butter softened

    Batter

    • 2 cups all-purpose flour
    • 1 tbsp baking powder
    • ½ tsp grated nutmeg
    • ½ tsp sea salt
    • 2 ripe bananas mashed
    • 4 tbsp unsalted butter softened
    • cup cane sugar
    • cup light brown sugar
    • 2 large eggs
    • 1 tsp vanilla extract
    • 1 cup buttermilk
    • ¾ cup chocolate chips

    Instructions

    • Preheat oven to 350°F. Grease a 9 by 9 inch baking pan and line with parchment paper. In a small bowl combine the crumb topping ingredients until well mixed. Set aside.
    • In a large bowl combine remaining flour, baking powder, nutmeg, and salt. In a separate bowl, cream together remaining brown sugar, and cane sugar until well blended. Beat in eggs, one at a time until incorporated. Stir in bananas, and vanilla.
    • Add half of the dry ingredients into the wet mixture. Stir gently to combine. Add half the buttermilk and stir gently to combine. Repeat with remaining dry ingredients and buttermilk.
    • Fold chocolate chips into the batter. Pour batter into the prepared baking pan and top with crumb mixture. Bake for 40 minutes or until a toothpick inserted in the center comes out clean. Allow cake to cool 10 minutes before removing from pan.

    Recipe Provided by INFRA

  • Camper’s Stuffed Apples

    Camper’s Stuffed Apples


    Camper’s Stuffed Apples

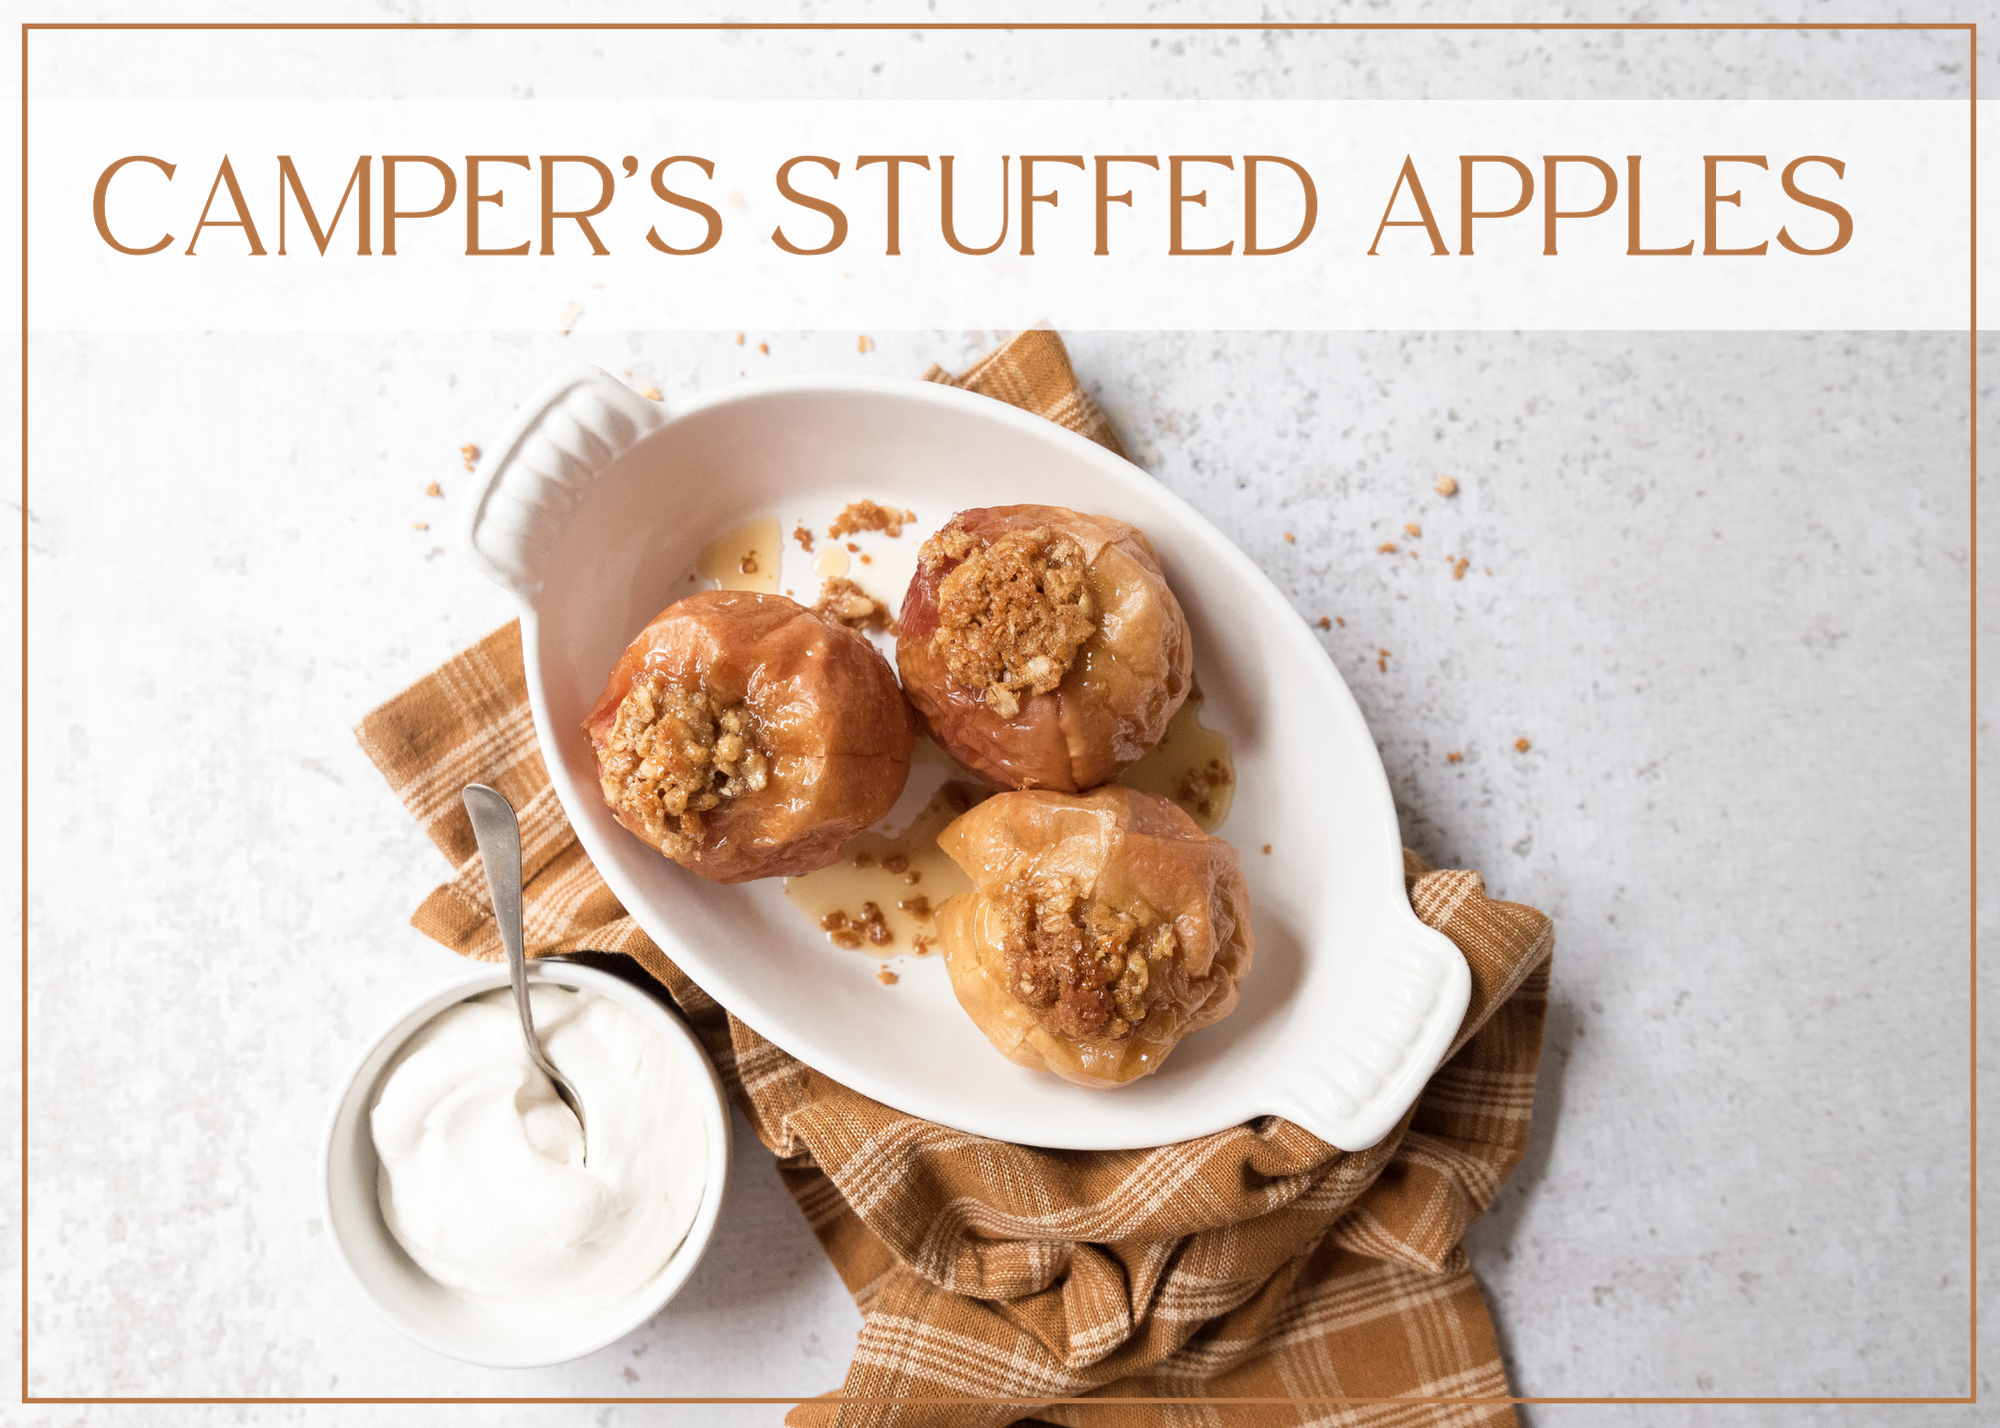
    These stuffed apples are EASIER than pie! With a quick oat streusel filling, you can recreate the fall flavors of apple pie without fussing with a crust. If you really want to lean into the name, you can wrap the stuffed apples in foil and toss them in the embers of a campfire or pop them on the grill to slow roast them directly in the fire.


    If you have one foot in summer and one in fall, this recipe is for you! Still enjoying the outdoors with camping trips or grilling? This is the perfect dessert to cap a day in nature. You can also toss this together and pop it in the oven for a satisfying, warming peek into fall flavors. Stuffed apples give you all the flavor of apple pie with half the work. That’s a good recipe in any season.


    Camper’s Stuffed Apples

    These stuffed apples are EASIER than pie! With a quick oat streusel filling, you can recreate the fall flavors of apple pie without fussing with a crust. If you really want to lean into the name, you can wrap the stuffed apples in foil and toss them in the embers of a campfire or pop them on the grill to slow roast them directly in the fire.

    Ingredients
      

    • 6 Braeburn apples
    • 1/2 cup rolled oats
    • 1/3 cup light brown sugar
    • 4 tblsp unsalted butter or plant-based alternative 
    • 1/2 tsp ground cinnamon 

    Method
     

    1. Preheat oven to 375° F. Combine oats, brown sugar, butter, and cinnamon in a small bowl until well mixed.
    2. Core apples, starting at the stem and core towards the base, leaving the bottom intact.
    3. Fill apples with oat mixture and arrange in an oven safe baking dish. 
    4. Bake apples for 40 minutes or until knife tender. Alternatively, cover apples with aluminum foil and place pan on the grill to bake. 

    Recipe courtesy of INFRA

  • Eggplant Rounds

    Eggplant Rounds

    Eggplant Rounds


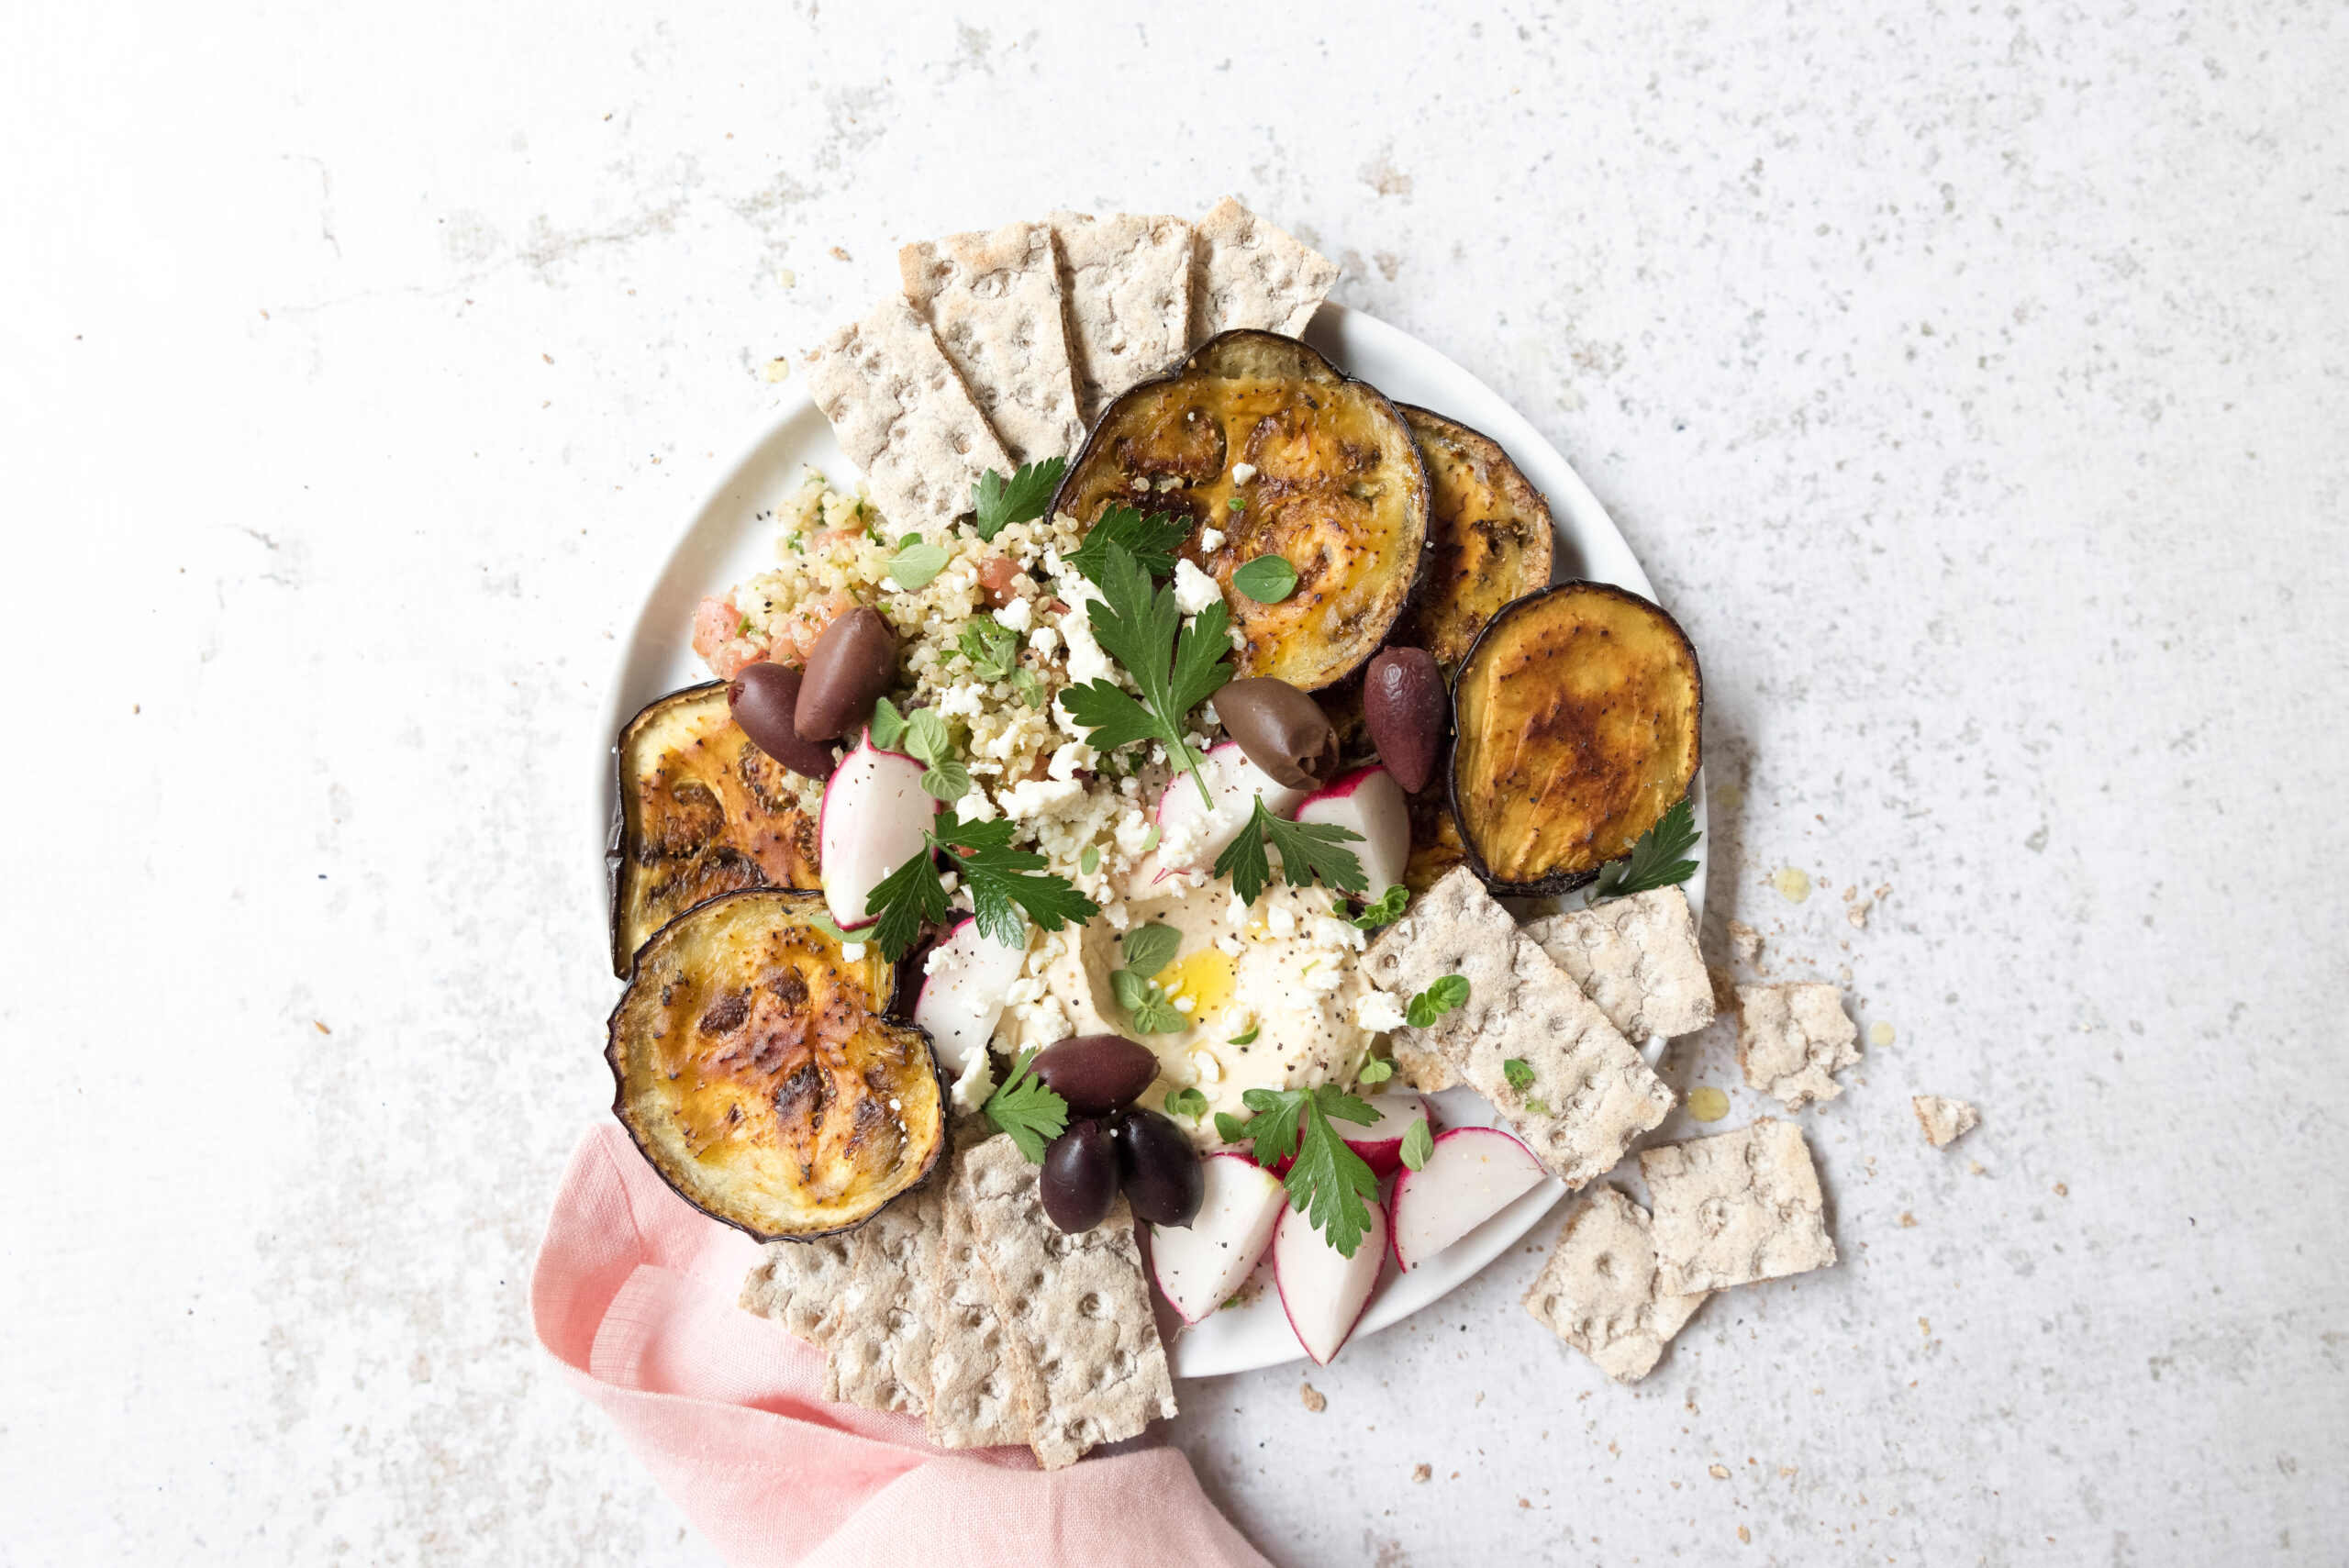
    It’s the tail end of the season for many of our summer favorites. This is more of a no-recipe recipe. Take eggplant, slimmer brighter Asian varieties or traditional purple globe eggplant and roast sliced rounds. Then you have a tasty base for all sorts of toppings that is keto, vegan, gluten-free, and more!

    Eggplant Rounds

    Servings 16

    Ingredients

    • 2 large eggplants
    • ½ cup olive oil
    • 1 tbsp dried oregano
    • 1 tsp sea salt
    • 1 tsp ground black pepper

    Instructions

    • Preheat oven to 400° F. Cut eggplant into half-inch thick slices and place on a parchment lined baking sheet.
    • Brush olive oil on both sides of rounds and sprinkle with salt, pepper, and dried oregano.
    • Bake rounds for 30-40 minutes, flipping them halfway, until they are golden in color.
    • When rounds have cooled, place on a serving platter and serve with hummus, tabouleh, olives, feta, radishes, crackers, etc.

    Recipe Provided by INFRA
  • Spicy Mango Beverage

    Spicy Mango Beverage

    Spicy Mango Beverage


    Is it a smoothie? Is it a mocktail? The only thing we care about is that it’s delicious! This spicy mango drink is the perfect blend (pun intended!) of sweet, spicy, and savory. Don’t skip the salted rim! 

    Spicy Mango Beverage

    Servings 4

    Ingredients

    • 2 large ripe mangoes
    • ½ cup lime juice
    • 16 oz ginger beer
    • ¼ cup flake sea salt plain or smoked
    • ¼ tsp cayenne pepper

    Instructions

    • To make the mango puree, peel ripe mango and remove pit. Place fruit in a blender and bend on high until smooth. This makes enough puree for approximately four beverages.
    • To assemble, combine salt and cayenne pepper on a small plate. Dip the rim of four glasses in water then into the salt mixture.
    • Combine 1/3 cup mango puree, and 2 tablespoons lime juice in each prepared glass. Add ice and top off with ginger beer. Garnish with mint, lemon balm, or a jalapeño slice and serve.

    Recipe Provided by INFRA

  • Peach-Thyme Compote

    Peach-Thyme Compote


    Peach-Thyme Compote

    This peach-thyme compote is easier than making jam, but you can use it anywhere you’d use jam or jelly. Toast? French toast? Cheese boards? Ice Cream?!? It does it all!

    While stone fruit season runs throughout the summer months, August is National Peach Month. If you’ve got a small bounty of peaches, try making this peach-thyme compote. With just four ingredients and a bit of water, you can make an elevated spread that captures the essence of summer.

    Thyme adds complexity while the acidity of lemon juice tames the sweetness. You can switch different herbs and get creative. Since you’re not canning a jam, you don’t need to worry about straying from the recipe basics. Want to mix stone fruit or other seasonal goodies? If it grows together, it goes together!


    Peach-Thyme Compote

    Use the compote in sweet or savory applications. Grilled cheese sandwiches, as a glaze for organic chicken, with crepes, on a biscuit, or as an ice cream topper, this compote will complement your meals for the rest of the summer! 

    Ingredients
      

    • 2 lbs ripe, firm peaches
    • 1/4 cup organic sugar
    • 1/4 cup water
    • 2 tbsp fresh lemon juice
    • 1 thyme sprig

    Method
     

    1. Bring a medium pot of water to a simmer.
    2. Drop in peaches for 15-30 seconds then remove from simmering water and place in cold water.
    3. Remove skins once cool enough to handle.
    4. Chop peaches, remove stones, and place in a medium saucepan. Add remaining ingredients and bring to a hard boil.
    5. Cook for 5-8 minutes or until peaches are cooked.
    6. Spread cooked peach mixture on a rimmed backing sheet for rapid cooling. Discard thyme sprig.
    7. Store cooled peach compote in a sealable container in the refrigerator until ready to use.

    Recipe Courtesy of INFRA

  • Rainbow Veggie Onigirazu

    Rainbow Veggie Onigirazu

    Rainbow Veggie Onigirazu


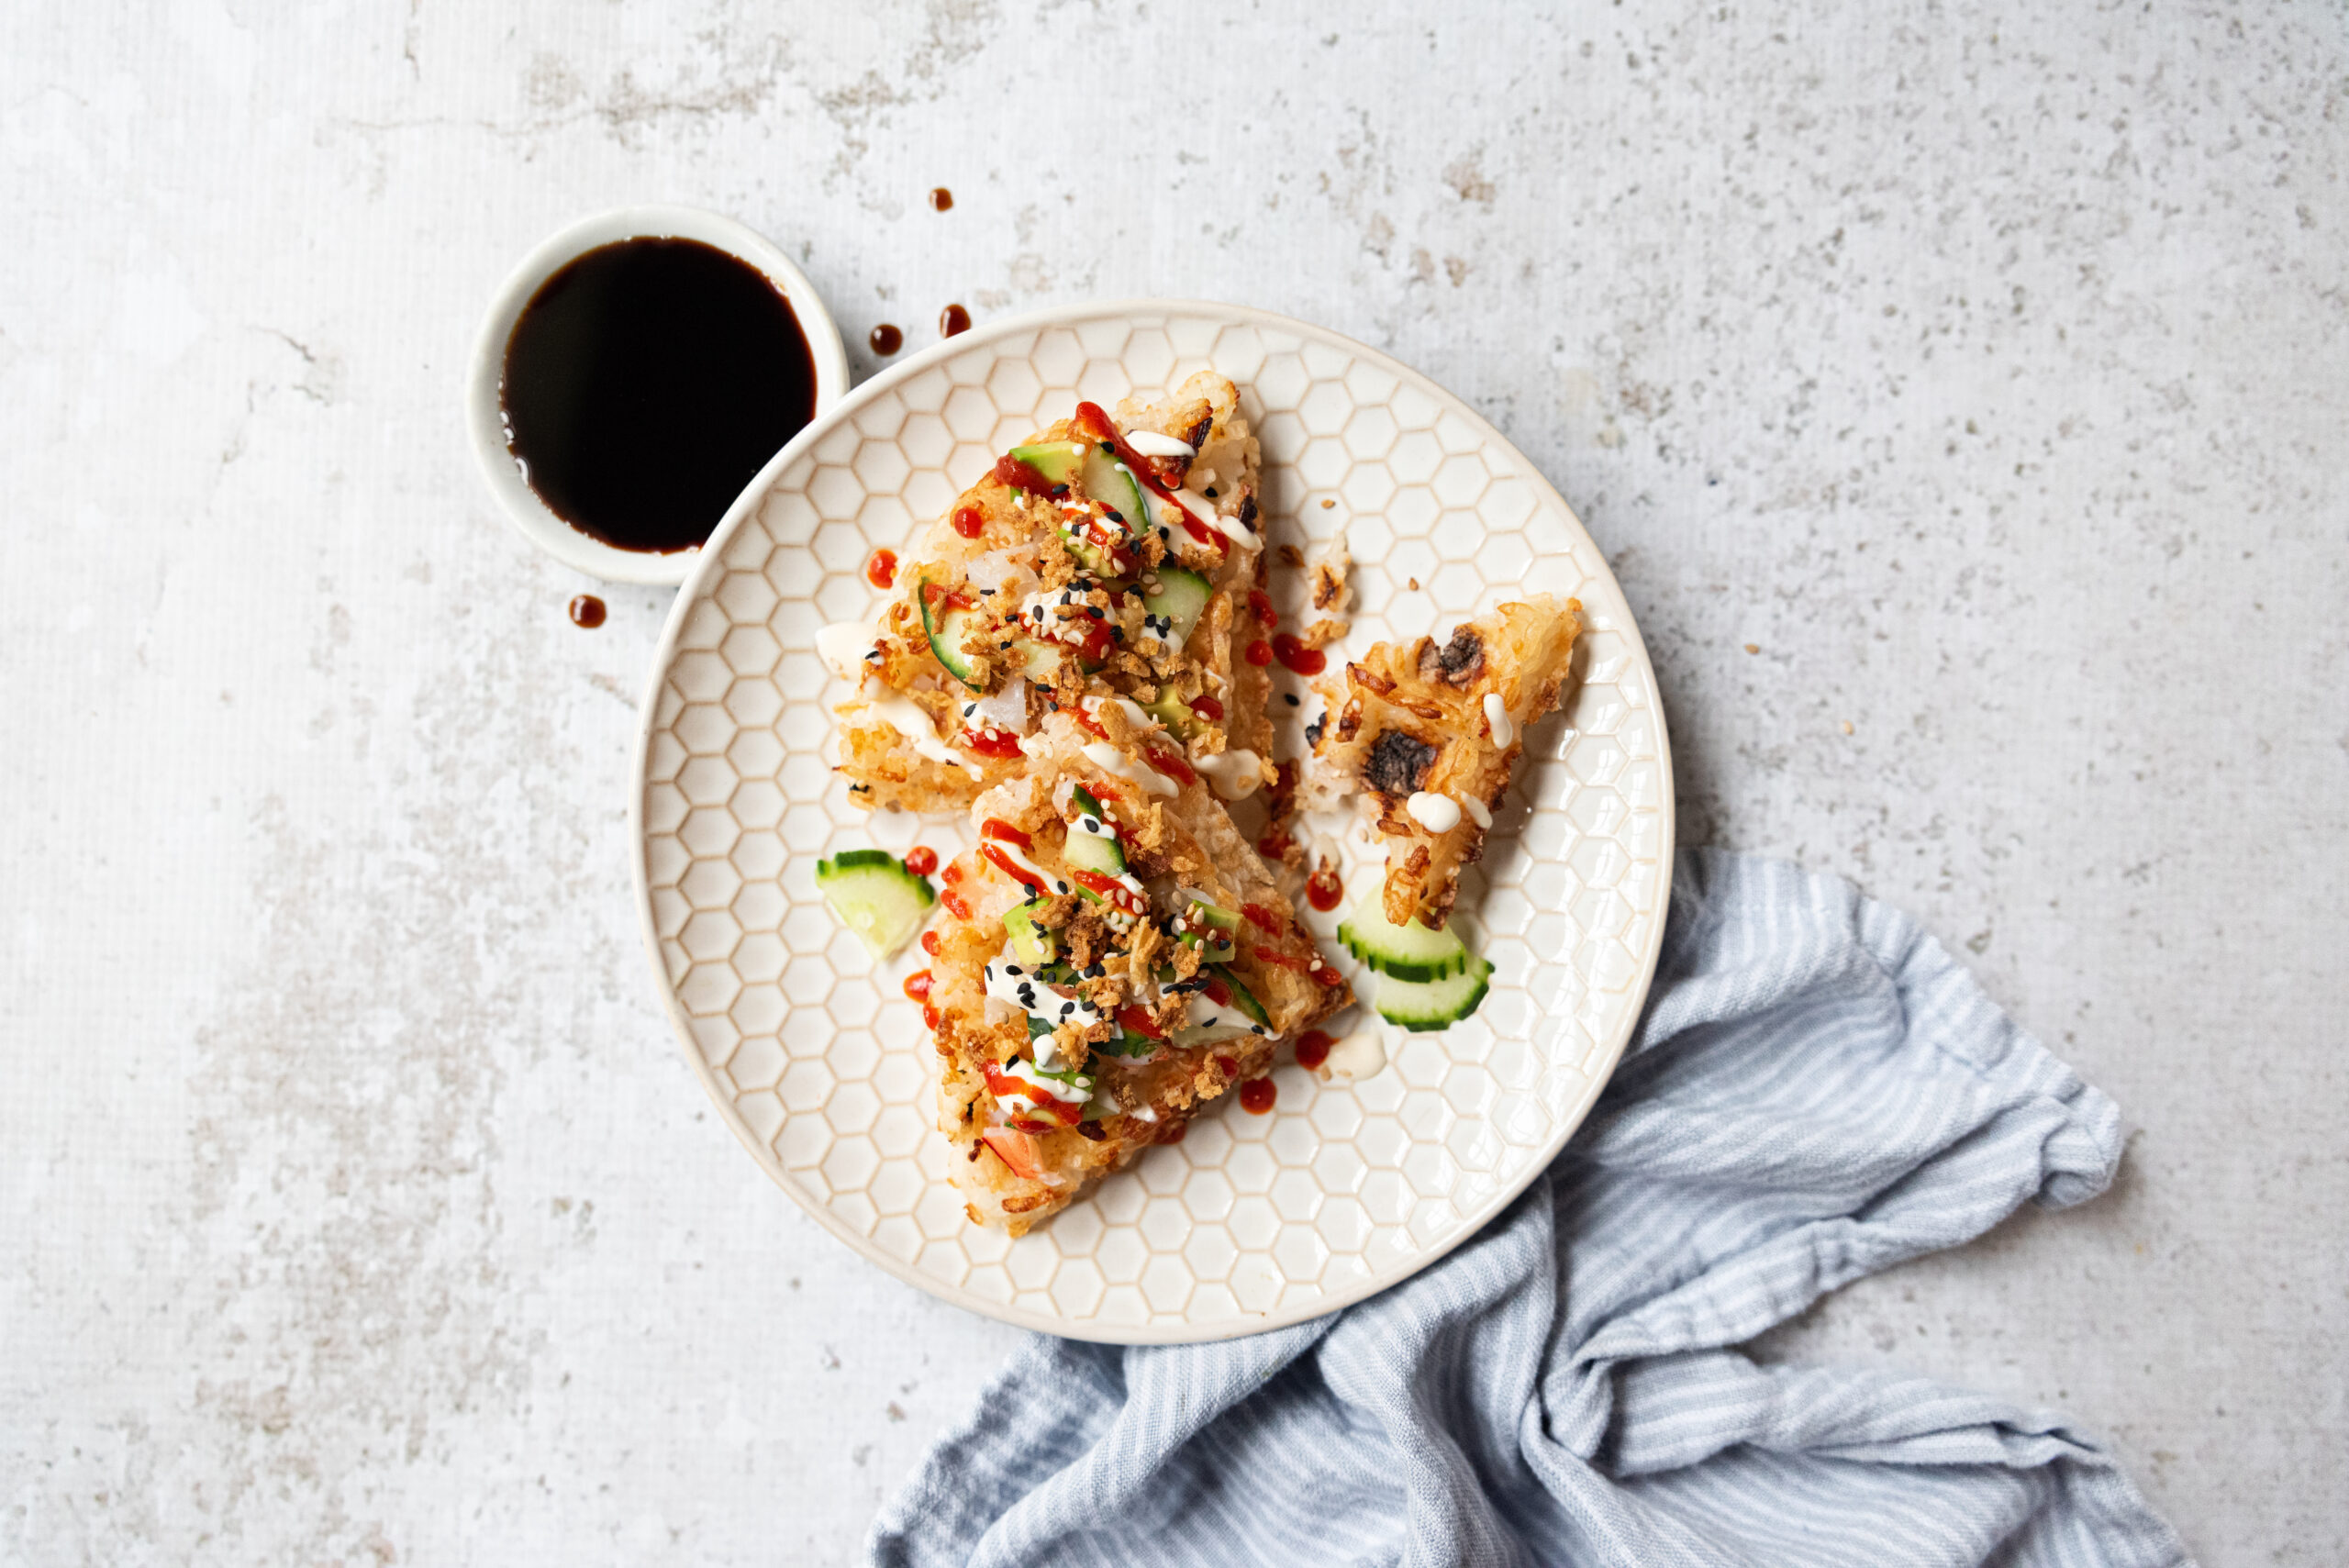
    Are you tired of the same old lunch options? Do you want to add more plant-based protein to your diet? Look no further than this Rainbow Veggie Onigirazu recipe, featuring tempeh!

    For those who are unfamiliar, onigirazu is a Japanese rice ball sandwich that’s wrapped in sheets of seaweed called nori instead of bread. It’s a convenient and portable option for lunch on-the-go. Plus, it’s easy to customize with your favorite fillings.

    In this recipe, we’re using colorful veggies like carrots, bell peppers, and cabbage, along with tempeh, a fermented soy product that’s packed with protein and nutrients. Tempeh has a nutty flavor and a firm texture, making it a great meat substitute for those who are trying to cut back on animal products.

    Not only is this Rainbow Veggie Onigirazu recipe beautiful to look at, but it’s also delicious and satisfying. The combination of nutty tempeh, crunchy veggies, and fluffy rice is a match made in heaven. Plus, it’s a great way to pack in a variety of nutrients in one meal.

    Give this recipe a try for your next lunch or meal prep session. You won’t be disappointed!


    onigirazu

    Rainbow Veggie Onigirazu

    For this recipe, use a variety of colorful veggies like carrots, bell peppers, and purple cabbage, along with some tempeh for protein. The result is not only visually stunning but also incredibly tasty!
    Prep Time 1 hour
    Servings: 8

    Ingredients
      

    Rice:
    • 2 cups sushi rice
    • 3 cups water
    • 1 teaspoon sea salt
    • 1/3 cup rice wine vinegar
    • 2 tablespoons cane sugar
    • 3 tablespoons furikake sushi seasoning (see notes)
    Pickled Vegetables:
    • 1/2 cup red bell pepper 2-inch julienne
    • 1/2 cup orange bell pepper 2-inch julienne
    • 1/2 cup yellow bell pepper 2-inch julienne
    • 1/3 cup julienned carrots
    Pickling Liquid:
    • 1/3 cup rice vinegar
    • 2 teaspoons cane sugar
    • 1 teaspoon sea salt
    • 1 large garlic clove minced
    • 1/4 teaspoon crushed red chilies
    • 8 12-inch square nori sheets
    • 1/3 cup vegan sriracha mayo
    • 2 8-ounce blocks seasoned tempeh
    • 1/2 cup cucumber 2-inch julienne
    • 1/3 cup purple cabbage shredded

    Method
     

    1. Place rice, water, and salt in a medium pan and bring toa simmer. Cover and reduce heat to low, cooking for 15-18 minutes. Turn offheat and allow rice to rest for 10 minutes.
    2. Whisk together the pickling liquid ingredients and tosswith vegetables. Allow to rest for 15 minutes, stirring occasionally.
    3. Stir together rice vinegar and cane sugar untildissolved. Place rice on a large baking sheet and pour over mixture, sprinkleon furikake, and fold rice to incorporate. Divide rice mixture into 16 evenportions.
    4. To assemble: place a nori sheet on a dry surface, lay arice portion in the center creating a flat 3-inch square shape, use wet handsto keep rice from sticking. Next, dollop 2 teaspoons sriracha mayo in thecenter then place a piece of tempeh on top. Arrange pickled vegetables,cucumber, and purple cabbage to form a rainbow pattern. Finish off with anotherportion of rice, forming it into a square and covering the fillings. Fold upnori sides, using water to seal the seams. Tightly wrap completed sandwich inplastic film and allow to rest for 15 minutes before eating.

    Notes

    Furikake seasoning contains fish. For a vegan version, use toasted sesame seeds and crushed nori.

    Recipe Courtesy of INFRA

  • Roasted Salmon and White Bean Salad

    Roasted Salmon and White Bean Salad

    Roasted Salmon and White Bean Salad


    If you’re looking for a healthy, gluten-free meal that’s easy to make and packed with flavor, this Roasted Salmon & White Bean Salad recipe is just what you need.

    Salmon is an excellent source of protein and omega-3 fatty acids, which are essential for maintaining good health. When paired with white beans, cherry tomatoes, and cucumber, this dish becomes a satisfying and nutritious meal that’s perfect for lunch or dinner.

    Not only is this Roasted Salmon & White Bean Salad recipe delicious, but it’s also a great option for anyone with celiac disease or gluten sensitivity. By using gluten-free ingredients and skipping the bread, this meal is completely gluten-free.

    So next time you’re looking for a healthy and satisfying gluten-free meal, give this Roasted Salmon & White Bean Salad recipe a try. It’s sure to become a favorite in your household!


    Roasted Salmon and White Bean Salad

    Looking for a delicious and healthy gluten-free meal? Try this Roasted Salmon & White Bean Salad recipe! Not only is it packed with protein and fiber, but it's also bursting with flavor. It's the perfect meal for lunch or dinner, and it's sure to leave you feeling satisfied and energized.
    Total Time 30 minutes
    Servings: 4

    Ingredients
      

    • 2 pounds 2 pounds salmon fillet
    • 1/4 cup smoked paprika
    • 1 teaspoon sea salt
    • 1 teaspoon ground cumin
    • 1/4 cup olive oil
    • 2 cups pea shoots
    • 1 cup prepared tzatziki
    Salad:
    • 1/2 pint cherry tomatoes quartered
    • 2 Persian cucumbers diced
    • 1/2 cup crumbled feta
    • 1 15 ounce can cannellini beans drained and rinsed
    • 1/2 small red onion  julienned
    Dressing:
    • 1 tablespoon olive oil
    • 1 tablespoon tahini
    • 1 tablespoon lemon juice
    • 1 large garlic clove minced
    • 1/2 teaspoon dried oregano
    • 1/4 teaspoon sea salt

    Method
     

    1. Preheat oven to 350° F.
    2. Place salmon skin side down on a parchment-lined baking sheet.
    3. Combine paprika, salt, and cumin.
    4. Rub salmon with spice mix, drizzle on oil.
    5. Bake for 20 minutes or until the internal temperature reaches 145° F.
    6. Meanwhile, prepare the salad by tossing together tomatoes, cucumbers, feta, beans, and red onion in a serving bowl.
    7. Whisk together dressing ingredients until well blended then toss with salad.
    8. Adjust seasoning to taste.
    9. Place salmon on a platter and spoon dressed salad oversalmon.
    10. Garnish with pea shoots and serve with tzatziki sauce.

    Recipe Courtesy of INFRA

  • Reishi Cappuccino Smoothie

    Reishi Cappuccino Smoothie

    Reishi Cappuccino Smoothie


    Reishi Mushroom Smoothie: A Nutrient-Packed Way to Start Your Day
    If you’re looking for a healthy breakfast option that will boost your immune system, improve your focus, and give you sustained energy throughout the day, look no further than the reishi mushroom smoothie. This delicious and nutritious smoothie is packed with powerful ingredients like reishi mushrooms, dates, and cacao that offer numerous health benefits.


    Reishi mushrooms, also known as Lingzhi mushrooms, are one of the most popular medicinal mushrooms in the world. They have been used in traditional Chinese medicine for thousands of years to boost immunity, improve energy levels, and promote longevity. Reishi mushrooms contain polysaccharides, triterpenes, and other bioactive compounds that have been shown to have anti-inflammatory, anti-cancer, and antioxidant properties.


    In addition to reishi mushrooms, this smoothie contains dates, a natural sweetener that is a great alternative to refined sugar. Dates are high in fiber, potassium, and antioxidants, and they have a low glycemic index, which means they won’t cause a sudden spike in blood sugar levels. Dates also contain essential minerals such as iron, calcium, and magnesium, which are essential for maintaining healthy bones and muscles.


    Cacao is another superfood that adds flavor and nutrition to this smoothie. Cacao is the raw form of chocolate and is a great source of antioxidants, magnesium, iron, and fiber. It also contains theobromine, a natural stimulant that can improve mental focus and enhance mood. However, it’s important to note that cacao is not the same as commercial chocolate, which often contains added sugar and other ingredients that can negate its health benefits.


    This Reishi Cappuccino Smoothie is an excellent way to start your day with a boost of nutrients and health benefits. Reishi mushrooms, dates, and cacao are all powerful superfoods that can support your overall health and wellness. So, try this recipe today and enjoy the delicious and nutritious benefits!

    Reishi Cappuccino Smoothie

    This earthy and creamy concoction is not only delicious but also packed with amazing health benefits. Reishi mushrooms are known for their immune-boosting properties and are a great addition to any healthy lifestyle. If you're a fan of functional beverages or looking for a new twist on your smoothie routine, give this recipe a try!
    Total Time 5 minutes
    Servings: 1

    Ingredients
      

    • 1 frozen banana
    • 1 cup oat milk
    • 2 tablespoons almond butter
    • 4 deglet dates
    • 1 tablespoon cacao nibs or powder
    • 1 teaspoon reishi mushroom powder

    Method
     

    1. Place all ingredients in a blender and process until smooth. Adjust seasonings to taste and enjoy!

    Recipe Provided by INFRA