Tag: gluten free

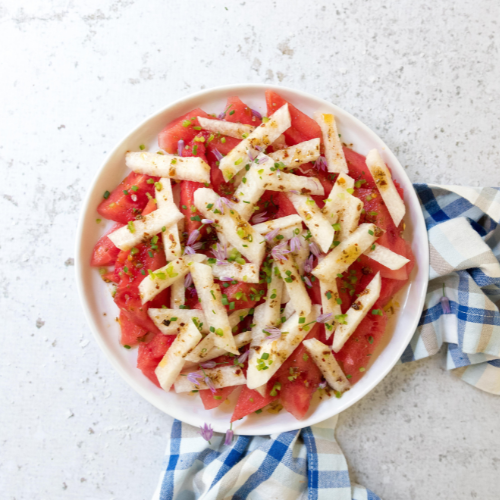
  • Watermelon Jicama Salad

    Watermelon Jicama Salad

    Watermelon Jicama Salad


    Sweet, spicy, crisp, and refreshing. Forget your usual potluck sides and make this watermelon jicama salad instead! It’s both hydrating and delicious! We love the juicy melon mixed with a slightly spicy dressing. You can control the heat by using less serrano pepper or amp it up by using the seeds and ribs. It may get spicier over time as the peppers marinate in the dressing, so be careful if you’re prepping this ahead of time. Don’t have any jicama? Daikon radish, a green apple, or even a firm pear will work here. 

    Watermelon Jicama Salad

    Course Appetizer, dinner, Lunch, Salad
    Keyword appetizer, dinner, gluten free, grain-free, lunch, salad, vegan
    Servings 2

    Ingredients

    • 3 pounds watermelon
    • 1 ½ pounds jicama
    • 2 scallions

    Dressing

    • 1 tablespoon avocado oil
    • 2 tablespoons fresh lime juice
    • ¼ teaspoon crushed red chilies
    • ½ teaspoon ground cumin
    • ¼ teaspoon sea salt
    • 1 medium serrano pepper seeded and minced

    Instructions

    • Prepare salad ingredients. Peel and chop watermelon. Peel jicama and cut into matchsticks. Thinly slice scallions.
    • Whisk together dressing ingredients, adjust heat to taste.
    • Toss dressing with jicama and watermelon in a large bowl. Top with scallions and serve.
    • Enjoy!

    Recipe Provided by INFRA

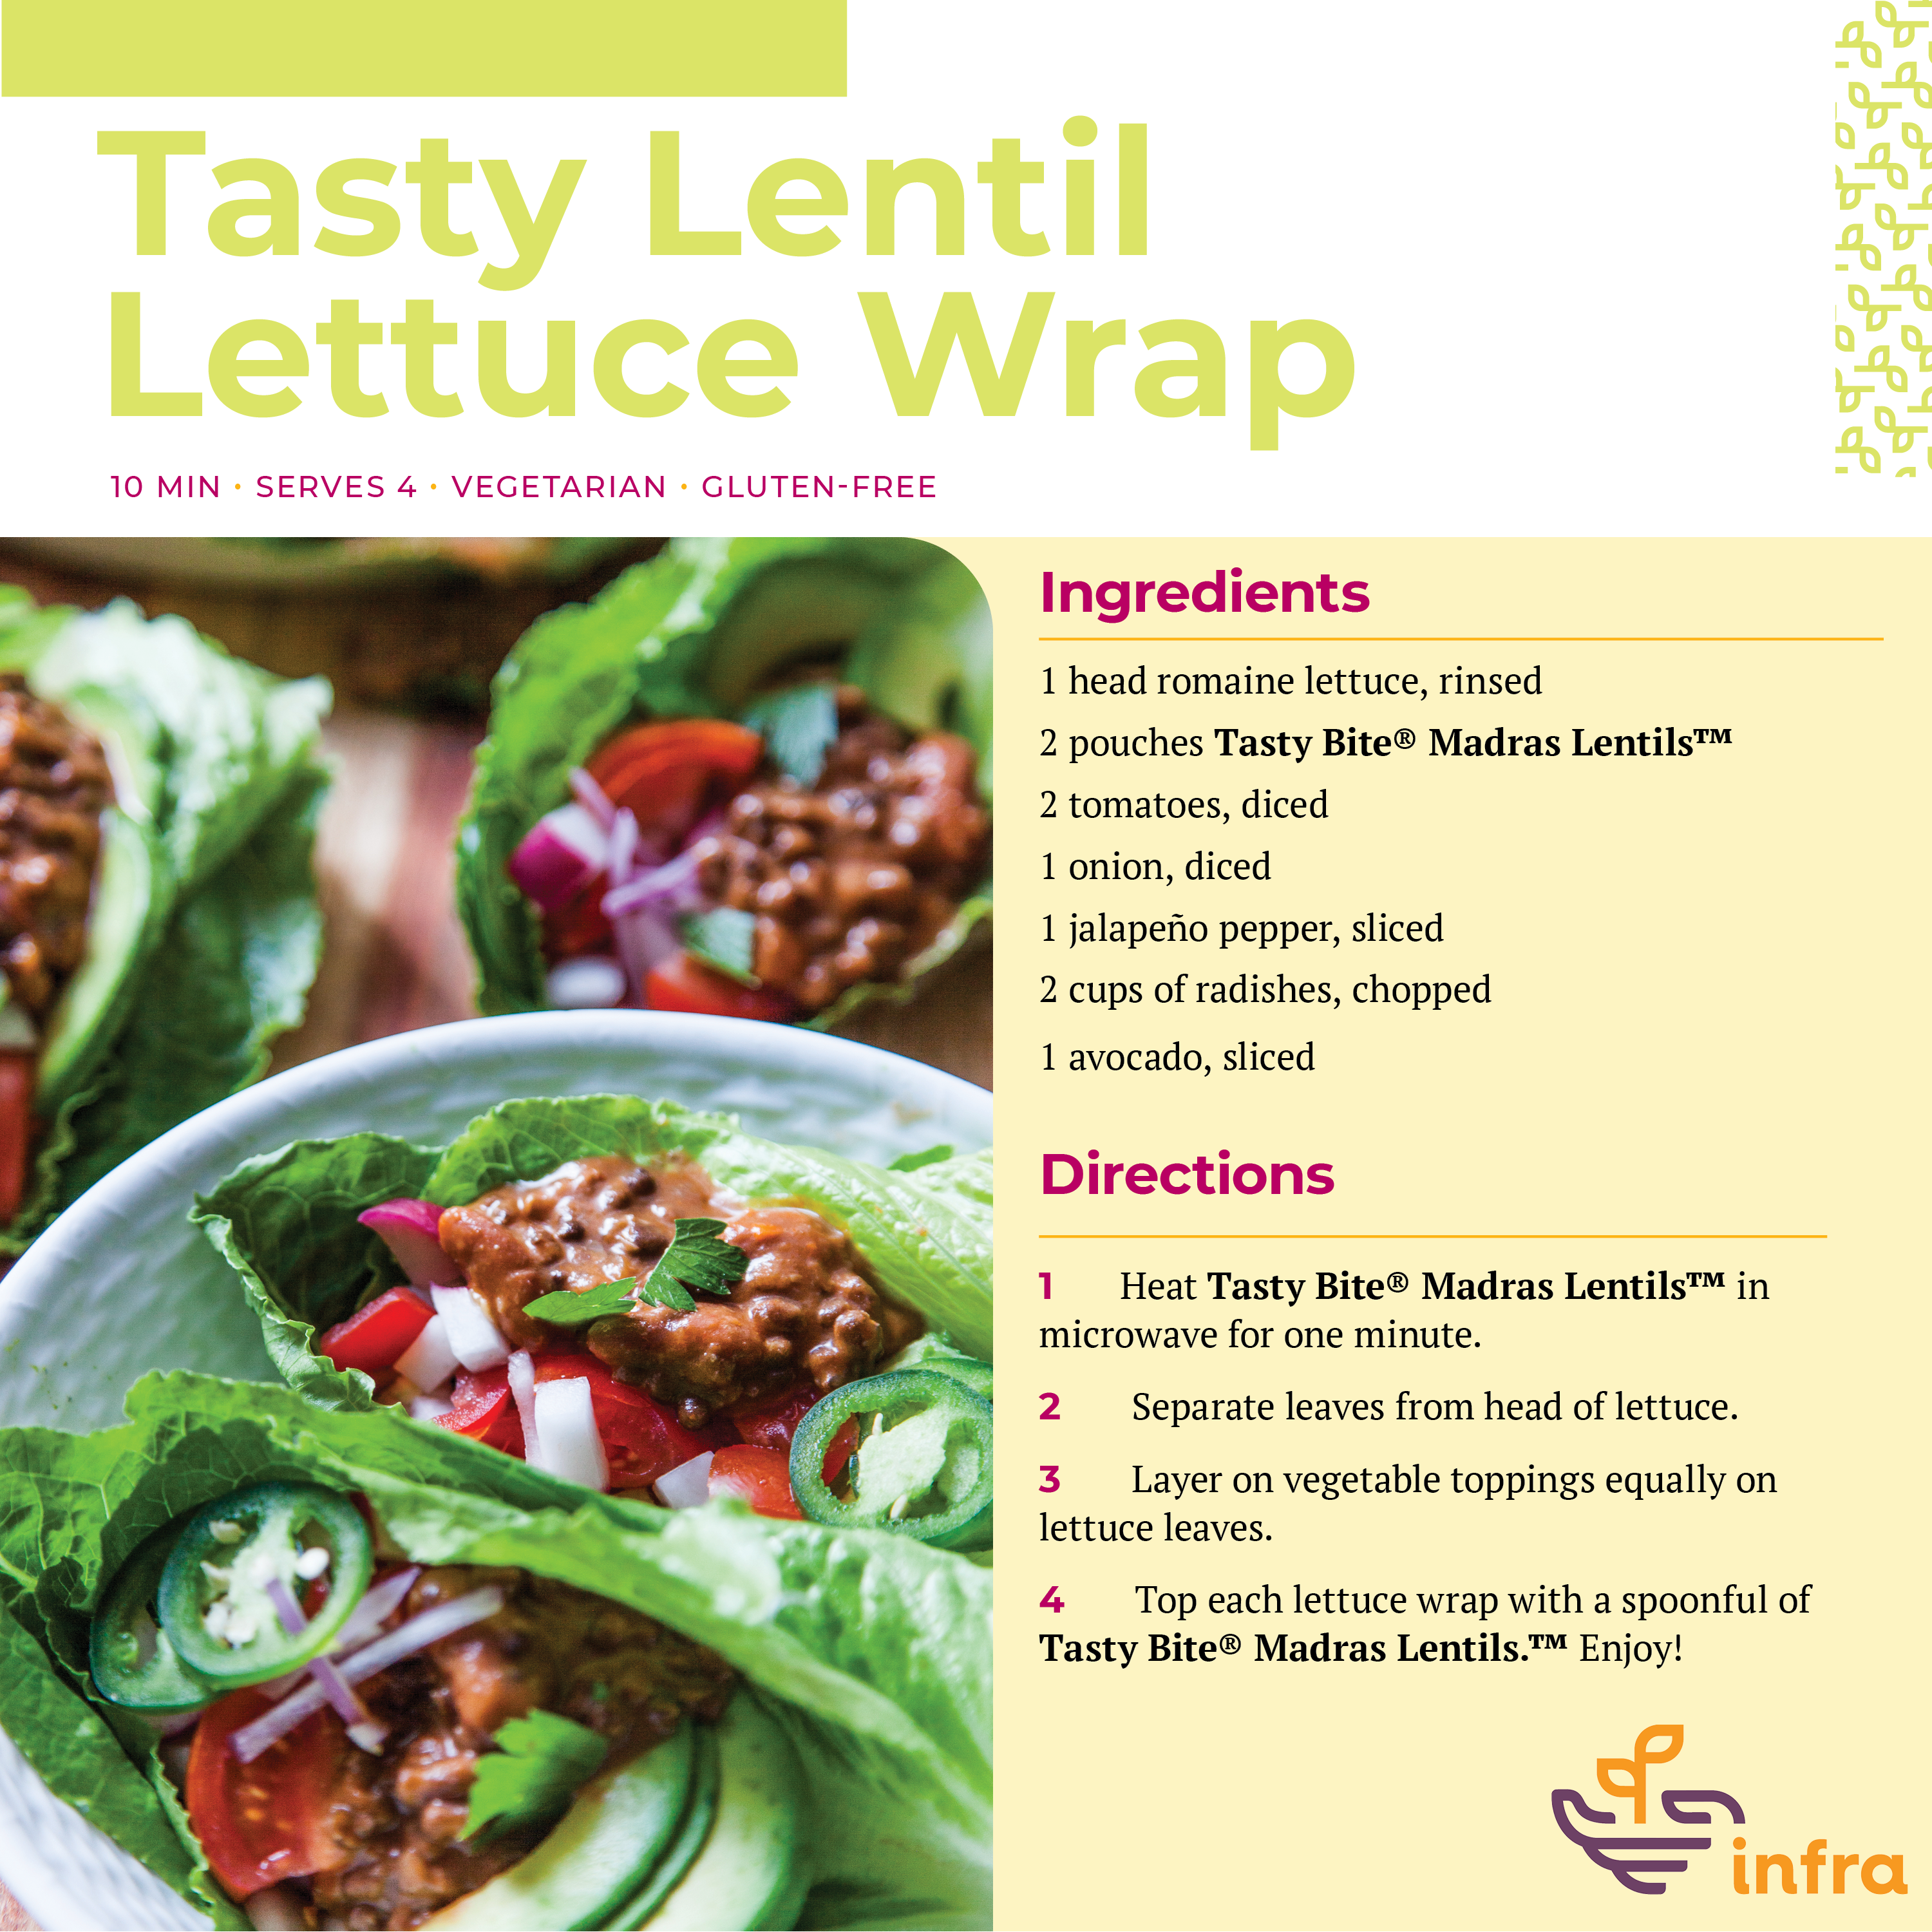
  • Tasty Lentil Lettuce Wrap

    Tasty Lentil Lettuce Wrap

    Tasty Lentil Lettuce Wrap


    Unexpected guests? Entertaining is easy with these Tasty Lentil Lettuce Wraps. Just a few fresh veggies and ready-to-eat madras lentils come together for a perfect bite.

    Recipe Provided by INFRA

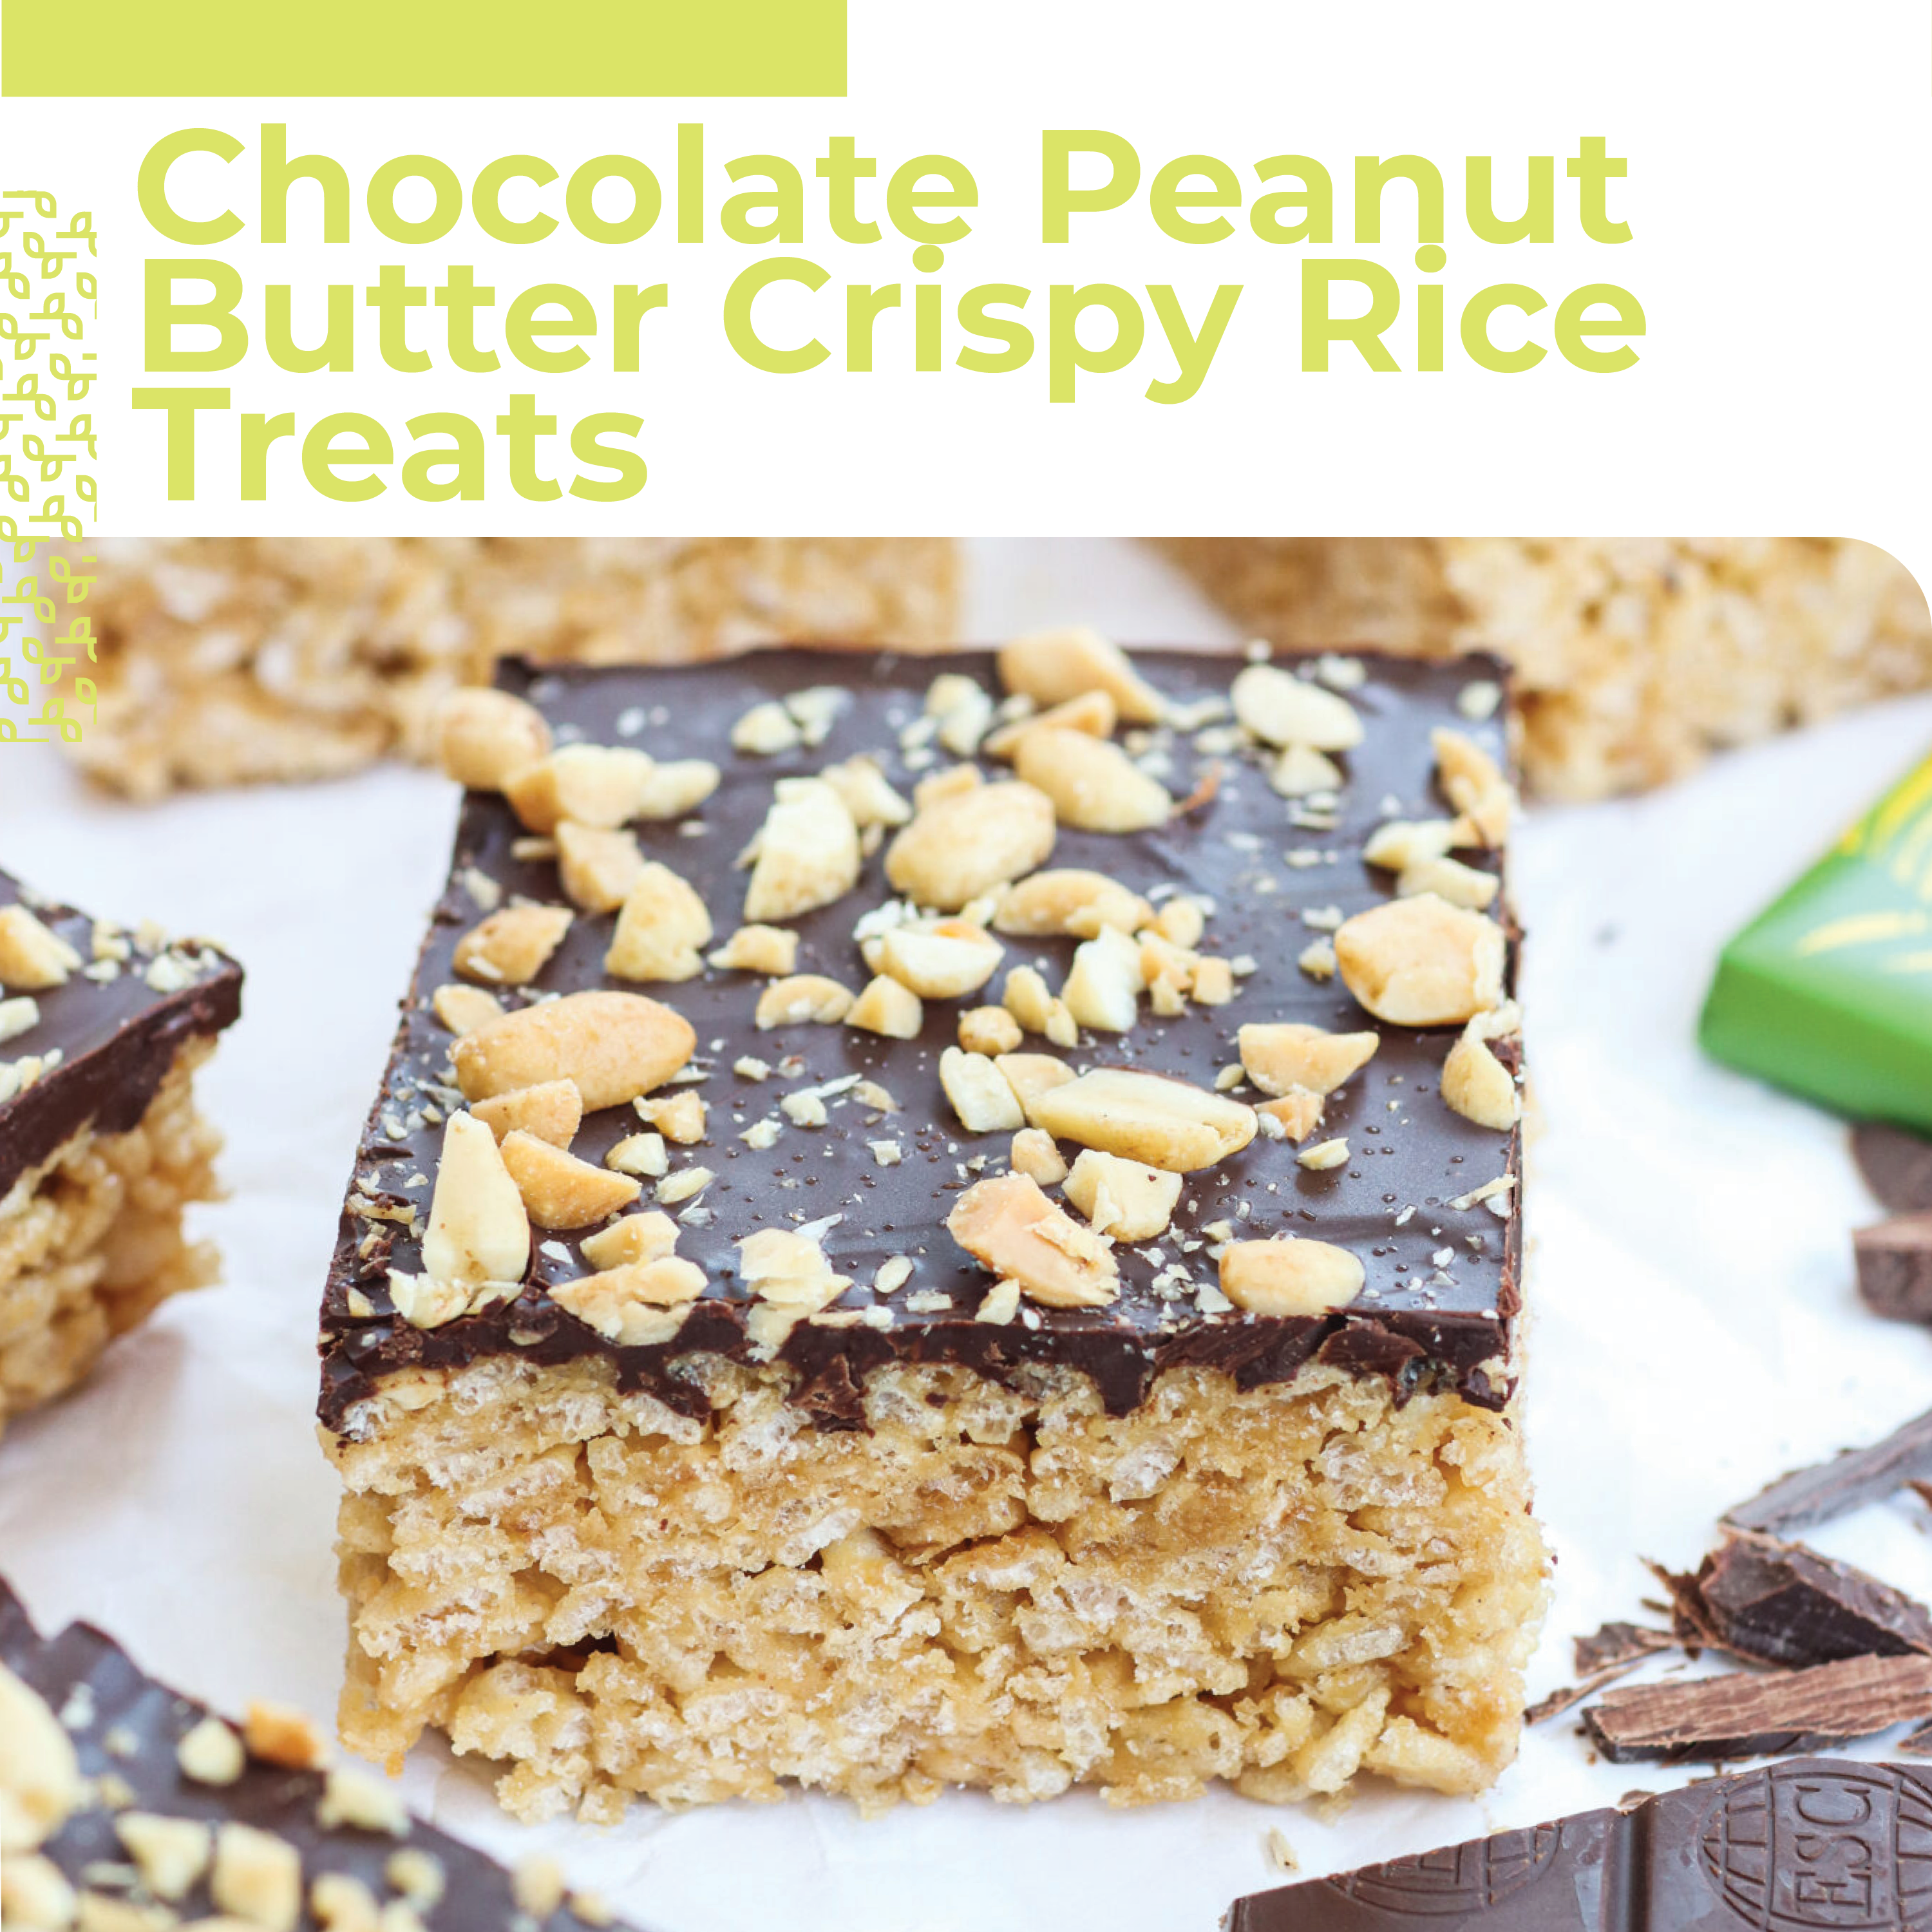
  • Chocolate Peanut Butter Crispy Rice Treats

    Chocolate Peanut Butter Crispy Rice Treats

    Chocolate Peanut Butter Crispy Rice Treats


    We all know and love the classic crispy rice bar. Take it up a notch by adding natural peanut butter and fair-trade chocolate for these chocolate peanut butter crispy rice treats. The result? A portable treat that you can take to picnics by the water, camping under the stars, or your next backyard barbecue.

    Chocolate Peanut Butter Crispy Rice Treats

    Servings 9

    Ingredients

    • 2 Endangered Species Chocolate Bars finely chopped
    • 5 cups rice crisp cereal
    • 1 cup natural creamy peanut butter
    • ¾ cup agave syrup
    • 2 tablespoons plant-based butter
    • 1 teaspoon vanilla extract
    • ¼ cup crushed salted peanuts

    Instructions

    • Line an 8” square pan with parchment paper. 
    • Put rice crisp cereal in a large mixing bowl. 
    • Melt butter in pan over low heat. Add agave to the pan and stir together until combined. Add peanut butter. Stir to combine.
    • Let this mixture cook on low for three to four minutes, stirring frequently. It should start to thicken slightly but still be a liquid when you take it off the heat. Take pan off heat. Add vanilla extract. Stir to combine.  
    • Pour the peanut butter mixture over the rice crisp cereal. Stir to combine. Pour mixture into parchment-lined pan. Press mixture down firmly to be sure it all sticks together.
    • Let set in the fridge for one hour. Chop roasted and salted peanuts. Set aside.   
    • Melt chocolate in microwave in 20 second increments. Stir well between each increment. Stop microwaving when there is still a bit of solid chocolate remaining. 
    • Pour the chocolate over the top of the rice crispy treats. Spread out evenly with a spatula or the back of a spoon. Sprinkle chopped nuts on top while chocolate is liquid. 
    • Let set in fridge. Once chocolate is firm cut into 12 squares and serve.
    • Enjoy!

    Recipe Provided by INFRA
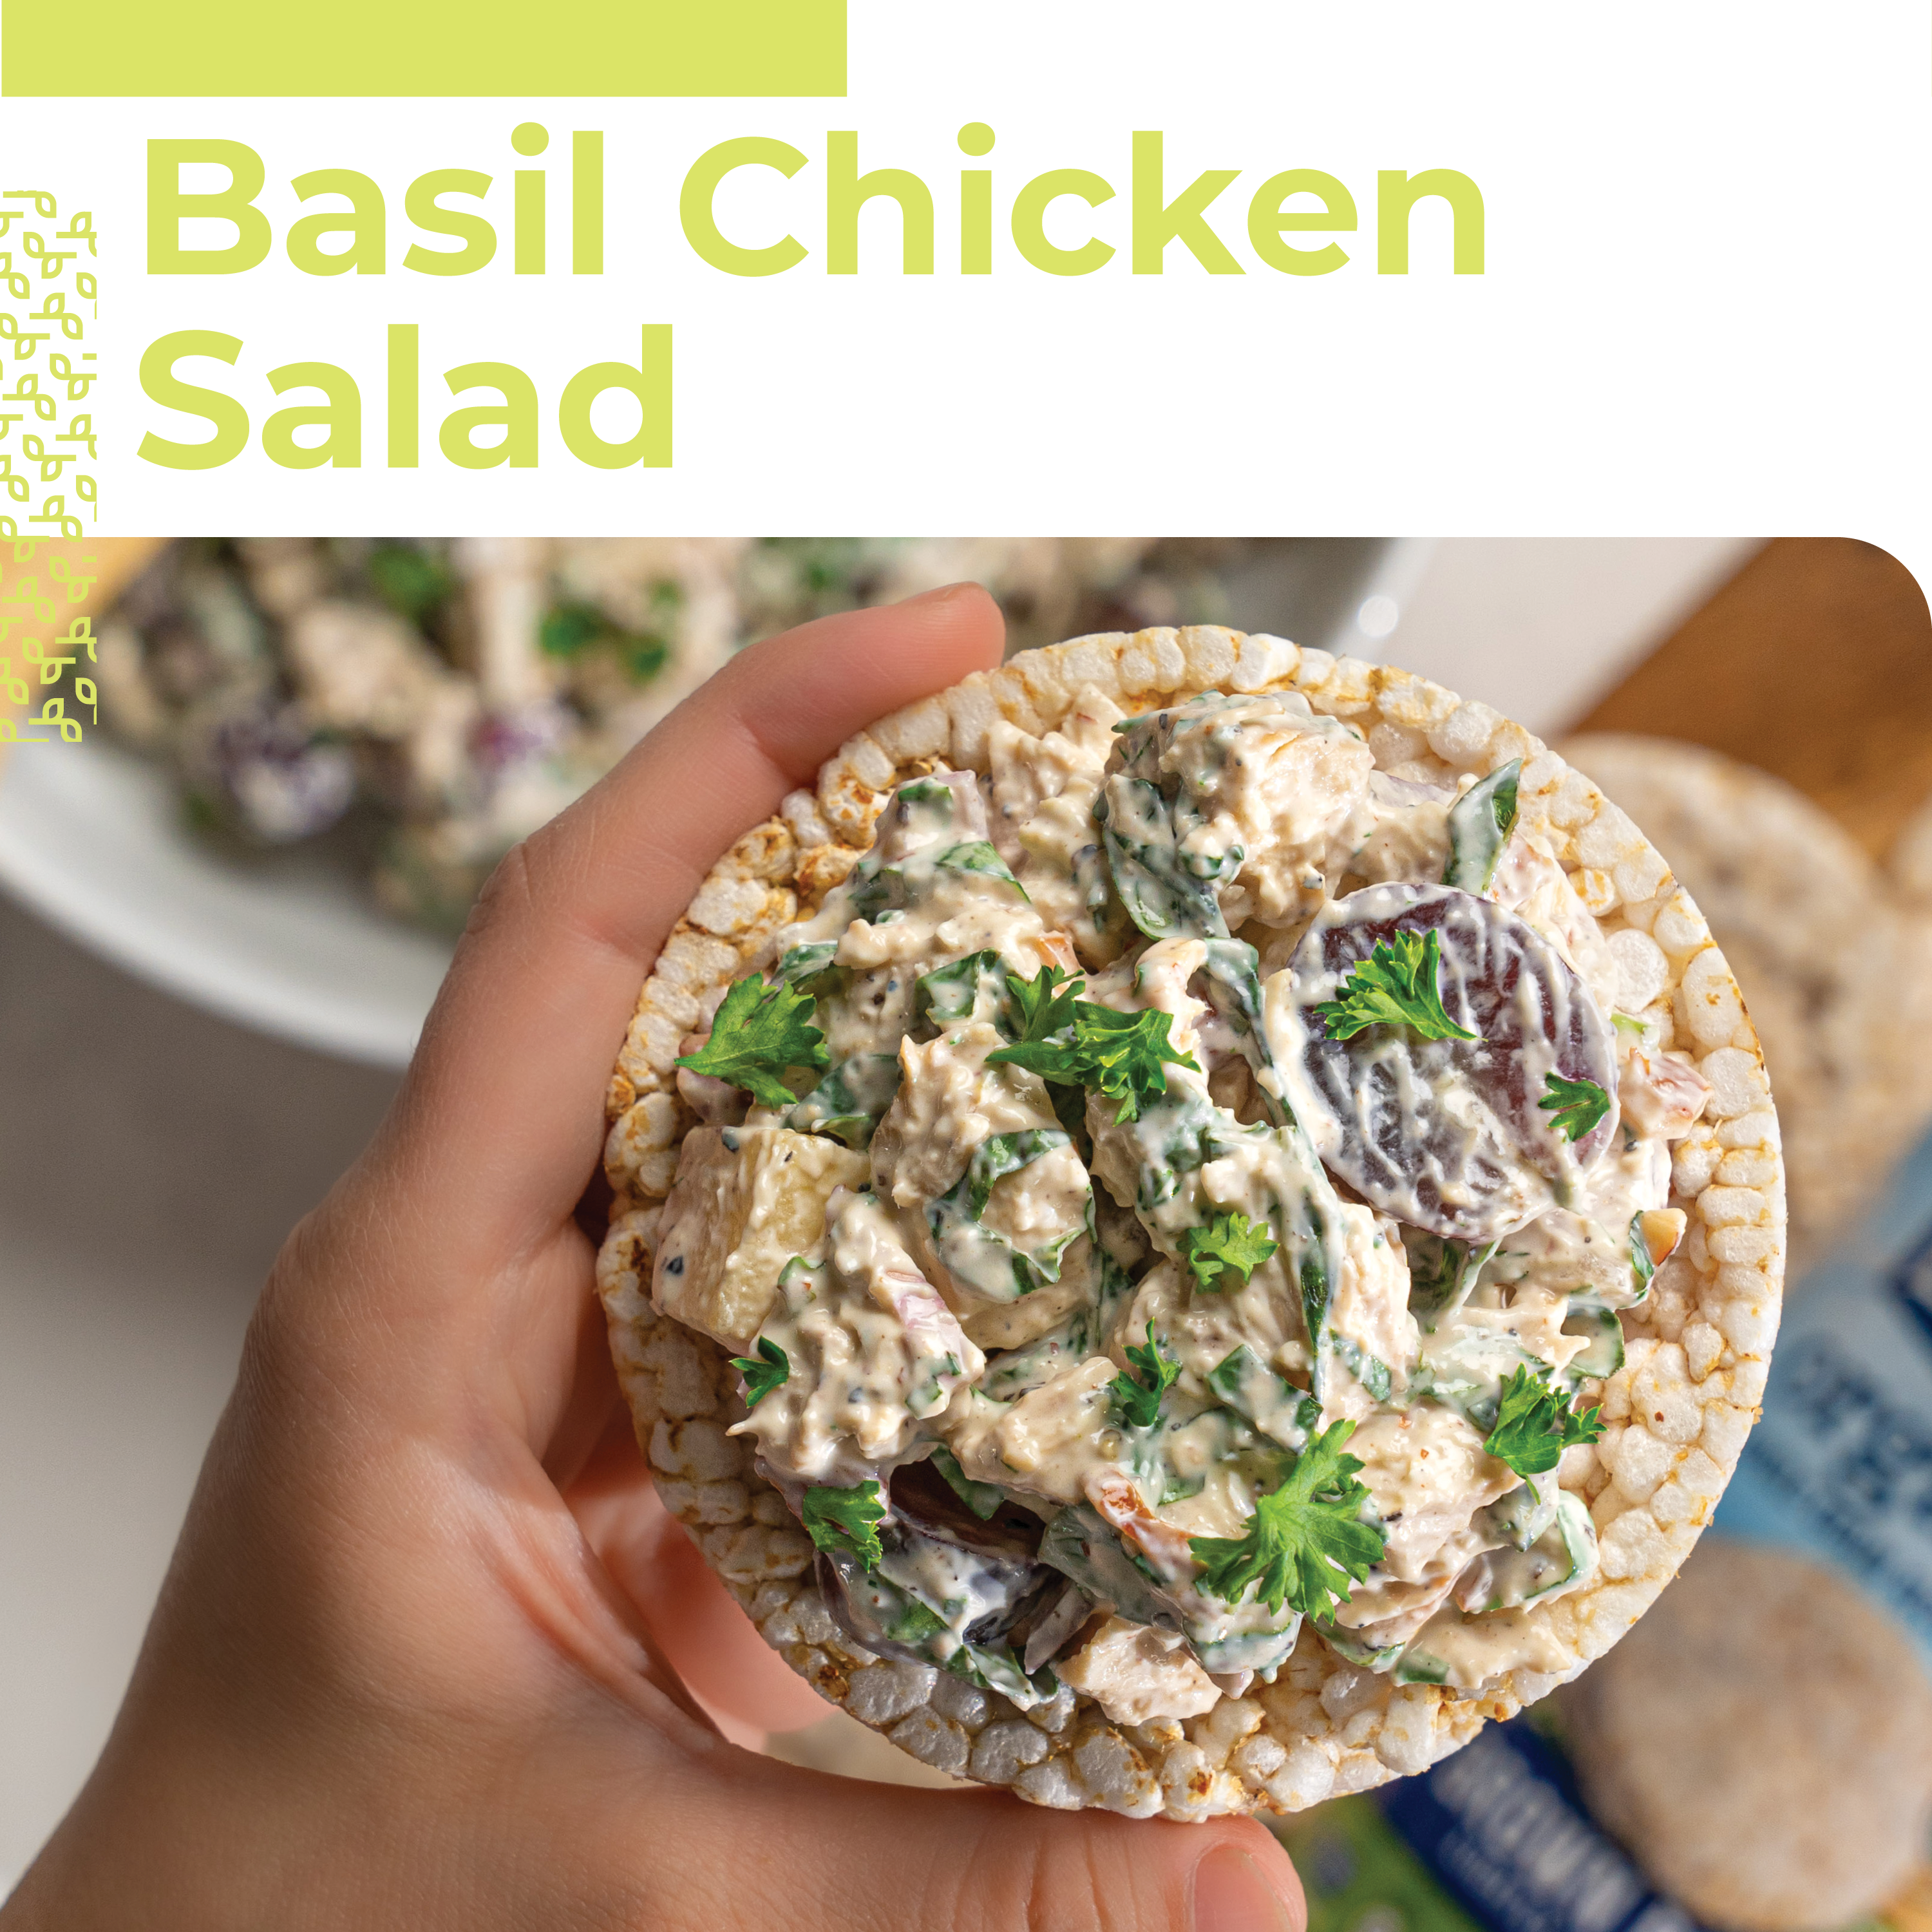
  • Lightly Salted Rice Cakes with Basil Chicken Salad

    Lightly Salted Rice Cakes with Basil Chicken Salad

    Lightly Salted Rice Cakes with Basil Chicken Salad


    For a light lunch or satisfying snack, try topping Lightly Salted Rice Cakes with Basil Chicken Salad! Our recipe calls for fresh herbs and Greek yogurt to create a creamy texture and tangy flavor that’s perfectly balanced by organic brown rice. Plus, this pairing is packed with protein and plenty of whole grains to fill you up without weighing you down. Isn’t that delicious? 🌾😋 ⁠

    Lightly Salted Rice Cakes with Basil Chicken Salad

    Course Lunch, Snack
    Keyword chicken salad, gluten free, lunch, rice cakes, snack

    Ingredients

    • 8 Lundberg Organic Brown Rice Cakes
    • 2 chicken breasts
    • 2 tablespoons neutral oil
    • 2 cups red grapes halved
    • 2 cups honeycrisp apples diced
    • ⅔ cup red onion diced
    • 1 cup almonds chopped
    • 2 cups greek yogurt
    • ½ cup mayonnaise
    • 1½ cups basil thinly sliced
    • 2 tablespoons honey
    • 2 tablespoons dill chopped
    • 2 teaspoons sea salt
    • 2 teaspoons black pepper
    • Basil for garnish
    • Parsley for garnish
    • Black pepper for garnish

    Instructions

    • Season chicken breasts with sea salt and sauté in neutral oil on medium-high, turning occasionally. Cook until internal temperature reaches 165°F. Let rest for 10 minutes, dice, and refrigerate in a large bowl until cooled.
    • Add grapes, apples, red onion, and almonds to chilled chicken. Stir to fully incorporate. Add greek yogurt, mayo, basil, honey, dill, sea salt, and black pepper. Fold to fully incorporate.
    • Spread on Lundberg Organic Lightly Salted Rice Cakes. Top with basil, parsley, and black pepper.
    • Enjoy!

    Recipe Provided by INFRA

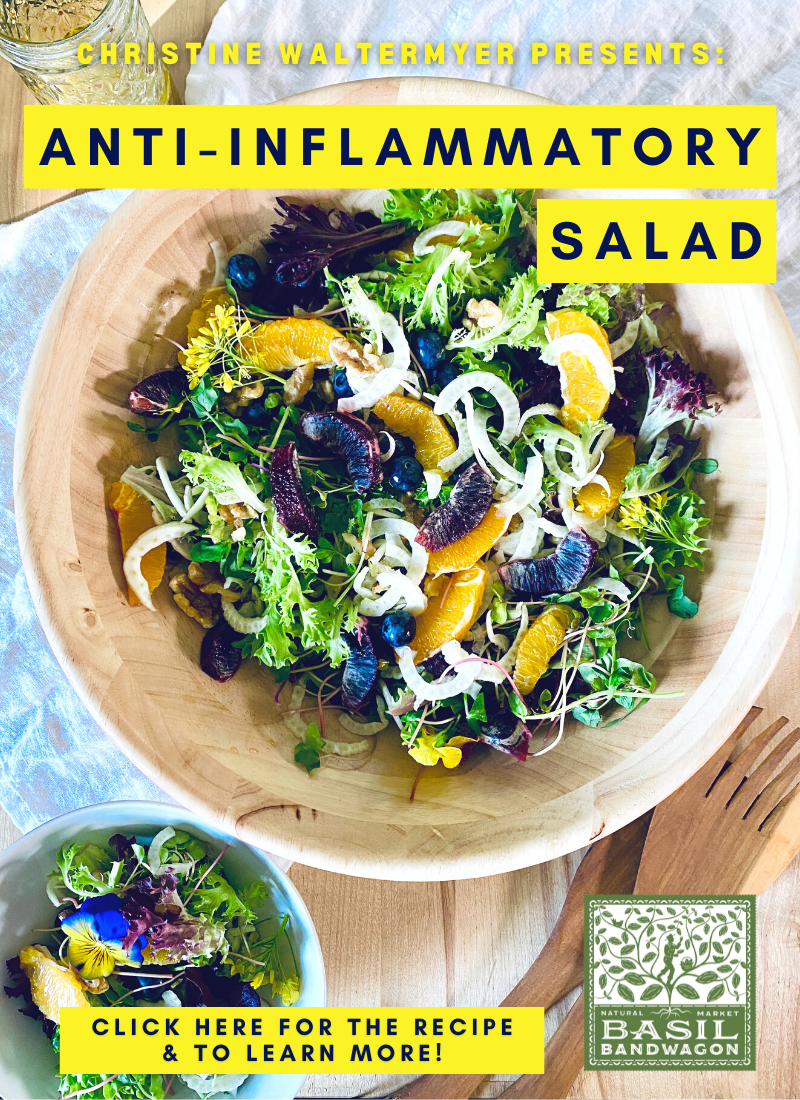
  • Anti-Inflammatory Salad

    Anti-Inflammatory Salad

    Anti-Inflammatory Salad

    Thanks to Christine Waltermyer & The Natural Kitchen Cooking School!

    Christine Waltermyer is a local and renowned Wellness Chef, private chef to celebrities, published cookbook author and founder of the Natural Kitchen Cooking School, which offers an online Plant-Based Cooking Program. She also loves shopping at Basil Bandwagon! Visit naturalkitchenschool.com to subscribe to her email newsletter for new recipes, tips, and FREE access to the Power of Veggies mini-course!


    Not only does inflammation cause discomfort and pain, but it could lead to other health conditions ranging from Arthritis to IBS (Irritable Bowel Syndrome). Certain foods from our diet contribute to inflammation in our bodies – however, not everyone will experience the same flare-ups. One way to help control them is to eat a diet that’s rich in anti-inflammatory foods – like salads! You can mix and match your favorite toppings to make a powerhouse meal that’s delicious, nutritious and full of added health benefits. Check out Christine Waltermyer and the Natural Kitchen Cooking School’s favorite anti-inflammatory salad recipe below – Mesclun Salad with Walnuts & Blueberries!

    Anti-Inflammatory Salad (Mesclun Salad with Walnuts & Blueberries)

    Course dinner, entree, Lunch, Salad
    Keyword anti-inflammatory, dinner, entree, lunch, salad

    Ingredients

    • 5 oz. mesclun salad mix
    • ½ cup walnuts lightly toasted
    • ½ cup fresh blueberries
    • 2 oranges peeled and pulled apart into segments
    • 1 small fennel bulb cored and sliced thinly

    DRESSING

    • 1 tablespoon grainy mustard
    • 1 tablespoon maple syrup
    • ¼ cup fresh orange juice
    • 1 tablespoon apple cider vinegar
    • 2 tablespoons olive oil
    • ½ teaspoon sea salt

    Instructions

    • Place in a large salad bowl: mesclun salad mix, walnuts, blueberries, oranges and fennel.
    • In a small glass jar with a lid, place all of the dressing ingredients. Shake well.
    • Pour the dressing over the salad, toss and serve.
    • Enjoy!

    Notes

    If not serving the salad right away, store the dressing and covered salad separately until ready to serve.

    Thank you to Christine Waltermyer and the Natural Kitchen Cooking School for working with us to help promote healthy, nutritious meals and products that are affordable, full of nutrients, and simple to make at home!

    Resources:

    https://www.betternutrition.com/diet-and-nutrition/foods-for-skin-inflammation/

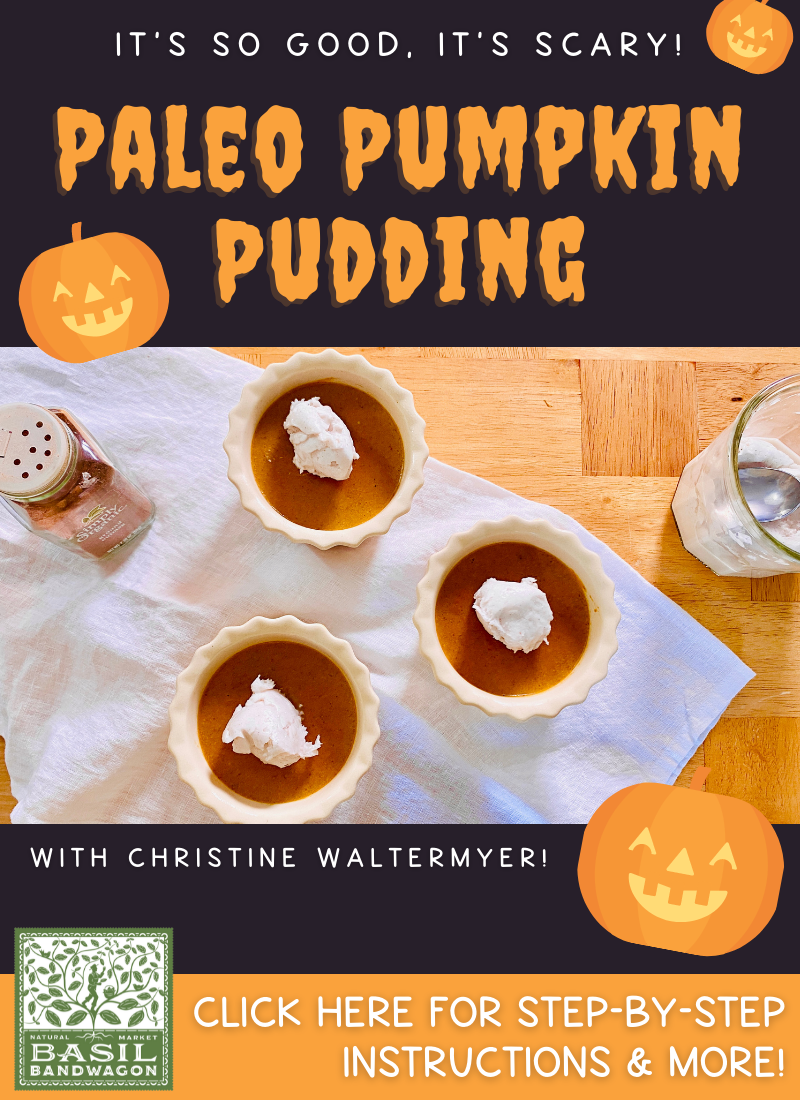
  • Paleo Pumpkin Pudding

    Paleo Pumpkin Pudding

    Paleo Pumpkin Pudding

    with Christine Waltermyer

    Christine Waltermyer is a local and renowned Wellness Chef, private chef to celebrities, published cookbook author and founder of the Natural Kitchen Cooking School, which offers an online Plant-Based Cooking Program. She also loves shopping at Basil Bandwagon! Visit naturalkitchenschool.com to subscribe to her email newsletter for new recipes, tips, and FREE access to the Power of Veggies mini-course!


    Tuesday, 10/26/21 is National Pumpkin Day! 🎃 What’s your favorite way to incorporate pumpkins this fall? Whether it’s as a decoration, gutted out for the seeds, or used in a recipe, the possibilities are endless. Christine Waltermyer and the Natural Kitchen Cooking School have picked the perfect recipe… that’s gluten-free AND egg-free! Shop all of the needed ingredients for this Paleo Pumpkin Pudding in all of our locations today!

    Paleo Pumpkin Pudding

    Course Appetizer, Breakfast, Dessert, Snack
    Keyword appetizer, breakfast, custard, dessert, egg free, fall, gluten free, paleo, pudding, pumpkin, snack

    Ingredients

    • 1 small pumpkin to make ¾ cup pumpkin puree from scratch, or use canned
    • ½ teaspoon agar powder
    • 2 tablespoons warm water
    • ¾ cup cooked pumpkin purée
    • 1 ½ cups full-fat coconut milk
    • ¼ cup maple syrup
    • 1 tablespoon creamy almond butter
    • 1 teaspoon pumpkin pie spice
    • ⅛ teaspoon sea salt
    • ½ teaspoon vanilla bean powder

    Coconut Whipped Cream

    • 1 (13.5 oz.) can heavy coconut cream refrigerated overnight
    • 2 tablespoons powdered monkfruit sweetener
    • ¼ teaspoon vanilla bean powder
    • nutmeg for garnish

    Instructions

    • Prep and cook the pumpkin if using: Cut the pumpkin in half. Use a large spoon to remove the seeds. Cut into big chunks. Place the chunks into a medium size saucepan. Add enough water to cover the bottom of the pan by one inch. Cover and bring to a boil over medium high heat. Reduce to simmer on medium low, covered, for 25 minutes, or until easily pierced with a fork. Transfer to a blender and blend until smooth.
    • In a small bowl, mix together the agar powder and warm water.
    • In a blender or food processor, combine ¾ cup of the pumpkin purée, coconut milk, maple syrup, almond butter, pumpkin pie spice, sea salt and vanilla bean powder. Blend for a minute or two. Transfer to a medium saucepan.
    • Over medium-high heat, bring the pumpkin mixture to a gentle boil, stirring occasionally. Stir in the agar-water mixture. Whisk well. Reduce the heat to low, cover, and cook for 20 minutes, whisking occasionally.
    • Meanwhile, make the coconut whipped cream: Place the heavy coconut cream, powdered monkfruit sweetener and vanilla bean powder in a blender. Blend until smooth. Drain any excess liquid that separates from the cream. Set aside. I don’t recommend chilling as it will get too hard.
    • Remove the pumpkin custard mixture from the heat. Transfer to 3 or 4 small pudding dishes. Cool to room temperature, then chill for 1 hour before serving. Serve the pumpkin custard with a dollop of coconut whipped cream and a pinch of nutmeg.
    • Enjoy!

    Notes

    Leftover pumpkin custard will keep in the refrigerator for up to 4 days.

    Thank you to Christine Waltermyer and the Natural Kitchen Cooking School for working with us to help promote healthy, nutritious meals and products that are affordable, full of nutrients, and simple to make at home!

  • Why We Love Hardy Nutritionals

    Why We Love Hardy Nutritionals

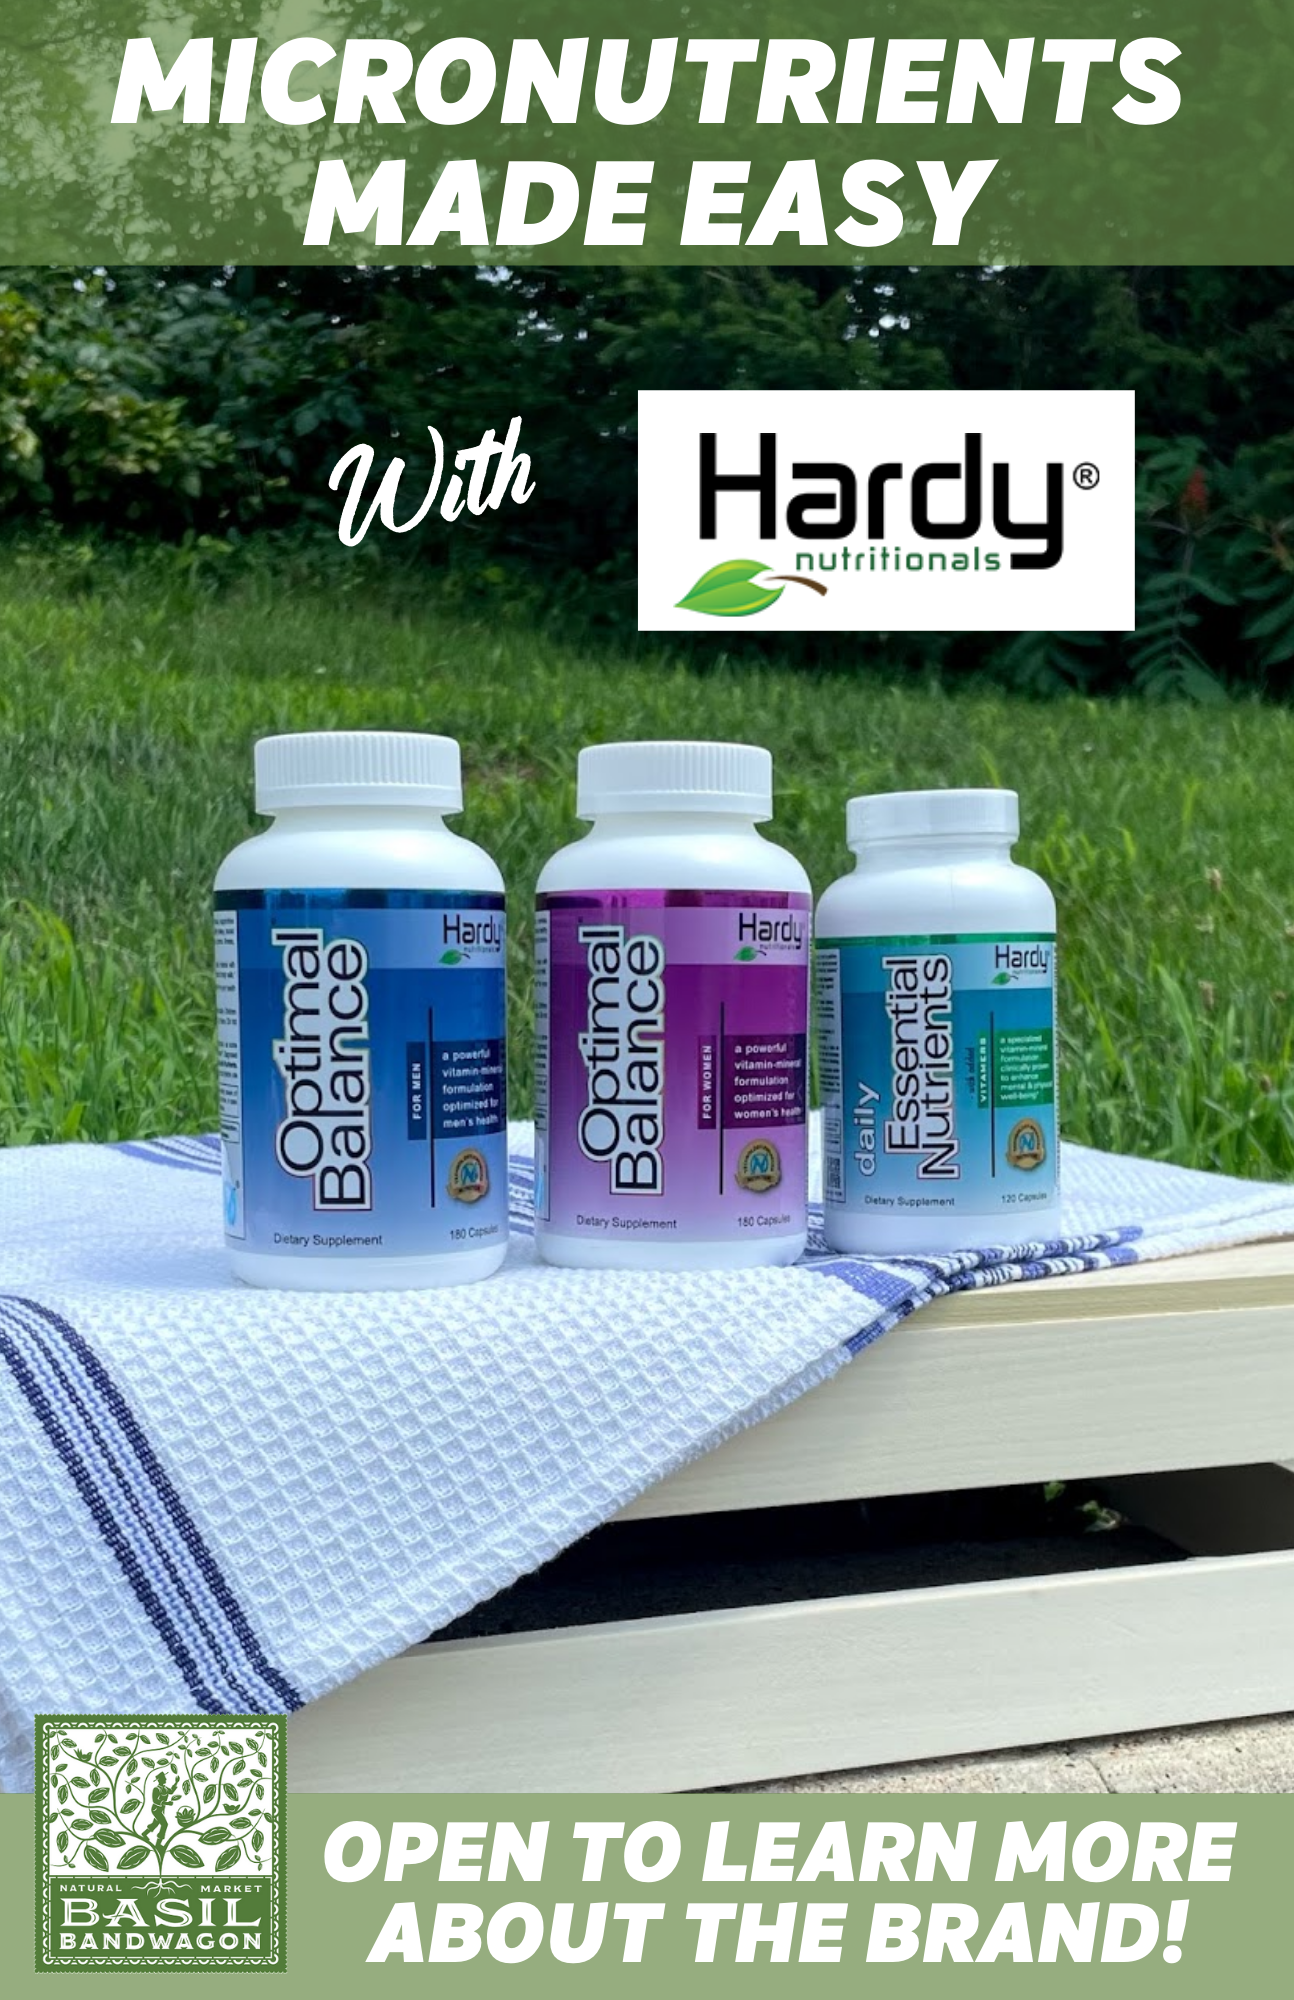
    Hardy Nutritionals Daily Essential Nutrients is a unique micronutrient formula that consists of 16 minerals, 13 vitamins, 4 amino acids, and 4 antioxidants/botanicals. One unique factor of the Daily Essential Nutrients is that organic molecules and micronized minerals are combined to maximize mineral absorption and delivery to cells. It is also clinically proven to help improve mood, focus, mental clarity, emotional stability, and sleep quality.

    Their products are readily available at all Basil Bandwagon Natural Market locations, in both clinical strength and regular strength –

    • Clinical Strength: (Daily Essential Nutrients with Added Vitamers) A broad-spectrum micronutrient formulation. It is specifically formulated for individuals with certain genetic variations of Vitamin B6 and Folate metabolism.
    • Regular Strength: (Optimal Balance for Women or Men) An excellent daily micronutrient formulation for adults and children who don’t need the clinical levels found in the Daily Essential Nutrients.

    If you wish to learn more about Hardy Nutritionals and their supplements, we recommend visiting their website https://www.hardynutritionals.com/ .

    Resources:
    https://www.hardynutritionals.com/products/optimal-balance-for-women
    https://www.hardynutritionals.com/products/optimal-balance-for-men
    https://www.hardynutritionals.com/products/daily-essential-nutrients-with-added-vitamers-120
    https://www.hardynutritionals.com/article/clinical-reference/about-hardy-nutritionals

  • Vegan St. Patrick’s Day Traditions with Christine Waltermyer

    Vegan St. Patrick’s Day Traditions with Christine Waltermyer

    Vegan St. Patrick’s Day Traditions

    with Christine Waltermyer

    Christine Waltermyer is a local and renowned Wellness Chef, private chef to celebrities, published cookbook author and founder of the Natural Kitchen Cooking School, which offers an online Plant-Based Cooking Program. She also loves shopping at Basil Bandwagon! Visit naturalkitchenschool.com to subscribe to her email newsletter for new recipes, tips, and FREE access to the Power of Veggies mini-course!


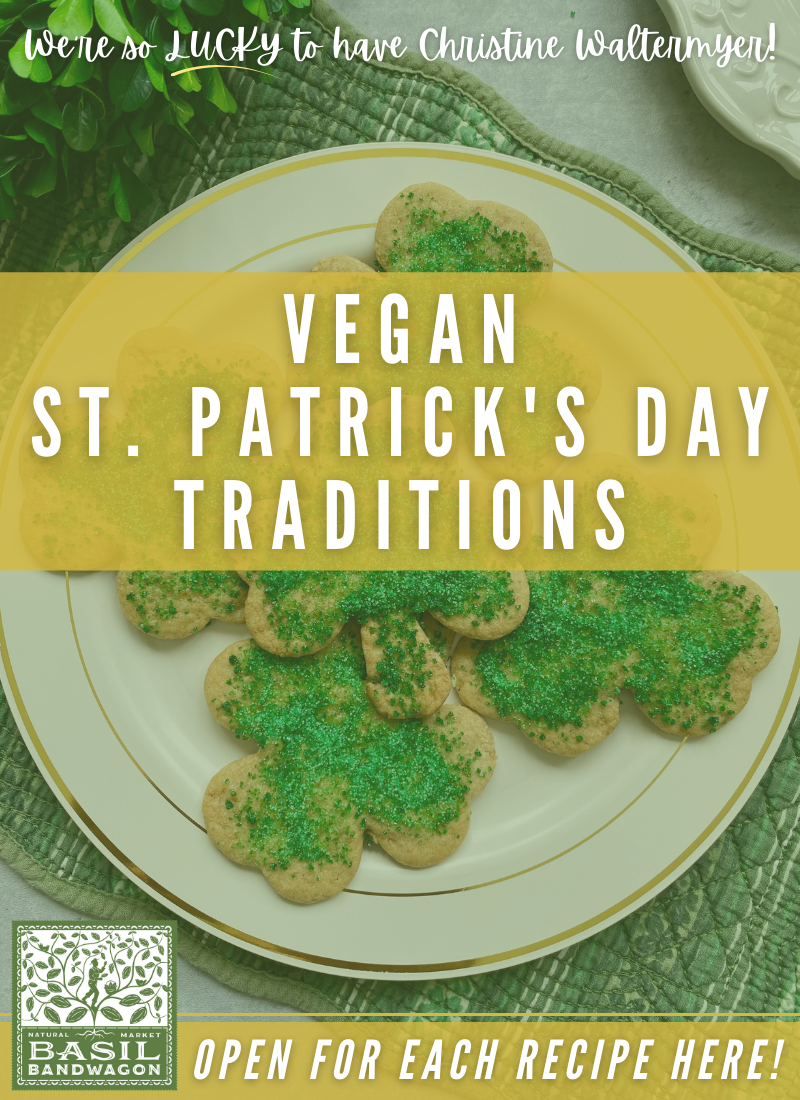
    Who said you can’t turn holiday traditions into diet-friendly favorites! Celebrate Irish culture with a warming vegan stew and naturally colorful shamrock sugar cookies.

    Vegan Irish Stew

    Course Main Course
    Keyword gluten free, St. Patrick’s Day, stew, vegan
    Servings 4 people

    Equipment

    • Large pot
    • Large mixing bowl
    • Small mixing bowl

    Ingredients

    • 1 tablespoon olive oil
    • 1 cup onion chopped
    • 2 cloves garlic minced
    • 8 ounces button mushrooms quartered
    • sea salt
    • 1 cup sliced carrots
    • 1 cup sliced celery
    • ¼ small head of green cabbage
    • 1 large parsnip peeled and chopped
    • 3 small Yukon Gold potatoes cut into bite-sized pieces
    • 2 cups vegetable broth
    • 1 cup beer (non-alcoholic or stout beer)
    • 1 teaspoon dried thyme
    • 1 tablespoon maple syrup
    • 1 tablespoon apple butter
    • 3 tablespoons kuzu starch (or cornstarch) to thicken the stew (more as needed)
    • freshly ground black pepper

    Dumplings

    • 1 teaspoon fresh rosemary or thyme (use ½ teaspoon if using dried herbs) minced
    • 1 ½ cups gluten-free all-purpose baking flour (or regular all-purpose baking flour)
    • ¾ teaspoon baking powder (aluminum-free)
    • 1 teaspoon sea salt
    • 3 tablespoons olive oil
    • 1 cup almond milk (or oat milk or rice milk)

    Instructions

    • In a large pot, heat the olive oil (or ¼ cup vegetable broth) over medium heat. Add the onion and garlic. Cook and stir for a few minutes, then add the mushrooms. Add a pinch of the sea salt. Cook and stir for a few minutes. Cover and let cook a few more minutes to help them soften up. You can add a small splash of water if needed.
    • Add the carrots, celery, cabbage, parsnip and potatoes. Add the broth, beer, thyme, maple syrup, and apple butter. Bring to a boil over medium high heat, then reduce the heat to cook, lightly covered, on low for 20 minutes.
    • To make the dumplings, in a large mixing bowl combine the all-purpose baking flour, baking powder, sea salt and fresh rosemary. Stir well. Add the olive oil and almond milk. Stir well again.
    • In a small bowl, stir the kuzu or cornstarch with a few tablespoons of cold water to dilute it. Add to the stew and stir until thickened. Add a little more if you want to achieve a thicker stew consistency.
    • Add the black pepper.
    • Now add spoonfuls (2 to 3 tablespoons in size) of the dumpling dough all around the pot. Cook, covered, for 15 minutes. The dumplings will rise. Serve hot with Irish soda bread, sourdough bread or gluten-free bread of your choice.
      Note: If you like fluffier dumplings you can add 1 full teaspoon of the baking powder.

    Shamrock Sand Tart Cookies

    Course Dessert
    Keyword cookies, St. Patrick’s Day, vegan
    Servings 3 Dozen

    Equipment

    • Large bowl
    • Small bowl
    • Rolling Pin
    • Baking sheet
    • Shamrock cookie cutter

    Ingredients

    Wet Ingredients

    • ½ cup plant-based butter or butter of your choice
    • 1 cup maple sugar or raw cane sugar
    • 1 tablespoon golden flaxseed meal
    • 3 tablespoons water
    • ¼ cup cooked pumpkin puree
    • 1 teaspoon pure vanilla extract

    Dry Ingredients

    • 2 cups soft wheat flour (or gluten-free flour)
    • ¼ teaspoon baking soda
    • ⅛ teaspoon sea salt

    Colored Sugar

    • ½ cup raw cane sugar
    • A few drops green liquid natural food coloring

    Instructions

    • In a large bowl, cream together the butter and maple sugar (or cane sugar).
    • In a small bowl stir together the flaxseed meal and water. Let sit for 5 or 10 minutes, until it has thickened up a bit.
    • Add the flaxseed meal mixture and pumpkin puree to the butter-sugar mixture. Stir well. Add the vanilla and stir again.
    • Sift together the flour, baking soda and sea salt. Add this to the butter-sugar mixture. Mix well, until you have a uniform cookie dough. Gather into a ball and wrap in wax paper. Refrigerate overnight.
    • Make the colored sugar: Mix together the raw cane sugar with the food coloring until it’s uniform in color. Let it sit overnight, uncovered, to let it dry out overnight. You can even spread it out on a piece of parchment paper to help it get really dry.
    • The next day, unwrap the chilled dough. Depending how thick the dough shape is, you can cut it half to make two flatter disks of dough. Place it on a floured board. Using a rolling pin, roll it out to about 1/8-inch thickness.
    • Preheat the oven to 350 degrees F. Lightly dust a baking sheet with a little flour.
    • Lightly dip the shamrock cookie cutter in flour, then press it into the dough to cut out shamrock shapes. Fit in as many shapes as you can over the dough’s surface. Then carefully pick them up using a spatula to place them onto the prepared baking sheet. Repeat with the remaining dough, spacing them out an inch or so apart.
    • Sprinkle each shamrock cookie evenly with some of the green-colored sugar.
      *Note: You can make other cookie shapes and use different colored sugar, depending on the holiday. For example, you can make heart-shaped cookies topped with red sugar for Valentine’s Day.
    • Bake for 7 to 8 minutes, checking them closely after 7 minutes. Lift one cookie with a spatula to check the bottom. If lightly browned and the edges are light brown, remove the baking sheet from the oven.
    • Transfer the cookies to a cooling rack to cool completely. The cookies will crisp up more as they cool. Once completely cool, serve the cookies or store in a cookie tin or glass container, loosely covered. The cookies will keep up to a week.

    Notes

    • Using the raw cane sugar will make the cookies crispier. 
    • Two eggs can be used in place of the flax egg and pumpkin puree.

    Thank you to Christine Waltermyer and the Natural Kitchen Cooking School for working with us to help promote healthy, nutritious meals and products that are affordable, full of nutrients, and simple to make at home!

  • Introducing Sunscoop – From the Earth, But Out of This World.

    Introducing Sunscoop – From the Earth, But Out of This World.

    “We are powered by the sun to make the most delicious plant-based ice cream from organic coconut cream, superfoods, and no refined sugar.”

    They’re taking over the freezer aisle with a plant-based ice cream that is absolutely delicious, allergen-friendly, and makes you feel good. Their flavors are reimagined classics with a superfood twist. They’ve sourced the highest quality ingredients and let their tastes and nutrients shine.

    From the Founder Carli Blum

    Eat, Pray, Sneeze. Story of my life. Being born with food allergies is not easy. I love food, I celebrate with food, and I am endlessly inspired by it. Food for me is both my hardest challenge and biggest blessing. Being allergic to dairy, gluten, nuts, soy, eggs, and sensitive to refined sugar, I’ve struggled with inflammation and fatigue my whole life.

    In the journey of discovering what foods triggered me I also found the foods that healed. Being a lover of ice cream, I was never able to find a brand that was allergen-friendly and tasted good. One day I asked myself, why can’t dairy-free ice cream taste insanely delicious, have clean ingredients, and make your body feel good? From that point on I knew I wanted to bring Sunscoop to the world. 

    I hope you and your body feel the love and intention in every bite. Most importantly I hope you can truly enjoy the indulgence and feel great afterwards.  


    Love & Light,
    Carli

    They Are Proudly

    ☑️ Dairy-Free

    ☑️ Plant-Based

    ☑️ Vegan

    ☑️ Refined Sugar-Free

    ☑️ Gluten-Free

    ☑️ Nut-Free

    ☑️ Soy-Free

    ☑️ Allergen Friendly

    Pure Sun in A Mug Cake

    Gluten-Free & Vegan ~ Serves 1

    This is the perfect recipe for when you don’t feel like making a whole cake, cleaning a mound of dishes, or worrying about eating an entire batch of sweets. Not only is it OUT OF THIS WORLD but it’s packed with superfoods!

    Ingredients

    1/4 cup gluten free flour

    2 tablespoons coconut sugar

    1/4 teaspoon cinnamon

    1/4 teaspoon baking soda

    1 tablespoon plant-based milk

    1 tablespoon melted coconut oil

    1 scoop of your favorite Sunscoop flavor!

    Method

    1. Whisk all ingredients in a small bowl

    2. Coat a mug with a thin layer of coconut oil.

    3. Pour batter into mug.

    4. Microwave for 2 minutes.

    5. Add scoop of Sunscoop.

    6. Enjoy!

    References:

    https://sunscoop.com/

    https://www.instagram.com/p/CHOCYHmJ9BO/?hl=en

  • Introducing MUSH – The New Way to Eat Breakfast in 2021

    Introducing MUSH – The New Way to Eat Breakfast in 2021

    Cold. Creamy. Like Pudding.

    Just what you were looking for – an easy, healthy breakfast that’s perfect on-the-go. They make healthy food convenient and delicious so that you can incorporate more of it into your life. Because after all, you are what you eat.

    Why Overnight Oats?

    All grains including oats contain phytic acid, which binds to nutrients and makes them harder to absorb. Soaking oats breaks down the acid and helps increase the absorption of nutrients, like zinc and iron.

    Soaking the oats also facilitates the break down of the natural starches, a type of complex carbohydrate, found in oats. This helps to improve digestion, aid in weight loss, and increase feelings of fullness.

    Better absorption. Better digestion. BETTER YOU.

    “Mushy. In all the right ways.”

    Made with simple, whole food ingredients, each Mush Overnight Oats product contains 8 or less real ingredients. Available in these amazing flavors year-round: Apple Pie, Coffee + Coconut Cream, Dark Chocolate, Strawberry, Vanilla Bean, & Wild Blueberry. If you love these, keep your eye out for their fun seasonal flavors available for limited times!

    Did we mention how healthy their overnight oats actually are?

    No heat pasteurization. No preservatives. No fillers. No artificial flavors or colors. Gluten free. Dairy free. Non-GMO. Protein rich. High in fiber. Plant-based.

    Save $1 on 5oz. MUSH Overnight Oats during the month of January – try them all!

    Overnight Oats Smoothie

    Vegan ~ Serves 1

    Making healthy on-the-go breakfast smoothies is now even easier! Mix up your morning smoothie everyday of the week without the worry of buying so many ingredients.

    Ingredients

    1 5oz Mush tub – any flavor you like!

    1/2 cup of plant-based milk – almond milk, oat milk, hemp milk, etc.

    A handful of fresh fruit – will vary depending on the flavor of Mush you’d like to pair with

    Optional Toppings: fresh fruit, honey, maple syrup, chia seeds, etc. – the possibilities are endless!

    Method

    Combine all ingredients in a blender and blend until you’ve reached your favorite smoothie consistency. Pour into glass, add toppings if you prefer and enjoy!

    References:

    https://eatmush.com/

    https://www.instagram.com/p/CGu-Qw1D6Hg/