Sleep better tonight!
Try sound therapy for sleeping
If you’re looking for a natural way to achieve relaxation and promote sleep, listen up! Sound therapy has been found to relieve stress, pain, and tension and increase spiritual well-being. It can also promote healing by sending you off to a sound snooze.
What is sound therapy?
“Sound therapy uses sounds, special instruments, voice and/or music, which are then played for the client in therapeutic ways to achieve certain frequencies and promote holistic well-being,” explains certified sound therapist May Globus.
In Globus’s view, this therapy is both science and art, developed through the centuries. Sound therapists use instruments and modalities gathered from cultures including from Asia and Egypt, along with Indigenous cultures.
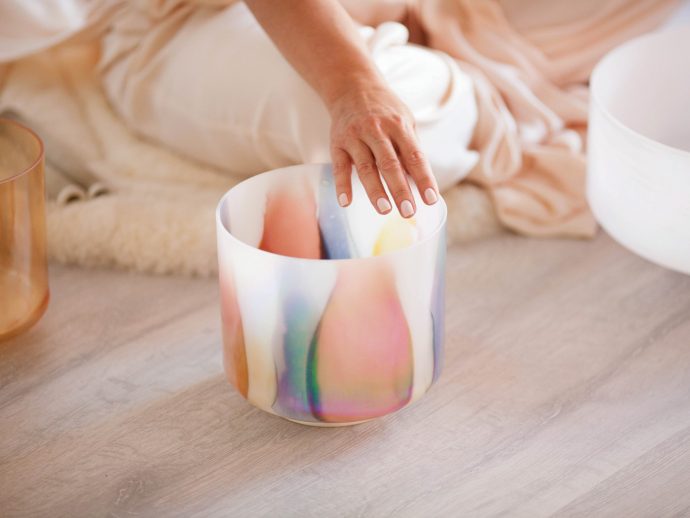
Instruments used during a sound therapy session might include crystal bowls, gongs, drums, rattles, and tuning forks. Some, like Globus, also use their voice. During a sound therapy session, the client lies down with eyes closed and absorbs the sound frequencies created by the practitioner, says Globus.
A sound way to improve sleep
Some research shows that one particular method of sound therapy can prompt the brain to operate at a brainwave pattern that promotes relaxation, lowers anxiety, and makes it easier to fall asleep more easily and more soundly. One small study also found that sound therapy that creates this brainwave state also creates three other chemicals associated with sleep: DHEA, cortisol, and melatonin.
Globus sees this borne out in practice. When she conducts her routine post-session check-in, most of her clients say they experienced a deep sleep.
Getting started on sound therapy
If you’re serious about experiencing sound therapy, Globus believes it’s best to start out by seeing a certified practitioner or by attending a group sound therapy session.
“That way, you can feel the frequencies and vibrations in your body for an extended period of time,” says Globus. During a session, some people will feel physical sensations, some will see colors, and, for others, memories and scenes will come to mind.
If you find this experience enjoyable, says Globus, you may want to visit a specialty store that carries sound therapy instruments, such as a sound bowl. Look for the one that resonates with you, suggests Globus. Then, you can make it part of your nightly bedtime ritual.
Sound therapy is also easily accessible through YouTube. “Amazing practitioners from around the world upload videos of themselves playing bowls and other instruments,” says Globus.
Supplements to help when you’re tired all the time
Fatigue can have a wide variety of causes. It can come from conditions such as diabetes or other chronic illnesses or from lifestyle habits such as poor sleep management or stress. Consult your health care practitioner to eliminate any underlying conditions if you’re experiencing long-lasting and unexplained fatigue.
You may find the following supplements helpful in supporting a stressed and fatigued system.
- Melatonin
- Magnesium
- Valerian root
- Lavender
- Passionflower
Article Provided by Alive Magazine