Thanks to Christine Waltermyer & The Natural Kitchen Cooking School!
Christine Waltermyer is a local and renowned Wellness Chef, private chef to celebrities, published cookbook author and founder of the Natural Kitchen Cooking School, which offers an online Plant-Based Cooking Program. She also loves shopping at Basil Bandwagon! Visit naturalkitchenschool.com to subscribe to her email newsletter for new recipes, tips, and a FREE low-oxalate recipe guide!
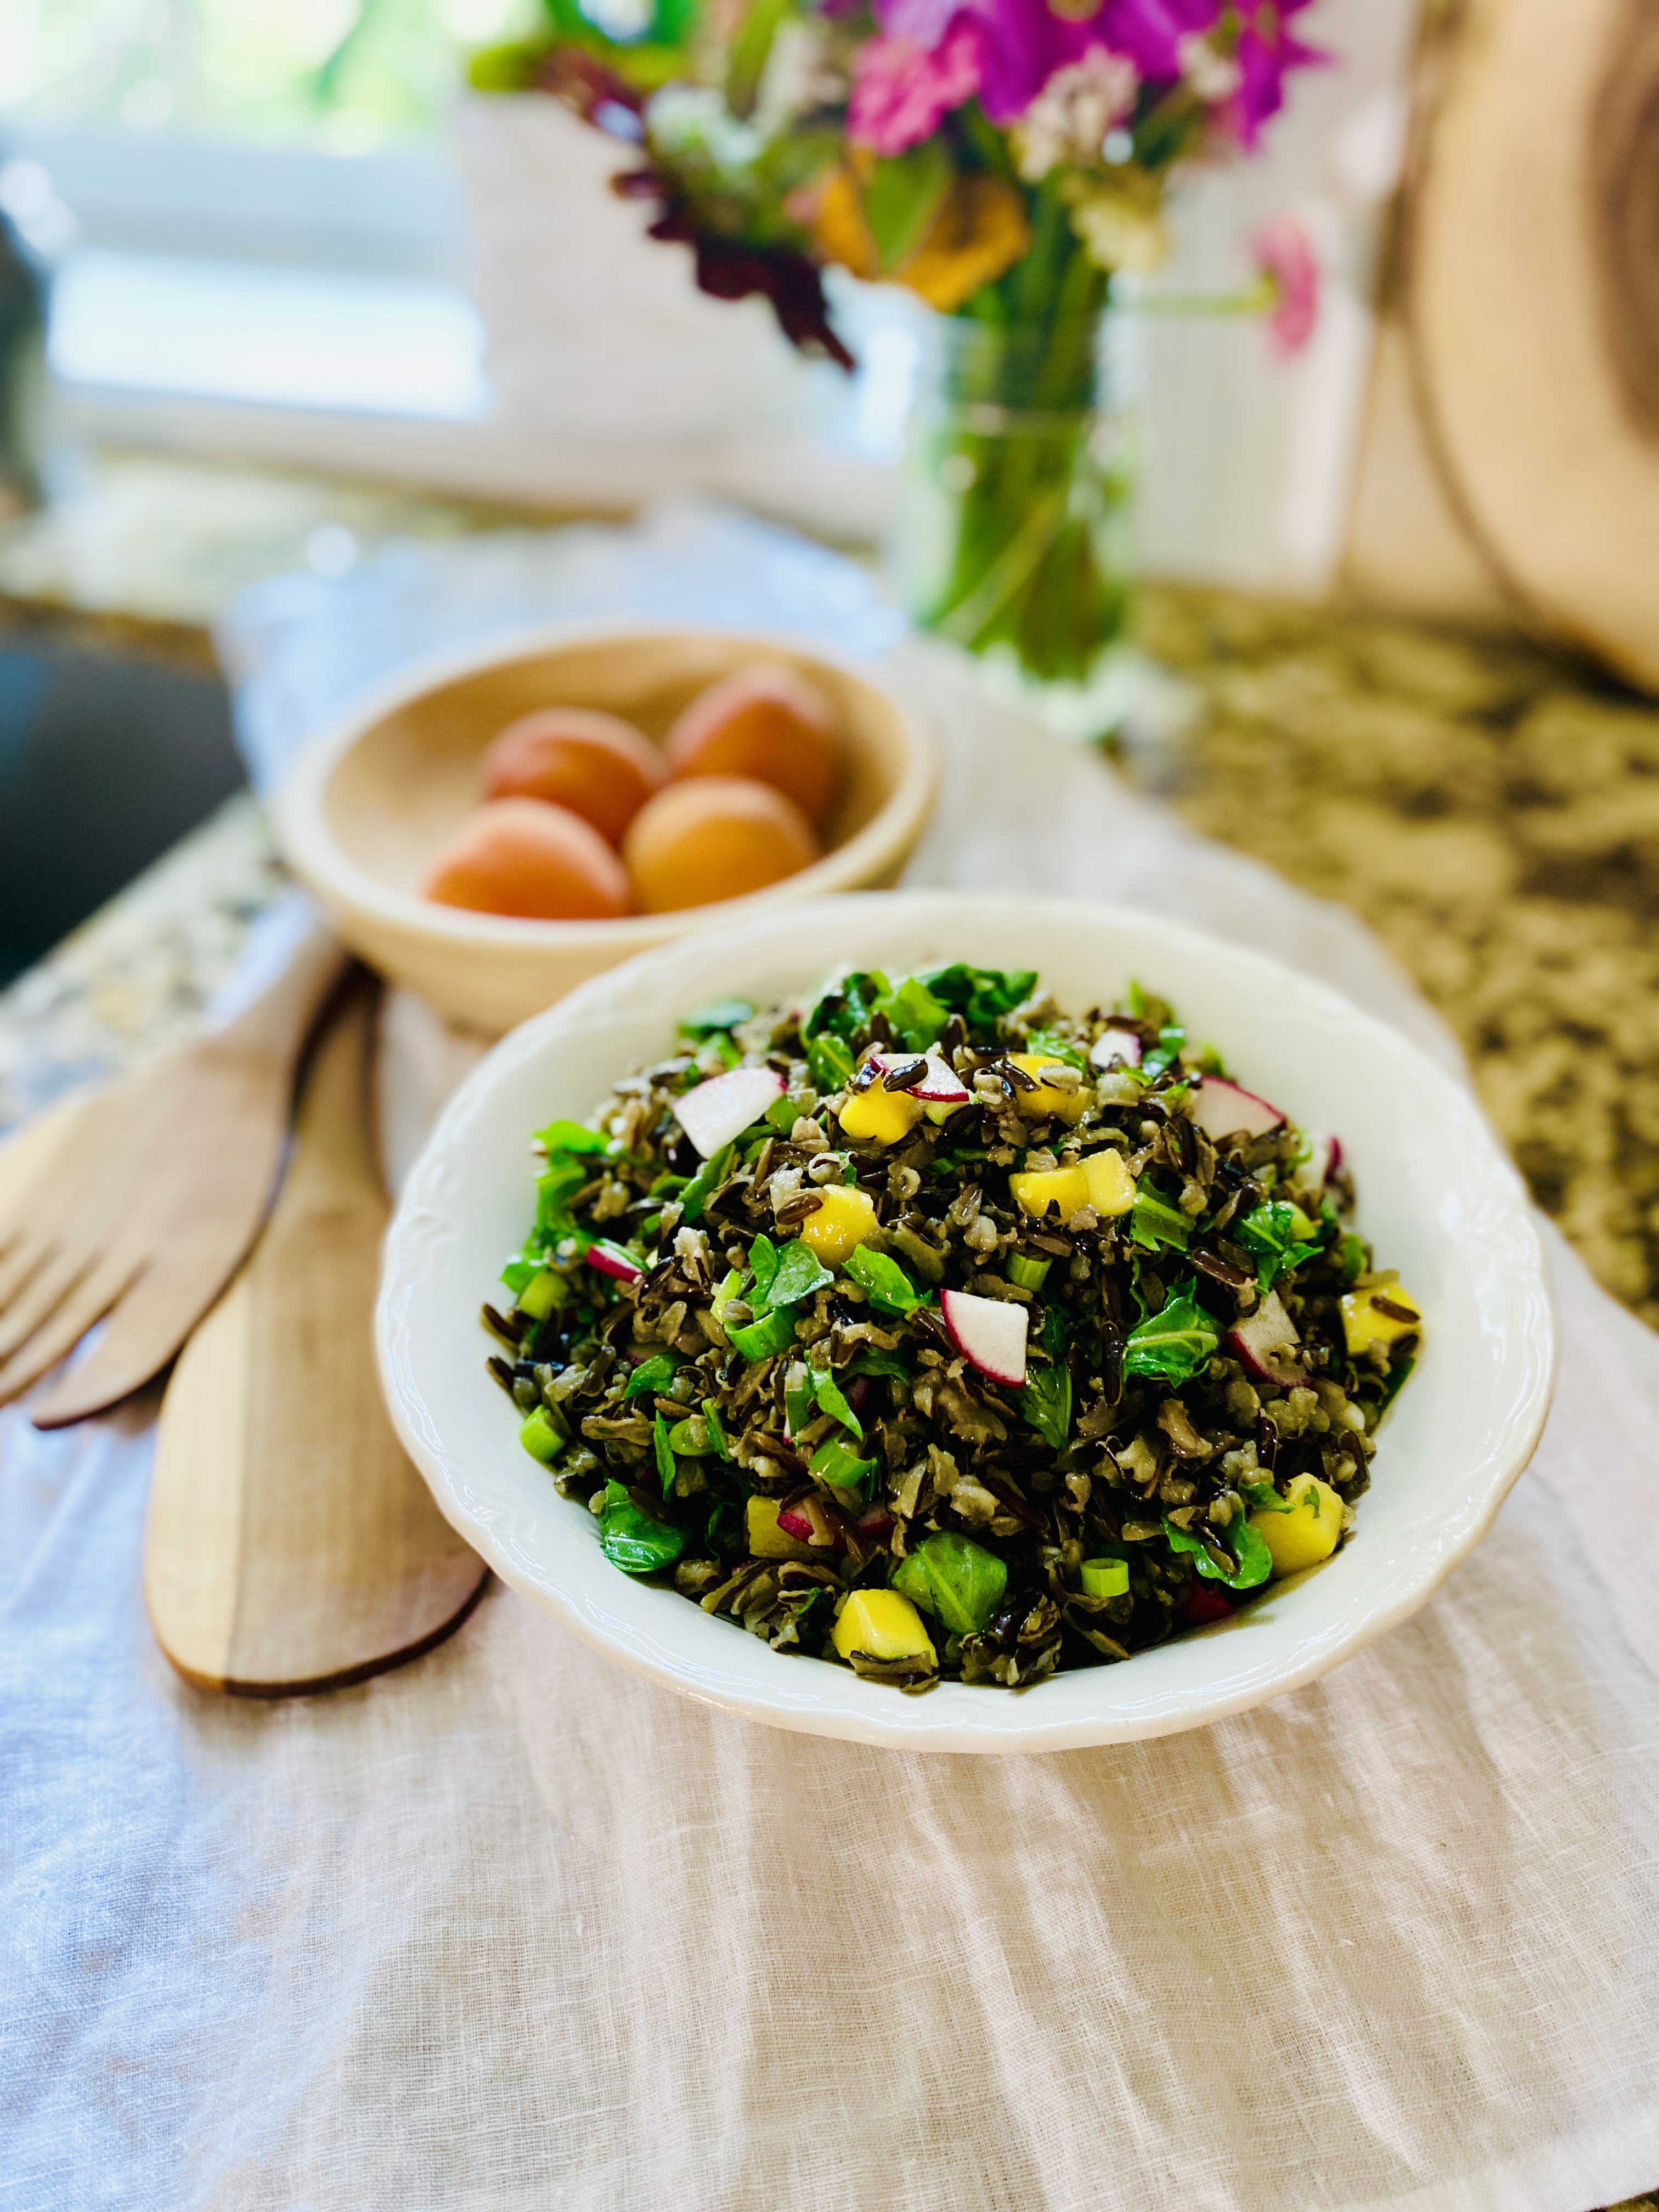
We’re WILD about Christine Waltermyer and The Natural Kitchen Cooking School’s Wild Rice Salad. We have to agree that “the tangy dressing, sweet mango and pungent scallions help to make this a flavorful side dish!” Keep scrolling for this simply delicious recipe.
I love the combination of nutty wild rice with fresh chopped arugula. The tangy dressing, sweet mango and pungent scallions help to make this a flavorful side dish!
In a medium saucepan, place the wild rice. Add the water or broth and bring to boil. Reduce the heat to low, cover and simmer for 50 minutes or until the rice is tender. Drain if needed and let the rice cool.
Make the dressing: In a small bowl, whisk together the olive oil, lemon and orange juices, mustard, honey, sea salt and pepper.
Place the cooled wild rice in a large bowl. Add the arugula, chopped scallions, mango, radishes and arugula. Add the dressing, stir well, and adjust seasoning to taste. Store in the refrigerator, covered, for up to three days. It tastes best when given at least an hour to marinate before serving.
Enjoy!
Thank you to Christine Waltermyer and the Natural Kitchen Cooking School for working with us to help promote healthy, nutritious meals and products that are affordable, full of nutrients, and simple to make at home!
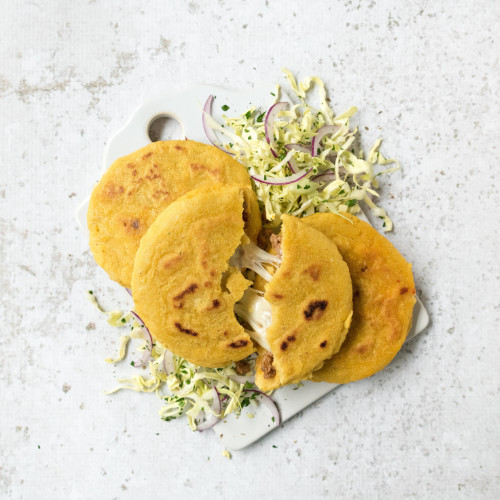
Pupusas are a thick griddled corn cake from El Salvador and Honduras. They are filled with savory ingredients and typically served with a pickled vegetable slaw called curtido. You can get creative with the fillings! Beans, squash, peppers, and even shrimp find their way into pupusas. While you can get pupusas from a restaurant or even the freezer section, this is a really approachable recipe to try at home! If you can roll a ball of dough and cook pancakes, you’ll have no trouble with pupusas!
Keyword appetizer, chorizo, dinner, gluten free, lunch, pupusas, side
Servings 4
Ingredients
2cupsmasa harina
1 ½cupswater
1teaspoonsea salt
¾cupcooked chorizo sausagecrumbled
1 ¼cupshredded mozzarella cheese
Instructions
Prepare the pupusa dough by mixing the masa with the salt. Add water and stir until fully incorporated. The dough should be firm yet pliable, add more masa or water depending on how the dough turns out after stirring in the water described above.
Scoop dough into approximately ¼ cup amounts and roll into balls.
Heat a skillet over medium-low heat. It is best to assemble and cook the pupusas as you go, one or more at a time depending on the size of the skillet.
Using wet hands, flatten a dough ball to a diameter of five inches and place three tablespoons of cheese and two tablespoons of chorizo into the center. Flatten another dough ball and place on top of the filling. Press and shape the pupusa into a round form with a quarter inch of thickness.
Place in an oil coated skillet and cook 3-5 minutes per side. Repeat with remaining dough and filling.
Enjoy!
Notes
SUBSTITUTIONS: Replace chorizo with any other seasoned meat, plant-based alternatives, or refried beans. Cheese can be swapped out for a non-dairy cheese that has good melting properties.
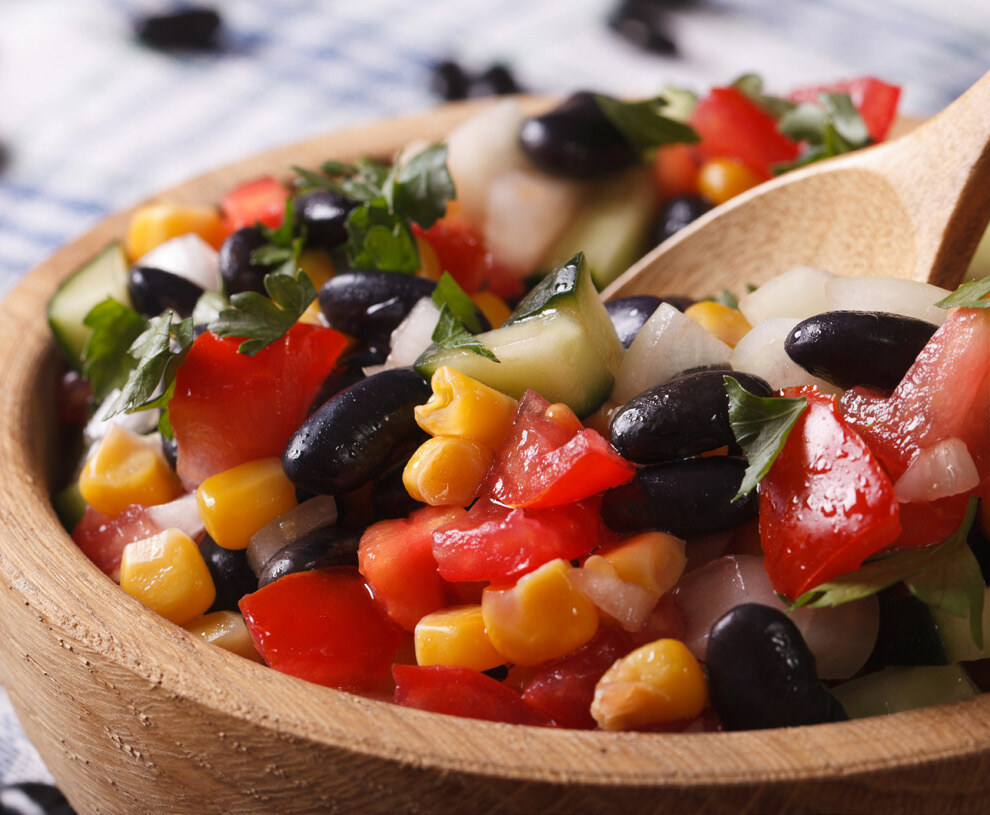
Sweet, spicy, crisp, and refreshing. Forget your usual potluck sides and make this watermelon jicama salad instead! It’s both hydrating and delicious! We love the juicy melon mixed with a slightly spicy dressing. You can control the heat by using less serrano pepper or amp it up by using the seeds and ribs. It may get spicier over time as the peppers marinate in the dressing, so be careful if you’re prepping this ahead of time. Don’t have any jicama? Daikon radish, a green apple, or even a firm pear will work here.
With Christine Waltermyer & The Natural Kitchen Cooking School!
Christine Waltermyer is a local and renowned Wellness Chef, private chef to celebrities, published cookbook author and founder of the Natural Kitchen Cooking School, which offers an online Plant-Based Cooking Program. She also loves shopping at Basil Bandwagon! Visit naturalkitchenschool.com to subscribe to her email newsletter for new recipes, tips, and FREE access to the Power of Veggies mini-course!
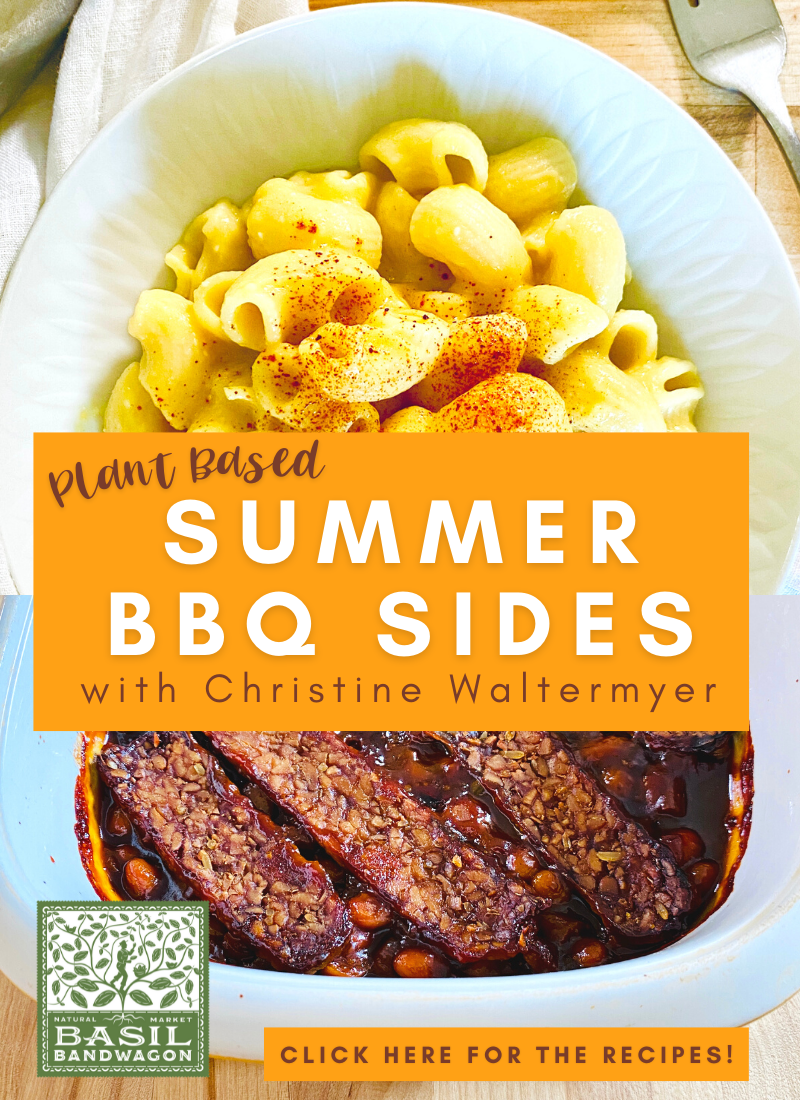
Summer is the time for graduation parties, Father’s Day cookouts, backyard BBQs and so much more! Thanks to Christine Waltermyer and The Natural Kitchen Cooking School, you can WOW your guests with plant-based spins on traditional BBQ favorites.
2cupscooked white beans (Great Northern or Navy beans)
4stripsLightlife tempeh smoky bacon
Instructions
Preheat the oven to 350 degrees F.
In a medium saucepan, warm 1 tablespoon of the olive oil over medium heat. Add the onion and a pinch of the sea salt. Cook and stir for five minutes.
To the saucepan, add the apple butter, maple syrup, apple cider vinegar, Worcestershire sauce, molasses, brown sugar, mustard and cooked beans. Stir until all of the ingredients are well combined.
In a large skillet, heat the remaining 1 tablespoon of olive oil over medium heat. Add the Lightlife tempeh smoky bacon strips and fry for a few minutes on one side, until golden. Turn the strips to fry the other side for a few minutes.
Pour the baked bean mixture into a lightly greased medium size casserole dish. I used an 8 x 8-inch dish. Top with the strips of tempeh bacon. I baked my beans uncovered, but feel free to cover them with a lid or aluminum foil if you like your beans more moist and less dry. Bake for 1 hour. Serve warm.
Enjoy!
Notes
If you prefer to use less variety of sweeteners, you can substitute an equal amount of one for another. For example, instead of using the 2 Tbsp. of brown sugar, you could increase the maple syrup by 2 Tbsp.
2teaspoonsarrowroot flour, mixed with 1 tablespoon cold water
Smoked paprika
Instructions
In a medium size pot place the cauliflower florets, the water, onion powder, turmeric and dry mustard. Bring to a boil over medium high heat. Cover and reduce the heat to simmer on low for 10 minutes, or until fork-tender.
Meanwhile, heat a large pot of water to boil the pasta. Once it comes to a boil, add the pasta and cook according to package directions. Drain the pasta.
Carefully pour the cooked cauliflower mixture into a high speed blender. Puree until smooth. Pour the sauce back into the pot. Add the miso, sea salt, lemon juice, arrowroot flour and a shake of the smoked paprika. Cook for another few minutes on medium low heat. Whisk continuously until nicely thickened.
Pour the cauliflower sauce over the pasta and enjoy warm, sprinkled with a little extra smoked paprika.
Enjoy!
Thank you to Christine Waltermyer and the Natural Kitchen Cooking School for working with us to help promote healthy, nutritious meals and products that are affordable, full of nutrients, and simple to make at home!
Thanks to Christine Waltermyer & The Natural Kitchen Cooking School!
Christine Waltermyer is a local and renowned Wellness Chef, private chef to celebrities, published cookbook author and founder of the Natural Kitchen Cooking School, which offers an online Plant-Based Cooking Program. She also loves shopping at Basil Bandwagon! Visit naturalkitchenschool.com to subscribe to her email newsletter for new recipes, tips, and FREE access to the Power of Veggies mini-course!
Did you know Collard greens are the oldest leafy green within the cabbage family dating back 2000 years, originally grown by the ancient Greeks and Romans! This low calorie vegetable is packed with many nutrients like Vitamins K, C, A, calcium and folate. Thanks to Christine Waltermyer and the Natural Kitchen Cooking School, you can learn how to properly sauté these greens so that your whole family will love them, too!
Keyword collard greens, collards, how-to, sauté, side
Servings 8
Ingredients
½ to 1cupwater
1bunchcollard greensstems trimmed and leaves cut into small pieces
1cupsliced scallions
Sea salt and pepper to taste
Splash lemon juice
Instructions
Place the water in a large skillet and heat on medium high heat. Add the collard greens, scallions, sea salt, pepper and lemon juice.
Cover and cook on high for 3 to 5 minutes. Stir occasionally. Serve as is or with your favorite dressing.
Enjoy!
Thank you to Christine Waltermyer and the Natural Kitchen Cooking School for working with us to help promote healthy, nutritious meals and products that are affordable, full of nutrients, and simple to make at home!
Thanks to Christine Waltermyer & The Natural Kitchen Cooking School!
Christine Waltermyer is a local and renowned Wellness Chef, private chef to celebrities, published cookbook author and founder of the Natural Kitchen Cooking School, which offers an online Plant-Based Cooking Program. She also loves shopping at Basil Bandwagon! Visit naturalkitchenschool.com to subscribe to her email newsletter for new recipes, tips, and FREE access to the Power of Veggies mini-course!
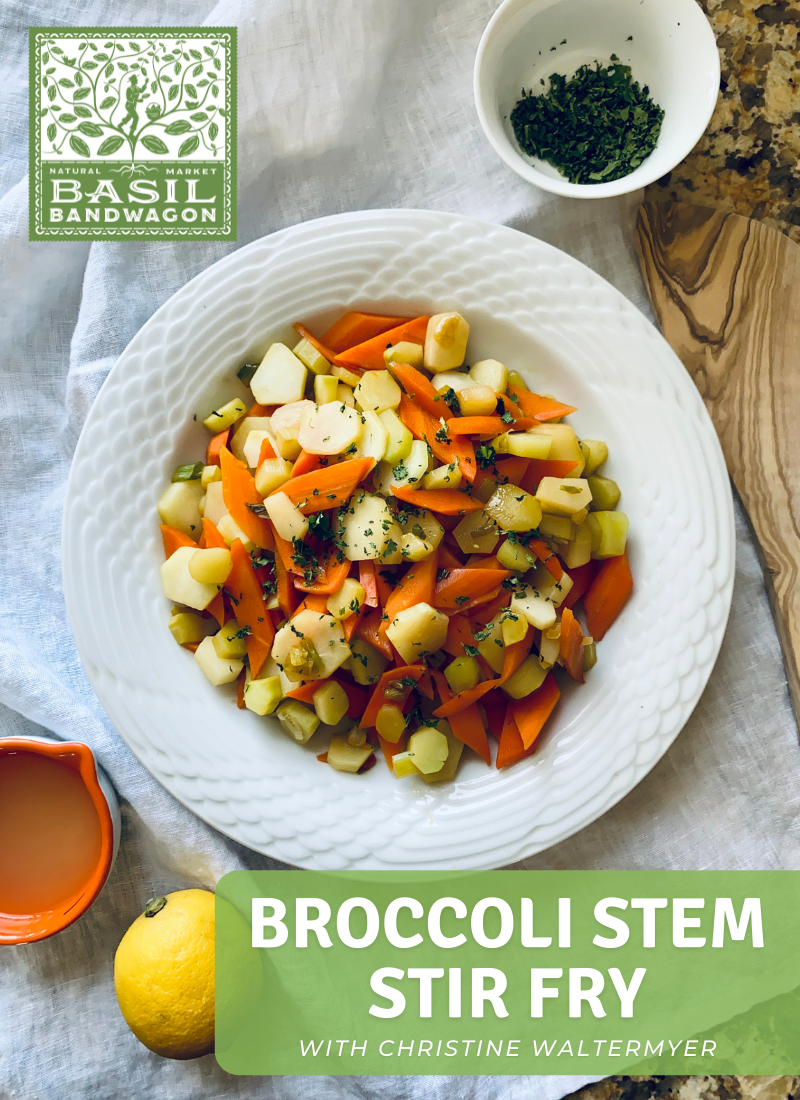
Happy Earth Month! Let’s talk about food waste. Did you know every year, each American throws out about 1,200 pounds of organic garbage that could be composted? There are other ways to decrease this amount (other than simply composting). One way is to use your food scraps to make another recipe! Check out this Earth friendly Broccoli Stem Stir Fry recipe thanks to Christine Waltermyer and The Natural Kitchen Cooking School. All ingredients can be found at your local Basil Bandwagon Natural Market.
2cupscarrotssliced into rounds or "lozenges" (I refer to this as the ribbon cut in my video)
2cupspeeled broccoli stemssliced
½cupscallionssliced
¼cupbroth
2tablespoonscoconut aminos
2teaspoonslemon juice
1tablespoonmaple syrup
Sea salt to taste
Instructions
Heat a large skillet over medium high heat. Add the broth and heat it briefly.
Add the carrots and a few drops of the coconut aminos. Cook and stir for a minute or two. Add the broccoli stems. Cook and stir for another minute or two.
Add the remaining coconut aminos, scallions, maple syrup, and lemon juice. Cook and stir for a minute. Cover and cook for a few more minutes. Continue cooking to your desired tenderness. Depending how long you cook this, you may need to add a splash of water or more coconut aminos to prevent the vegetables from sticking to the pan. If needed, adjust seasoning to taste by adding a little more seasoning.
Plate and serve warm. Enjoy!
Thank you to Christine Waltermyer and the Natural Kitchen Cooking School for working with us to help promote healthy, nutritious meals and products that are affordable, full of nutrients, and simple to make at home!
Christine Waltermyer is a local Wellness Chef, private chef to celebrities, published cookbook author and founder of the Natural Kitchen Cooking School, which offers an online Plant-Based Cooking Program. She also loves shopping at Basil Bandwagon! Visit naturalkitchenschool.com to get your FREE copy of her cookbook, “7 Days of Deliciousness.”
Ingredients
Serves 4
4 ears of fresh corn on the cob
Optional: Vegan butter, olive oil or butter of your choice, Sea salt
Boiled Corn on the Cob Method:
1. Remove the husks from the corn. Use your fingers or a brush to remove the fine strands of corn silk.
2. Bring a large pot of water to a boil, covered, over high heat. Salt the water if you want. Add the corn. Cook for 6 to 8 minutes. Use tongs to carefully remove from the water. Serve as is or with optional vegan butter, olive oil or butter of your choice. Sprinkle lightly with sea salt if you want.
3. Enjoy!
Steamed Corn Method:
1. Remove the husks from the corn. Use your fingers or a brush to remove the fine strands of corn silk.
2. Add about ½ inch of water on the bottom of a medium size pot. Place a steamer basket inside. Bring the water to a boil over medium high heat. Add the corn to the pot, on top of the steamer basket. Cover the pot and cook for 4-6 minutes. Serve as is or with optional vegan butter, olive oil or butter of your choice. Sprinkle lightly with sea salt if you want.
3. Enjoy!
Pressure Cooked or Instant Pot Corn Method:
1. Remove the husks from the corn. Use your fingers or a brush to remove the fine strands of corn silk.
2. Place ½-inch of water on the bottom of a pressure cooker or an Instant Pot. You can place a trivet on top if you want.
3. Place the corn in the pressure cooker or Instant Pot. Cover with lid and seal it. Bring up to pressure over medium high heat. Once the pressure is high you can reduce the heat but keep it high enough to maintain pressure for 2 minutes. Turn off the heat. Transfer the pressure cooker from the heat to a trivet to cool and let the pressure reduce naturally.
4. Once the pressure has fully released, carefully remove the lid and serve. Serve as is or with optional vegan butter, olive oil or butter of your choice. Sprinkle lightly with sea salt if you want.
5. Enjoy!
Thank you to Christine Waltermyer and the Natural Kitchen Cooking School for working with us to help promote healthy, nutritious meals and products that are affordable, full of nutrients, and simple to make at home!
On sale this week (9/23-9/29): Organic Green Beans $1.49 lb!
Are you missing some southern comfort food? You need to try this recipe today! It’s an easy dish that you can serve as a side or even an entree.
Bonus- Pacific Vegetable Broths are on sale for $2.99 each until the end of this month!
Ingredients
1 Tablespoon Olive Oil
1 Small Onion, chopped
3 Cloves Garlic, minced
1 Pound Fingerling Potatoes, cut into quarters or halves
1 Teaspoon Liquid Aminos
1 Teaspoon Smoked Paprika
2 Cups Vegetable Broth, or 2 cups water plus 1 veggie bouillon cube
1/4 Teaspoon Cayenne Pepper
1 Teaspoon Salt, or to taste
1 Tablespoon non-dairy butter, optional
Method
1. Heat oil in a large saucepan over medium-high. Add onion and cook until soft, about 3 minutes. Add garlic and cook for 60 seconds stirring.
2. Stir in potatoes, paprika, cayenne, liquid aminos, and vegetable broth.
3. Bring to boil, cover saucepan and reduce to simmer and allow to cook for 10 minutes.
4. Add green beans and cook for 15 more minutes or until tender. Stir in butter if preferred.
5. Season with salt and pepper and enjoy!
Before you enjoy your delicious vegan southern green beans and potatoes, make sure you take a picture of your masterpiece! Post it on social media and tag your favorite produce market, Basil Bandwagon Natural Market! #basilbandwagon #producerecipeoftheweek
On sale this week (9/2-9/8): Organic Broccoli $2.49 each!
Tis’ the season for roasting vegetables! The best part about roasting vegetables is that it’s quick and simple, you can use them as a side, or even as an entree. You can add all of your favorite autumn vegetables like butternut squash, pumpkin, sweet potatoes, and more!
Bonus- Napa Valley Extra Virgin Olive Oil is on sale this month for $9.49 each!
Ingredients
1 1/2 Pounds Broccoli, cut into florets of even size
3-4 Tablespoons Extra Virgin Olive Oil
1 Tablespoon Fresh Lemon Juice (about half a lemon)
Kosher Salt
2-3 Garlic Cloves, minced
Freshly Ground Black Pepper
1/4 Cup Grated Parmesan Cheese, or to taste (try our Italian imported cheese!)
Method
1. Preheat oven to 425 degrees F.
2. In a large bowl, toss broccoli and garlic with olive oil and lemon juice until lightly coated. Sprinkle salt and toss to coat.
3. On a lined baking sheet (use olive oil, parchment paper, or aluminum foil), arrange the broccoli in a single layer.
4. Roast for 16-20 minutes until cooked through (check by poking with a fork) and lightly browned. If you see some charring, don’t worry- those are the best parts!
5. Put roasted broccoli back in large bowl and toss with freshly ground black pepper and grated parmesan.
6. Serve immediately and enjoy!
Before you enjoy your delicious roasted broccoli with imported parmesan, make sure you take a picture of your masterpiece! Post it on social media and tag your favorite produce market, Basil Bandwagon Natural Market! #basilbandwagon #producerecipeoftheweek