Celebrate National Oatmeal Month with MUSH Overnight Oats! Did you know Americans buy more oats in January than any other month in the year? Thankfully with MUSH, you can take your energizing morning breakfast on-the-go, or add them with your favorite fruits and yogurt for a superfood yogurt bowl!
So why should you eat their cold-soaked oats?
Great question! Regular oats are coated by something called phytic acid – which acts as a nutrient block, preventing your body from absorbing all of the amazing nutrients found in oats (magnesium, zinc, iron, calcium, etc.). Soaking oats helps remove the phytic acid and allows for better digestion and nutrient absorption – and added bonus, they’re soaked in dairy-free milk so everyone can enjoy them!
Looking for inspiration? Check out their Instagram account by clicking on the video below!
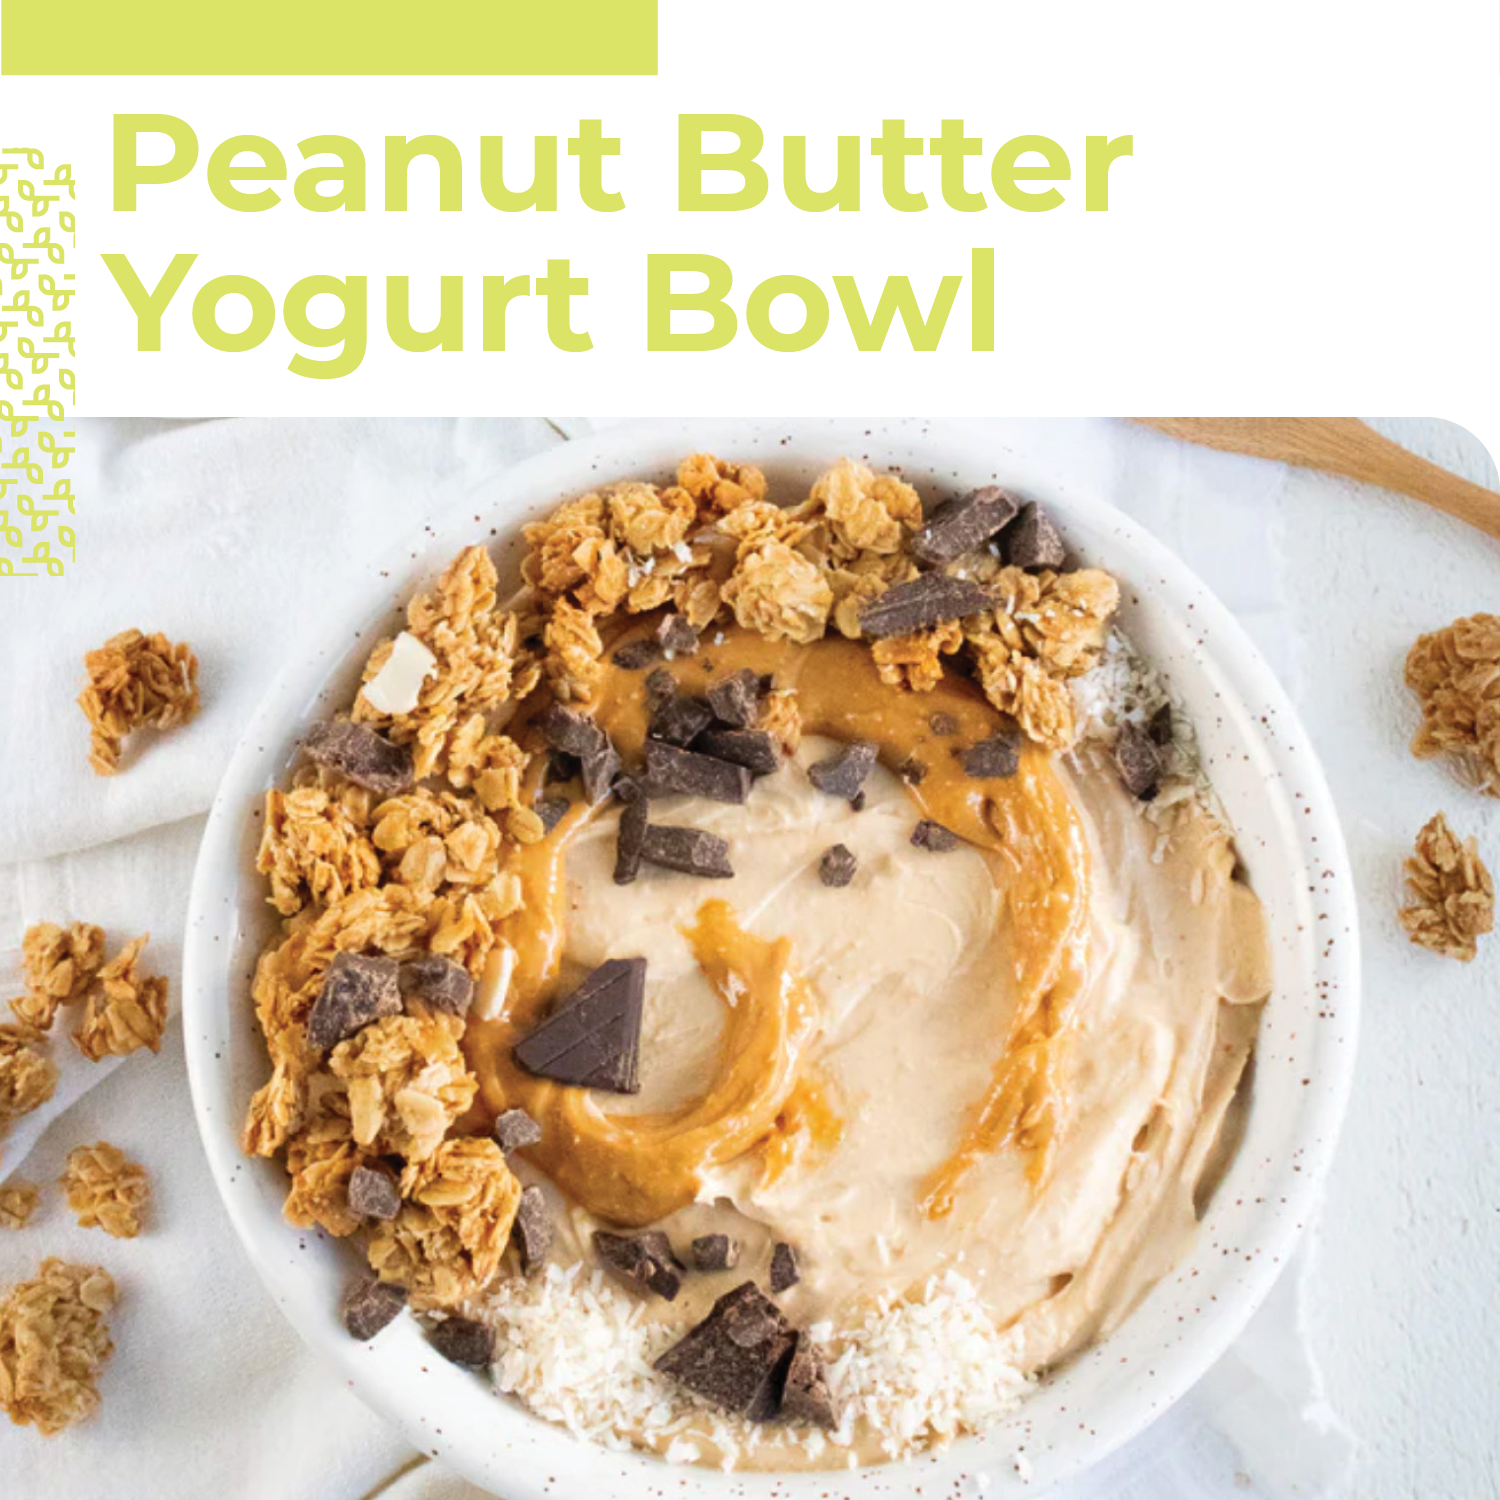
The basic recipe consists of peanut butter, yogurt, and maple syrup, but you can get creative with any of your favorite toppings. May we suggest pumpkin seeds, dark chocolate, and your favorite granola? Or consider coconut shreds, sliced banana, and mixed berries. This creamy peanut butter yogurt bowl is perfect for meal prepping during busy weeks. Simply keep the ingredients on hand to make when the craving strikes or you can scale the recipe up and store it in the fridge for up to five days.
Peanut Butter Yogurt Bowl
This salty and sweet peanut butter yogurt bowl satisfies every craving! Get ready for your new breakfast or go-to afternoon snack with the goodness of collagen and protein to support wellness and sustain energy.
In a bowl, whisk together the Greek yogurt, peanut butter, maple syrup and Vital Proteins Collagen Peptides. Combine until creamy, whipped, and smooth.
Divide into bowls and add the toppings of your choice. Enjoy!
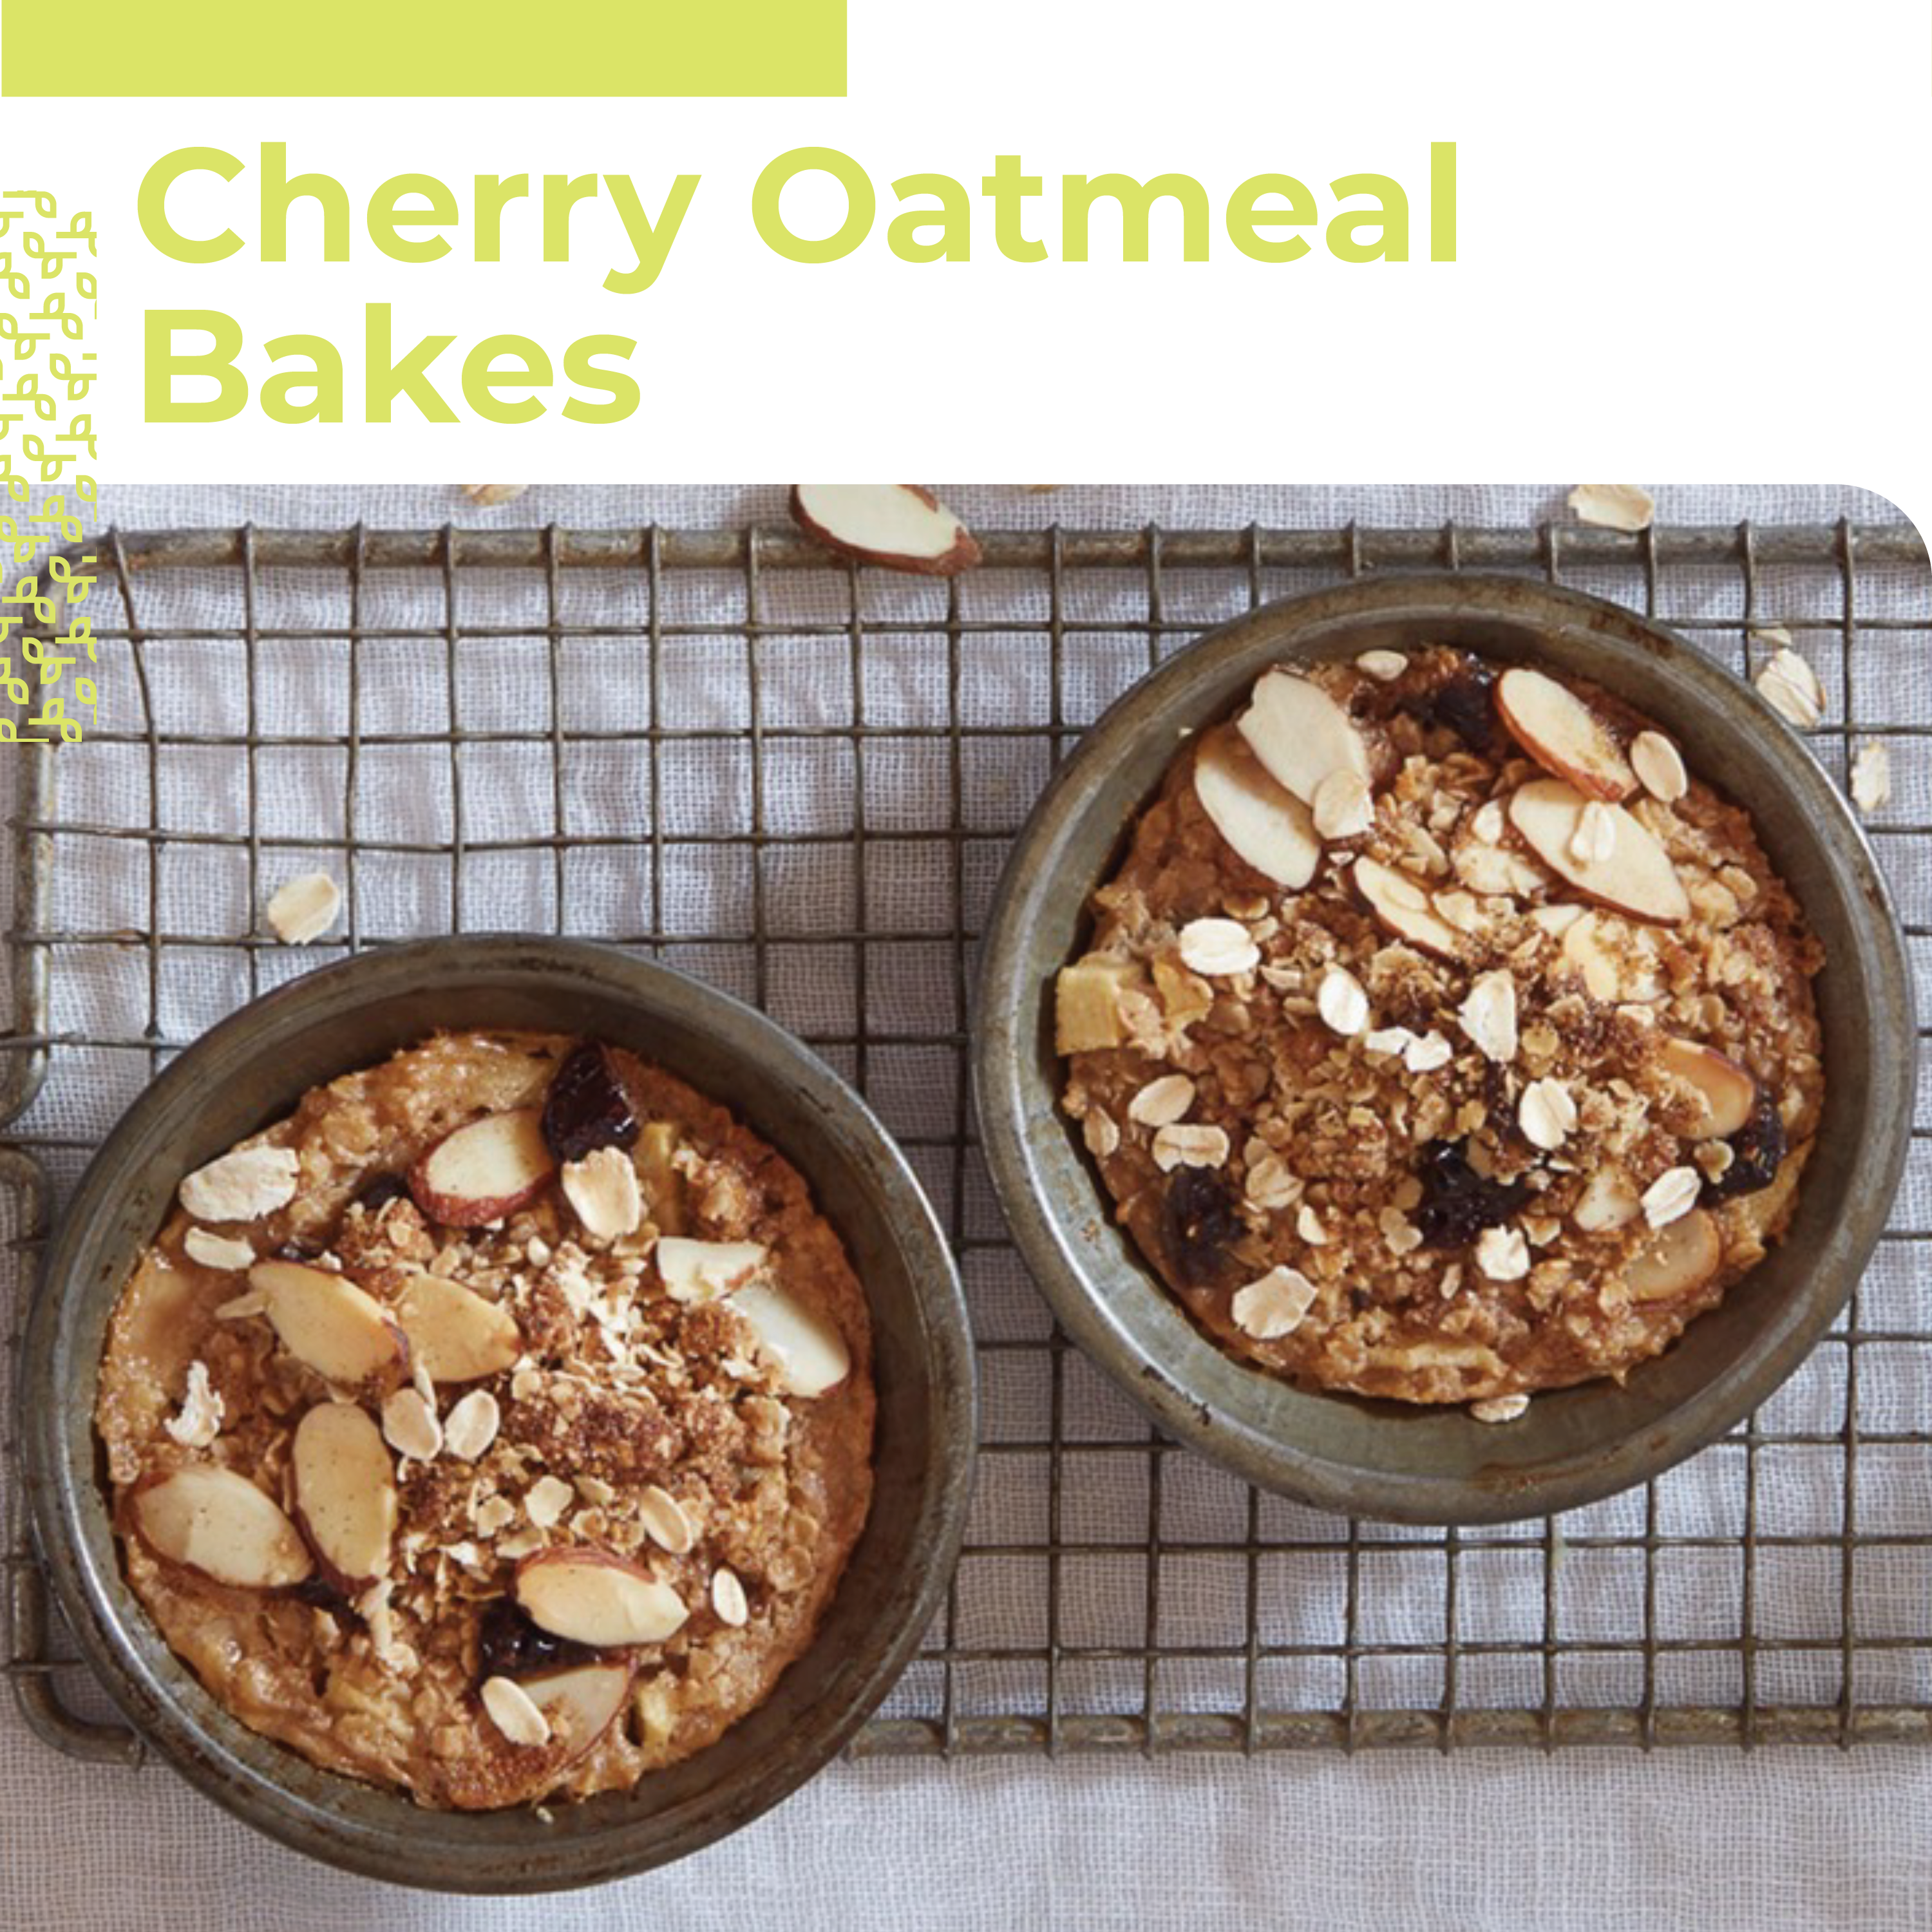
Make these cute Cherry Oatmeal Bakes for individual portions of a delicious and nutritious hot breakfast! The juices keep things flavorful and moist. Eat together or people can grab theirs when they’ve stumbled out of bed.
Cherry Oatmeal Bakes
Make these cute Cherry Oatmeal Bakes for individual portions of a delicious and nutritious hot breakfast! The juices keep things flavorful and moist. Eat together or people can grab theirs when they’ve stumbled out of bed.
Preheat oven to 375°F. Place six six-ounce custard cups in 13 x 9-inch baking pan.
Combine oats, cinnamon, and salt in medium bowl. Stir in juices, milk, egg, apple, cherries, butter, and vanilla. Divide evenly into custard cups.
Combine topping ingredients in a small bowl. Sprinkle over oat mixture. Cover pan with foil. Bake 20 minutes. Remove foil. Bake 20 minutes more or until centers are set and topping is golden brown. Remove from oven, let cool. Serve with milk, if desired.
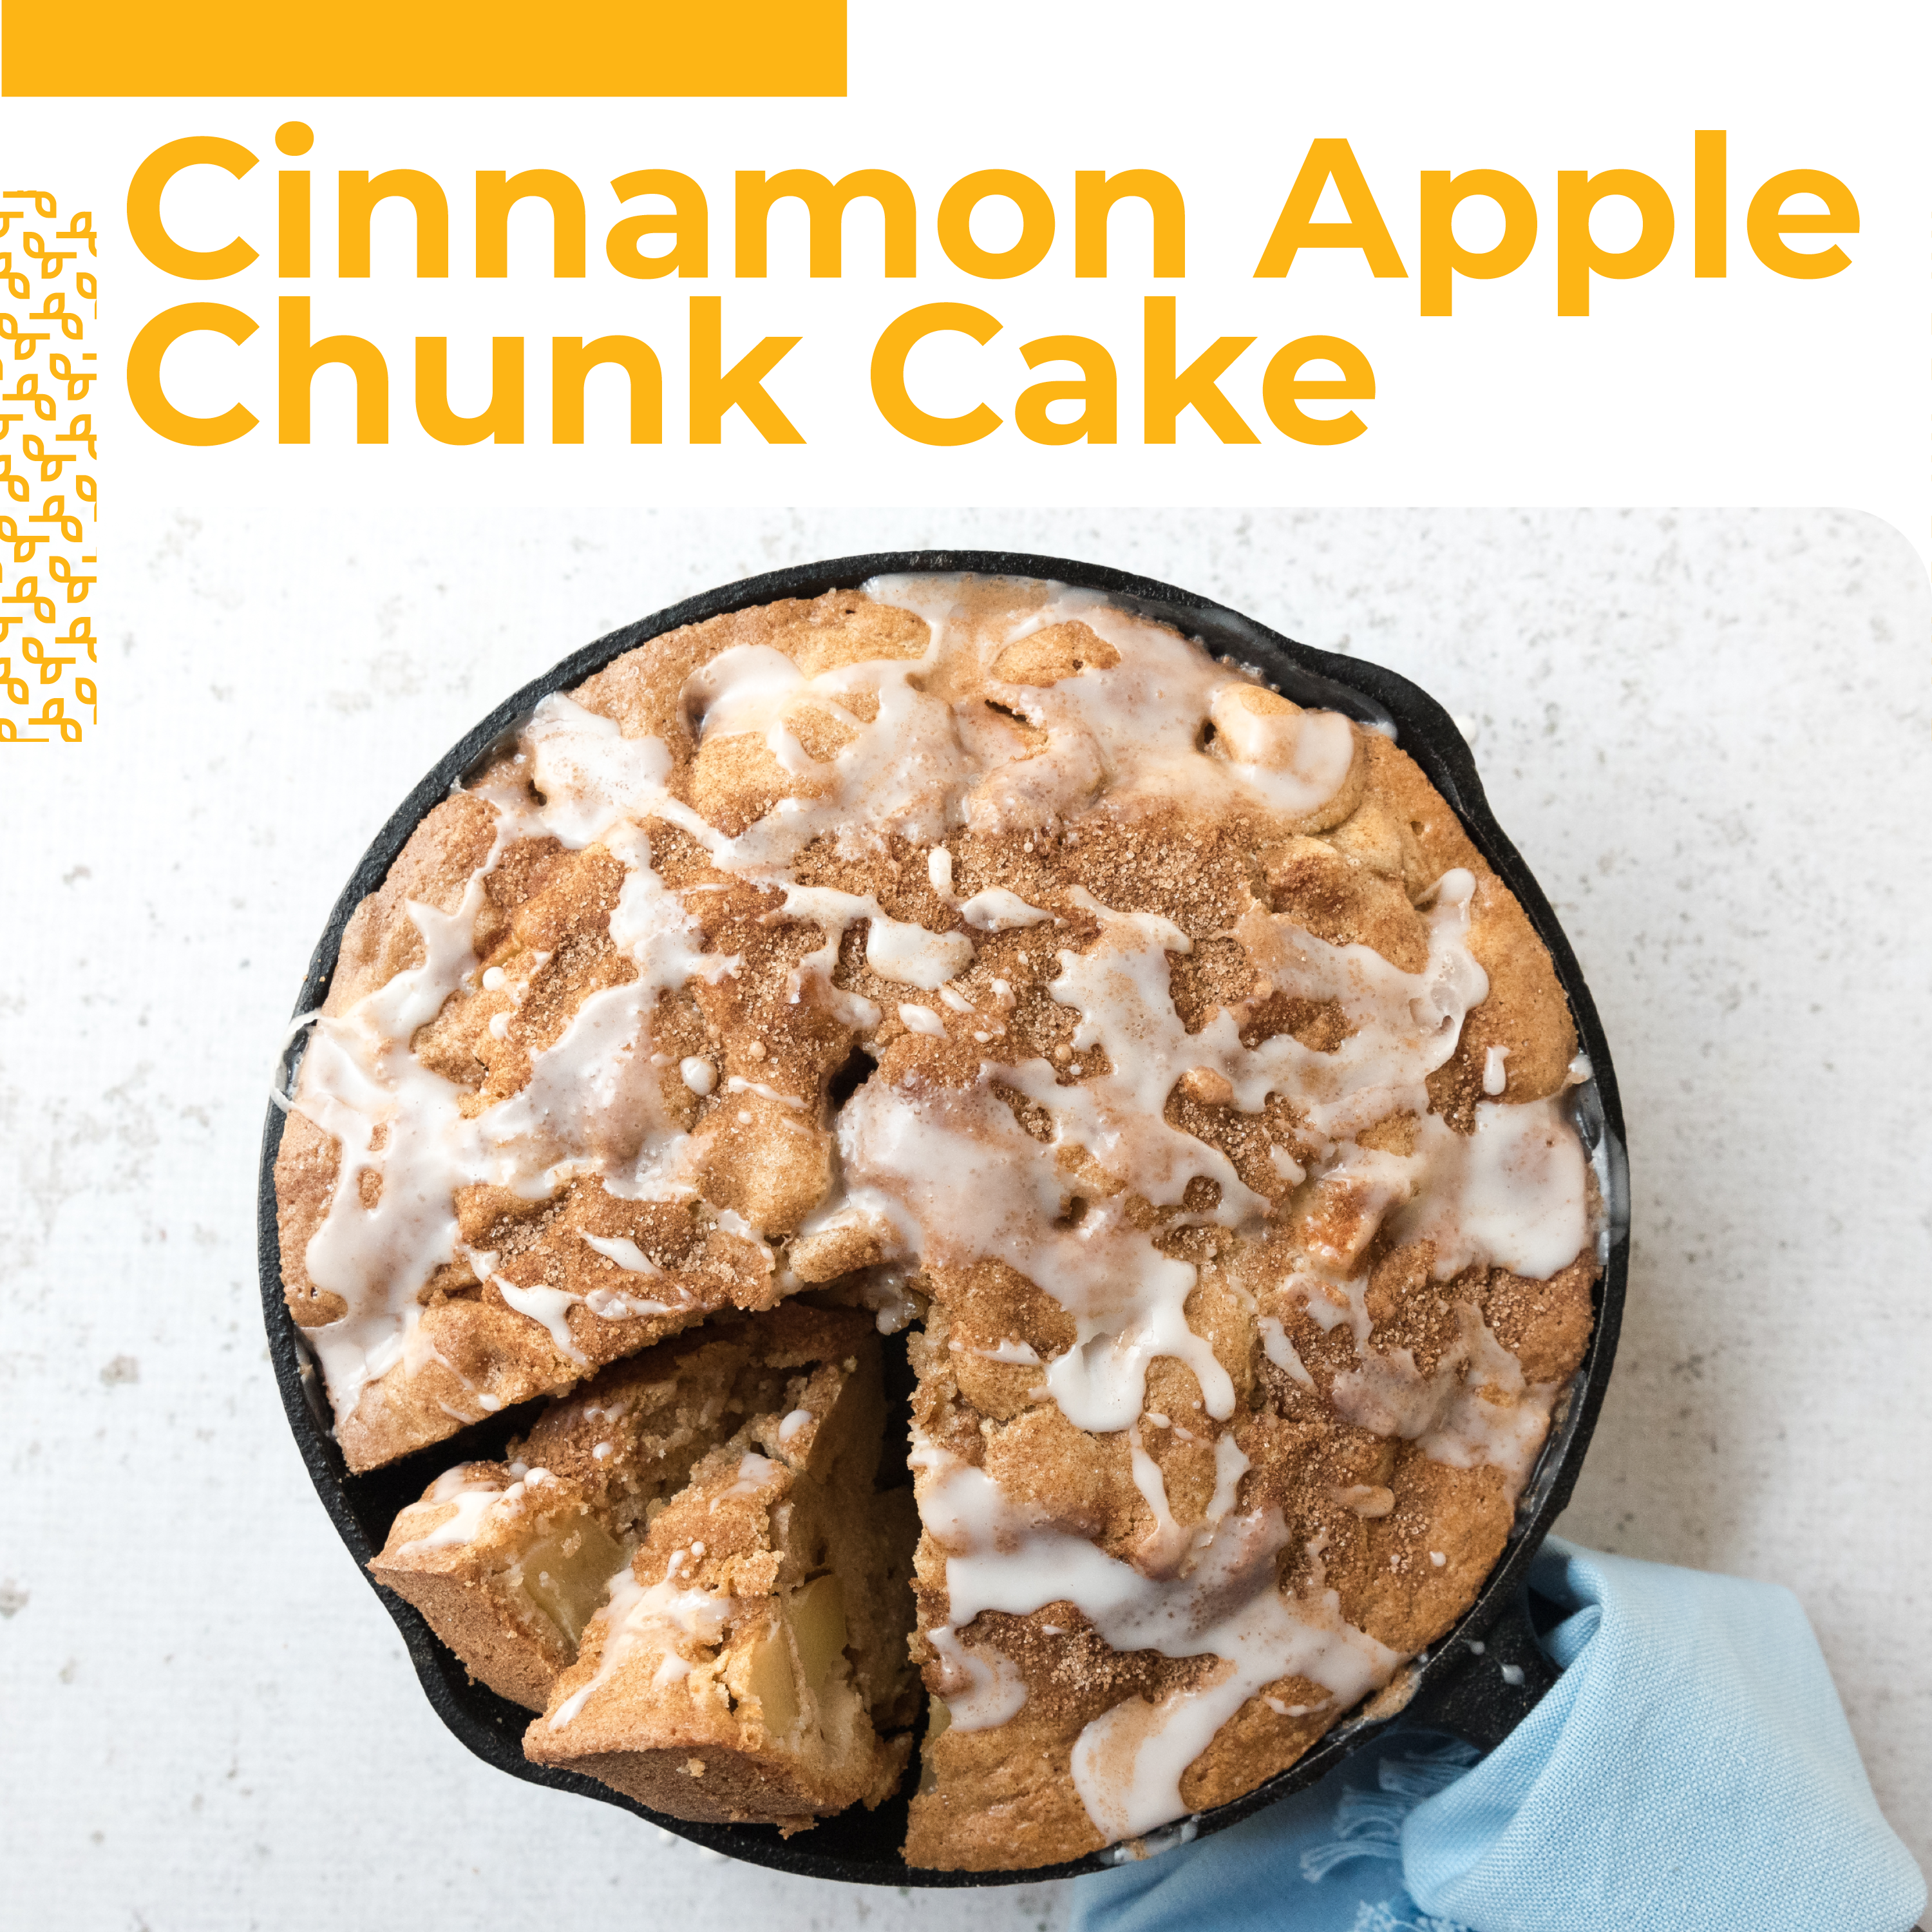
This fall, we’re all about celebrating the abundance of the season. First up, apples! Serve this Cinnamon Apple Chunk Cake as an indulgent breakfast, an afternoon pick-me-up, or a simply rustic dessert! No matter what, it will be delicious! You can switch up the type of apple you use but be sure to ask someone in produce what are the best baking varieties we have in now.
Cinnamon Apple Chunk Cake
Serve this Cinnamon Apple Chunk Cake as an indulgent breakfast, an afternoon pick-me-up, or a simply rustic dessert! No matter what, it will be delicious!
Preheat oven to 350ºF. Grease an 8-inch cast iron skillet and set aside.
In a small bowl, whisk together flour, cinnamon, baking soda, and sea salt.
In a medium bowl, combine sugar, oil, eggs until pale in color. Stir in buttermilk.
Add dry ingredients and mix until just combined. Fold in chopped apple and pour batter into prepared cast iron skillet. Combine remaining sugar and cinnamon and sprinkle on top of batter.
Bake 40-45 minutes or until a tester inserted in the center comes out clean.
Stir together powdered sugar and milk until smooth and drizzle over cooled cake.
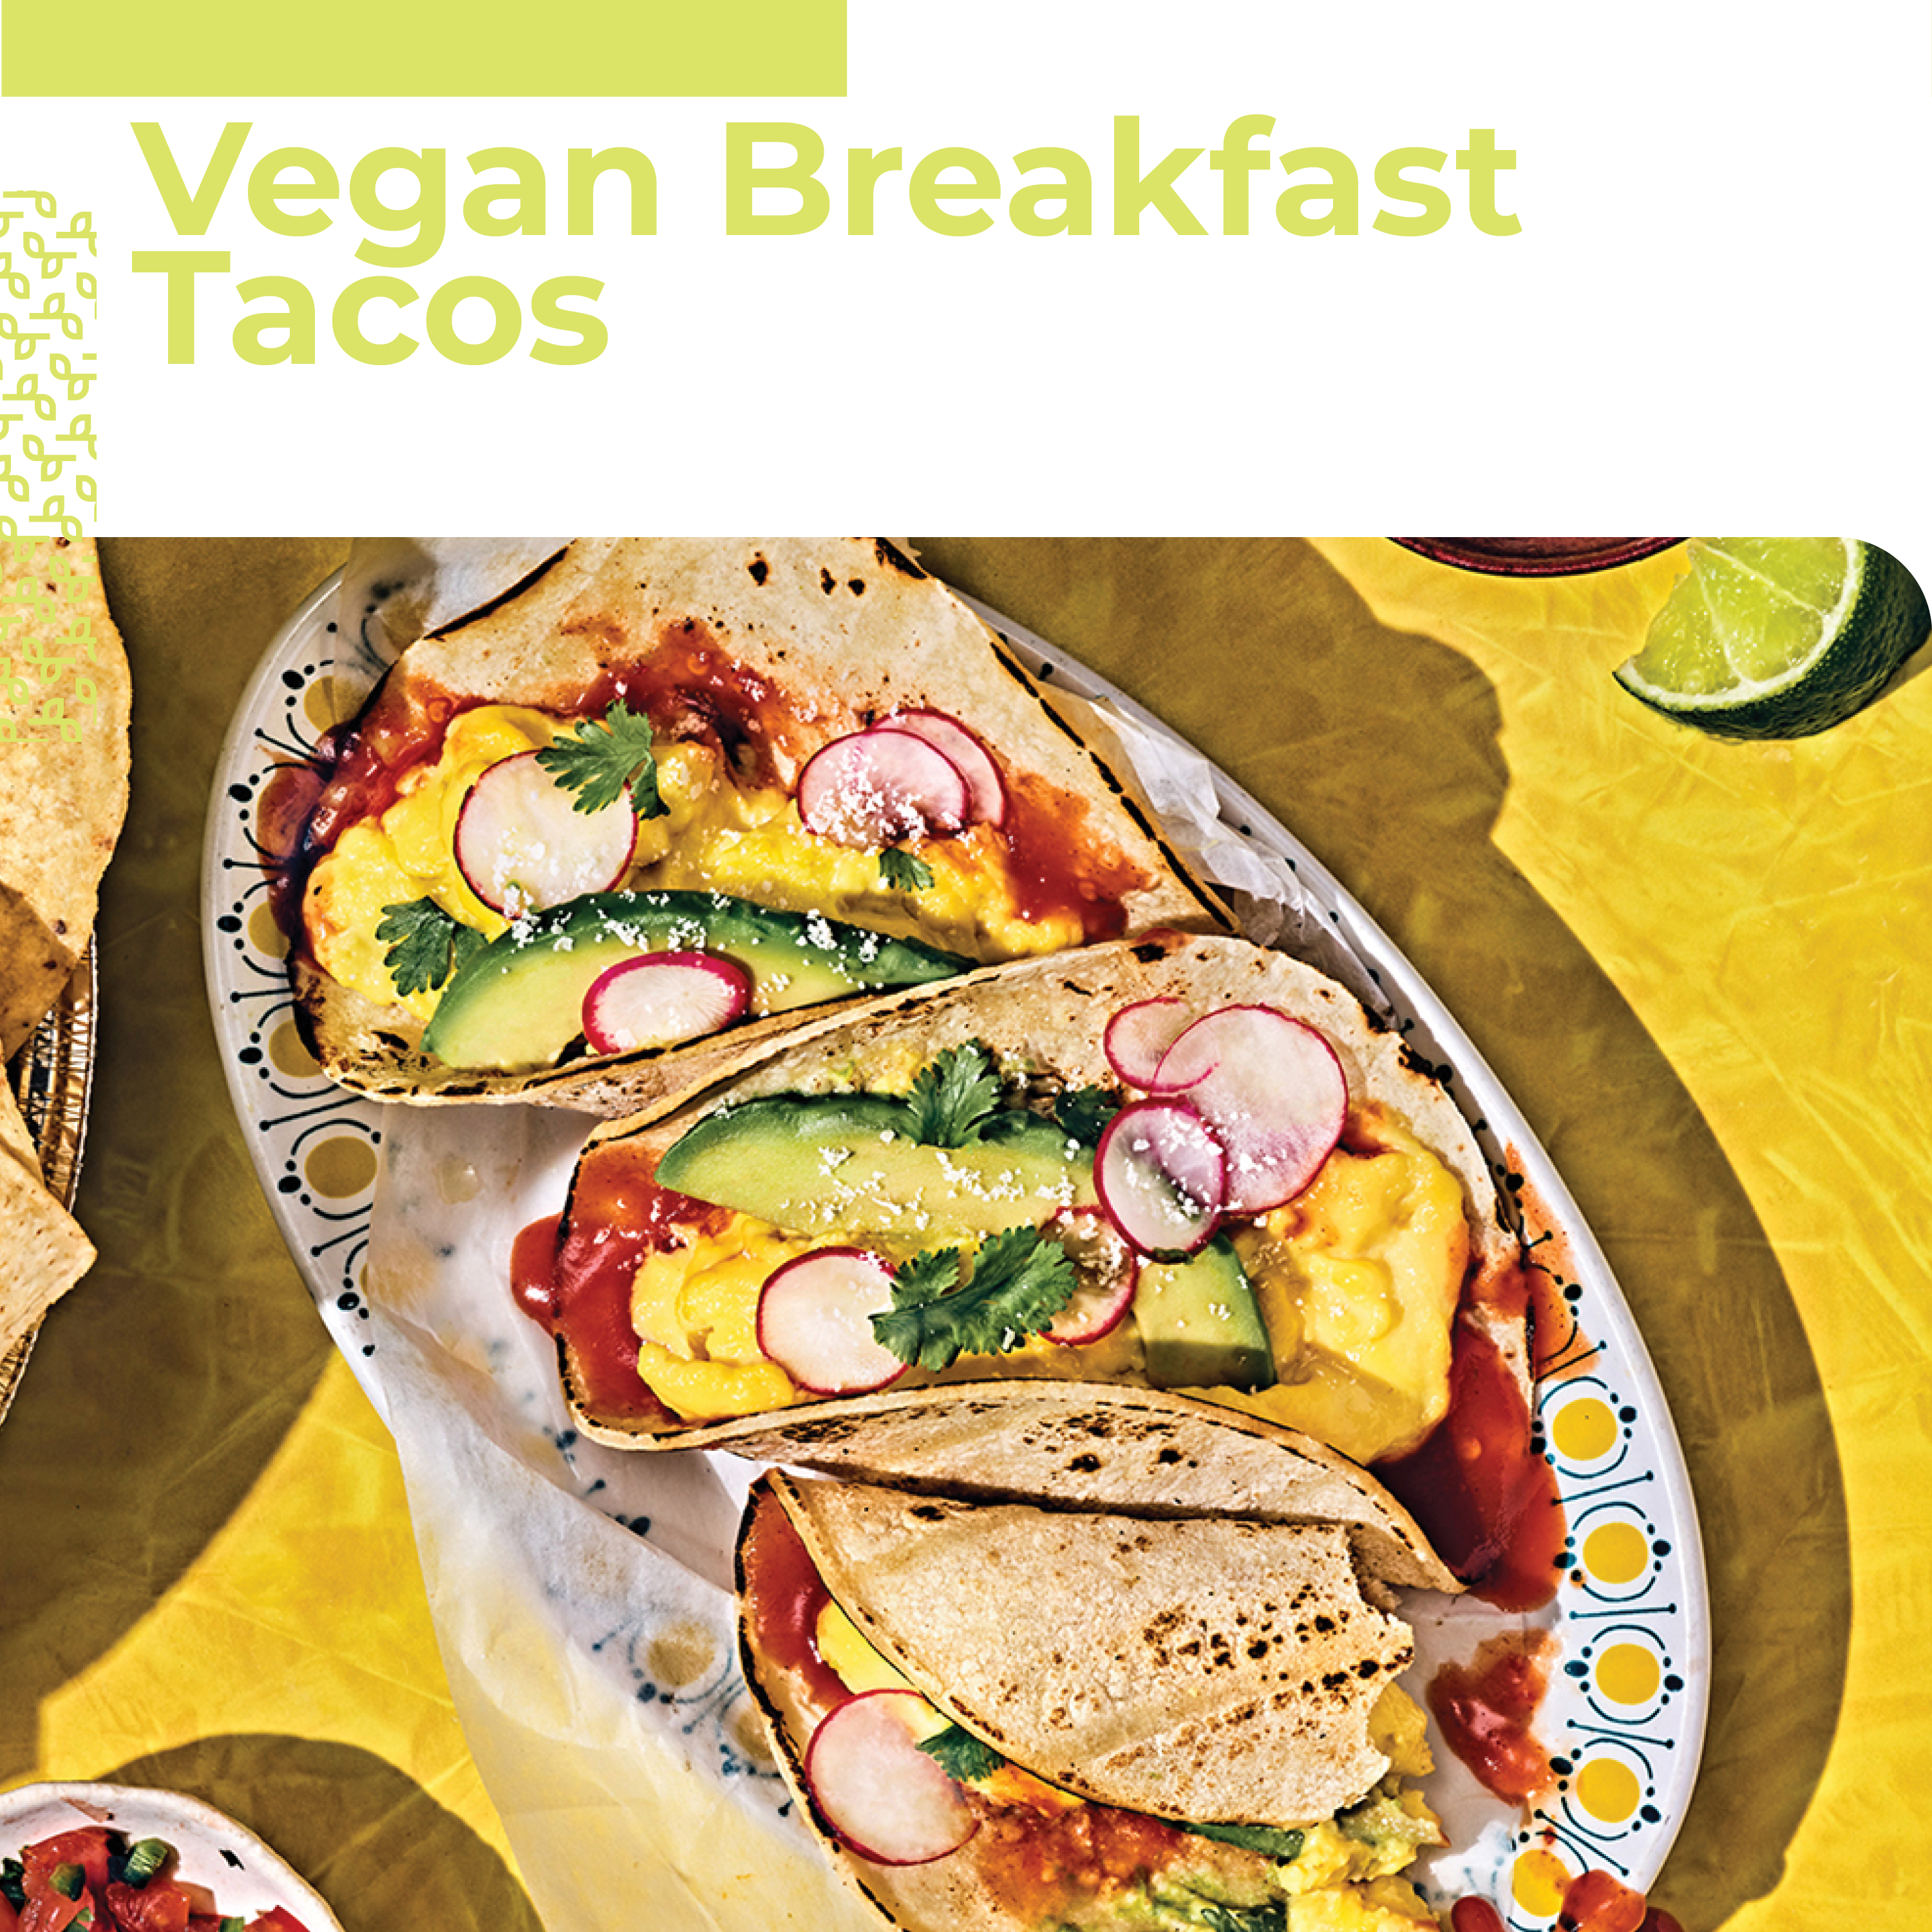
These vegan breakfast tacos are so easy to make, you won’t know what to do with all your new free time, except eat more tacos. Even better? They’re 100% plant-based!
Smart snacking can mean the difference between feeling energetic or fatigued. Plus, proper snacking can help deliver the nutrients children need to properly develop, both physically and mentally. When your household is craving something sweet or savory to tide everyone over to the next meal, these make-ahead wee-eats will earn you the Snack Master crown!
Pesto Dip Pepper Poppers
Sweet baby peppers serve as a nutritious delivery method for this pesto-like dip. You can also spread the dip into celery crevices.
Line 9 x 5 in (23 x 13 cm) loaf pan with parchment paper large enough so there is a 1 in (2.5 cm) overhang.
In food processor container, place banana; turn machine on and let it run until banana is reduced to the size of small pebbles. Scrape down sides of bowl; add raspberries, peanut butter, vanilla, and salt; continue blending until creamy. Be careful not to over blend to the point where bananas begin to melt. Pulse in peanuts.
Place banana mixture in pan and spread out into an even layer. If desired, sprinkle some additional peanuts on top. Place in freezer until frozen solid, at least 4 hours.
Using parchment paper overhang, lift frozen block out of pan and, using serrated knife, carefully slice into 8 bars. Store in airtight container in freezer for up to 1 month.
Enjoy!
Sweet Potato Mini Egg Cakes
These mini-sized egg cakes offer up a savory way to work more protein and vegetables into snack time. Serve at room temperature or warm in the microwave.
In large skillet over medium, heat oil. Add onion and 1/4 tsp (1 mL) salt; cook for 5 minutes, or until softened. Add sweet potato and garlic; heat just until potato is tender, about 2 minutes.
In large bowl, whisk together eggs and milk. Stir in red bell pepper, cheese, thyme, remaining 1/4 tsp (1 mL) salt, and black pepper. Stir in cooked vegetables. Divide among 16 mini-sized greased muffin cups. Bake until egg cakes are set, about 15 minutes. Let cool for a couple of minutes before unmoulding.
Thanks to Christine Waltermyer & The Natural Kitchen Cooking School!
Christine Waltermyer is a local and renowned Wellness Chef, private chef to celebrities, published cookbook author and founder of the Natural Kitchen Cooking School, which offers an online Plant-Based Cooking Program. She also loves shopping at Basil Bandwagon! Visit naturalkitchenschool.com to subscribe to her email newsletter for new recipes, tips, and FREE access to the Power of Veggies mini-course!
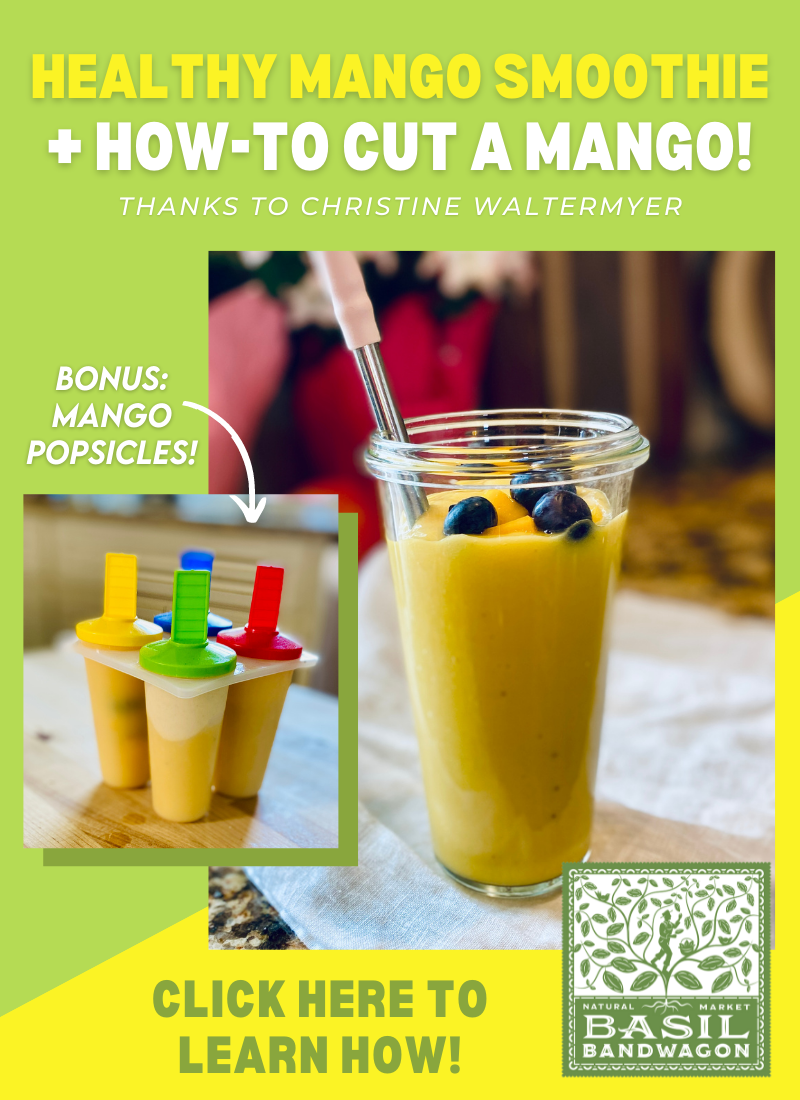
If you LOVE mangoes then this recipe is just what you’re looking for. Thanks to Christine Waltermyer and The Natural Kitchen Cooking School, we’re learning how to cut a mango and use them to make a refreshing smoothie that you and your kids will love! Bonus – if you have leftover smoothie, you can turn them into frozen popsicles. Whether you like mangoes fresh or frozen, you’ll always know your snack is nutritious, delicious and will bring you an instant energy boost!
Place all ingredients in a high-powered blender and puree until smooth. Enjoy served in a tall glass with a straw!
Notes
Leftover smoothie makes great popsicles! Just pour into popsicle molds and freeze.
Thank you to Christine Waltermyer and the Natural Kitchen Cooking School for working with us to help promote healthy, nutritious meals and products that are affordable, full of nutrients, and simple to make at home!
Christine Waltermyer is a local and renowned Wellness Chef, private chef to celebrities, published cookbook author and founder of the Natural Kitchen Cooking School, which offers an online Plant-Based Cooking Program. She also loves shopping at Basil Bandwagon! Visit naturalkitchenschool.com to subscribe to her email newsletter for new recipes, tips, and FREE access to the Power of Veggies mini-course!
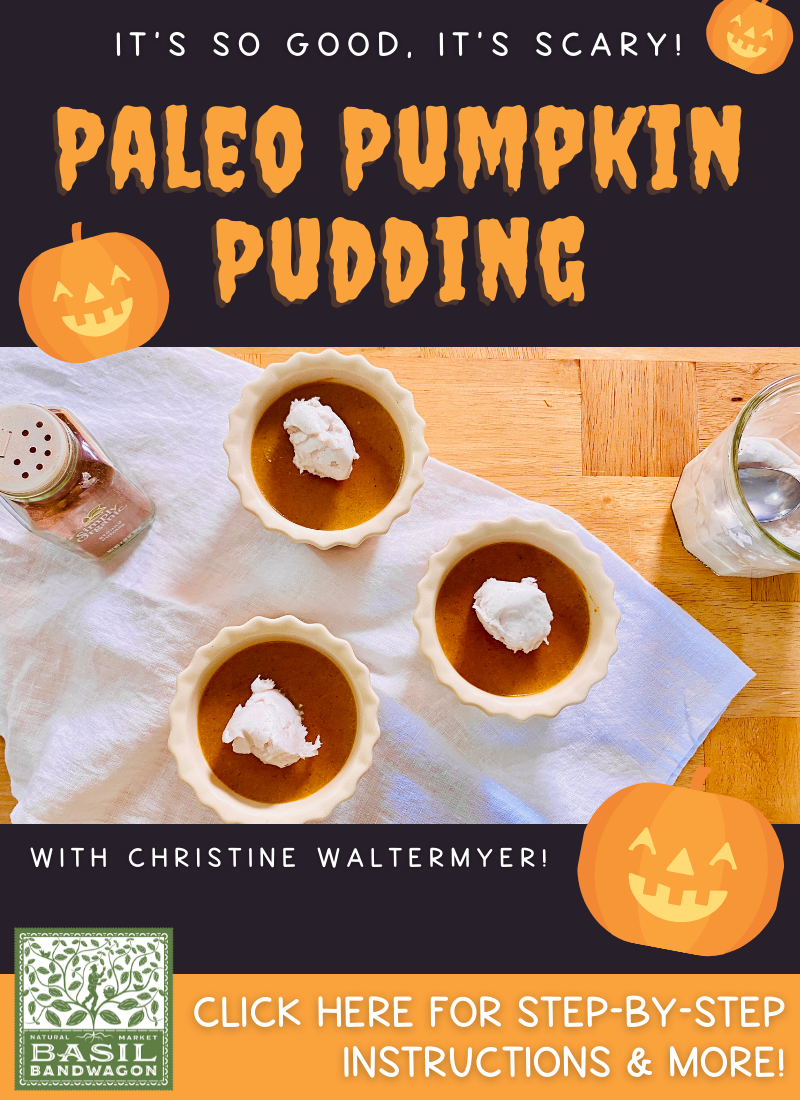
Tuesday, 10/26/21 is National Pumpkin Day! 🎃 What’s your favorite way to incorporate pumpkins this fall? Whether it’s as a decoration, gutted out for the seeds, or used in a recipe, the possibilities are endless. Christine Waltermyer and the Natural Kitchen Cooking School have picked the perfect recipe… that’s gluten-free AND egg-free! Shop all of the needed ingredients for this Paleo Pumpkin Pudding in all of our locations today!
Prep and cook the pumpkin if using: Cut the pumpkin in half. Use a large spoon to remove the seeds. Cut into big chunks. Place the chunks into a medium size saucepan. Add enough water to cover the bottom of the pan by one inch. Cover and bring to a boil over medium high heat. Reduce to simmer on medium low, covered, for 25 minutes, or until easily pierced with a fork. Transfer to a blender and blend until smooth.
In a small bowl, mix together the agar powder and warm water.
In a blender or food processor, combine ¾ cup of the pumpkin purée, coconut milk, maple syrup, almond butter, pumpkin pie spice, sea salt and vanilla bean powder. Blend for a minute or two. Transfer to a medium saucepan.
Over medium-high heat, bring the pumpkin mixture to a gentle boil, stirring occasionally. Stir in the agar-water mixture. Whisk well. Reduce the heat to low, cover, and cook for 20 minutes, whisking occasionally.
Meanwhile, make the coconut whipped cream: Place the heavy coconut cream, powdered monkfruit sweetener and vanilla bean powder in a blender. Blend until smooth. Drain any excess liquid that separates from the cream. Set aside. I don’t recommend chilling as it will get too hard.
Remove the pumpkin custard mixture from the heat. Transfer to 3 or 4 small pudding dishes. Cool to room temperature, then chill for 1 hour before serving. Serve the pumpkin custard with a dollop of coconut whipped cream and a pinch of nutmeg.
Enjoy!
Notes
Leftover pumpkin custard will keep in the refrigerator for up to 4 days.
Thank you to Christine Waltermyer and the Natural Kitchen Cooking School for working with us to help promote healthy, nutritious meals and products that are affordable, full of nutrients, and simple to make at home!
Christine Waltermyer is a local and renowned Wellness Chef, private chef to celebrities, published cookbook author and founder of the Natural Kitchen Cooking School, which offers an online Plant-Based Cooking Program. She also loves shopping at Basil Bandwagon! Visit naturalkitchenschool.com to subscribe to her email newsletter for new recipes, tips, and FREE access to the Power of Veggies mini-course!
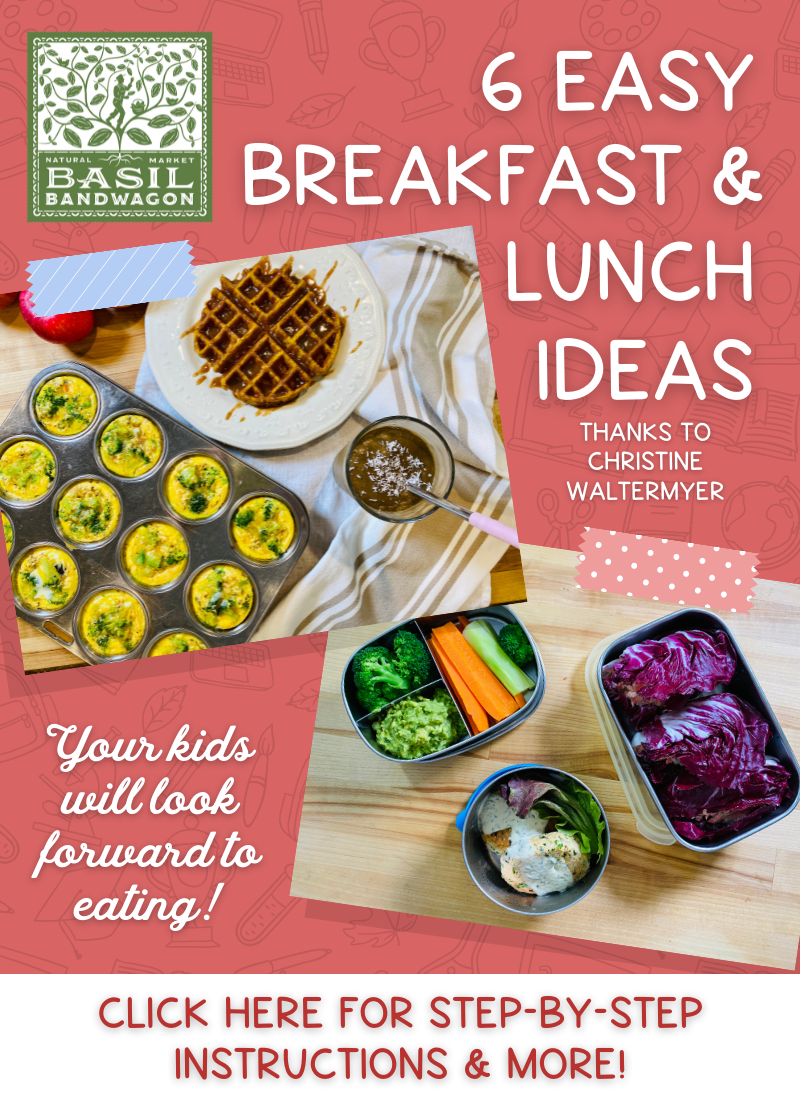
We’re more than halfway through the first half of this school year! 🤓 What better time to switch up your breakfast and lunch routines. Christine Waltermyer and the Natural Kitchen Cooking School have whipped up 6 easy recipes for us – 3 before-school breakfasts to keep them full until lunch 🧇 & 3 school lunch ideas that your kids will look forward to eating! 🥗
Place the shredded coconut and water into a blender. Blend on high for a few minutes, scraping down the sides as needed. Strain through a nut milk bag if desired.
In the blender, place the milk and all remaining ingredients. Puree until smooth.
Optional: Add a scoop of your favorite protein powder or some walnuts to add protein to this smoothie.
2tablespoonsLakanto monk fruit sweetener with erythritol
½cupunsweetened almond milk
¼cupavocado oil or melted coconut oiloptional
2eggs
½cupshredded carrot
Maple Almond Butter Topping:
¼cup almond butter
¼cupmaple syrup
Instructions
In a large bowl, combine the almond flour, coconut flour, sea salt, baking powder, vanilla powder, pumpkin pie spice, and monk fruit sweetener. Whisk to blend together.
Add the almond milk and optional avocado oil if using. In a small bowl, beat the eggs, then add them to the almond flour mixture. Stir well. Add the shredded carrot and fold in gently.
Preheat the waffle iron. Just before adding the batter, lightly brush with a silicone brush or spray the waffle iron with a little avocado oil or coconut oil. Using a spoon or measuring cup, quickly add half of the batter (about 1 cup). Spread it evenly over the waffle iron, then close it.
If you have the kind of waffle iron you can flip, cook for about 2 to 3 minutes on one side, then flip it. Cook for an additional 2 ½ minutes on the other side. If you have a regular waffle iron that does not flip, just cook for 4 to 5 minutes.
Carefully open the waffle iron. Let the cooked waffle cool slightly before removing. Repeat with remaining batter.
To make the maple almond butter topping: In a small bowl, mix together the almond butter and maple syrup. Serve the waffles warm, spread with the maple almond butter.
Heat a medium size cast iron skillet or other skillet of your choice over medium heat. Add the red onion, a small splash of water and a pinch of the sea salt. Cook for a few minutes, until they start to soften. Add the carrots, and another pinch of sea salt and splash of water. Cook for another few minutes, or until all vegetables are tender.
Crack all of the eggs into a large bowl. Beat the eggs. Add the Dijon mustard, sea salt and black pepper. Stir again.
Preheat the oven to 350 degrees F.
Prepare your muffin tin by generously greasing each muffin cup with some coconut oil or avocado oil. Add a spoonful of the cooked red onion-carrot mixture to each cup, evenly distributing the veggies among the 12 muffin cups.
Pour some of the egg mixture into each muffin cup, dividing equally. Bake for 25 minutes or until the tops are set and no longer wet. Cool for 15 minutes. Use a knife around the edges to release the egg muffin cups from the muffin tin.
½teaspoonsea salt (+ more for sprinkling on the finished patties)
a few grinds of freshly cracked black pepper
2tablespoonsavocado oil or coconut oil for frying
For the Dill Sauce:
½cupavocado mayonnaise
1teaspoondijon mustard
1tablespoonfresh dillfinely chopped
2teaspoonslemon juice
Instructions
Drain the canned salmon and place in a large bowl.
Add the eggs, almond flour, scallions, parsley, sea salt and pepper. Mix well, cover and refrigerate for 15 minutes.
Form the salmon mixture into 7 or so patties.
Heat a large skillet over medium heat. Add the avocado or coconut oil, and quickly add the salmon patties. Depending on the size of your skillet, you can add all of them or just 4 patties at a time.
Cook for about 4 or 5 minutes on one side. Using a spatula, carefully turn each patty. Fry for another few minutes on the other side.
To make the dill sauce: In a small bowl, combine all of the dill sauce ingredients. Stir well. Serve the salmon patties warm, drizzled with the dill sauce.
Pat the salmon dry using a paper towel. Sprinkle with sea salt and pepper.
Heat a skillet over medium heat. Add the avocado oil, then quickly add the salmon, flesh side-down. Cook uncovered for 4 to 5 minutes. Use a spatula to turn the salmon. Cook for three more minutes on the other side.
Once the salmon has cooled to the touch, remove any bones. You can also remove the skin and gray-colored fat if desired. Using a fork, flake the salmon apart. Place the prepared salmon in a large bowl.
Add the celery, onion, lemon juice, sea salt and pepper to taste, fresh dill and mayonnaise. Stir to combine and adjust seasoning to taste.
Fill radicchio or butter lettuce leaves with a generous spoonful of the salmon salad per leaf.
1cupbroccoli – a combination of broccoli florets & peeled stemssliced
sea salt
1avocadopitted
2teaspoonsfresh cilantrochopped
½teaspoonsea saltor to taste
black pepperto taste
1tablespoonchopped onion
1teaspoonfresh lime juiceor more to taste
Instructions
In a medium saucepan, bring a few inches of lightly salted water to a boil over medium high heat. Keep a strainer or colander nearby, with a plate underneath. Drop the broccoli florets and peeled stems into the water. Cook for a few minutes.
Remove the broccoli with a slotted spoon. Place them in the strainer to cool.
Bring the water back to a boil, then drop in the carrot planks. Cook for a few minutes. Remove the carrot planks with a slotted spoon. Place them in the strainer to cool.
Make the guacamole: In a large bowl, mash the avocados. Add the sea salt and black pepper to taste. Add the lime juice, cilantro, chopped onion and lime juice. Stir well.
Serve the cooled vegetables and guacamole, or pack them into a portioned lunch container as a snack on the go.
Enjoy!
Thank you to Christine Waltermyer and the Natural Kitchen Cooking School for working with us to help promote healthy, nutritious meals and products that are affordable, full of nutrients, and simple to make at home!
Christine Waltermyer is a local and renowned Wellness Chef, private chef to celebrities, published cookbook author and founder of the Natural Kitchen Cooking School, which offers an online Plant-Based Cooking Program. She also loves shopping at Basil Bandwagon! Visit naturalkitchenschool.com to subscribe to her email newsletter for new recipes, tips, and FREE access to the Power of Veggies mini-course!
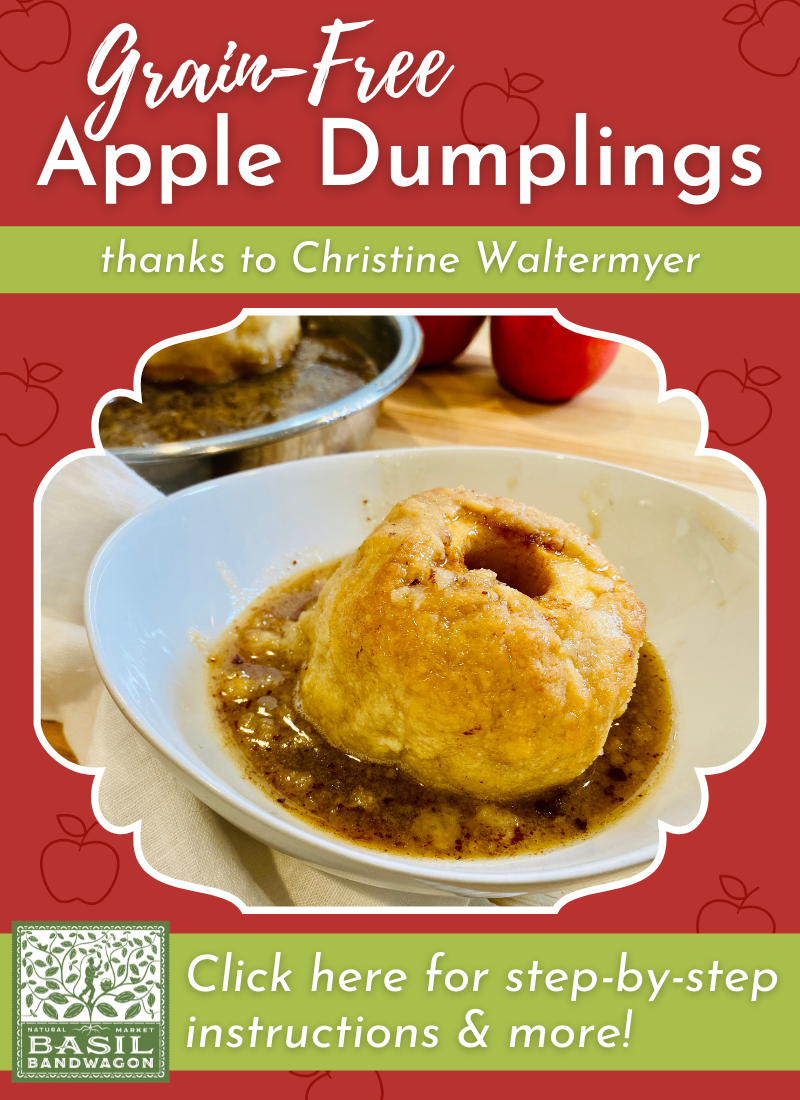
Christine Waltermyer and the Natural Kitchen Cooking School are awesome to the CORE! 🍎Whether you pick-your-own or you pick some up the next time you’re shopping with us, we have the perfect recipe for you – and it’s GRAIN-FREE! Just in time for National Apple Day on Thursday, October 21, 2021. Trust us, you’ll live apple-ly ever after once you’ve made some at home! (Okay, we’ll stop with the apple puns now 😄)
Keyword apple, breakfast, dessert, dumplings, grain-free, side
Servings 3
Ingredients
3applespeeled and cored
1tablespoonbutter of your choice
½ cupbutter of your choice
2teaspoonsmonkfruit sweetener with erythritol + extra for sprinkling the apples before baking
1teaspooncinnamon
1 ½cupsalmond flourdivided
1tablespooncoconut flour
2tablespoonsarrowroot powder
½teaspoonsea salt
½teaspoonbaking powder
¼cupalmond milk
Sauce
1-2cupswater
1teaspoonarrowroot powder+ 1 tablespoon cold water
½cupmonkfruit erythritol sweetner
2tablespoonsbutter of your choice
1 teaspoonmolasses
½teaspooncinnamon
Fewpinchessea salt
Instructions
Lightly oil a medium size baking dish.
Slice a thin piece off the bottom of each apple so that they sit evenly. In a small bowl, combine together 1 tablespoon of the butter, 1 teaspoon of the monkfruit sweetener and cinnamon. Fill each apple with a spoonful of this mixture.
Make the dough: In a food processor, combine ¾ cup of the almond flour, coconut flour, arrowroot powder, sea salt, baking powder and 1 teaspoon of the monkfruit sweetener. Process to blend. Add ½ cup of cold, cubed butter. Add the almond milk. Add the remaining ¾ cup almond flour. Blend again. Turn the dough onto a piece of parchment paper dusted with arrowroot powder. Shape the dough into a flat disk. Cut into 3 equal size pieces and reform the pieces into a round flat disk. Wrap each disk of dough with parchment paper or plastic wrap. Chill in the refrigerator for 30 minutes.
Make the sauce: In a small saucepan, place the water. Use less water for a sweeter, more concentrated sauce. Or use 2 cups if you like more sauce with your dumplings. In a small bowl, stir together the arrowroot and the tablespoon of cold water. To the saucepan, add the monk fruit sweetener, butter, molasses, diluted arrowroot, cinnamon and sea salt. Simmer over medium low heat for 30 minutes. If you like your sauce sweeter, feel free to add more sweetener.
Preheat the oven to 350 degrees F. Remove chilled dough from the refrigerator. Place one disk of dough between two sheets of parchment paper. Roll into a 6-inch circle. Place one of the prepared apples in the center of the dough. Use the parchment paper to wrap the dough up around the sides of the apple, covering it with the circle of dough. Repeat with remaining dough and apples. Place the apples in the prepared baking dish. Bake for 30 minutes.
Spoon the sauce over the apples to fill the baking dish. Sprinkle with a little extra monkfruit sweetener. Bake for another 20 minutes. Serve warm, drizzled with the sauce.
Enjoy!
Thank you to Christine Waltermyer and the Natural Kitchen Cooking School for working with us to help promote healthy, nutritious meals and products that are affordable, full of nutrients, and simple to make at home!