
Dairy Free Carrot Cake
Ingredients
DRY
- 2½ cups Bob's Red Mill Paleo Baking Flour
- ½ teaspoon sea salt
- 2 teaspoons cinnamon
- ¼ teaspoon nutmeg
- 1 teaspoon baking soda
- ¼ cup maple sugar
WET
- 4 eggs
- ¼ cup almond milk
- 1 teaspoon vanilla extract
- ¼ cup fresh orange juice
- ½ cup maple syrup
- ⅓ cup melted coconut oil cooled
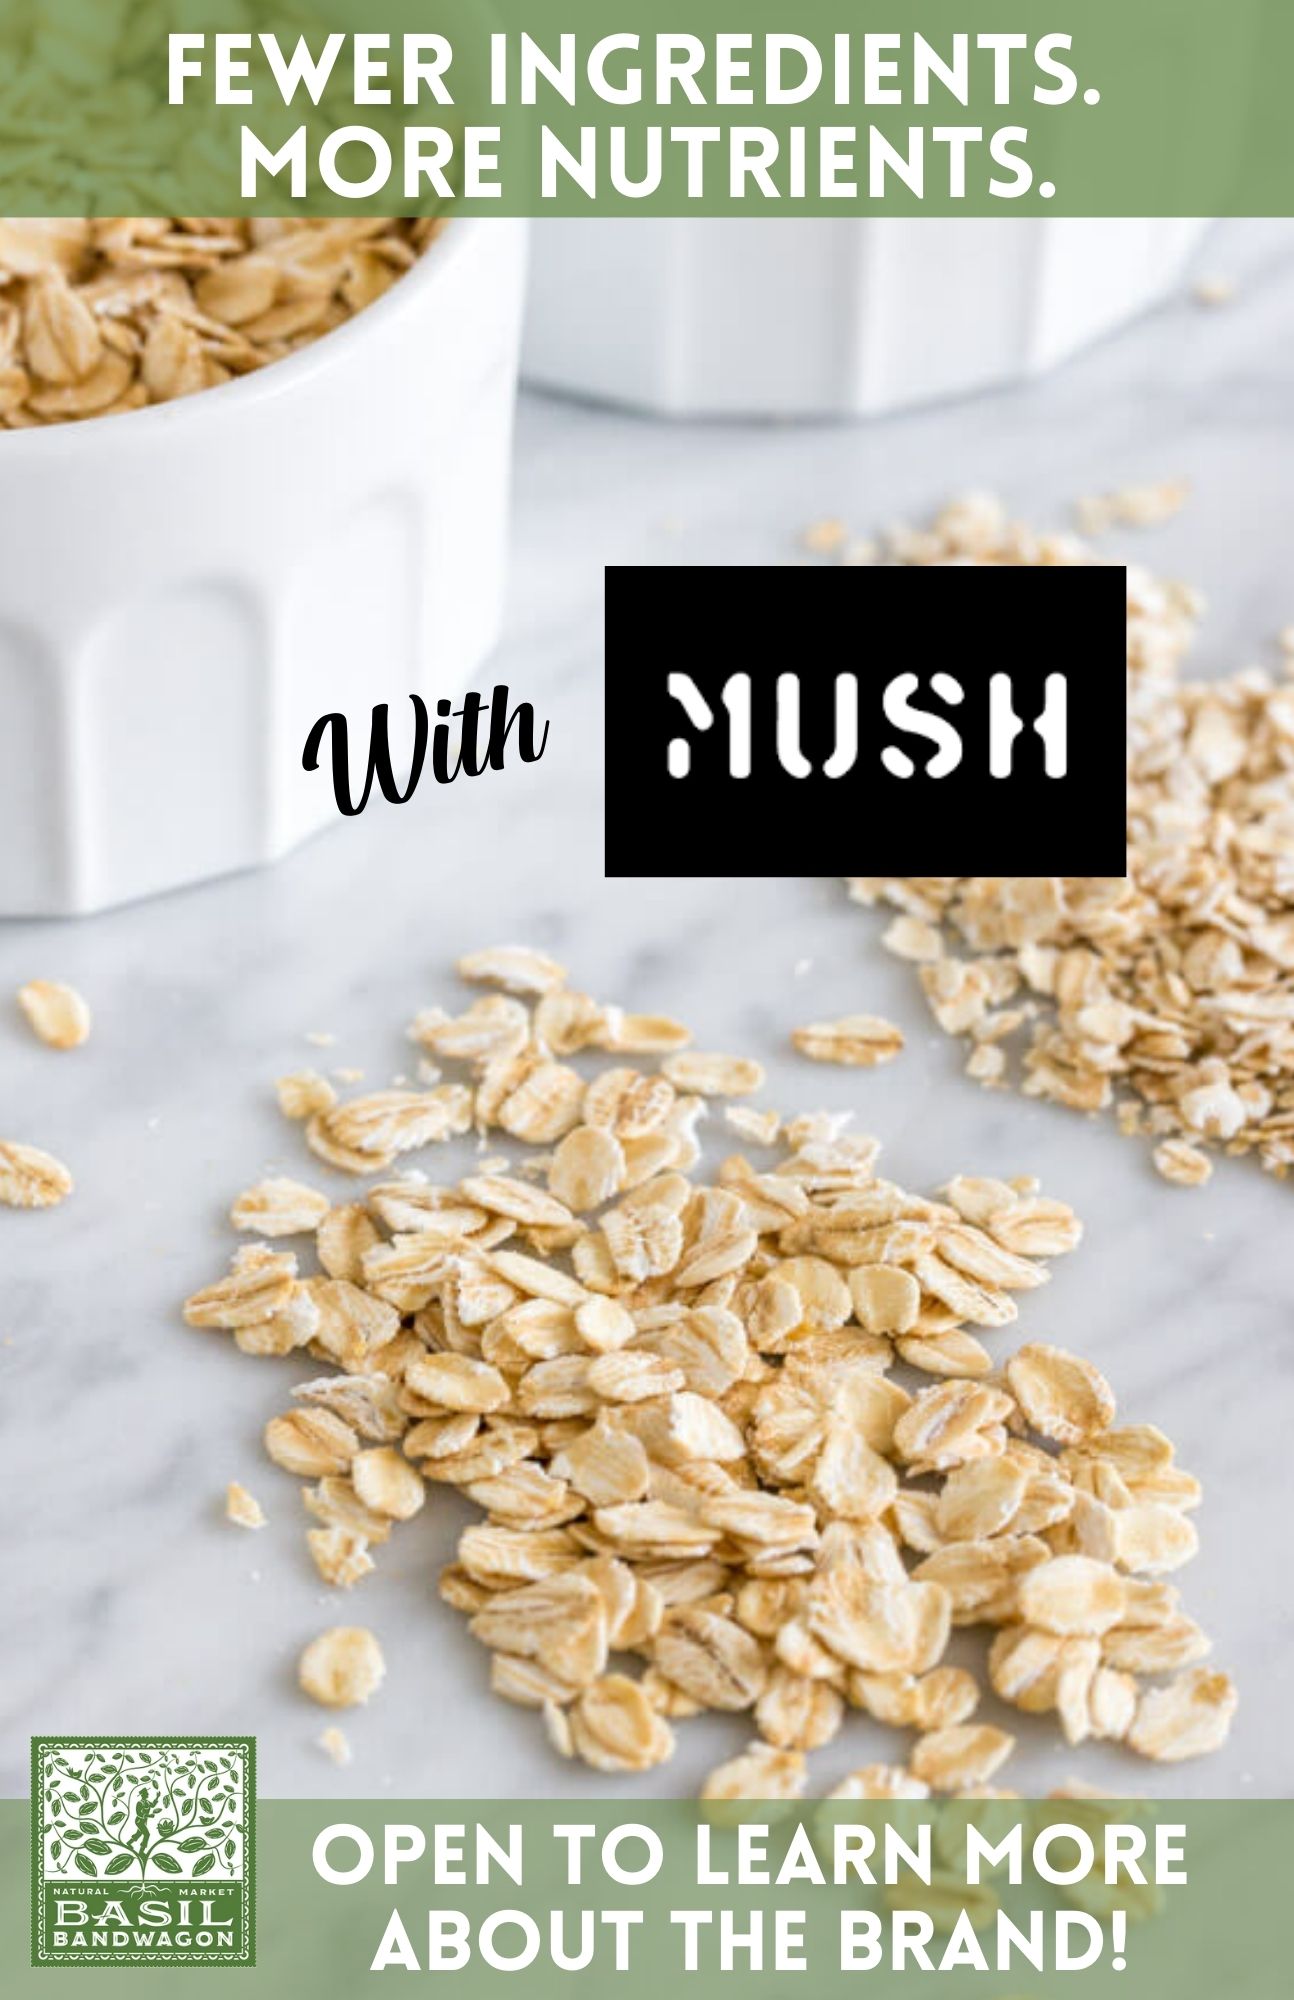
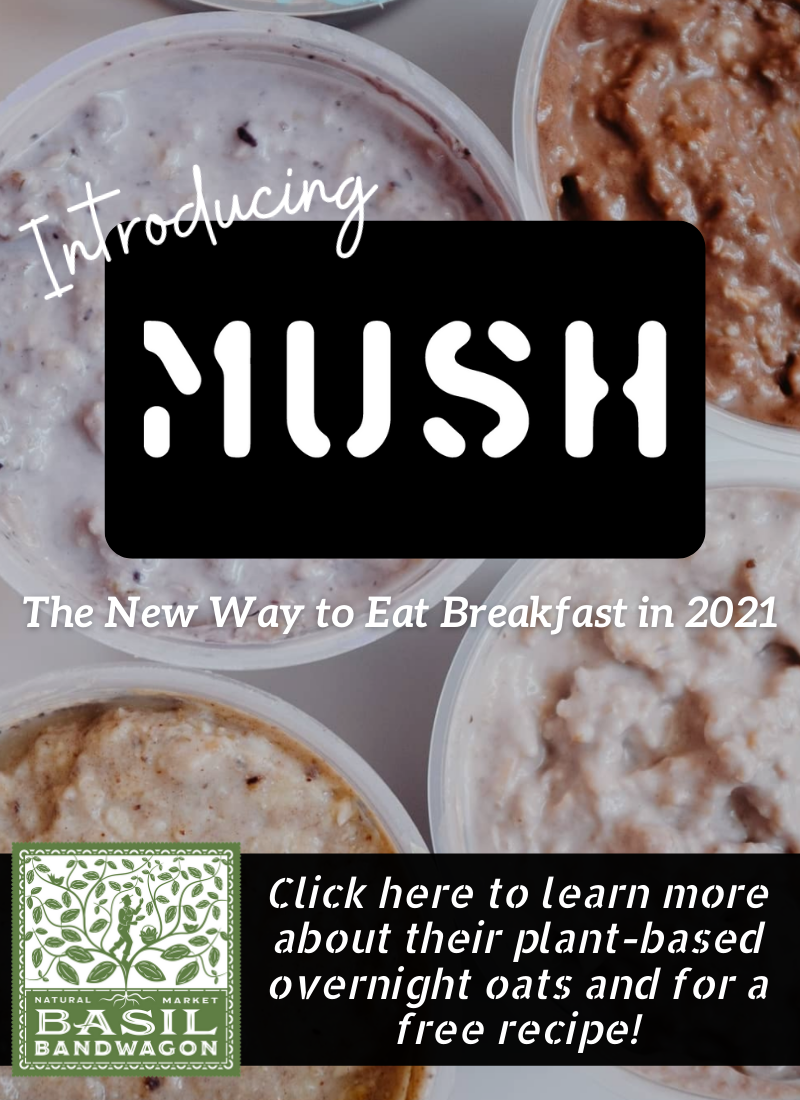
- ⅓ cup MUSH brand overnight oats or cooked oatmeal (or almond butter)
- 3 cups coarsely grated carrots
- ½ cup chopped walnuts
CREAM CHEESE FROSTING
- 1 stick dairy-free butter or butter of your choice
- 8 oz. Kite Hill cream cheese or other cream cheese of your choice
- 1 teaspoon vanilla extract
- 2 cups powdered sugar
- 1 cup monkfruit sweetener (or 1 more cup of powdered sugar)
DECORATION
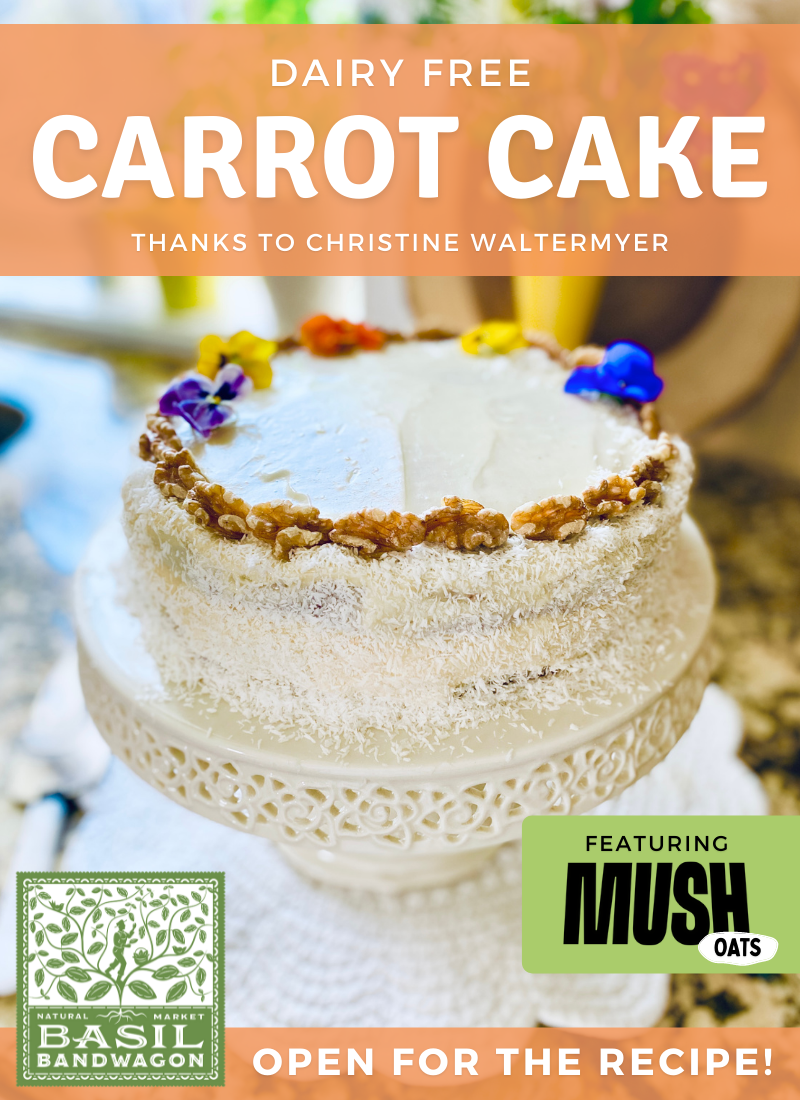
- Shredded coconut
- Edible flowers
Instructions
- Preheat the oven to 350 degrees F. In a large bowl, combine all of the dry ingredients.
- In a separate bowl, combine all of the wet ingredients. Combine the wet and dry ingredients together. Fold in the MUSH overnight oats, carrots and walnuts.
- Divide the batter between two lightly oiled 8-inch cake pans lined with parchment paper on the bottoms. Bake at 350 degrees F. for 35 minutes, or when the cakes spring back to the touch in the center. Check them after 30 minutes to avoid overbaking.
- While the cakes are baking, prepare the frosting. Place all of the frosting ingredients in a food processor or stand mixer. Blend until smooth.
- Remove finished cakes from the oven. Use a wet knife to loosen the sides of the cakes. Carefully flip the cakes onto cake cardboards or directly on cooling racks to cool. Once completely cool, frost the top of one cake. Place the other cake on top. Frost the top and sides of the cake.
- Decorate with shredded coconut pressed into the sides of the cake and around the top in a circle. Add edible flowers for a pretty touch.
- Enjoy!
Resources: