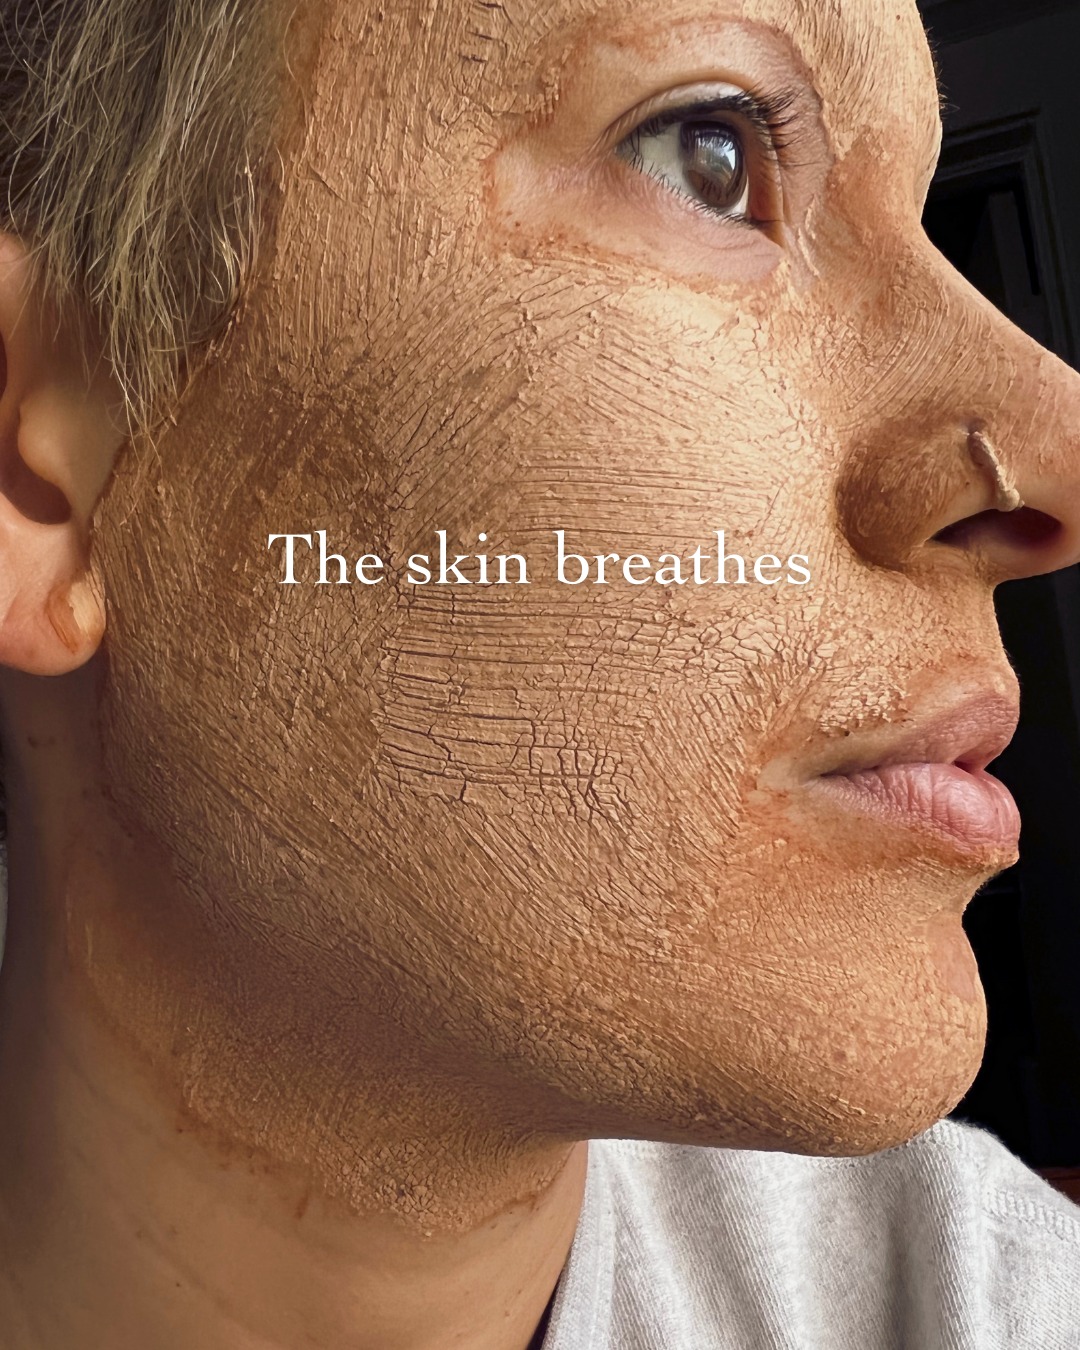
The Skin Breathes with evanhealy
“Remember: our skin is alive, it breathes, it is our largest organ. It has a rhythm, an inhalation, and an exhalation.” Plants and our skin speak the same language – and it should be a clean one. Check out one of their latest blog posts here to learn more about this natural connection.
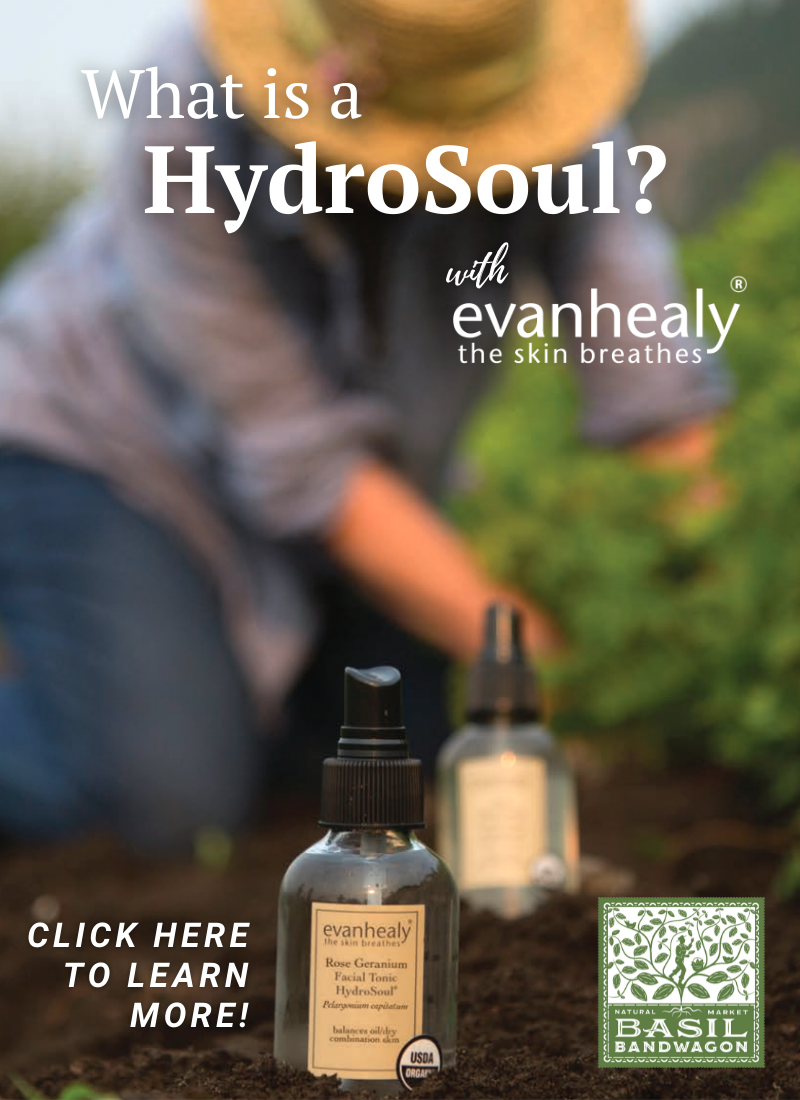
Have you ever wondered where evanhealy sources their herbal ingredients from?
They source ingredients from remarkable human beings who share their values – “stewards of the Earth with a reverence for the sacredness of nature and human connection, who have a passion for the work they do.” That’s why they work directly with small family farms around the United States and Europe, and women’s co-ops & co-op villages in Africa.
Every year, they invite their teams to witness and participate in the harvest and distillation of their own organic, artisan distilled hydrosouls. Want to take a look? Check out the video below!
Want to try them for yourself? Purchase any of their products before their 20% OFF sale ends April 30, 2023!
Resources
https://www.evanhealy.com/blogs/stories/plants-and-skin-speak-the-same-language
https://www.evanhealy.com/blogs/stories/plants-and-skin-speak-the-same-language