Thanks to Christine Waltermyer & The Natural Kitchen Cooking School!
Christine Waltermyer is a local and renowned Wellness Chef, private chef to celebrities, published cookbook author and founder of the Natural Kitchen Cooking School, which offers an online Plant-Based Cooking Program. She also loves shopping at Basil Bandwagon! Visit naturalkitchenschool.com to subscribe to her email newsletter for new recipes, tips, and FREE access to the Power of Veggies mini-course!
Not only does inflammation cause discomfort and pain, but it could lead to other health conditions ranging from Arthritis to IBS (Irritable Bowel Syndrome). Certain foods from our diet contribute to inflammation in our bodies – however, not everyone will experience the same flare-ups. One way to help control them is to eat a diet that’s rich in anti-inflammatory foods – like salads! You can mix and match your favorite toppings to make a powerhouse meal that’s delicious, nutritious and full of added health benefits. Check out Christine Waltermyer and the Natural Kitchen Cooking School’s favorite anti-inflammatory salad recipe below – Mesclun Salad with Walnuts & Blueberries!
Place in a large salad bowl: mesclun salad mix, walnuts, blueberries, oranges and fennel.
In a small glass jar with a lid, place all of the dressing ingredients. Shake well.
Pour the dressing over the salad, toss and serve.
Enjoy!
Notes
If not serving the salad right away, store the dressing and covered salad separately until ready to serve.
Thank you to Christine Waltermyer and the Natural Kitchen Cooking School for working with us to help promote healthy, nutritious meals and products that are affordable, full of nutrients, and simple to make at home!
With Christine Waltermyer & The Natural Kitchen Cooking School!
Christine Waltermyer is a local and renowned Wellness Chef, private chef to celebrities, published cookbook author and founder of the Natural Kitchen Cooking School, which offers an online Plant-Based Cooking Program. She also loves shopping at Basil Bandwagon! Visit naturalkitchenschool.com to subscribe to her email newsletter for new recipes, tips, and FREE access to the Power of Veggies mini-course!
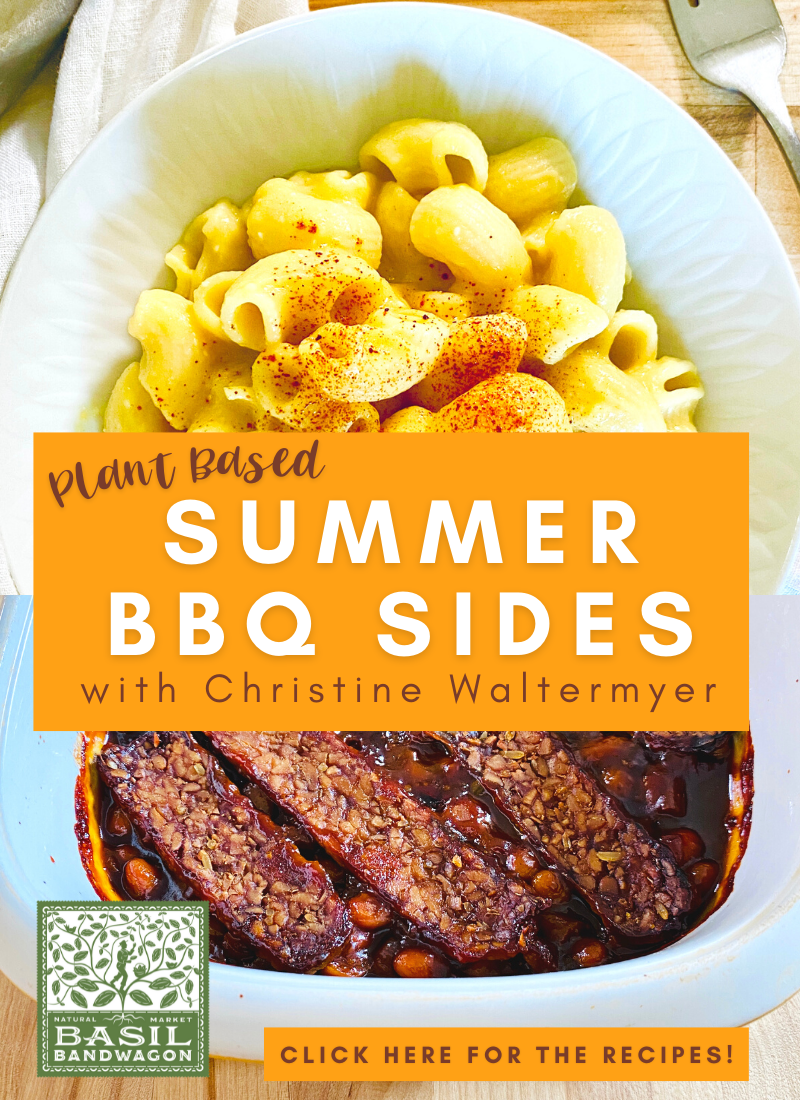
Summer is the time for graduation parties, Father’s Day cookouts, backyard BBQs and so much more! Thanks to Christine Waltermyer and The Natural Kitchen Cooking School, you can WOW your guests with plant-based spins on traditional BBQ favorites.
2cupscooked white beans (Great Northern or Navy beans)
4stripsLightlife tempeh smoky bacon
Instructions
Preheat the oven to 350 degrees F.
In a medium saucepan, warm 1 tablespoon of the olive oil over medium heat. Add the onion and a pinch of the sea salt. Cook and stir for five minutes.
To the saucepan, add the apple butter, maple syrup, apple cider vinegar, Worcestershire sauce, molasses, brown sugar, mustard and cooked beans. Stir until all of the ingredients are well combined.
In a large skillet, heat the remaining 1 tablespoon of olive oil over medium heat. Add the Lightlife tempeh smoky bacon strips and fry for a few minutes on one side, until golden. Turn the strips to fry the other side for a few minutes.
Pour the baked bean mixture into a lightly greased medium size casserole dish. I used an 8 x 8-inch dish. Top with the strips of tempeh bacon. I baked my beans uncovered, but feel free to cover them with a lid or aluminum foil if you like your beans more moist and less dry. Bake for 1 hour. Serve warm.
Enjoy!
Notes
If you prefer to use less variety of sweeteners, you can substitute an equal amount of one for another. For example, instead of using the 2 Tbsp. of brown sugar, you could increase the maple syrup by 2 Tbsp.
2teaspoonsarrowroot flour, mixed with 1 tablespoon cold water
Smoked paprika
Instructions
In a medium size pot place the cauliflower florets, the water, onion powder, turmeric and dry mustard. Bring to a boil over medium high heat. Cover and reduce the heat to simmer on low for 10 minutes, or until fork-tender.
Meanwhile, heat a large pot of water to boil the pasta. Once it comes to a boil, add the pasta and cook according to package directions. Drain the pasta.
Carefully pour the cooked cauliflower mixture into a high speed blender. Puree until smooth. Pour the sauce back into the pot. Add the miso, sea salt, lemon juice, arrowroot flour and a shake of the smoked paprika. Cook for another few minutes on medium low heat. Whisk continuously until nicely thickened.
Pour the cauliflower sauce over the pasta and enjoy warm, sprinkled with a little extra smoked paprika.
Enjoy!
Thank you to Christine Waltermyer and the Natural Kitchen Cooking School for working with us to help promote healthy, nutritious meals and products that are affordable, full of nutrients, and simple to make at home!
Thanks to Christine Waltermyer & The Natural Kitchen Cooking School!
Christine Waltermyer is a local and renowned Wellness Chef, private chef to celebrities, published cookbook author and founder of the Natural Kitchen Cooking School, which offers an online Plant-Based Cooking Program. She also loves shopping at Basil Bandwagon! Visit naturalkitchenschool.com to subscribe to her email newsletter for new recipes, tips, and FREE access to the Power of Veggies mini-course!
If you LOVE mangoes then this recipe is just what you’re looking for. Thanks to Christine Waltermyer and The Natural Kitchen Cooking School, we’re learning how to cut a mango and use them to make a refreshing smoothie that you and your kids will love! Bonus – if you have leftover smoothie, you can turn them into frozen popsicles. Whether you like mangoes fresh or frozen, you’ll always know your snack is nutritious, delicious and will bring you an instant energy boost!
Place all ingredients in a high-powered blender and puree until smooth. Enjoy served in a tall glass with a straw!
Notes
Leftover smoothie makes great popsicles! Just pour into popsicle molds and freeze.
Thank you to Christine Waltermyer and the Natural Kitchen Cooking School for working with us to help promote healthy, nutritious meals and products that are affordable, full of nutrients, and simple to make at home!
Thanks to Christine Waltermyer & The Natural Kitchen Cooking School!
Christine Waltermyer is a local and renowned Wellness Chef, private chef to celebrities, published cookbook author and founder of the Natural Kitchen Cooking School, which offers an online Plant-Based Cooking Program. She also loves shopping at Basil Bandwagon! Visit naturalkitchenschool.com to subscribe to her email newsletter for new recipes, tips, and FREE access to the Power of Veggies mini-course!
Did you know Collard greens are the oldest leafy green within the cabbage family dating back 2000 years, originally grown by the ancient Greeks and Romans! This low calorie vegetable is packed with many nutrients like Vitamins K, C, A, calcium and folate. Thanks to Christine Waltermyer and the Natural Kitchen Cooking School, you can learn how to properly sauté these greens so that your whole family will love them, too!
Keyword collard greens, collards, how-to, sauté, side
Servings 8
Ingredients
½ to 1cupwater
1bunchcollard greensstems trimmed and leaves cut into small pieces
1cupsliced scallions
Sea salt and pepper to taste
Splash lemon juice
Instructions
Place the water in a large skillet and heat on medium high heat. Add the collard greens, scallions, sea salt, pepper and lemon juice.
Cover and cook on high for 3 to 5 minutes. Stir occasionally. Serve as is or with your favorite dressing.
Enjoy!
Thank you to Christine Waltermyer and the Natural Kitchen Cooking School for working with us to help promote healthy, nutritious meals and products that are affordable, full of nutrients, and simple to make at home!
Thanks to Christine Waltermyer & The Natural Kitchen Cooking School!
Christine Waltermyer is a local and renowned Wellness Chef, private chef to celebrities, published cookbook author and founder of the Natural Kitchen Cooking School, which offers an online Plant-Based Cooking Program. She also loves shopping at Basil Bandwagon! Visit naturalkitchenschool.com to subscribe to her email newsletter for new recipes, tips, and FREE access to the Power of Veggies mini-course!
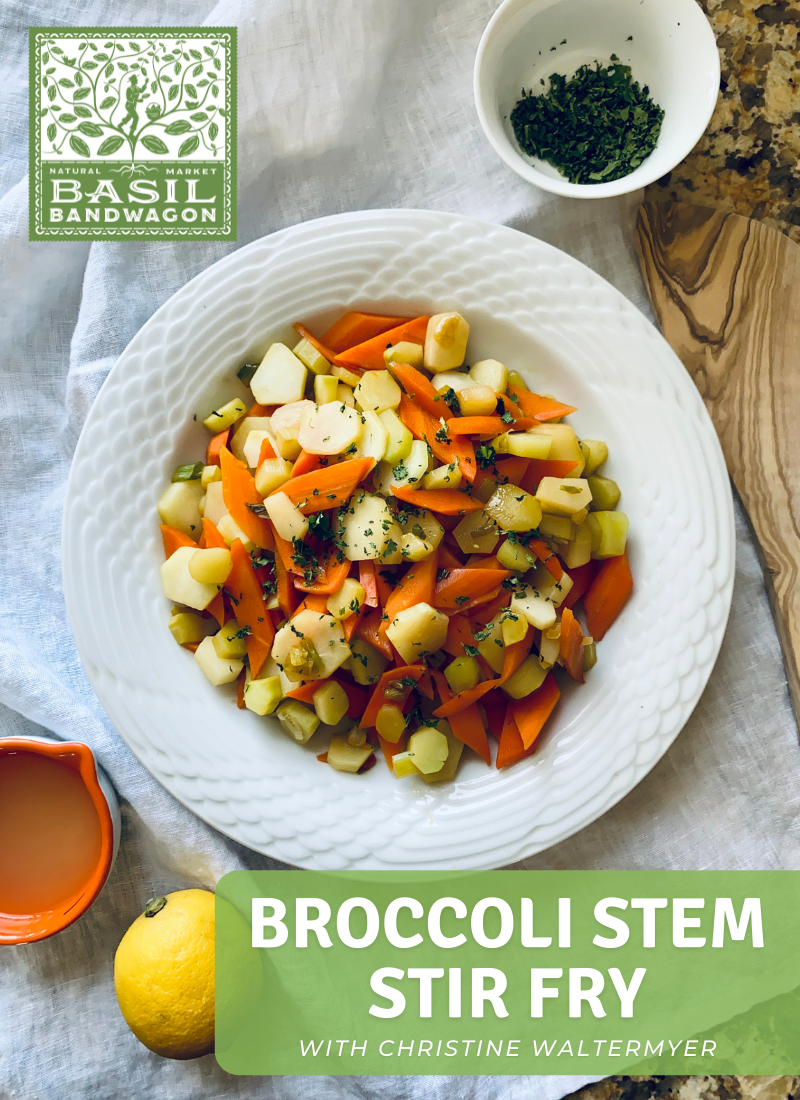
Happy Earth Month! Let’s talk about food waste. Did you know every year, each American throws out about 1,200 pounds of organic garbage that could be composted? There are other ways to decrease this amount (other than simply composting). One way is to use your food scraps to make another recipe! Check out this Earth friendly Broccoli Stem Stir Fry recipe thanks to Christine Waltermyer and The Natural Kitchen Cooking School. All ingredients can be found at your local Basil Bandwagon Natural Market.
2cupscarrotssliced into rounds or "lozenges" (I refer to this as the ribbon cut in my video)
2cupspeeled broccoli stemssliced
½cupscallionssliced
¼cupbroth
2tablespoonscoconut aminos
2teaspoonslemon juice
1tablespoonmaple syrup
Sea salt to taste
Instructions
Heat a large skillet over medium high heat. Add the broth and heat it briefly.
Add the carrots and a few drops of the coconut aminos. Cook and stir for a minute or two. Add the broccoli stems. Cook and stir for another minute or two.
Add the remaining coconut aminos, scallions, maple syrup, and lemon juice. Cook and stir for a minute. Cover and cook for a few more minutes. Continue cooking to your desired tenderness. Depending how long you cook this, you may need to add a splash of water or more coconut aminos to prevent the vegetables from sticking to the pan. If needed, adjust seasoning to taste by adding a little more seasoning.
Plate and serve warm. Enjoy!
Thank you to Christine Waltermyer and the Natural Kitchen Cooking School for working with us to help promote healthy, nutritious meals and products that are affordable, full of nutrients, and simple to make at home!
Thanks to Christine Waltermyer, The Natural Kitchen Cooking School & MUSH Overnight Oats!
Christine Waltermyer is a local and renowned Wellness Chef, private chef to celebrities, published cookbook author and founder of the Natural Kitchen Cooking School, which offers an online Plant-Based Cooking Program. She also loves shopping at Basil Bandwagon! Visit naturalkitchenschool.com to subscribe to her email newsletter for new recipes, tips, and FREE access to the Power of Veggies mini-course!
What’s one of your favorite Easter desserts? One of ours is carrot cake! However, we like to make it with a fun, healthy twist – including MUSH Overnight Oats!
Why add MUSH Overnight Oats? It gives a moist, flavorful texture to the cake while adding even more health benefits! All grains including oats contain phytic acid, which binds to nutrients and makes them harder to absorb. Soaking oats breaks down this acid and helps increase the absorption of nutrients, like zinc, iron, calcium and magnesium. Since carrots are loaded with vitamins and minerals, such as calcium, adding MUSH can even help absorb it!
We’re not saying that you have to add them to your carrot cake – you can just eat these overnight oats straight out of the container with a spoon. Or add them to your morning smoothie. The possibilities are endless – go try all of their flavors!
Keep scrolling to learn how to make this Dairy Free Carrot Cake with MUSH Overnight Oats thanks to Christine Waltermyer and the Natural Kitchen Cooking School. All ingredients can be found at your favorite local Basil Bandwagon Natural Market location.
8oz.Kite Hill cream cheeseor other cream cheese of your choice
1teaspoonvanilla extract
2cupspowdered sugar
1cupmonkfruit sweetener(or 1 more cup of powdered sugar)
DECORATION
Shredded coconut
Edible flowers
Instructions
Preheat the oven to 350 degrees F. In a large bowl, combine all of the dry ingredients.
In a separate bowl, combine all of the wet ingredients. Combine the wet and dry ingredients together. Fold in the MUSH overnight oats, carrots and walnuts.
Divide the batter between two lightly oiled 8-inch cake pans lined with parchment paper on the bottoms. Bake at 350 degrees F. for 35 minutes, or when the cakes spring back to the touch in the center. Check them after 30 minutes to avoid overbaking.
While the cakes are baking, prepare the frosting. Place all of the frosting ingredients in a food processor or stand mixer. Blend until smooth.
Remove finished cakes from the oven. Use a wet knife to loosen the sides of the cakes. Carefully flip the cakes onto cake cardboards or directly on cooling racks to cool. Once completely cool, frost the top of one cake. Place the other cake on top. Frost the top and sides of the cake.
Decorate with shredded coconut pressed into the sides of the cake and around the top in a circle. Add edible flowers for a pretty touch.
Enjoy!
Thank you to Christine Waltermyer and the Natural Kitchen Cooking School for working with us to help promote healthy, nutritious meals and products that are affordable, full of nutrients, and simple to make at home!
Thanks to Christine Waltermyer & The Natural Kitchen Cooking School
Christine Waltermyer is a local and renowned Wellness Chef, private chef to celebrities, published cookbook author and founder of the Natural Kitchen Cooking School, which offers an online Plant-Based Cooking Program. She also loves shopping at Basil Bandwagon! Visit naturalkitchenschool.com to subscribe to her email newsletter for new recipes, tips, and FREE access to the Power of Veggies mini-course!
Do you have a hard time cooking rice? Thanks to Christine Waltermyer and the Natural Kitchen Cooking School, you can learn the best tips and tricks for making the perfect, fluffy rice – just like your favorite restaurants do!
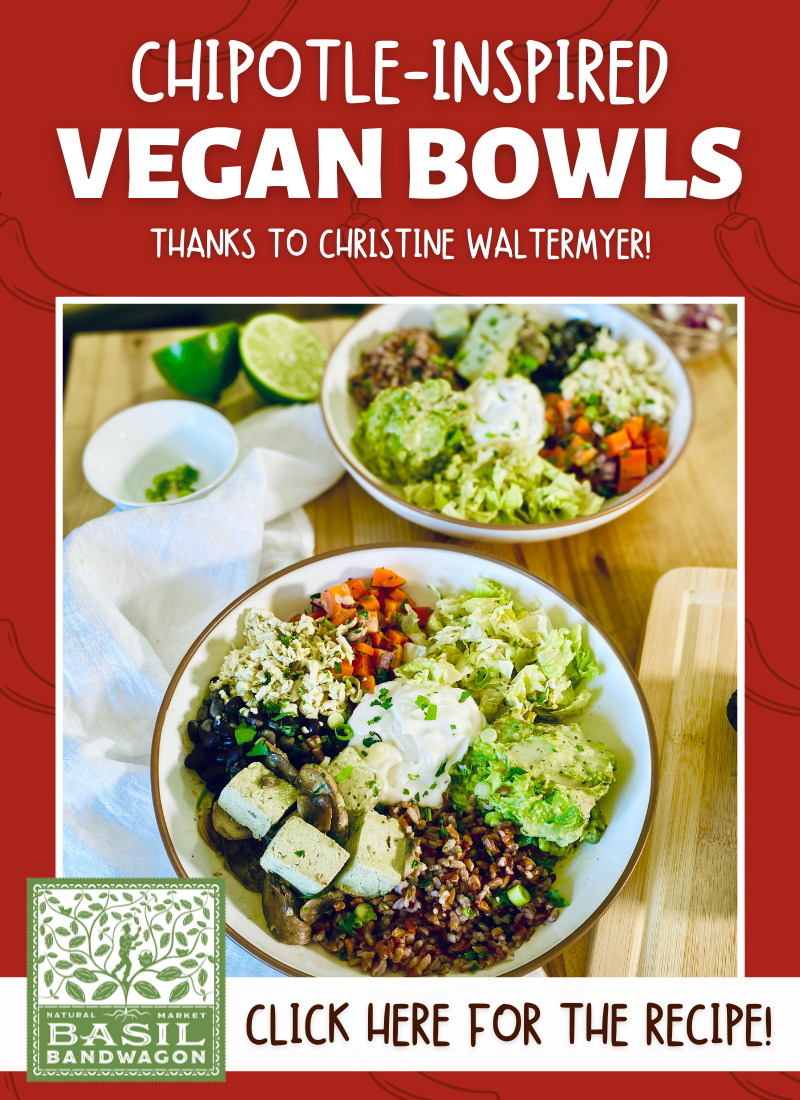
What could make this even better? Learning how to make Chipotle-Inspired Vegan Bowls!
All ingredients – including Lotus Foods Rice (on sale!) – can be found at your favorite Basil Bandwagon Natural Market today.
1cupLotus Foods pink riceor other uncooked rice of your choice
1tablespoonlime juice
1tablespoonsliced scallion
3tablespoonschopped cilantro
Carrot Pico De Gallo
2large carrotsdiced (about 2 cups)
¼cupdiced red onion
Sea salt to taste
1tablespoonlime juice
Guacamole
2avocados
2teaspoonslime juice
1tablespoondiced red onion
2teaspoonschopped cilantro
Sea salt
Pumfu & Mushrooms
1tablespoonolive oil
8ouncesbutton mushroomssliced
8ouncesPumfudiced
For The Bowls
Shredded lettuce
8ouncesdairy-free sour cream (I used Kite Hill)
4ouncesshredded vegan cheese or cheese of your choice (I used Nuts for Cheese Black Garlic)
Fresh cilantrochopped
Primal Kitchen Cilantro Lime
Instructions
Cook the black beans according to package directions.
Rinse the rice. Bring a medium size pot of water to a boil. Add the rinsed rice. Boil it for a few minutes. Drain through a strainer and rinse. Place the rice back in the pot and add 1 ¾ cup fresh water. Bring to a boil over medium high heat. Reduce the heat to low and cover. Cook for 40 minutes or until tender. Place in a bowl to cool. Add the lime juice, scallion and cilantro. Stir well.
Place the diced carrots in a medium pot. Add 1 cup water. Bring to a boil over medium high heat. Reduce the heat to low and cook, covered, for 20 minutes. Drain any remaining water and place the carrots in a bowl. Add the remaining Pico De Gallo ingredients. Stir well. Set aside.
Make the guacamole. Remove the pits from the avocados. Scoop out the avocado and place it in a large bowl. Partially mash the avocado. Add the remaining guacamole ingredients and stir to combine.
Prepare the Pumfu and mushrooms: Heat a large skillet over medium heat. Add the sliced mushrooms and a pinch or two of sea salt. Cook and stir for a few minutes. Add a tablespoon of the dairy-free sour cream. Cook and stir for a few minutes. Add the Pumfu. If you want to add seasonings like fajita seasoning, add it at this point. Cook for 5 more minutes.
Assemble your bowls: Add a scoop of cilantro lime rice to each bowl. You can arrange the ingredients in rows or scoops around the bowl. Add a portion of beans, lettuce, guacamole, carrot pico de gallo, and Pumfu-mushroom mixture. Top each bowl with a dollop of sour cream, shredded cheese and a drizzle of dressing. Sprinkle with some cilantro.
Enjoy!
Thank you to Christine Waltermyer and the Natural Kitchen Cooking School for working with us to help promote healthy, nutritious meals and products that are affordable, full of nutrients, and simple to make at home!
Christine Waltermyer is a local and renowned Wellness Chef, private chef to celebrities, published cookbook author and founder of the Natural Kitchen Cooking School, which offers an online Plant-Based Cooking Program. She also loves shopping at Basil Bandwagon! Visit naturalkitchenschool.com to subscribe to her email newsletter for new recipes, tips, and FREE access to the Power of Veggies mini-course!
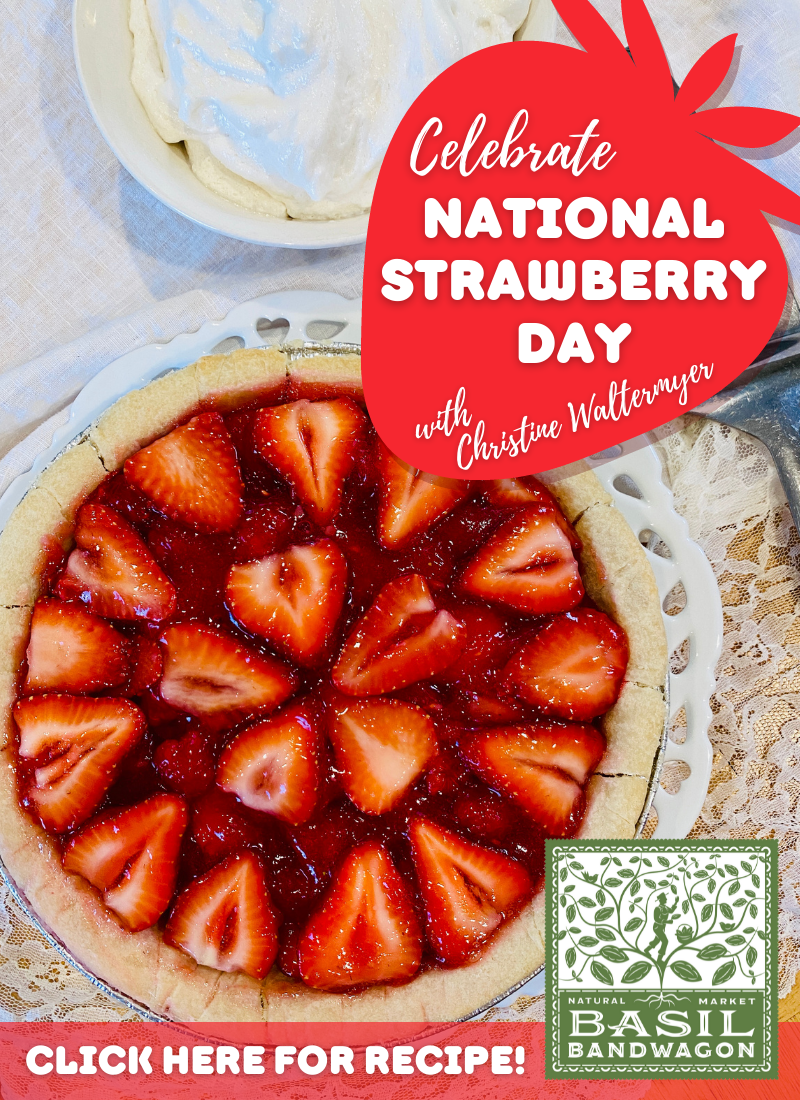
Did you know: strawberries are packed with vitamins, fiber, and particularly high levels of antioxidants known as polyphenols. They are a sodium-free, fat-free, cholesterol-free, low-calorie food AND they’re a good source of manganese and potassium. How cool is that!
Thanks to Christine Waltermyer and The Natural Kitchen Cooking School, we’re passing along a delicious and nutritious Strawberry Pie recipe to help celebrate these incredible fruits on National Strawberry Day! All ingredients can be found at your favorite local Basil Bandwagon Natural Market location.
Want to know another fun fact about strawberries? The average strawberry contains 200 seeds!
¾cupLakanto sugar free powdered monkfruit sweetener with erythritol
2tablespoonsarrowroot flour
1cupwater
10.7 oz. package Simply Delish strawberry jel dessert
3cupssliced strawberries
1cupred raspberries
Dairy-free whipped topping
Instructions
Preheat the oven to 425° F. Line the unpricked crust with a piece of parchment paper. Fill with pie weights or dried beans to cover the bottom. Bake for 9 minutes. Remove the parchment paper. If you wish, you can bake for a few more minutes to make the bottom more crisp. Cool the baked pie shell on a wire rack.
In a small saucepan, combine the powdered monkfruit sweetener, arrowroot flour and water. Stir with a whisk until smooth. Bring to a boil over medium high heat, stirring frequently. Cook for about 2 minutes. Remove the mixture from the heat. Stir in the Simply Delish strawberry jel dessert powder until dissolved. Set aside to cool.
Add the strawberries and raspberries to the strawberry jel mixture. Carefully fold them in. Pour into the prepared crust. Arrange the berries in a pretty pattern, adding extra fresh berries on top if you wish. Refrigerate until set. Serve with optional whipped topping.
Enjoy!
Thank you to Christine Waltermyer and the Natural Kitchen Cooking School for working with us to help promote healthy, nutritious meals and products that are affordable, full of nutrients, and simple to make at home!
Thanks to Christine Waltermyer & The Natural Kitchen Cooking School
Christine Waltermyer is a local and renowned Wellness Chef, private chef to celebrities, published cookbook author and founder of the Natural Kitchen Cooking School, which offers an online Plant-Based Cooking Program. She also loves shopping at Basil Bandwagon! Visit naturalkitchenschool.com to subscribe to her email newsletter for new recipes, tips, and FREE access to the Power of Veggies mini-course!
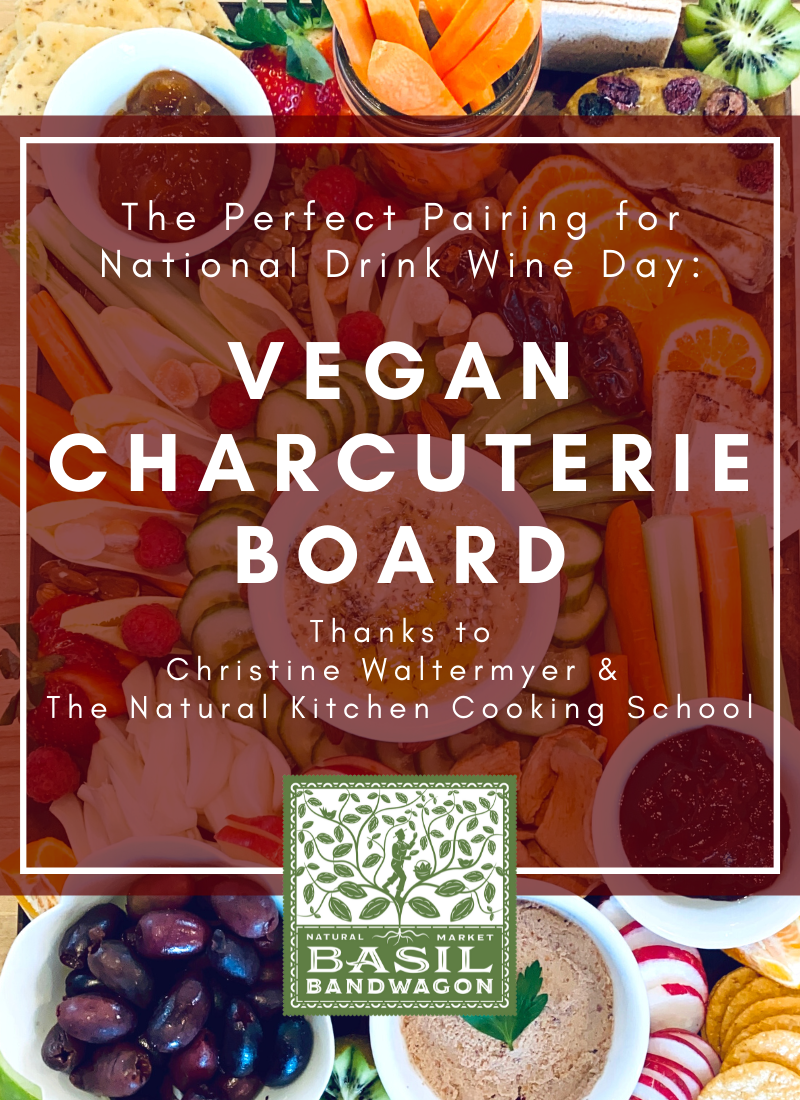
Friday, February 18th is National Drink Wine Day and what better way to celebrate than pairing your favorite wine with a Vegan Charcuterie Board! Thanks to Christine Waltermyer and The Natural Kitchen Cooking School, you can learn how to put together the perfect selection of fresh fruits, vegetables, vegan cheeses, crackers, and savory & sweet accompaniments. Looking for an extra special item to wow your guests? Check out our vegan meat selection – including vegan fig salami! All ingredients – including almost the entire portfolio of local Unionville Vineyard wines – are available at your favorite local Basil Bandwagon Natural Market location.
Nut Cheeses & Spreads or Other Spreadable Cheese of Your Choice
Jams
All-fruit raspberry jam
All-fruit apricot jam
Black Olives
Crackers
Gluten-Free Pita Bread
Parsley Sprigs
Instructions
Prep ahead: Use a cutting board that you will not be using as your presentation board. Cut up all of the fruit and vegetables. Place the hummus, olives and jams in serving bowls. Pre-slice any block cheeses.
Assemble the board: Wipe down a large wooden cutting board. Place the bowls onto the board. Next, add the sliced fruits and vegetables, building around the bowls. Arrange the crackers as well.
Fill in the gaps: Add little piles of nuts, seeds and dried fruits in any open areas. Place garnishes of fresh parsley sprigs as the final touch. Serve right away or cover the board with plastic wrap and refrigerate.
Enjoy!
Thank you to Christine Waltermyer and the Natural Kitchen Cooking School for working with us to help promote healthy, nutritious meals and products that are affordable, full of nutrients, and simple to make at home!
Christine Waltermyer is a local and renowned Wellness Chef, private chef to celebrities, published cookbook author and founder of the Natural Kitchen Cooking School, which offers an online Plant-Based Cooking Program. She also loves shopping at Basil Bandwagon! Visit naturalkitchenschool.com to subscribe to her email newsletter for new recipes, tips, and FREE access to the Power of Veggies mini-course!
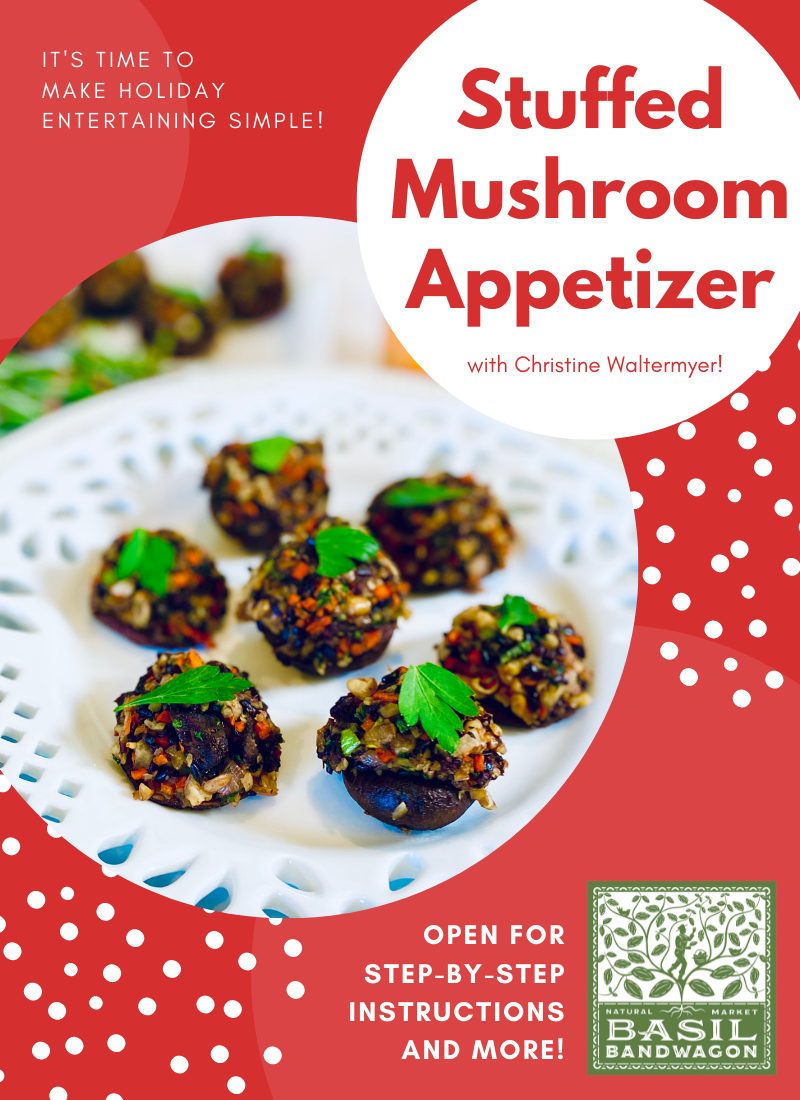
‘Tis the season for delicious food and family gatherings! These flavorful stuffed mushrooms will add a nice touch to your holiday entertaining buffet. Featuring ingredients found at your local Basil Bandwagon Natural Market.
Preheat the oven to 375 degrees F. Line a baking sheet with parchment paper.
Finely chop the mushroom stems. Place the cleaned and de-stemmed mushroom caps on the prepared baking sheet. Lightly brush with the avocado oil. Bake, stem side facing up, for 8 to 10 minutes.
Make the filling mixture: In a large skillet over medium high heat, add the olive oil and the shallot. Cook and stir for a few minutes. Add the carrot and a pinch of the sea salt. Cook and stir for a few more minutes. Add the mushroom jerky. Cook a few more minutes, then add the parsley. If the vegetables stick to the skillet you can a splash of white wine or vegetable broth. Add the mushroom stems and another pinch of sea salt. Cook and stir for another minute or two. Add the walnuts and cook for another minute. Add the cooked black rice, Worcestershire sauce, black pepper and scallions. Cook and stir a few minutes more.
Remove the mushrooms from the oven. Drain out any liquid from the centers of the mushrooms. Fill each mushroom cap with a rounded tablespoon of the filling mixture. Press the filling firmly, squeezing it over the mushroom cap.
Bake the stuffed mushrooms for 10 more minutes at 375 degrees F. Serve warm or cooled to room temperature. Serve garnished with fresh parsley. Optional: Drizzle with a little balsamic glaze just before serving.
Enjoy!
Thank you to Christine Waltermyer and the Natural Kitchen Cooking School for working with us to help promote healthy, nutritious meals and products that are affordable, full of nutrients, and simple to make at home!