Did you know: strawberries are packed with vitamins, fiber, and particularly high levels of antioxidants known as polyphenols. They are a sodium-free, fat-free, cholesterol-free, low-calorie food AND they’re a good source of manganese and potassium. How cool is that!
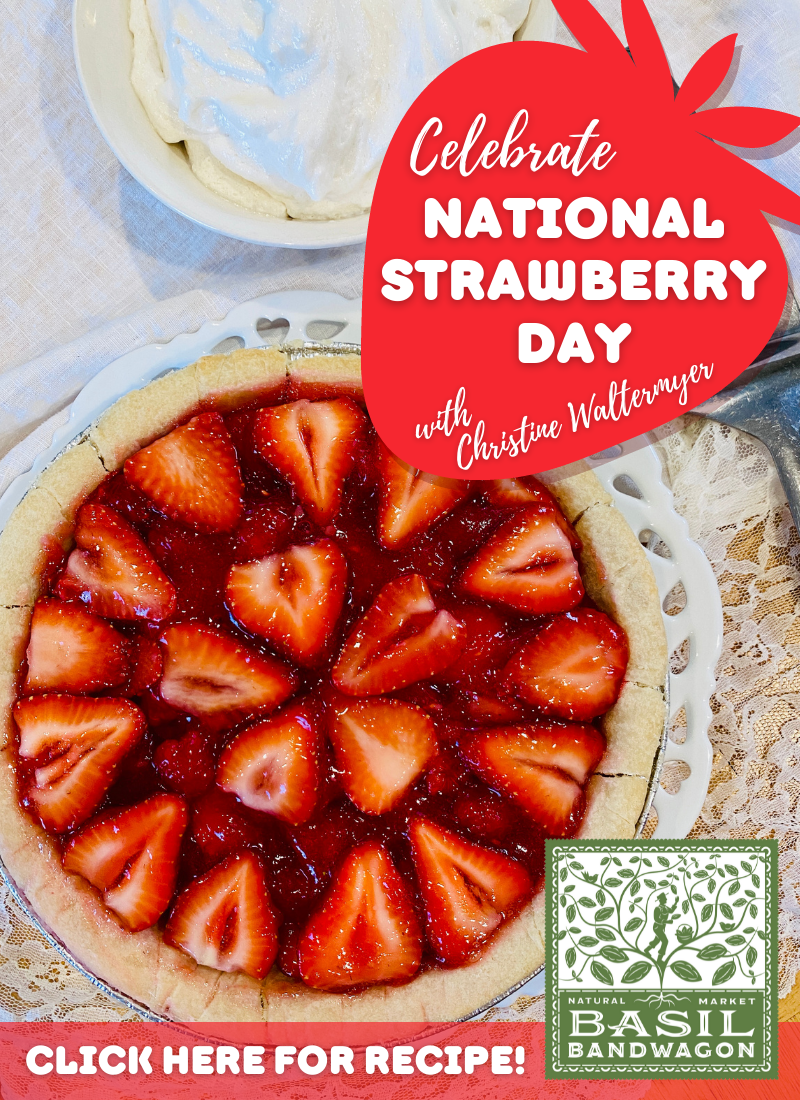
Thanks to Christine Waltermyer and The Natural Kitchen Cooking School, we’re passing along a delicious and nutritious Strawberry Pie recipe to help celebrate these incredible fruits on National Strawberry Day! All ingredients can be found at your favorite local Basil Bandwagon Natural Market location.
Want to know another fun fact about strawberries? The average strawberry contains 200 seeds!

Strawberry Pie
Ingredients
- 1 gluten free frozen 9-inch pie shell
- ¾ cup Lakanto sugar free powdered monkfruit sweetener with erythritol
- 2 tablespoons arrowroot flour
- 1 cup water
- 1 0.7 oz. package Simply Delish strawberry jel dessert
- 3 cups sliced strawberries
- 1 cup red raspberries
- Dairy-free whipped topping
Instructions
- Preheat the oven to 425° F. Line the unpricked crust with a piece of parchment paper. Fill with pie weights or dried beans to cover the bottom. Bake for 9 minutes. Remove the parchment paper. If you wish, you can bake for a few more minutes to make the bottom more crisp. Cool the baked pie shell on a wire rack.
- In a small saucepan, combine the powdered monkfruit sweetener, arrowroot flour and water. Stir with a whisk until smooth. Bring to a boil over medium high heat, stirring frequently. Cook for about 2 minutes. Remove the mixture from the heat. Stir in the Simply Delish strawberry jel dessert powder until dissolved. Set aside to cool.
- Add the strawberries and raspberries to the strawberry jel mixture. Carefully fold them in. Pour into the prepared crust. Arrange the berries in a pretty pattern, adding extra fresh berries on top if you wish. Refrigerate until set. Serve with optional whipped topping.
- Enjoy!
Thank you to Christine Waltermyer and the Natural Kitchen Cooking School for working with us to help promote healthy, nutritious meals and products that are affordable, full of nutrients, and simple to make at home!